Salt dough monkey
Present DIY projects are always distinguished by their originality and enjoy great success. A handmade item is much more valuable than a gift bought in a store. You can make a loved one happy without any reason by giving him a magnet that you made yourself. To make a magnet in the shape of a monkey, we will need the following materials:
- Salty dough
- Universal second glue
- Magnet
- Acrylic paints
- Tassels
- Varnish for coating the product
- Foil or baking paper
- Jar of water
1. Make an oval on foil or baking paper. Let's flatten it.
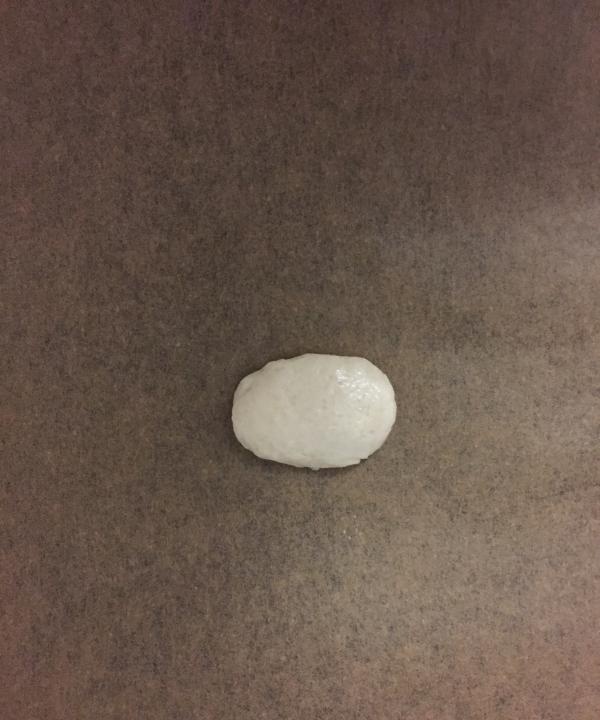
2. Make a circle and also flatten it. Attach the circle to the oval.
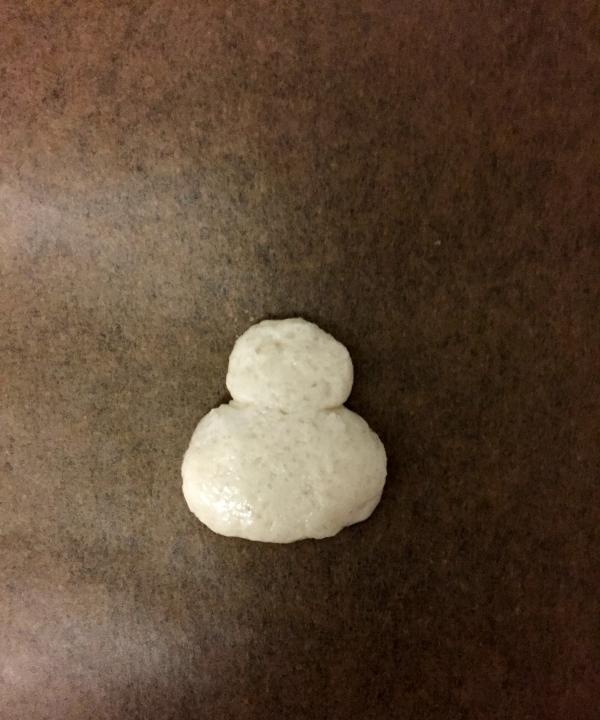
3. Make small balls and attach them to the future face. The monkey ears are ready.
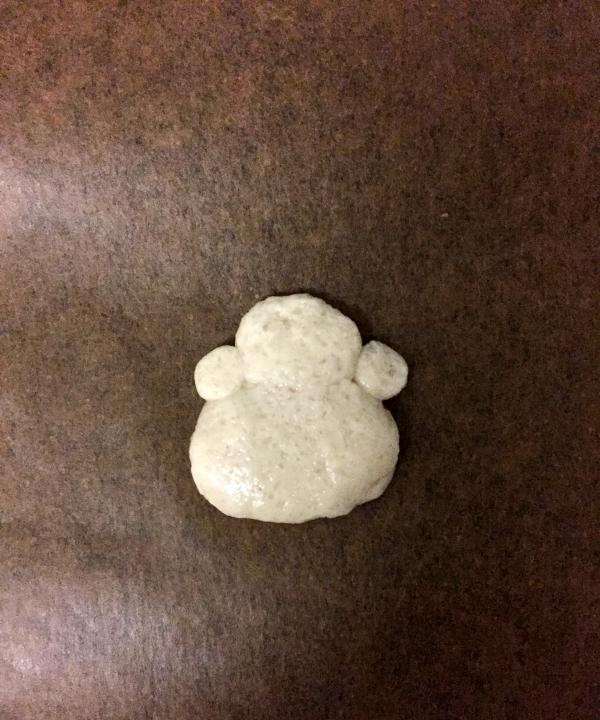
4. We sculpt the body. To do this, roll out an oval and attach it to the head.
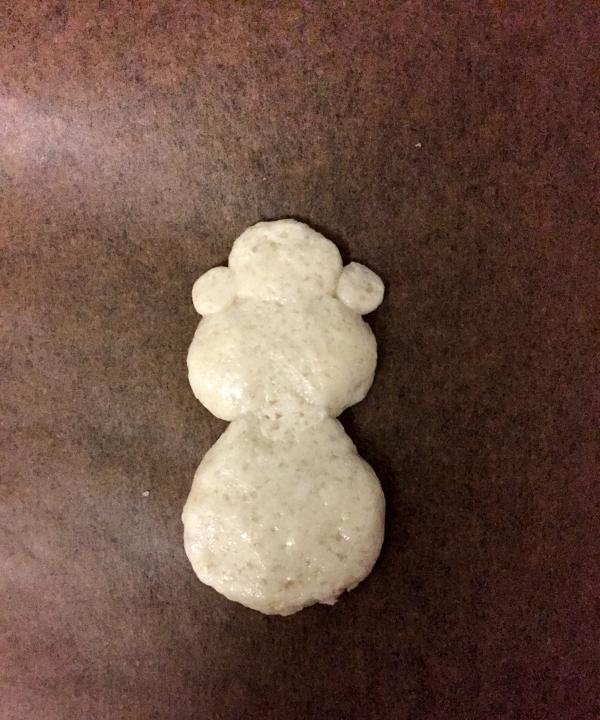
5. Attach arms and legs to the body. We roll out the “sausages” and attach them to the body of the future monkey.
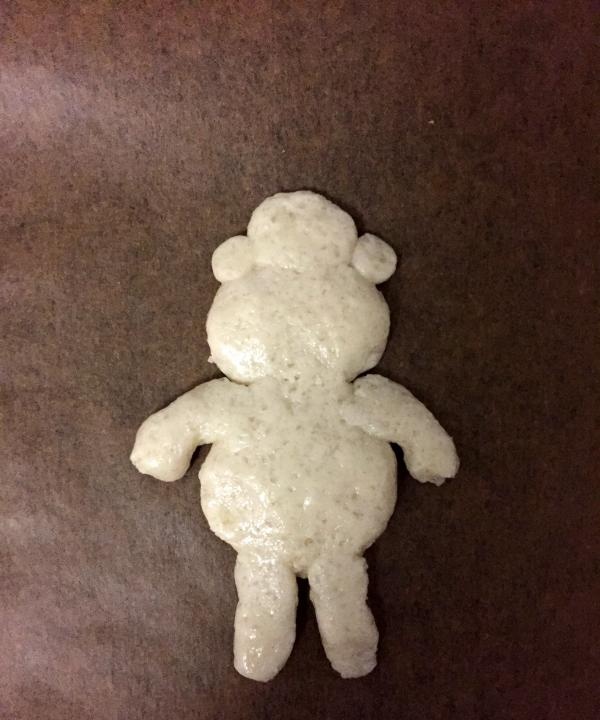
6. Using a brush and water, align the joints of the parts.
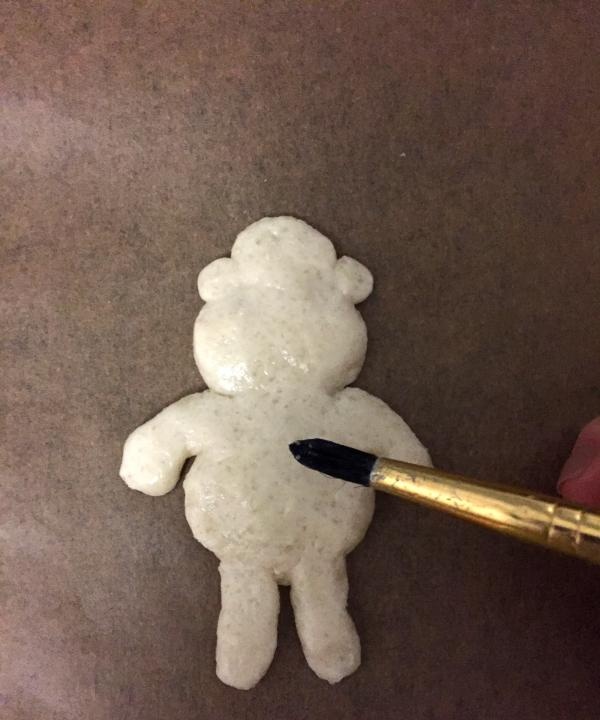
7. Dry the product.For quick results, you need to bake the product in the oven at 100 degrees for 2-3 hours.
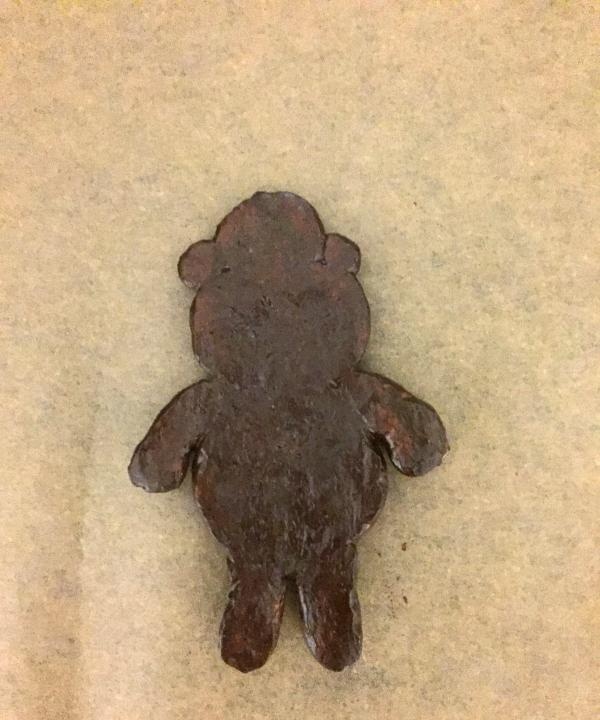
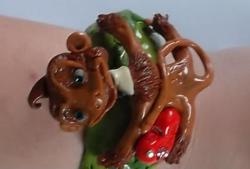
8. When the figure is dry, you need to paint it. Both acrylic paints and gouache are suitable for this. But it is worth noting that gouache can spread under the varnish. Cover the entire figure (back and front) with brown paint.
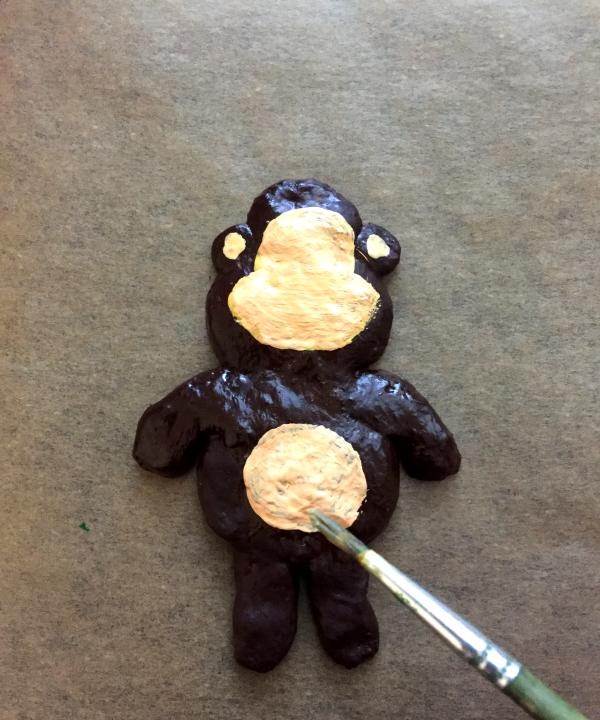
9. We wait for the brown paint to dry and begin to draw out the details. It is best to paint with a thin brush (number one or two). Using light orange paint we draw the monkey’s face, ears and belly.
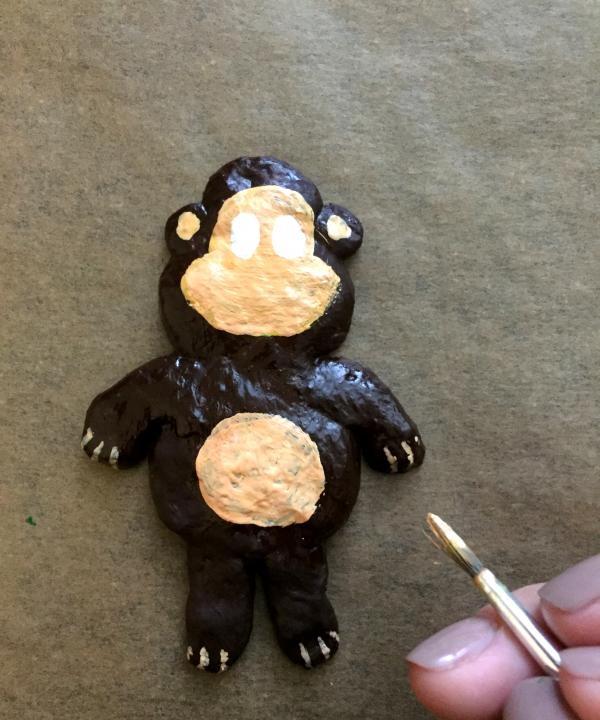
10. Using a light brown color, draw the toes on the paws. Draw the eyes with white.
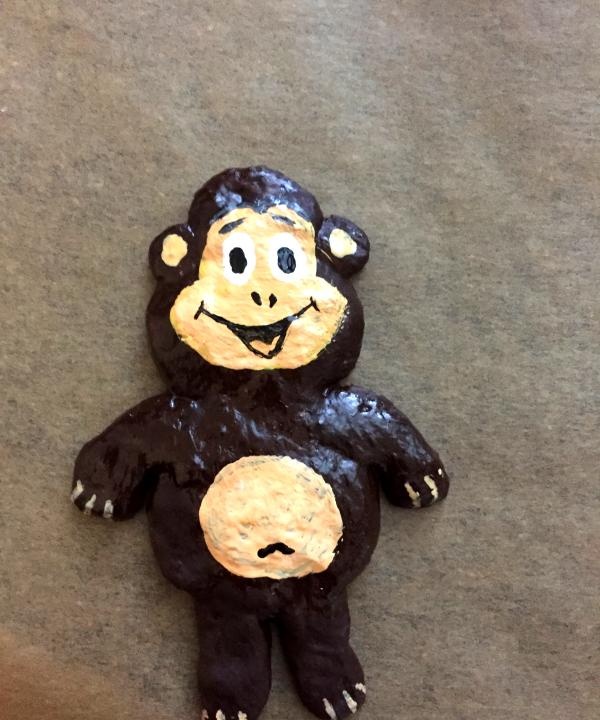
11. Use black paint to draw the mouth, nose, navel, eyebrows and pupils.
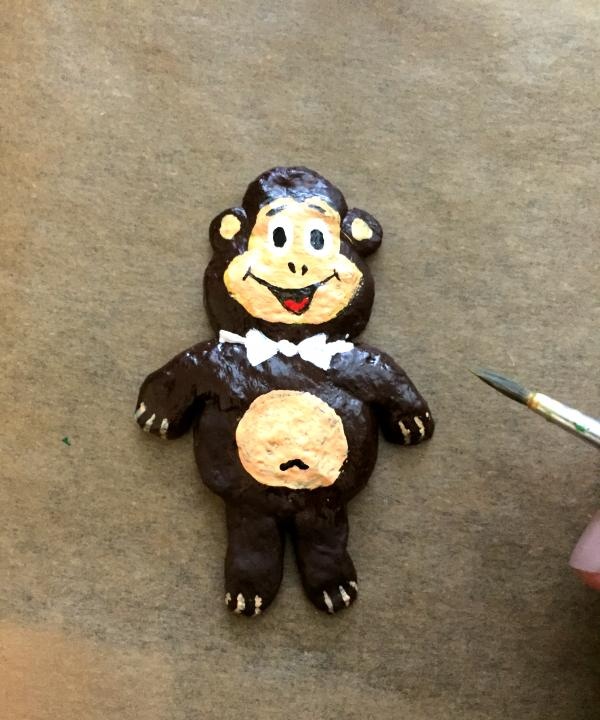
12. Color the tongue red.
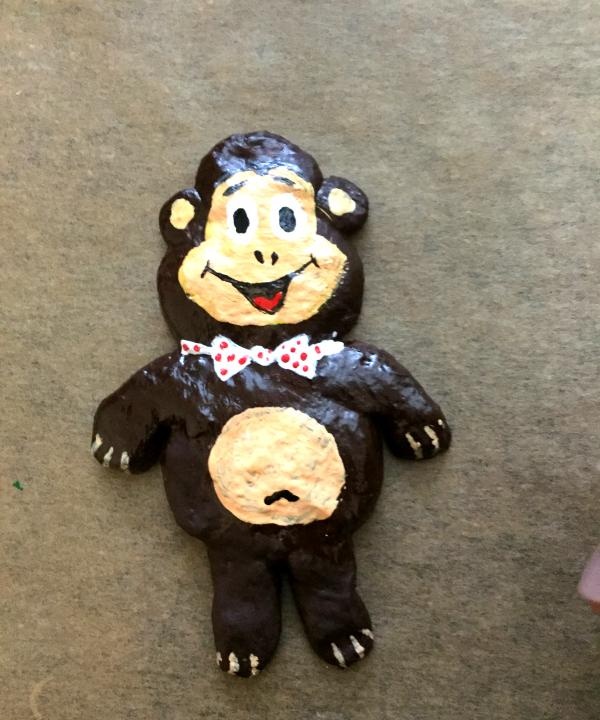
13. Using white paint, draw a bow for the monkey.
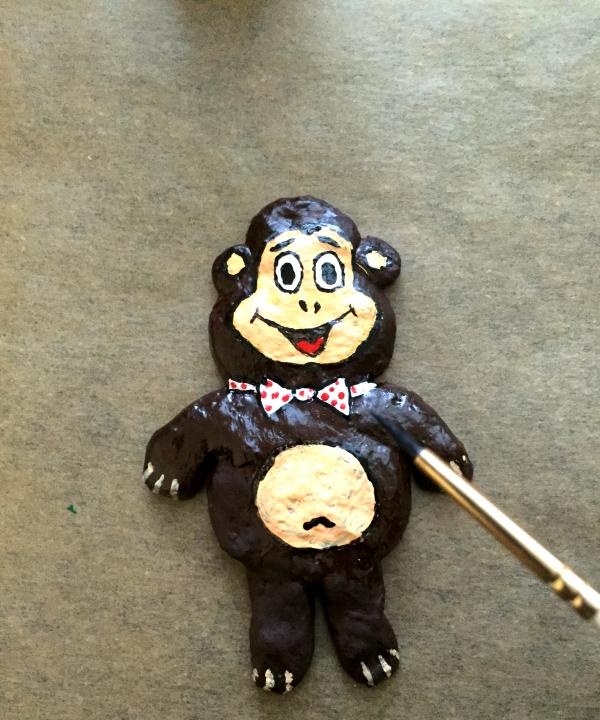
14. After the white paint has dried, paint red polka dots on it.
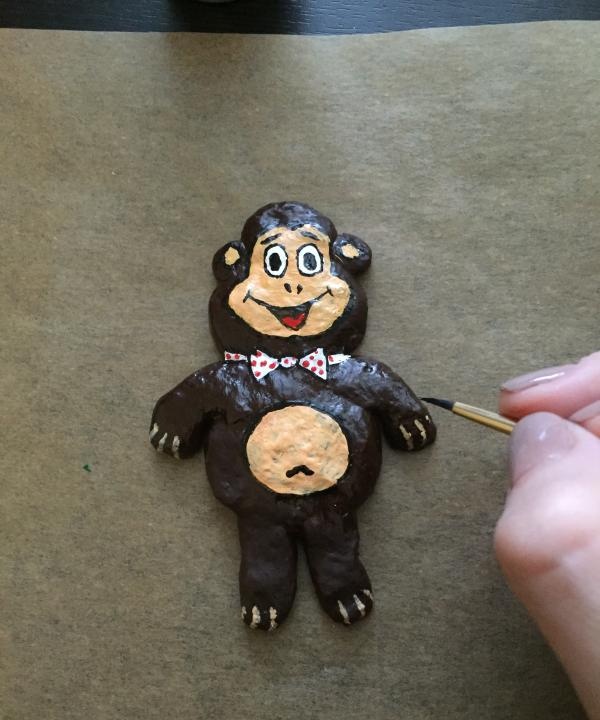
15. If you are sure that you can make a neat outline, then you can outline the eyes, muzzle, ears, bow and tummy of the monkey in black.
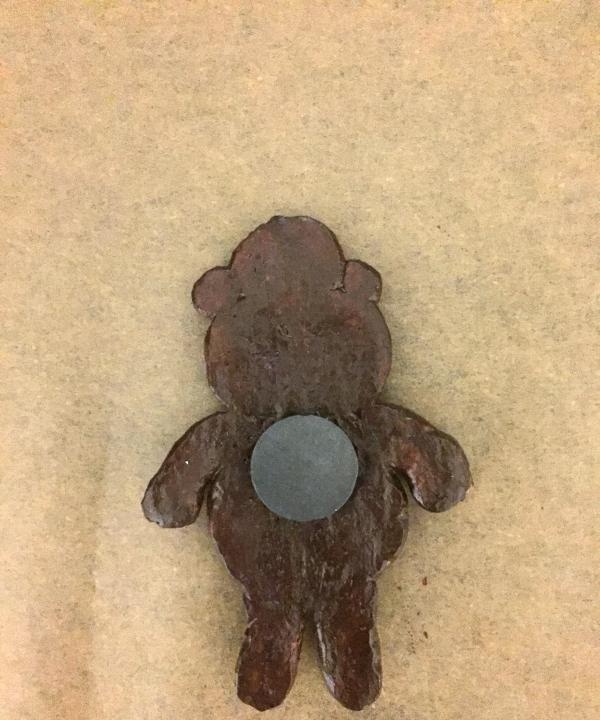
16. When the paint has dried, coat the figure with varnish. For shine, you can choose glossy acrylic varnish.
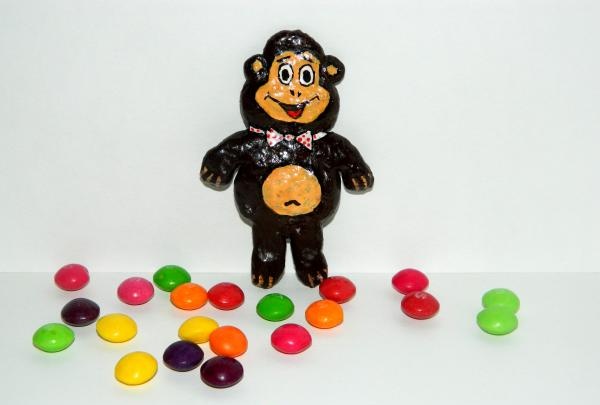
17. All you have to do is glue the magnet onto a second of glue and the original gift is ready!
- Salty dough
- Universal second glue
- Magnet
- Acrylic paints
- Tassels
- Varnish for coating the product
- Foil or baking paper
- Jar of water
1. Make an oval on foil or baking paper. Let's flatten it.

2. Make a circle and also flatten it. Attach the circle to the oval.

3. Make small balls and attach them to the future face. The monkey ears are ready.

4. We sculpt the body. To do this, roll out an oval and attach it to the head.

5. Attach arms and legs to the body. We roll out the “sausages” and attach them to the body of the future monkey.

6. Using a brush and water, align the joints of the parts.

7. Dry the product.For quick results, you need to bake the product in the oven at 100 degrees for 2-3 hours.

8. When the figure is dry, you need to paint it. Both acrylic paints and gouache are suitable for this. But it is worth noting that gouache can spread under the varnish. Cover the entire figure (back and front) with brown paint.

9. We wait for the brown paint to dry and begin to draw out the details. It is best to paint with a thin brush (number one or two). Using light orange paint we draw the monkey’s face, ears and belly.

10. Using a light brown color, draw the toes on the paws. Draw the eyes with white.

11. Use black paint to draw the mouth, nose, navel, eyebrows and pupils.

12. Color the tongue red.

13. Using white paint, draw a bow for the monkey.

14. After the white paint has dried, paint red polka dots on it.

15. If you are sure that you can make a neat outline, then you can outline the eyes, muzzle, ears, bow and tummy of the monkey in black.

16. When the paint has dried, coat the figure with varnish. For shine, you can choose glossy acrylic varnish.

17. All you have to do is glue the magnet onto a second of glue and the original gift is ready!
Similar master classes
Particularly interesting
Comments (1)

