birthday card
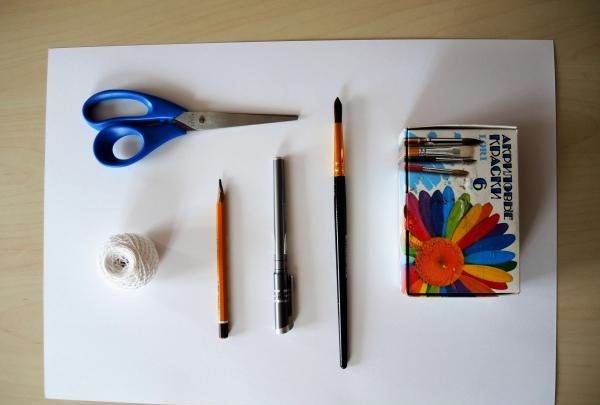
For this card you will need the most affordable and simple materials:
- Whatman paper/thick paper/cardboard
- acrylic paints
- a simple pencil (softness 2M and above)
- brush
- glue
- water container
- black gel pen
- threads of medium thickness (white iris threads were used here)
- ruler
- scissors.
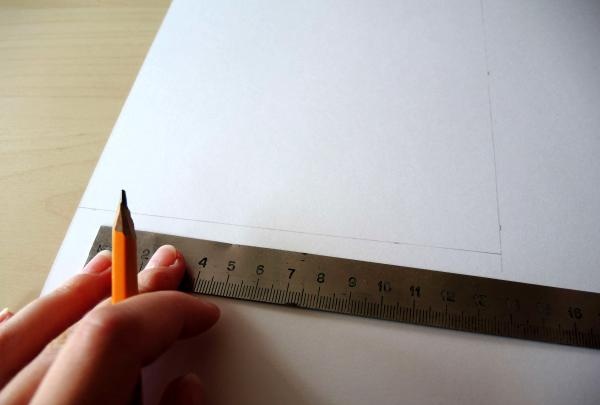
To begin, measure out a rectangle measuring 15x20 centimeters on a piece of Whatman paper.
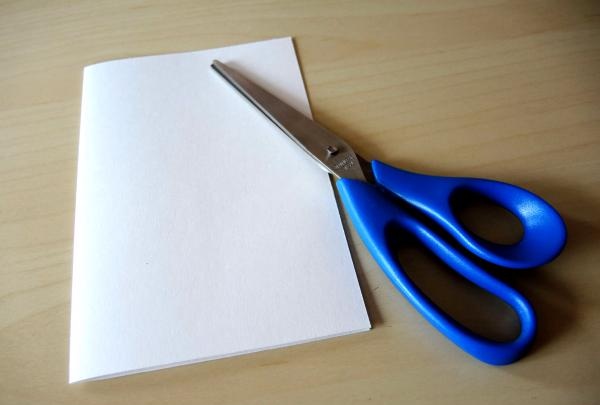
Cut it out and bend it in half. This will be the basis for our postcard.
Then we will draw a frame on the front side, retreating from the edge by 1.5-2 centimeters.
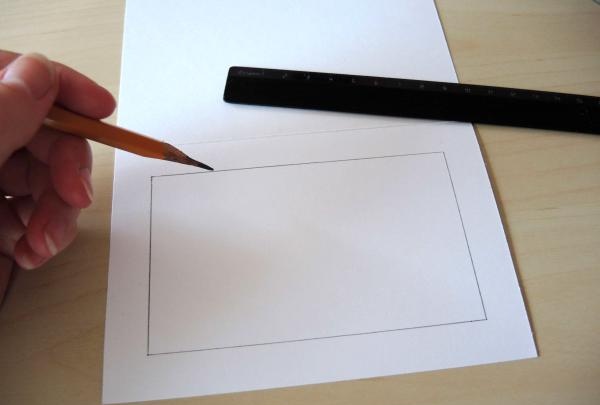
Draw clouds in the resulting rectangle.
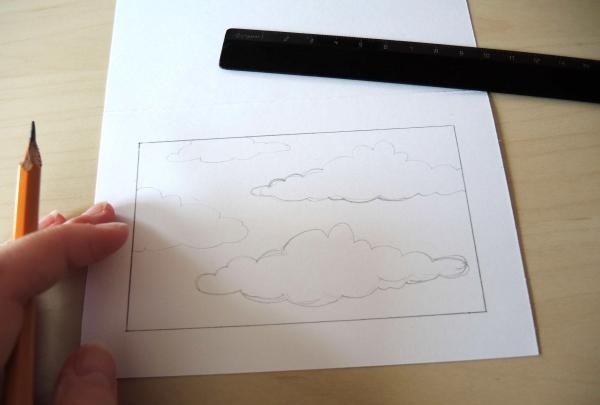
Then take a simple pencil and lightly, in an even tone, shade the sky, leaving the clouds alone for now.
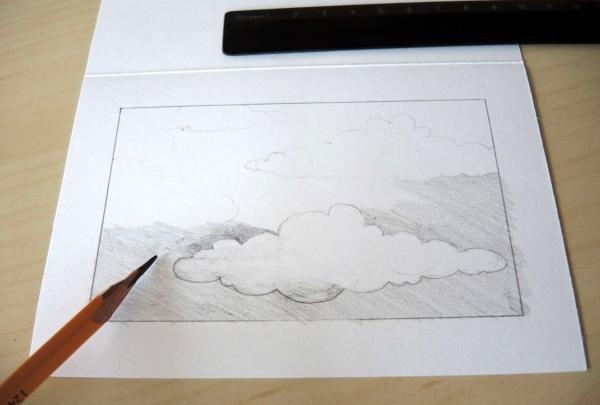
You can hatch with straight short lines, you can use the side of a pencil, with small circular movements - whichever you prefer.
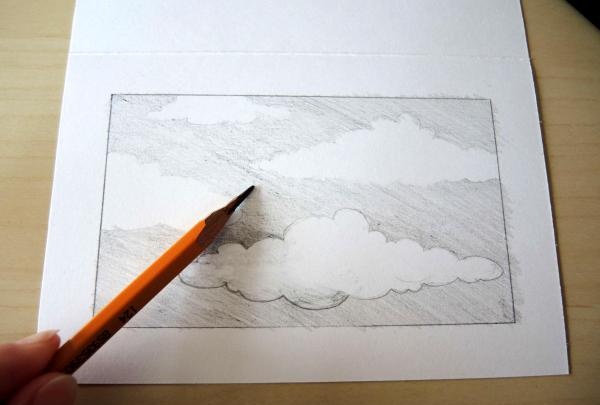
Now let’s outline the lower part of each cloud more boldly.
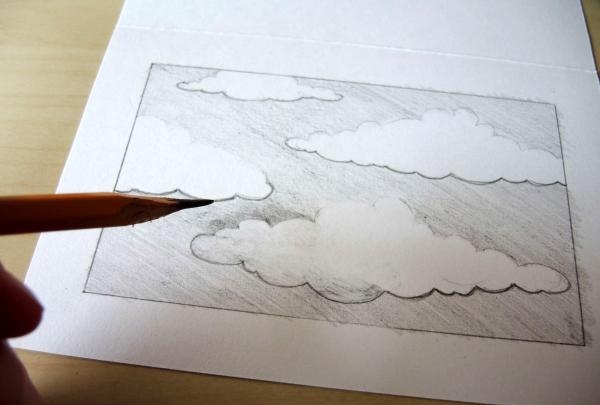
Then, going from the bottom of the cloud to the top, we perform shading in a circular motion, pressing less and less on the pencil. The result should be a smooth transition from dark to light.
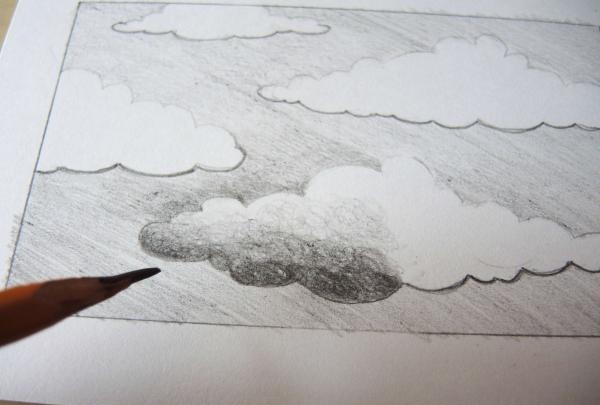
At the same time, you can slightly oppress that part of the sky that borders the light part of the cloud.This way we will enhance the contrast and make the picture more expressive.
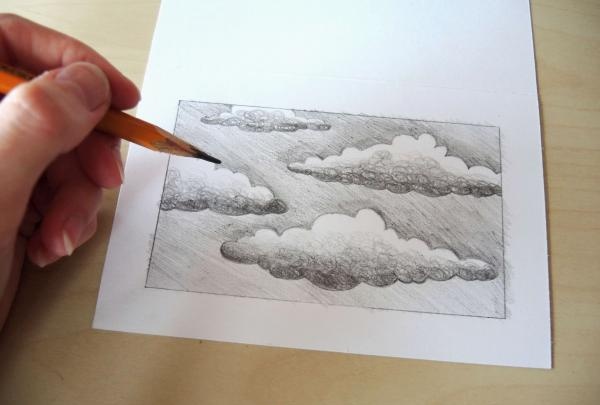
The result will be a drawing like this.
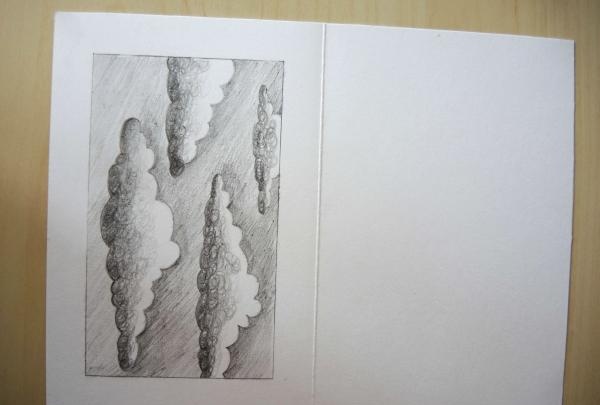
Go ahead. Let's add some color to the composition.
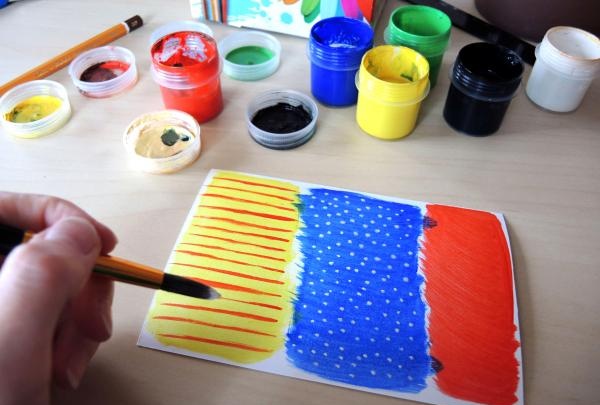
Using a separate piece of cardboard or the remains of whatman paper, we will paint bright backgrounds with acrylic paints. Why acrylic? Because acrylic paint, after drying, will not stain hands or objects after touching it, like gouache paint, for example, but will dry completely, forming a glossy surface.
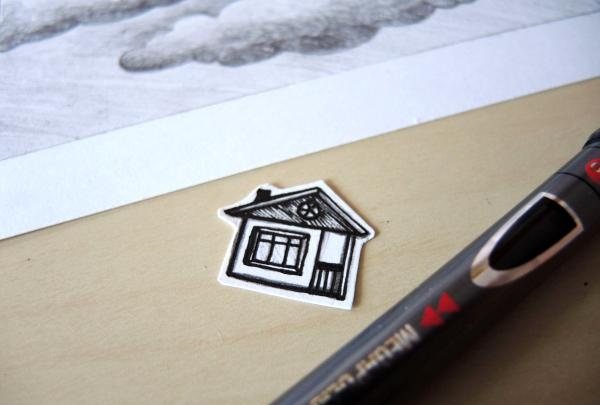
On a small piece of whatman paper, about 3 by 3 cm, draw a house with a gel pen.
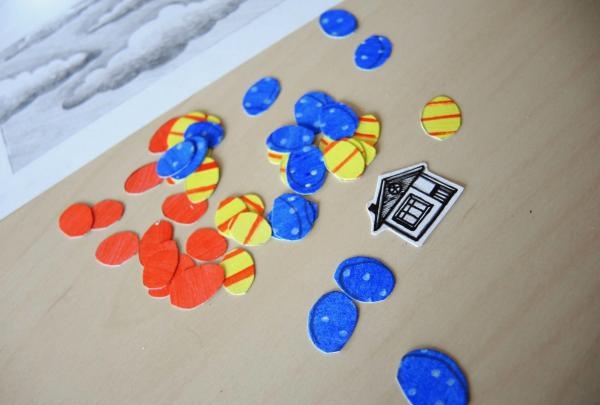
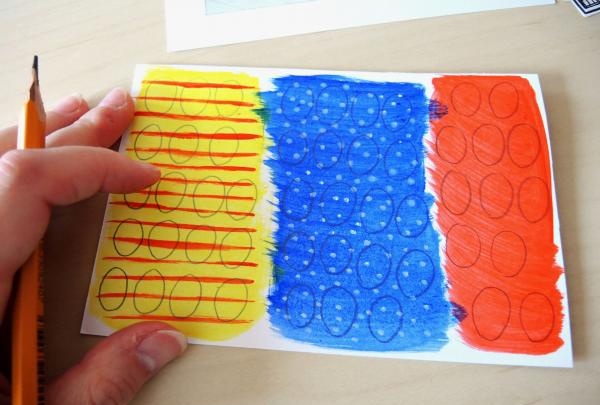
When the paint has dried, cut out many ovals from the painted sheet. You can draw them according to a prepared template, or you can draw them by hand.
Let's start assembling all the parts into a single whole. Cut a few pieces from the ball of thread. 10-12 segments will be enough. And we begin to glue the balls, placing a thread between the ball and the base.
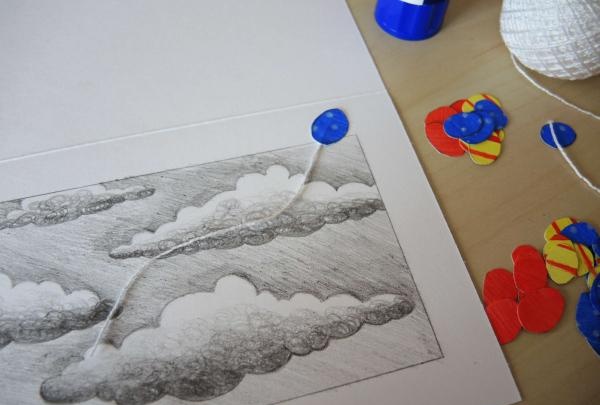
First of all, glue the balls with threads, and on top of them the remaining ones without threads.
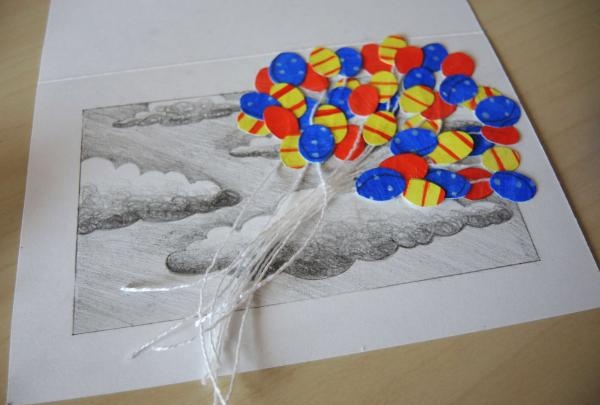
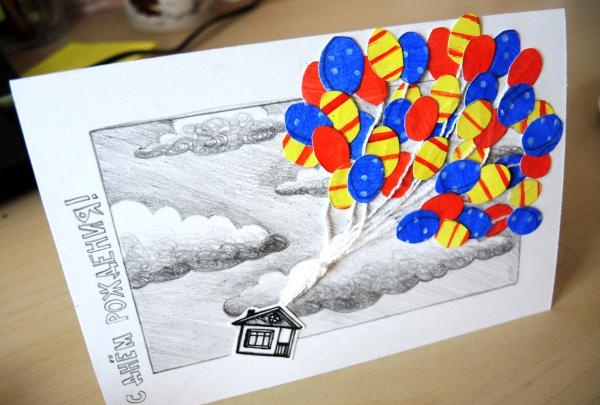
Tie all the ponytails together, glue the house and add a congratulatory inscription or your wish.
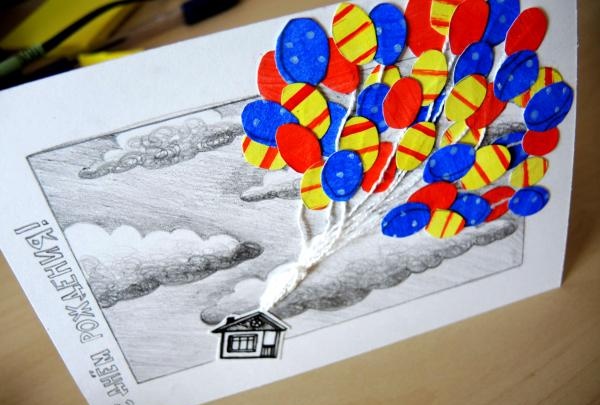
You can make such an interesting postcard on your own, using the simplest and most inconspicuous materials.
I wish you creative success!
Similar master classes
Particularly interesting
Comments (0)


