Valentine's Day card
Valentine's Day is getting closer and closer. It's time to prepare Valentine's cards for your loved ones. If you want to please your soulmate, then there is nothing better than making such a card with your own hands!
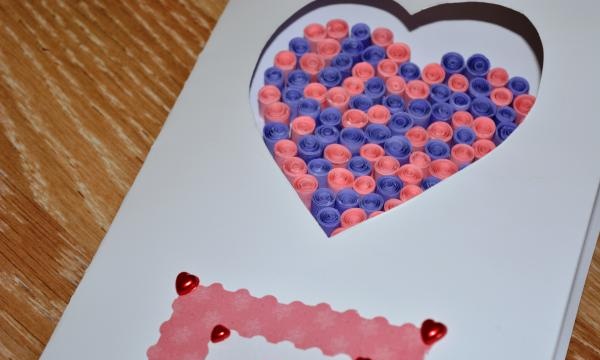
To make a postcard using the technology "Quilling» required:
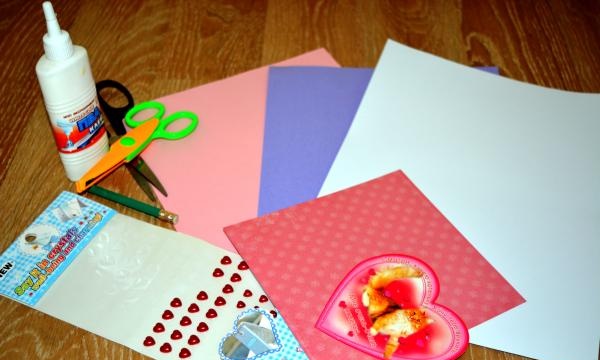
1. A sheet of thick, white cardboard on both sides.
2. Double-sided colored paper (pink and lilac).
3. Texture paper for scrapbooking (can be replaced with regular colored paper).
4. Curly scissors.
5. Scissors.
6. Glue.
7. Heart template (old postcard).
8. Ruler.
9. Pencil.
10. Decorations as desired (rhinestones, hearts, halves of pearls).
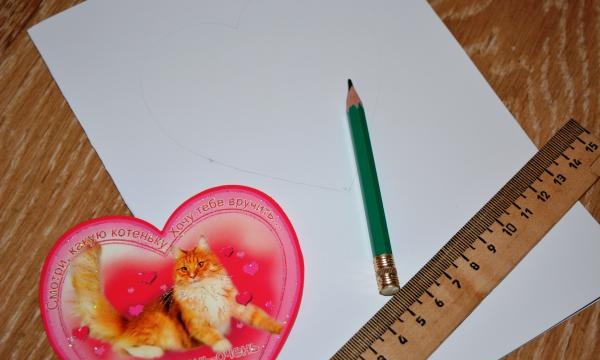
We bend a sheet of cardboard in half and use the template to draw a heart in the upper half of the card. Cut out the heart. Having tightly closed the postcard template, we outline the cut out heart with a simple pencil so that inside the postcard a heart of exactly the same shape is drawn in exactly the same place as on the front side.
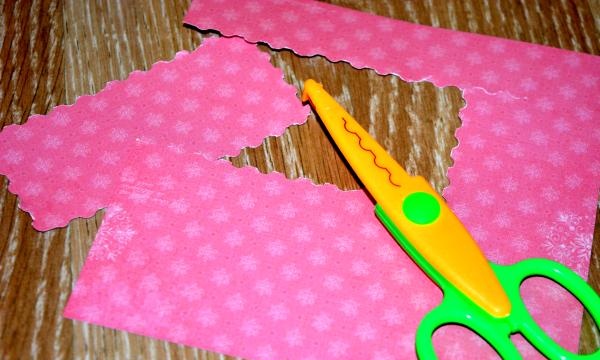
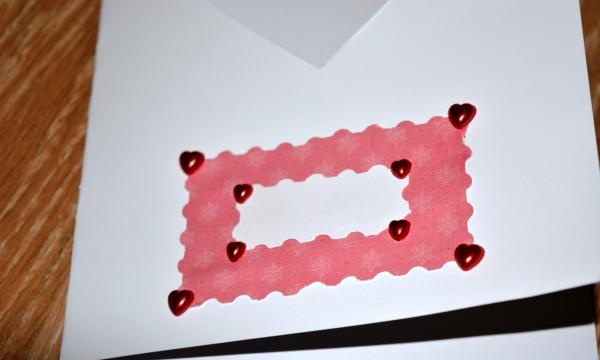
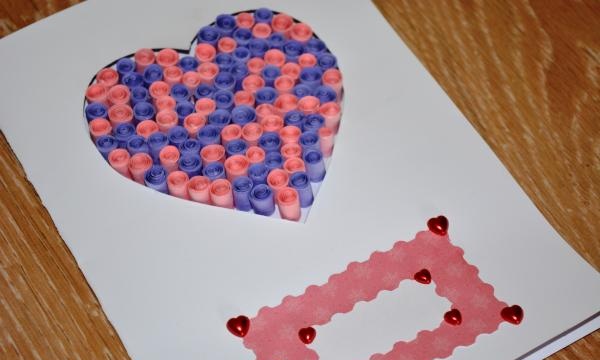
Using shaped scissors, cut out two rectangles of different sizes from textured paper and glue them under the heart. Glue the small rectangle in the middle of the large rectangle with the reverse side. Decorate with decorative elements.On the white rectangle you can write (or print in advance) to whom the card is addressed or for what occasion.
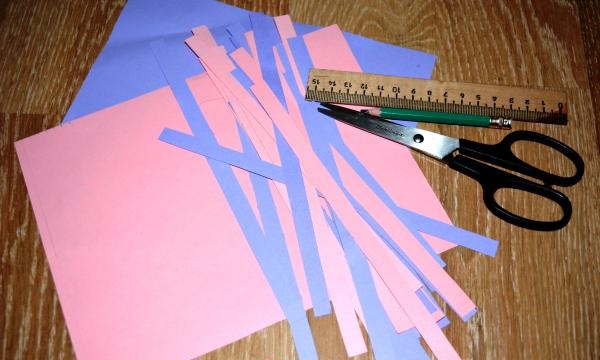
Now let's start preparing paper strips. Using a ruler and a simple pencil, line the sheets and cut them into strips. The strips should be the same width, mine was 1 cm.
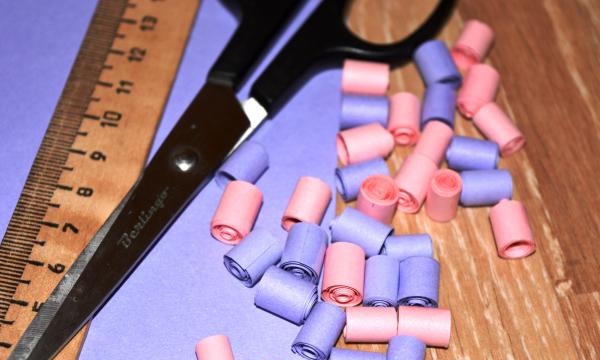
Now we begin the most painstaking, long and tedious work. We twist our strips. The most convenient way to do this is as follows. Slightly bending the tip of the strip, we begin to twist it between the thumb and forefinger of the right hand, while with the left hand we correct the strip and support the already twisted part. We twist it tightly, but at the same time, without deforming the roll, it should be cylindrical. Lightly release the twisted strip to the desired width. I like it better when the rolls are rolled tightly, but in this case you need a lot of rolls. I used 4 sheets of colored paper. We fix the tip with glue so that the roll does not roll out.
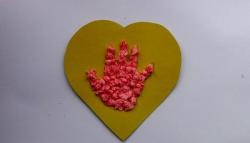
We glue the rolls along the contour of the heart and fill it from the inside. You can glue it randomly or adhering to some pattern. You don’t need a lot of glue, lightly lubricate the bottom of the roll and, for reliability, glue the rolls together with small drops of glue.
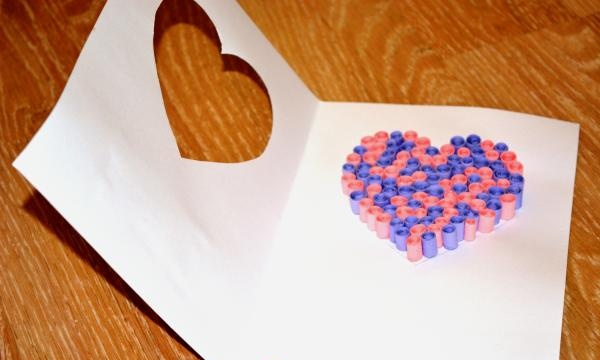
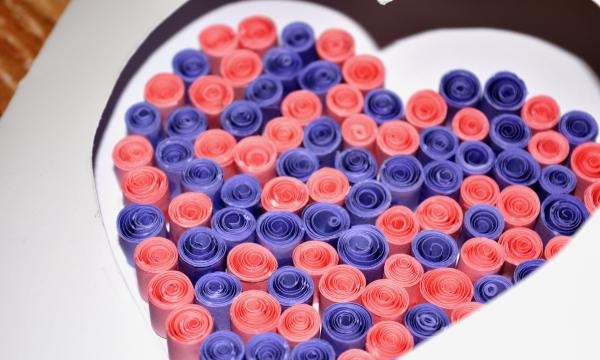
We erase the pencil marks if they are still visible somewhere. Your Valentine's Day card is ready! You can sign it and hand it to the recipient.

To make a postcard using the technology "Quilling» required:
1. A sheet of thick, white cardboard on both sides.
2. Double-sided colored paper (pink and lilac).
3. Texture paper for scrapbooking (can be replaced with regular colored paper).
4. Curly scissors.
5. Scissors.
6. Glue.
7. Heart template (old postcard).
8. Ruler.
9. Pencil.
10. Decorations as desired (rhinestones, hearts, halves of pearls).

We bend a sheet of cardboard in half and use the template to draw a heart in the upper half of the card. Cut out the heart. Having tightly closed the postcard template, we outline the cut out heart with a simple pencil so that inside the postcard a heart of exactly the same shape is drawn in exactly the same place as on the front side.

Using shaped scissors, cut out two rectangles of different sizes from textured paper and glue them under the heart. Glue the small rectangle in the middle of the large rectangle with the reverse side. Decorate with decorative elements.On the white rectangle you can write (or print in advance) to whom the card is addressed or for what occasion.


Now let's start preparing paper strips. Using a ruler and a simple pencil, line the sheets and cut them into strips. The strips should be the same width, mine was 1 cm.

Now we begin the most painstaking, long and tedious work. We twist our strips. The most convenient way to do this is as follows. Slightly bending the tip of the strip, we begin to twist it between the thumb and forefinger of the right hand, while with the left hand we correct the strip and support the already twisted part. We twist it tightly, but at the same time, without deforming the roll, it should be cylindrical. Lightly release the twisted strip to the desired width. I like it better when the rolls are rolled tightly, but in this case you need a lot of rolls. I used 4 sheets of colored paper. We fix the tip with glue so that the roll does not roll out.

We glue the rolls along the contour of the heart and fill it from the inside. You can glue it randomly or adhering to some pattern. You don’t need a lot of glue, lightly lubricate the bottom of the roll and, for reliability, glue the rolls together with small drops of glue.


We erase the pencil marks if they are still visible somewhere. Your Valentine's Day card is ready! You can sign it and hand it to the recipient.

Similar master classes
Particularly interesting
Comments (1)

