How to make a beautiful Christmas tree from plasticine
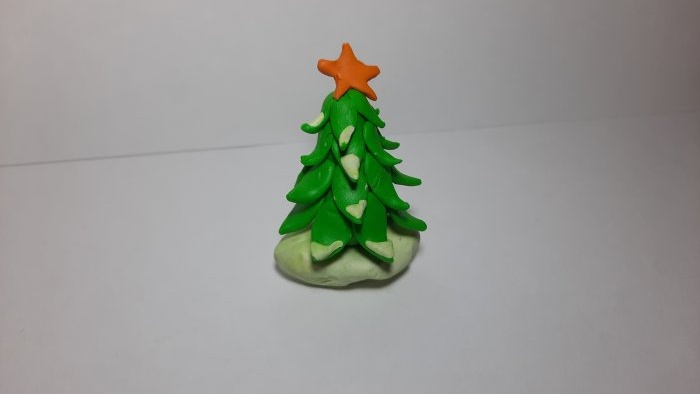
Plasticine is a universal material for children's creativity. It has a plastic shape and bright colors, which allows you to develop motor skills and show the child’s imagination. On the eve of the New Year, we invite you to do crafts made of plasticine with the main symbol of the holiday. This master class presents one of the options for sculpting a Christmas tree, without which not a single New Year can do.
Materials
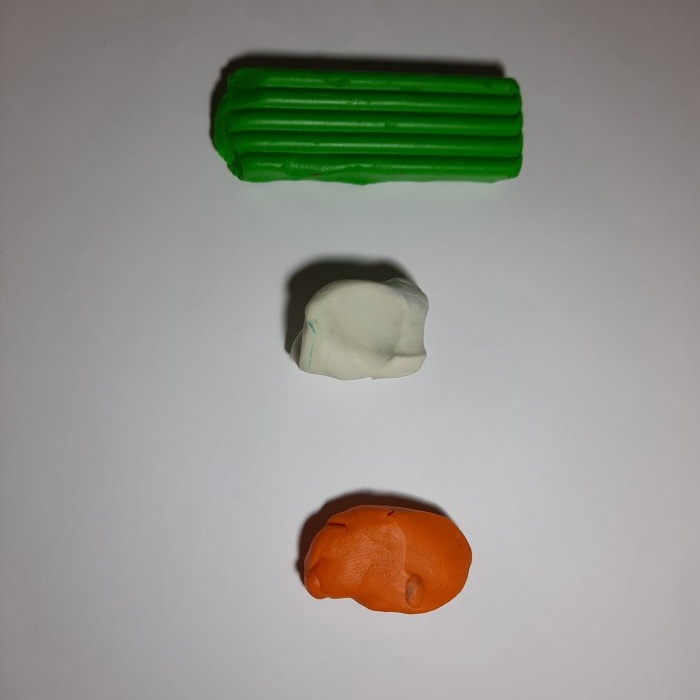
For work we will need the following materials:
- green, white and orange plasticine;
- skillful hands and desire to create.
Making a Christmas tree from plasticine with your own hands
1. Initially, you need to prepare all the necessary materials.
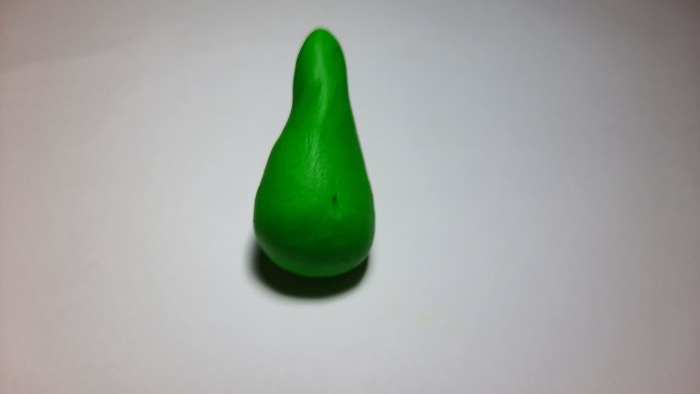
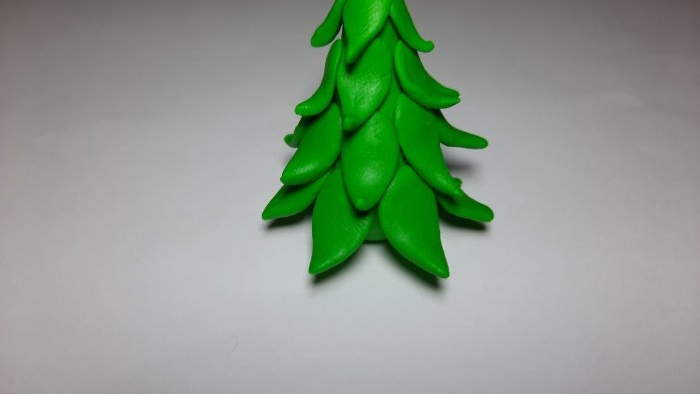
2. You need to roll a green cone - this will be the basis for the future Christmas tree.
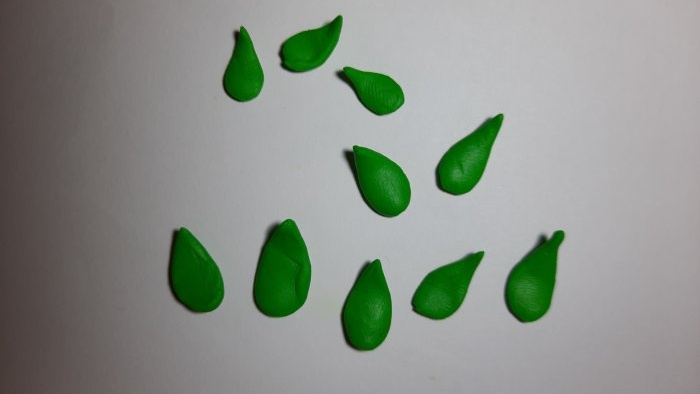
3. Then you need to roll the balls, slightly lengthening them on one side, giving them a droplet shape.
4. Drop-shaped blanks must be carefully attached to the base of the spruce. Then you should secure them at the base with a sharp end, thus forming needles.
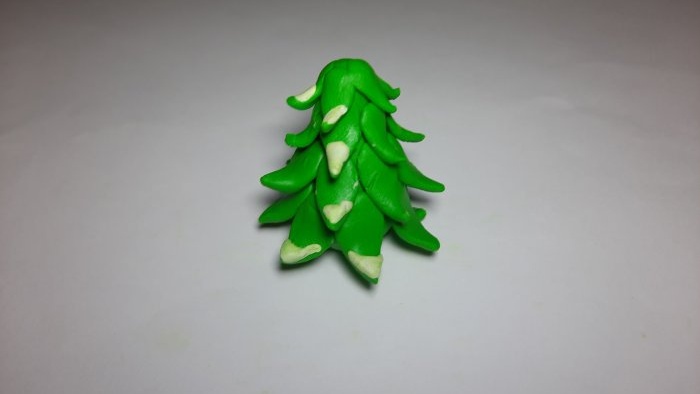
5. Next you need to take white plasticine and then cover the tips of the Christmas tree branches with it.This will represent snow on the branches.
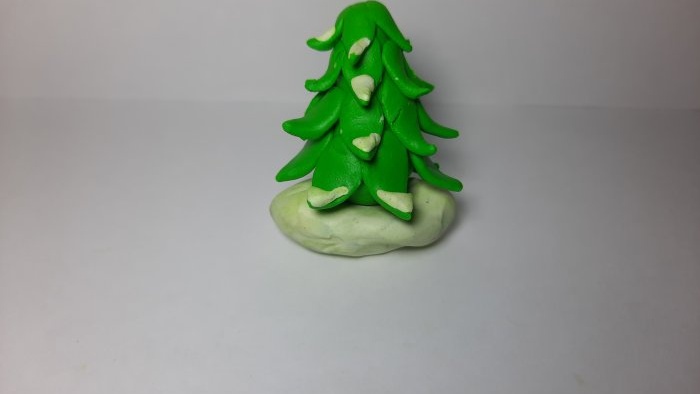
6. The next stage is to create a stand for the future Christmas tree. To do this, you need to take white plasticine, roll it into an oval, and then flatten it, forming a mound of fallen snow.
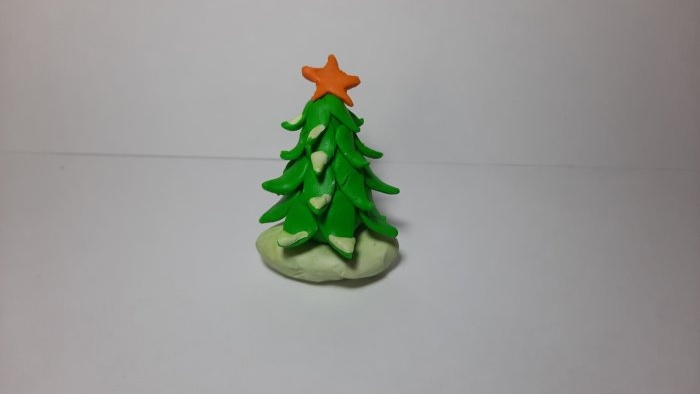
7. And the final stage is the main decoration of the Christmas tree - a star. A piece of orange plasticine must be given the desired geometric shape.
Making a Christmas tree is an entertaining process for both children and adults. The creation process itself evokes a pleasant family atmosphere on the eve of the holiday, when you want to share your happiness and warmth with others, and most importantly, with your loved ones. The finished fake can be used to decorate a room, or to present it as present for the New Year.

