Birthday card"
A postcard with sincere congratulations is, whatever one may say, the most important gift for absolutely any holiday. Souvenirs and present can be completely different: perfume, cream, shower gel, sweets, flowers, even some thing that has been worn or used and everything is forgotten over time, as if the gift never existed. But giving any of the above items along with the words of wishes set out in a greeting card already remains in good memories for a long time. After all, what is the most important thing? A couple of warm words from the heart are much more pleasant than even a certain amount of money. The celebration and event can be anything, for example, a birthday, anniversary, wedding, anniversary, christening and other significant dates, and the words must be written from the heart. Of course, among the modern assortment in stores, it won’t be difficult to find a postcard for various holidays, you can even have ready-made congratulations. But this is somehow tritely simple and uninteresting, but if you congratulate your loved one, loved one, friend with a hand-written gift, this is a completely different and interesting story.You can grab materials and accessories from any craft department and make something like a happy birthday card for your friend or sister. This master class will help you with this task; it will teach you how to master the basics of technology. scrapbooking and make a card with a cute bunny for your birthday.
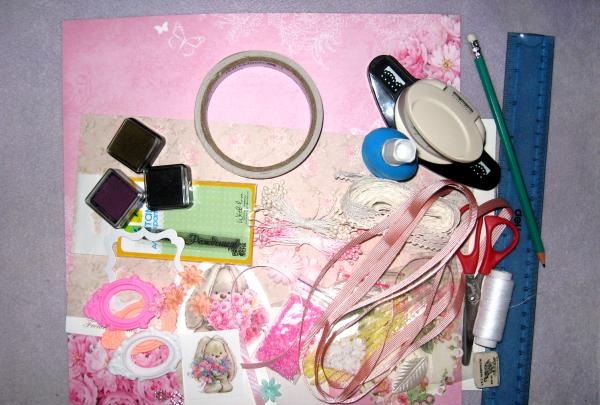
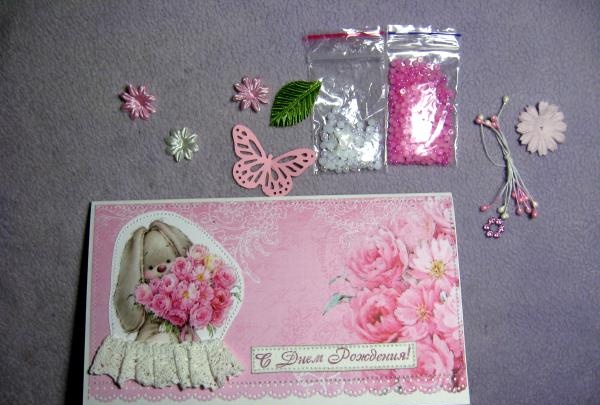
For the postcard we need to take the following:
• A4 sheet of watercolor paper;
• Scrappaper from the floral collection in pink tones, sheet 30x30 cm;
• Picture with a bunny;
• Hole puncher;
• Beige cotton lace;
• Small flowers made of glued fabric in pink and white colors;
• Paper light pink flower;
• Empty flower with rhinestones for the center;
• White semi-pearls 4 mm;
• Beige and green leaves made of glued fabric;
• Pink stamens on a thread;
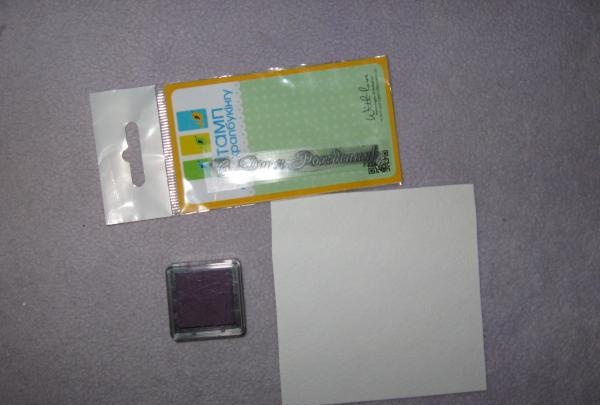
• Happy Birthday stamp, dark pink ink pad;
• For tinting, gold ink;
• Pink die-cut butterfly;
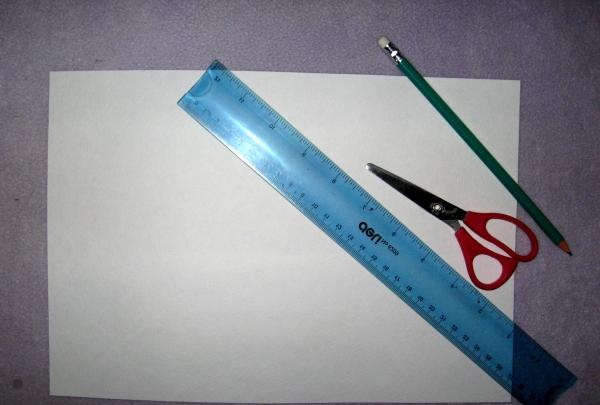
• Scissors, double-sided tape, ruler, PVA glue, pencil, glue gun, thread and needle, machine.

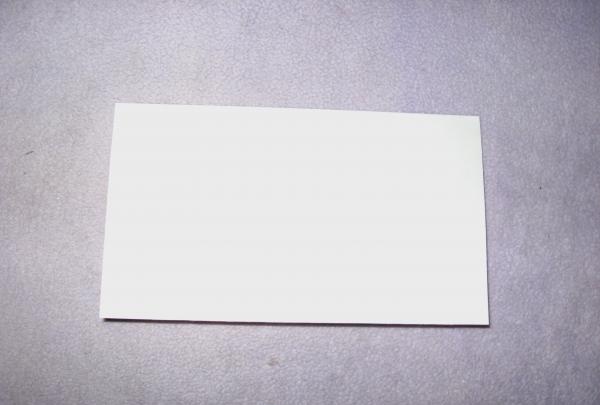
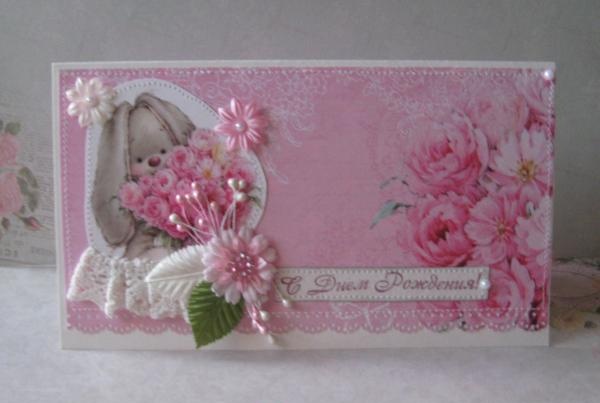
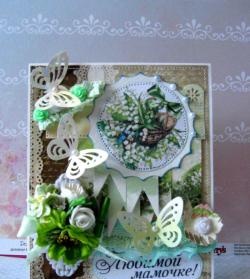
We will make a horizontal postcard; for this, first of all we will cut out the base for the postcard from watercolor paper. First, we cut out a square 18*18 cm. Then we divide it in half and draw a bend line horizontally and fold it. We get a folded base of 9*18 cm.
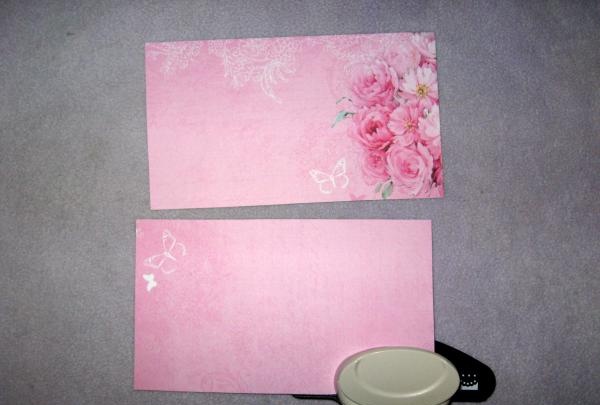
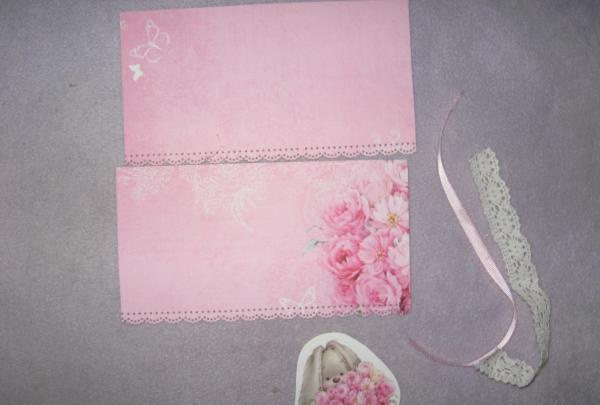
We cut out two 9*17.5 cm rectangles from scrap paper. Use a hole punch to make paper lace from the bottom. Cut a 10 cm strip of lace and take a picture with a bunny.
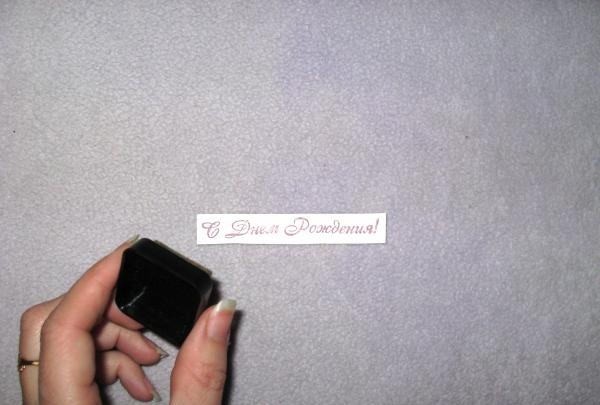
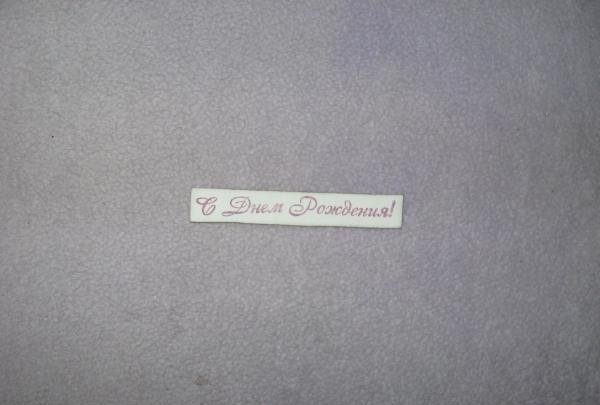
Stamp “Happy Birthday” on a piece of watercolor in dark pink ink.
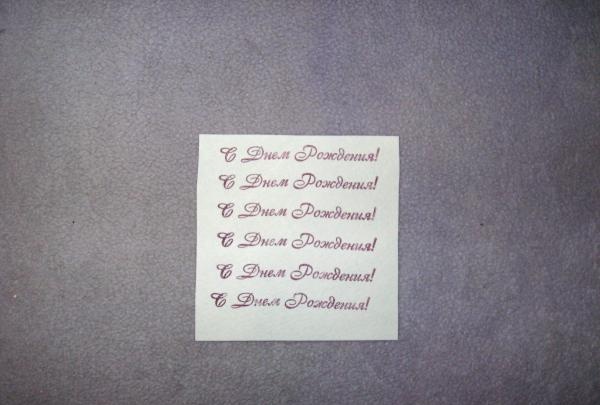
We cut out one inscription and tint it along the edge with a golden shade.
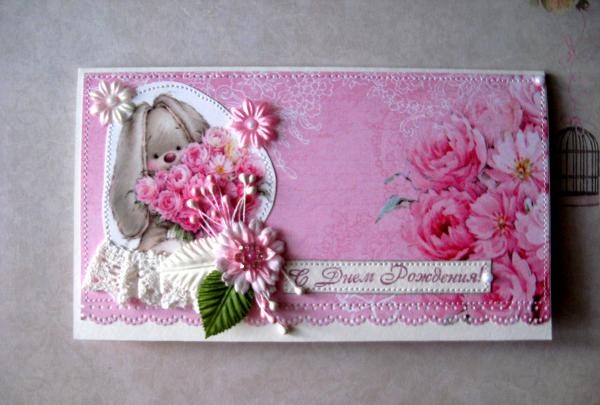
Using pieces of tape we glue the picture on the left, and to the bottom right we glue the prepared congratulatory inscription. We fold the lace under the frill picture and sew it on first by hand with thread.Now we sew the lace with a machine, the picture itself along the edge and the inscription.
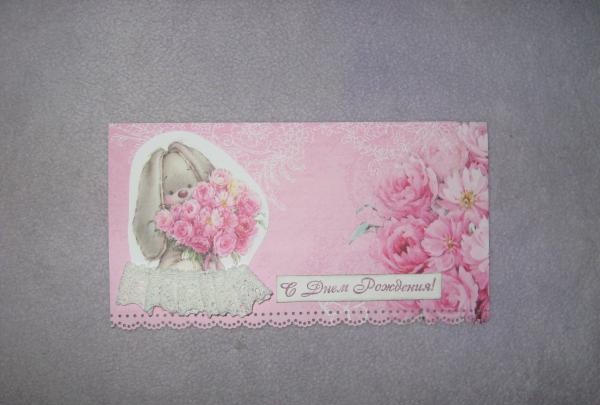
Glue the paper to the base. We also sew each one separately with a machine along the edge, approximately 3-4 mm away from the edge. Let's take it decor, we knit a bouquet from the stamens and glue pictures at the bottom, then petals and a paper flower, a fabric flower and a center on it.
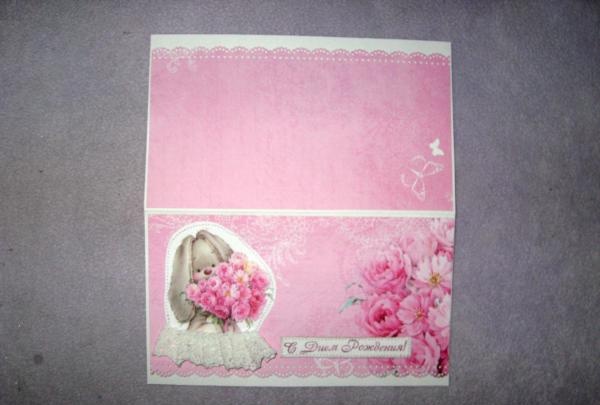
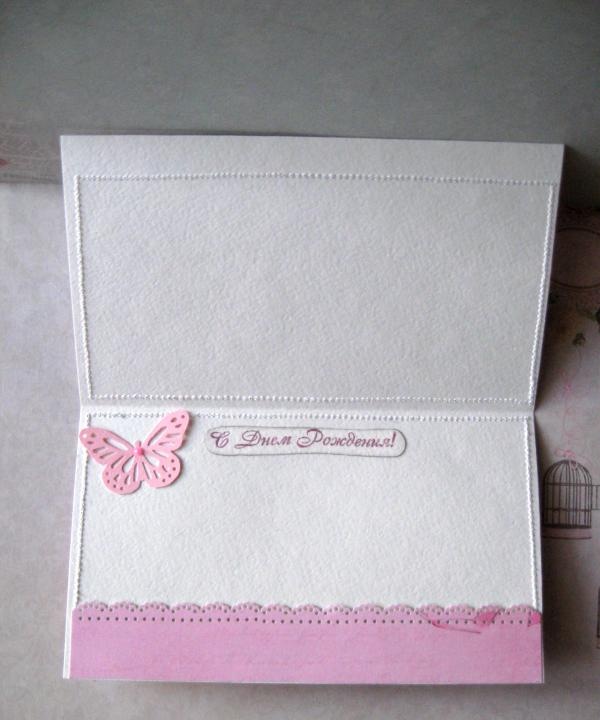
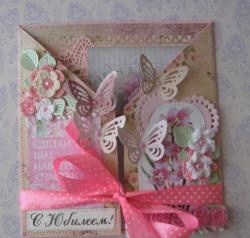
Inside, we make a strip of scrap paper with paper lace inside the PVA card and glue it to the base. At the top is another inscription, a butterfly and a half-bead. We glue the remaining flowers as in the photo. This is how it turned out, you can write your congratulations and give them! Thanks to everyone and I wish you a pleasant creation!
For the postcard we need to take the following:
• A4 sheet of watercolor paper;
• Scrappaper from the floral collection in pink tones, sheet 30x30 cm;
• Picture with a bunny;
• Hole puncher;
• Beige cotton lace;
• Small flowers made of glued fabric in pink and white colors;
• Paper light pink flower;
• Empty flower with rhinestones for the center;
• White semi-pearls 4 mm;
• Beige and green leaves made of glued fabric;
• Pink stamens on a thread;
• Happy Birthday stamp, dark pink ink pad;
• For tinting, gold ink;
• Pink die-cut butterfly;
• Scissors, double-sided tape, ruler, PVA glue, pencil, glue gun, thread and needle, machine.
We will make a horizontal postcard; for this, first of all we will cut out the base for the postcard from watercolor paper. First, we cut out a square 18*18 cm. Then we divide it in half and draw a bend line horizontally and fold it. We get a folded base of 9*18 cm.
We cut out two 9*17.5 cm rectangles from scrap paper. Use a hole punch to make paper lace from the bottom. Cut a 10 cm strip of lace and take a picture with a bunny.
Stamp “Happy Birthday” on a piece of watercolor in dark pink ink.
We cut out one inscription and tint it along the edge with a golden shade.
Using pieces of tape we glue the picture on the left, and to the bottom right we glue the prepared congratulatory inscription. We fold the lace under the frill picture and sew it on first by hand with thread.Now we sew the lace with a machine, the picture itself along the edge and the inscription.
Glue the paper to the base. We also sew each one separately with a machine along the edge, approximately 3-4 mm away from the edge. Let's take it decor, we knit a bouquet from the stamens and glue pictures at the bottom, then petals and a paper flower, a fabric flower and a center on it.
Inside, we make a strip of scrap paper with paper lace inside the PVA card and glue it to the base. At the top is another inscription, a butterfly and a half-bead. We glue the remaining flowers as in the photo. This is how it turned out, you can write your congratulations and give them! Thanks to everyone and I wish you a pleasant creation!
Similar master classes


Particularly interesting

Comments (0)
