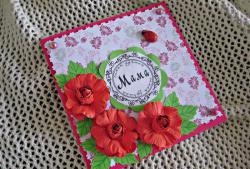
Postcard “To my beloved mother”
There are many reasons throughout the year to congratulate your mother. This is her birthday, March 8, Mother's Day, professional holiday or New Year. Even the holiday or occasion is not important, and the most important thing is that you can congratulate your mother regardless of the celebration, you can even just like that. You don’t have to buy something expensive and big, you can just prepare a small present, but always with a greeting card, so that you can express all your sincere feelings and love for your mother, and believe me, she will be pleased not from your gift or souvenir, The most important thing for her will be your attention and your wishes. They are sincere and very gentle today present and hand made souvenirs. These are truly those gifts that are made by the author and from the heart, and this is perhaps the most important thing that a person can want to receive as a gift. So, learn a little, get acquainted with some skills and this master class on scrapbooking, and you can please your mother with your own product, namely a postcard made with your own hands from scratch.
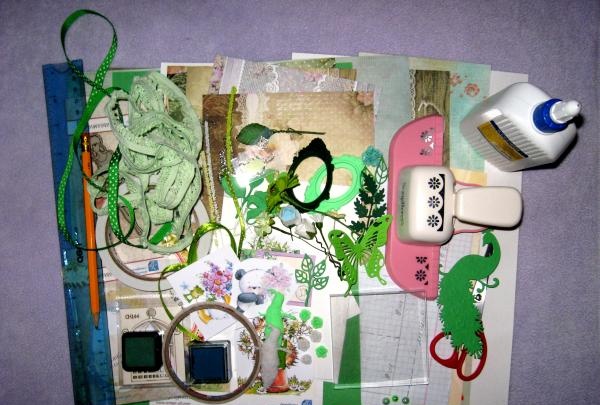
So, this introductory and detailed master class will teach us how to make a card for mom using various decorations, and to make it we take:
• White cardboard with linen embossing, A4 sheet;
• Paper for scrapbooking from the “Lace” series from Evgenia Kurdibanovskaya, take two sheets of 15*15 cm, as well as various scrap paper scraps in colors similar to these sheets;
• Printed inscription “To my beloved mother” and a color picture with lilies of the valley in a basket;
• Decor: mint lace, light green lace with elastic, mint rep ribbon, white and light green polymer roses, white and turquoise half beads, white polymer frame, mint satin ribbon with white polka dots;
• Flowers: salad poppy, white latex rose, paper white chamomile, light salad gardenia, salad stamens in sugar;
• Cutting: flower, butterflies, openwork circle;
• Two different curb punches;
• Acrylic stamps and sea green ink;
• Additional tools: scissors, pencil, ruler, regular and foam double-sided tape, glue gun, PVA glue;
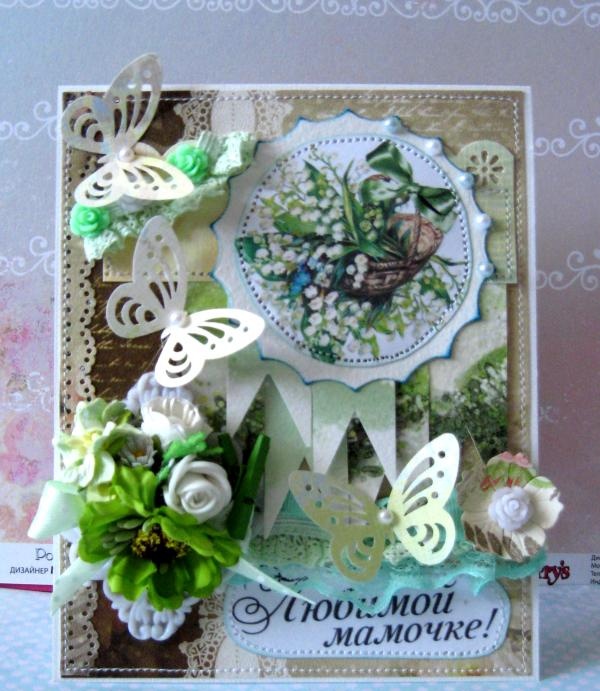
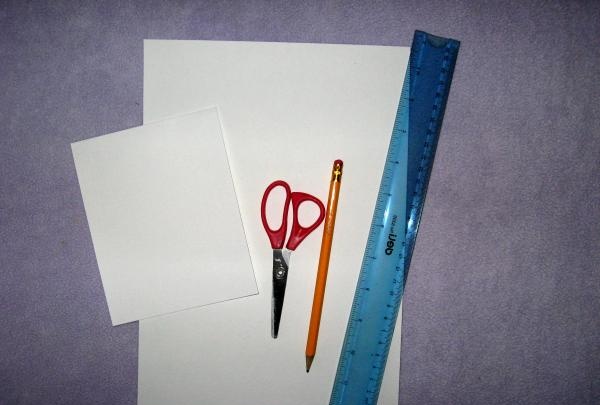
We cut out the base of the card from cardboard, first one large rectangle 12*30 cm. Divide it in half and fold the blank 12*15 cm.
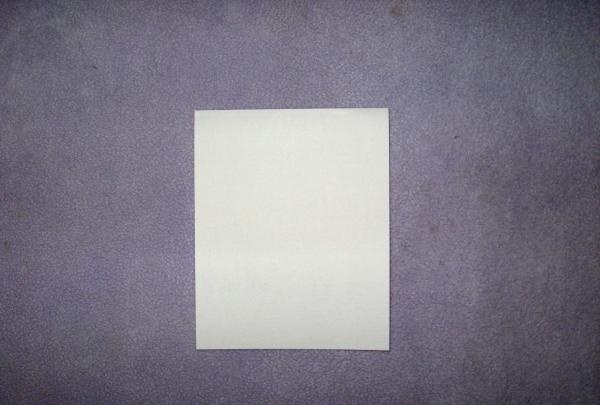
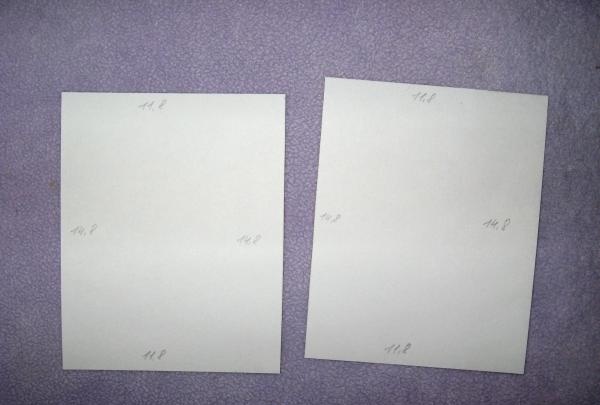
We cut out two rectangles of 11.8 * 14.8 cm from scrap paper.
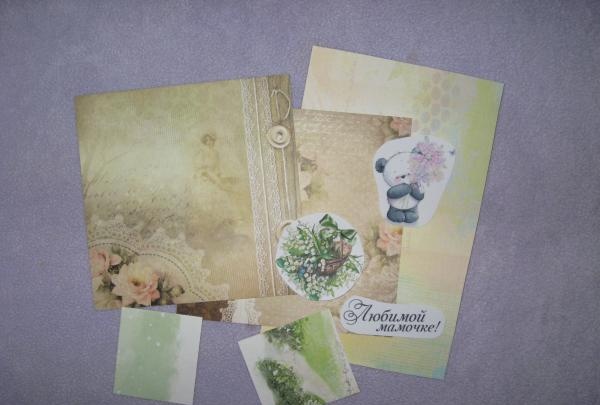
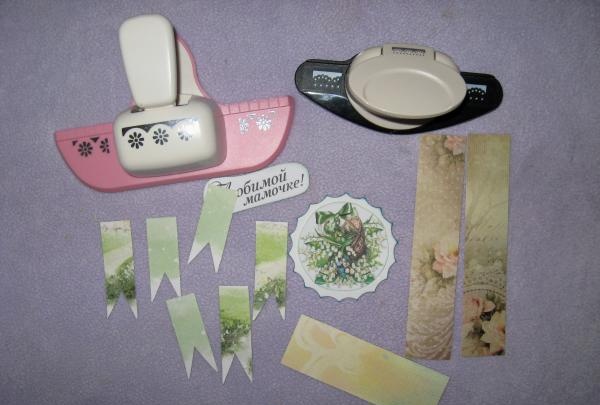
We punch holes in the remaining strips of these two sheets of paper using different borders. We cut pieces of other paper into strips and cut off the inside, making them like flags, six in total. We cut out another strip of paper measuring 3.5*9 cm, and we also punch a hole on one side of it.
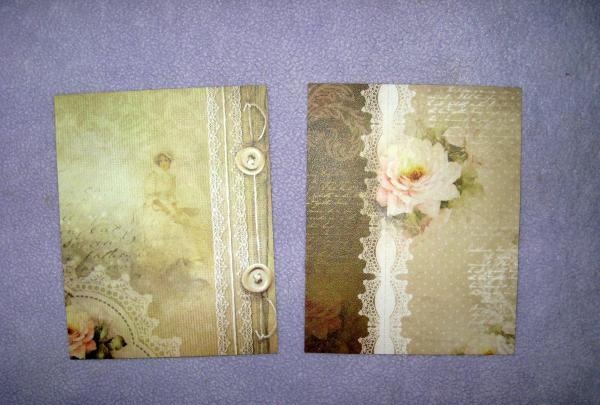
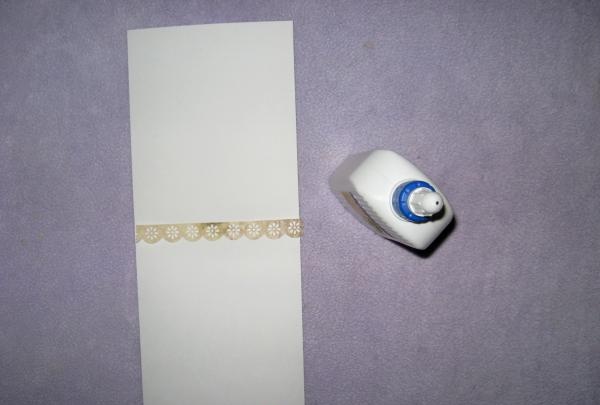
We glue one openwork strip on top and bottom inside the base, using PVA glue.
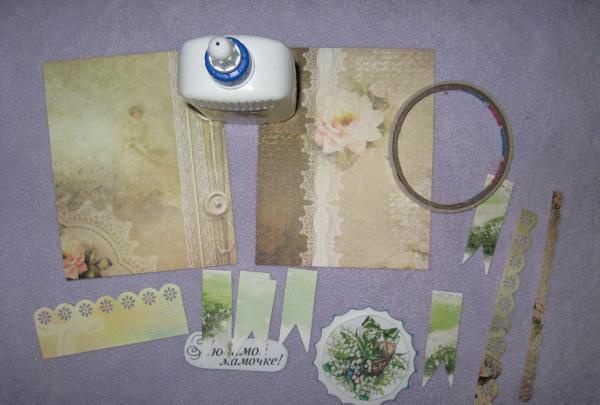
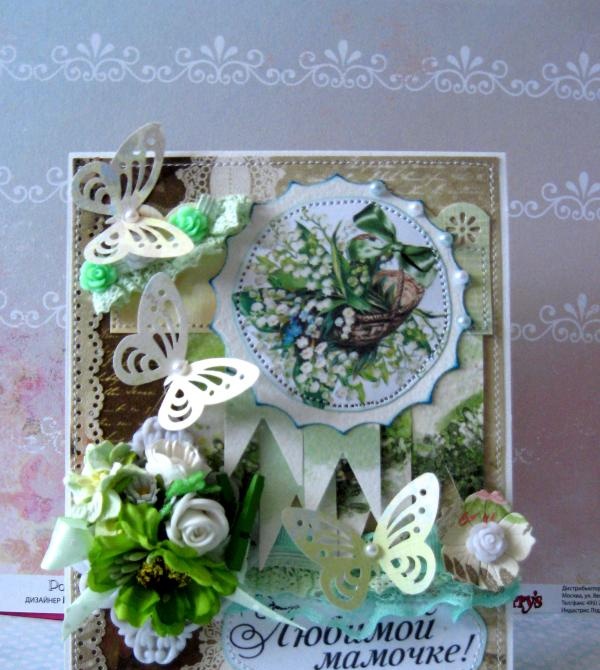
First we glue the flags onto foam tape, then the strip, and sew the strip on a machine. We glue a circle with a picture on top of the strip, and an inscription below. We sew on both the circle and the inscription with a machine. Now we glue both blanks onto the base with ordinary double-sided tape, literally a few strips in the center.
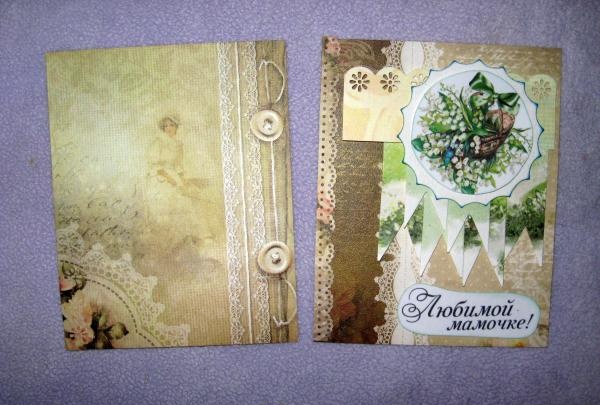
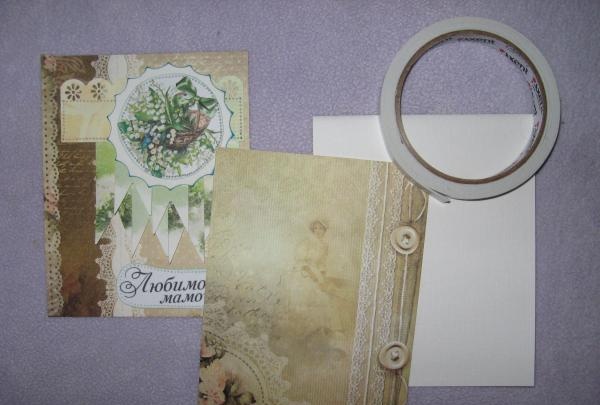
We sew each side along the edge using a typewriter. We make a flower bouquet, cut off strips of lace and ribbons.
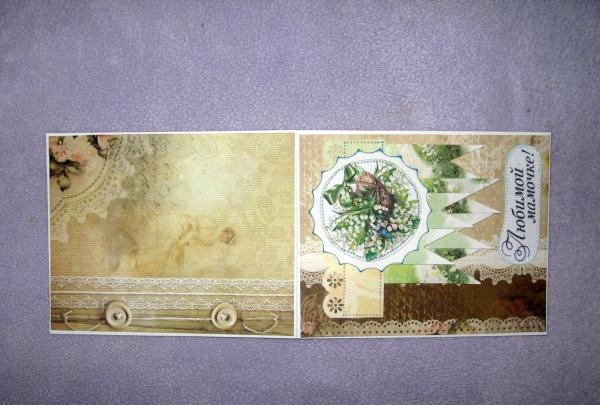
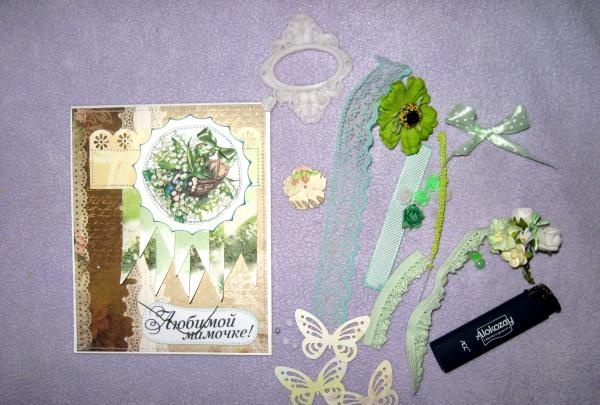
We glue the frame on the side to the left, on the frame we glue a bouquet, a bow and a poppy. We glue mint lace under the flags, and lettuce and mint ribbon on top. At the top left we glue a piece of lace, roses and butterflies with half beads. We also glue five different half-beads onto the circle.
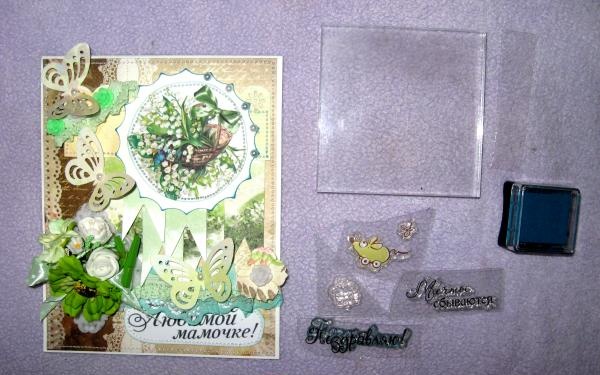
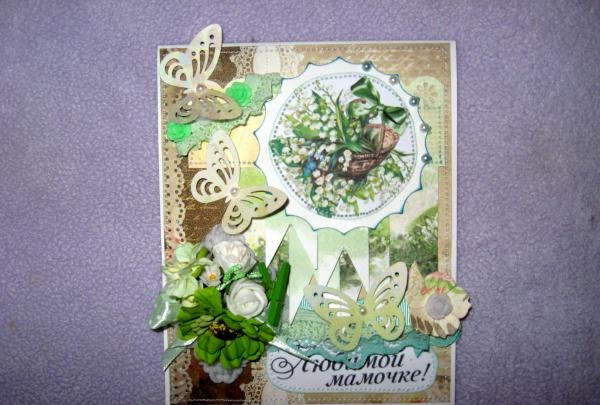
We stamp the inside with various inscriptions and pictures.
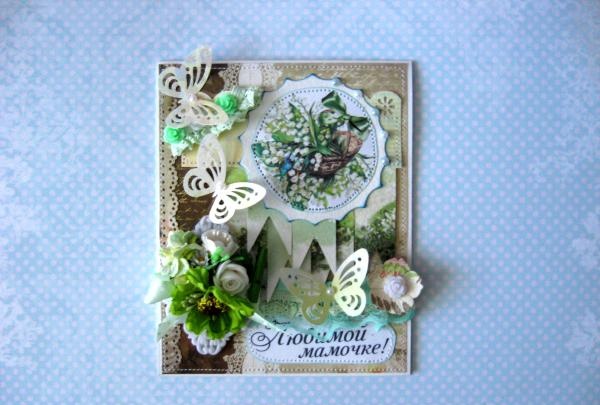
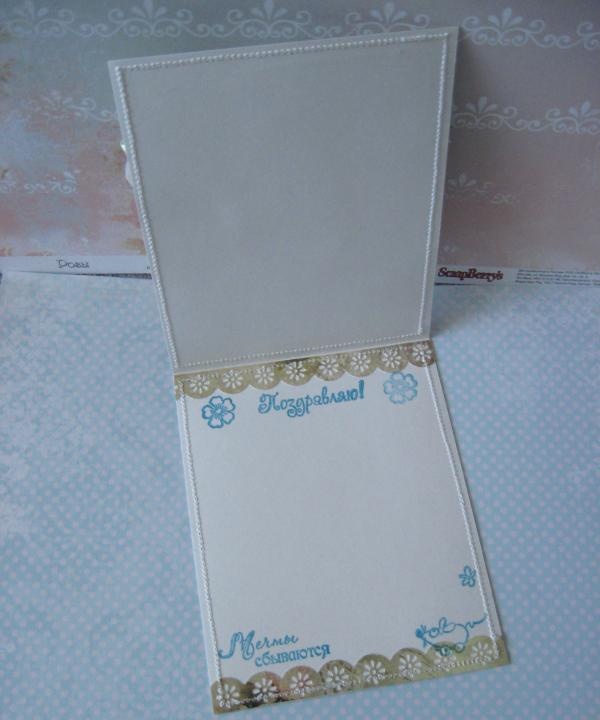
The card for mom is ready, it turned out great! Thank you for your attention!
So, this introductory and detailed master class will teach us how to make a card for mom using various decorations, and to make it we take:
• White cardboard with linen embossing, A4 sheet;
• Paper for scrapbooking from the “Lace” series from Evgenia Kurdibanovskaya, take two sheets of 15*15 cm, as well as various scrap paper scraps in colors similar to these sheets;
• Printed inscription “To my beloved mother” and a color picture with lilies of the valley in a basket;
• Decor: mint lace, light green lace with elastic, mint rep ribbon, white and light green polymer roses, white and turquoise half beads, white polymer frame, mint satin ribbon with white polka dots;
• Flowers: salad poppy, white latex rose, paper white chamomile, light salad gardenia, salad stamens in sugar;
• Cutting: flower, butterflies, openwork circle;
• Two different curb punches;
• Acrylic stamps and sea green ink;
• Additional tools: scissors, pencil, ruler, regular and foam double-sided tape, glue gun, PVA glue;


We cut out the base of the card from cardboard, first one large rectangle 12*30 cm. Divide it in half and fold the blank 12*15 cm.


We cut out two rectangles of 11.8 * 14.8 cm from scrap paper.


We punch holes in the remaining strips of these two sheets of paper using different borders. We cut pieces of other paper into strips and cut off the inside, making them like flags, six in total. We cut out another strip of paper measuring 3.5*9 cm, and we also punch a hole on one side of it.


We glue one openwork strip on top and bottom inside the base, using PVA glue.


First we glue the flags onto foam tape, then the strip, and sew the strip on a machine. We glue a circle with a picture on top of the strip, and an inscription below. We sew on both the circle and the inscription with a machine. Now we glue both blanks onto the base with ordinary double-sided tape, literally a few strips in the center.


We sew each side along the edge using a typewriter. We make a flower bouquet, cut off strips of lace and ribbons.


We glue the frame on the side to the left, on the frame we glue a bouquet, a bow and a poppy. We glue mint lace under the flags, and lettuce and mint ribbon on top. At the top left we glue a piece of lace, roses and butterflies with half beads. We also glue five different half-beads onto the circle.


We stamp the inside with various inscriptions and pictures.


The card for mom is ready, it turned out great! Thank you for your attention!

Similar master classes
Particularly interesting
Comments (0)

