Decorating a children's cake
I want to share my experience in decorating a children's cake with sugar mastic. It’s difficult for me to call this a master class, since I don’t consider myself a master. Everything I learned to do, I found on the Internet, and this cake is not my idea at all, it was also taken from the World Wide Web. I just want to show from my own experience that decorating a cake with fondant yourself is not so difficult. Of course, you can always order such a cake from specialists, but their cost is not at all low, and this price is quite justified if you make the cake yourself, I understand that. And it’s not that it’s difficult to do, it’s just that the process is quite lengthy and requires care. But it is quite possible to make such a cake, and everyone can afford to please their child with a wonderful cake at a relatively low price.
So, first you need to prepare the cake that you will decorate. My baby loves honey cake with a banana layer, so that’s what I baked. To ensure that the mastic lies evenly on the cake, the surface is lubricated with a good layer of oil-based cream.
After the cream has hardened, the cake can be covered with mastic.
For work, it is better that the mastic is prepared in advance and has time to rest.I prepared it the night before, after which I wrapped it in cling film and put it in the refrigerator to rest.
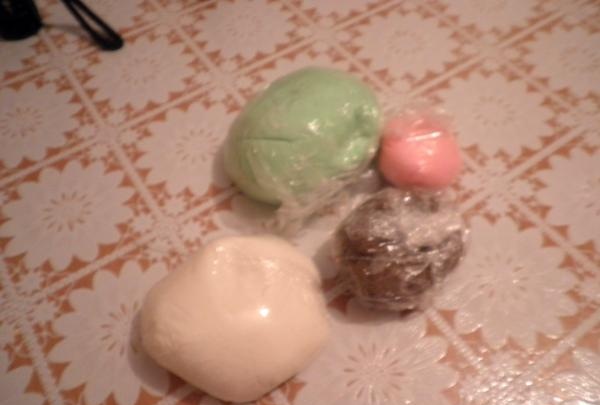
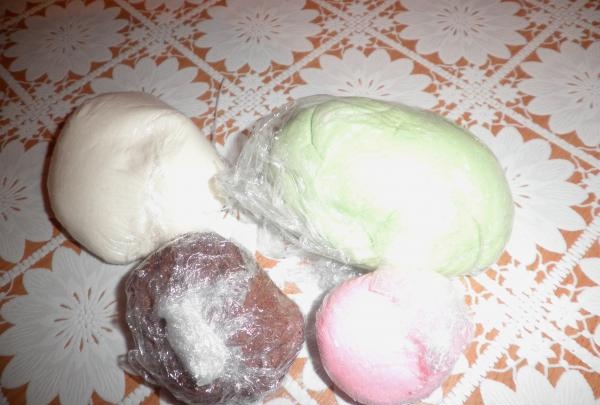
I made the mastic from chewing marshmallows, which is what I like to work with the most. And considering that I need several colors for the work, I painted it during the preparation process, so the mastic is painted easier and more evenly.
For work we will need white, light green, pink, brown and black mastic.
I made light green and pink mastic by adding green and red dye to the mixture; due to the fact that the mastic itself is white, the colors are not too saturated.
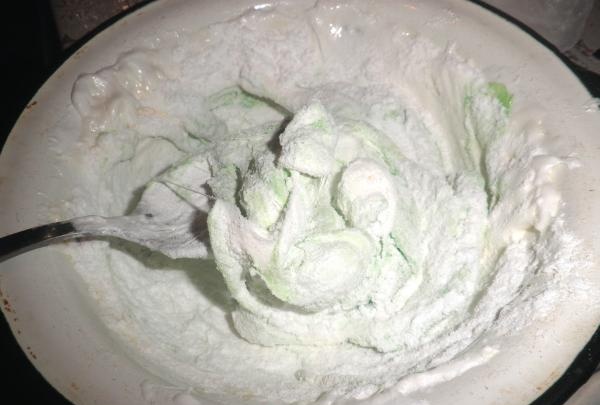
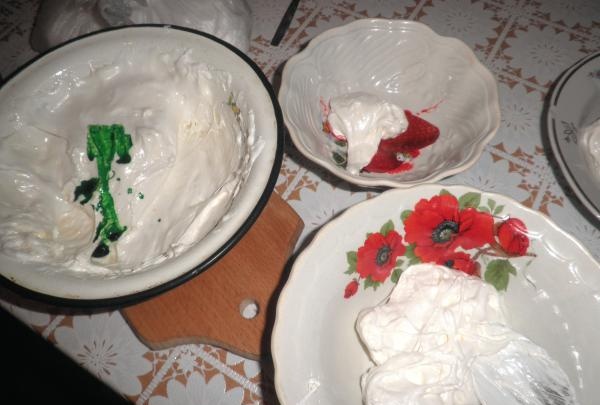
I usually make brown mastic by adding cocoa, but this time I got the brown color in the process of preparing black mastic. To get the black color, I mixed red and green colors, then added a little blue, as a result the liquid turned out black (I made the inscription with the resulting liquid, using a toothpick). But when I mixed this paint with white mastic, I got a rich brown color, and that’s what I did on the tree trunks and the fence.
As a result, I didn’t get the black color, it’s probably better to buy a good black dye for it, we didn’t have that in our city, and it was too late to order on the Internet. Therefore, all the black elements had to be covered with black paint using a brush. It didn’t turn out very neatly, but still, this is a good way out of the situation.
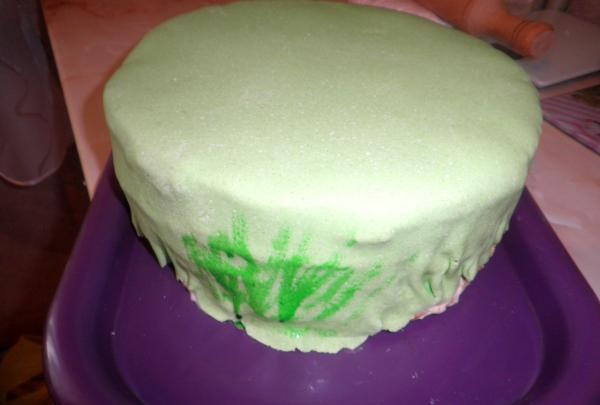
So, all the colors are ready, you can start decorating. First, roll out light green fondant to cover the cake.
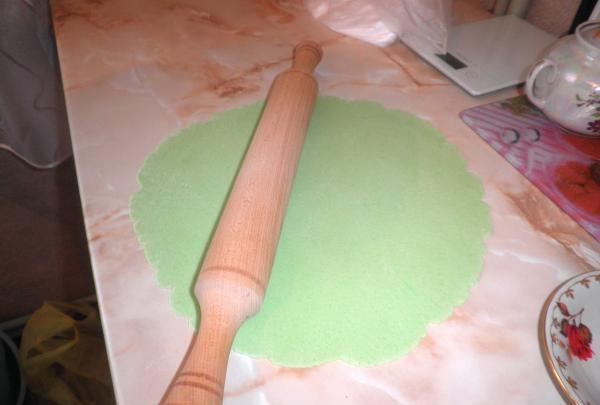
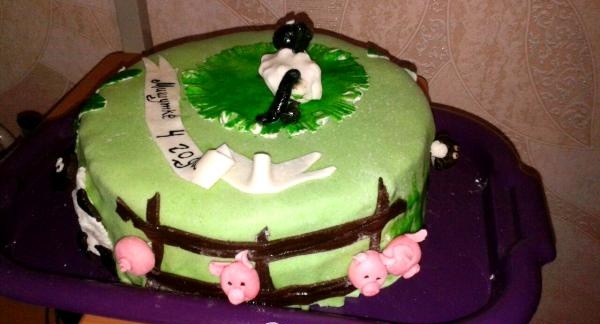
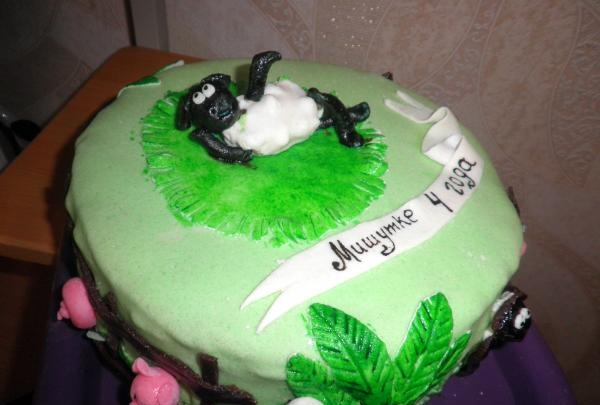
I hurried a little and didn’t roll out the mastic enough, it’s very difficult to roll out, but it practically doesn’t stick or tear.As a result, my cake was not completely covered, but this problem can be corrected. To do this, I made this imitation of grass from scraps of mastic, which I then painted green.
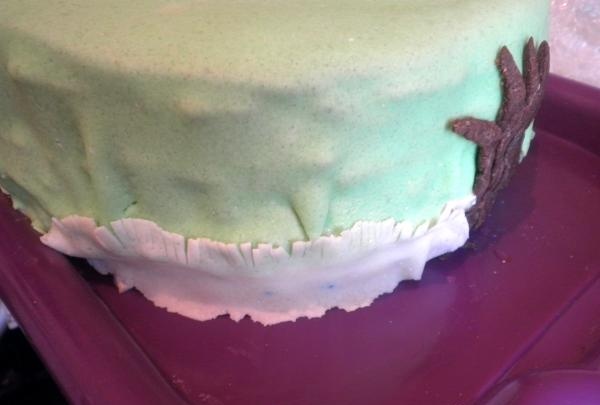
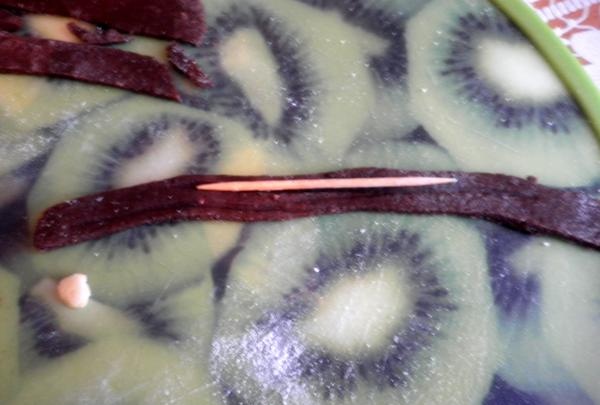
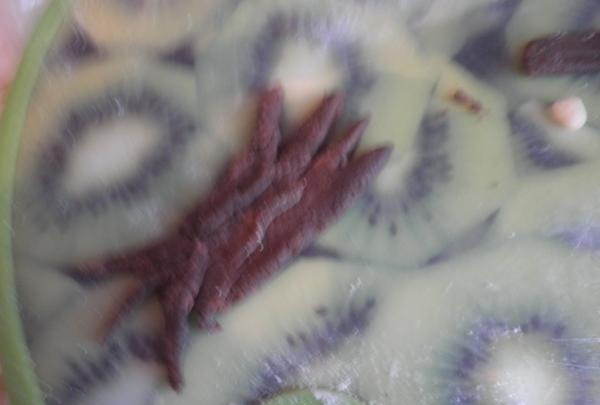
We make tree trunks and fence boards from brown mastic.
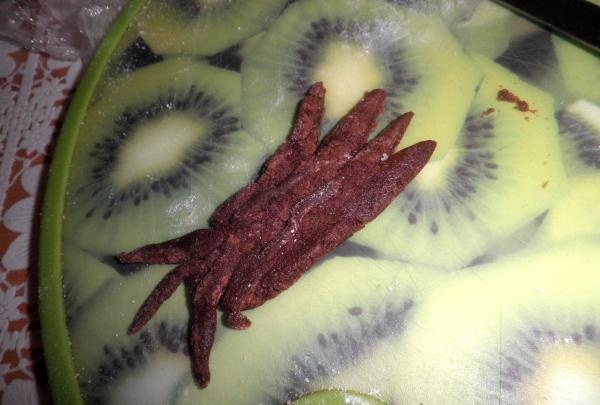
Using a toothpick, squeeze out the wood structure on the boards.
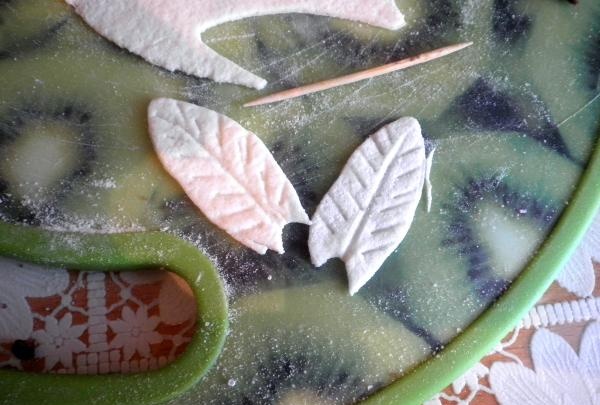
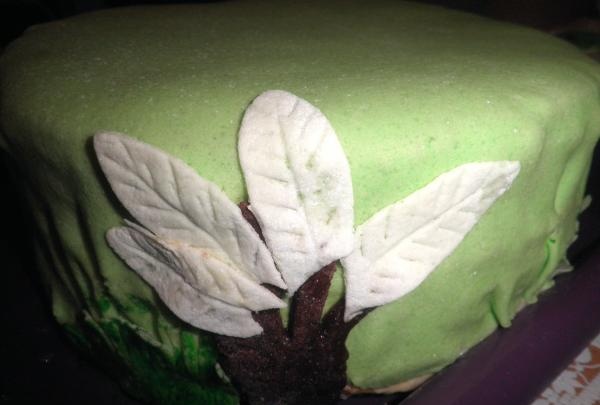
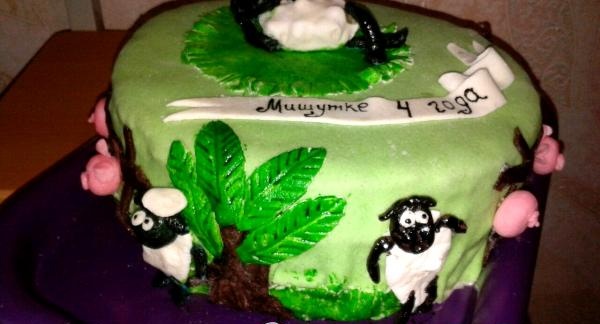
Making leaves for trees. I didn’t have any light green mastic left, so I made the leaves from white, and then painted them with green dye using a brush.
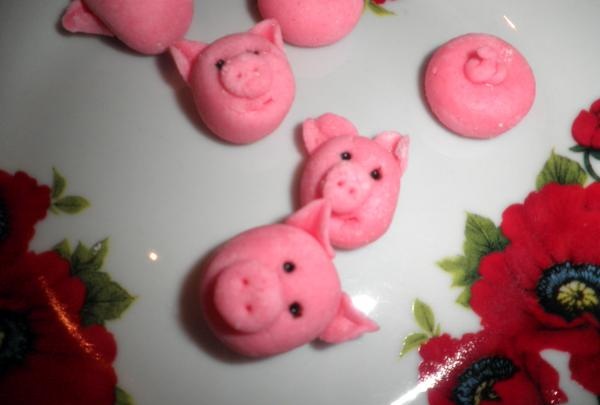
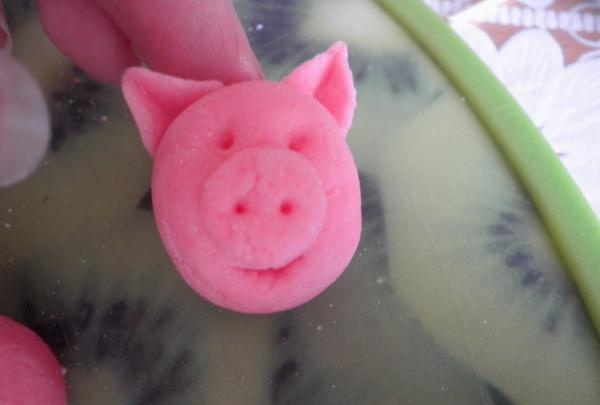
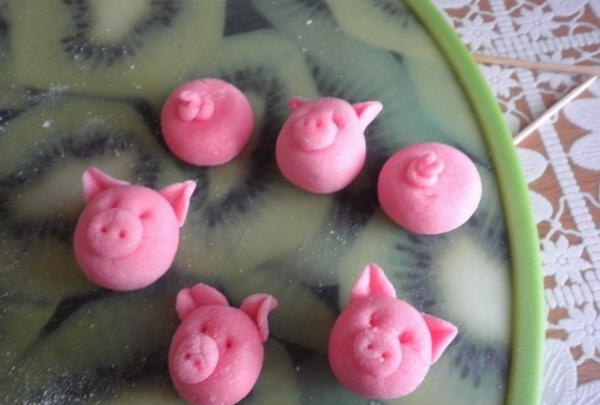
We make pigs from pink fondant. All we need to do is make the heads and butts of the pigs, glue the heels and ears on the head, draw the eyes - we’re done. And with butts it’s even easier, glue on the tail and that’s it.
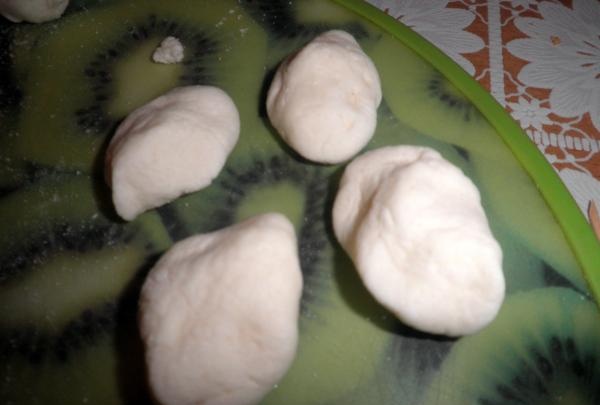
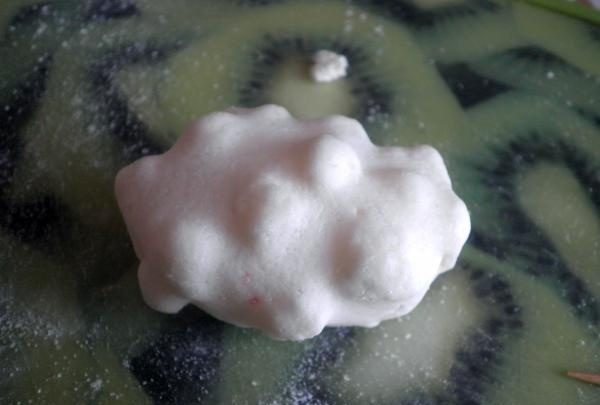
We make a body for the lambs from white mastic by simply flattening a piece of mastic and making irregularities on it with our fingers.
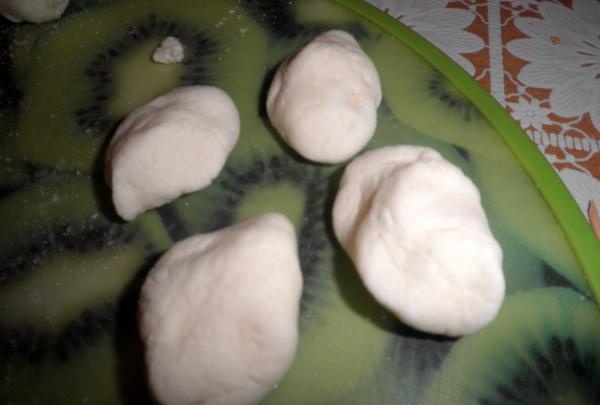
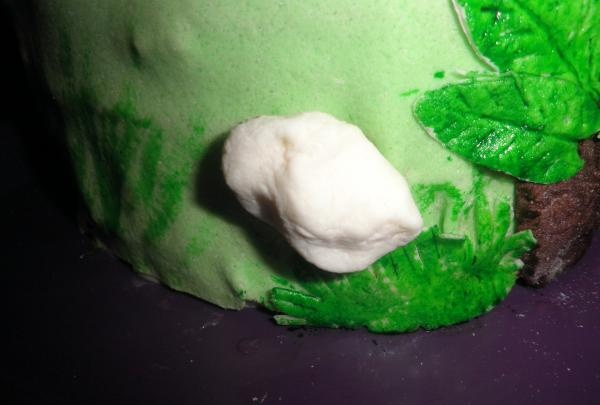
Shaun the ram's body is made a little differently. Roll up a piece of white mastic, the size of the ram, and glue small balls to this piece, scattered.
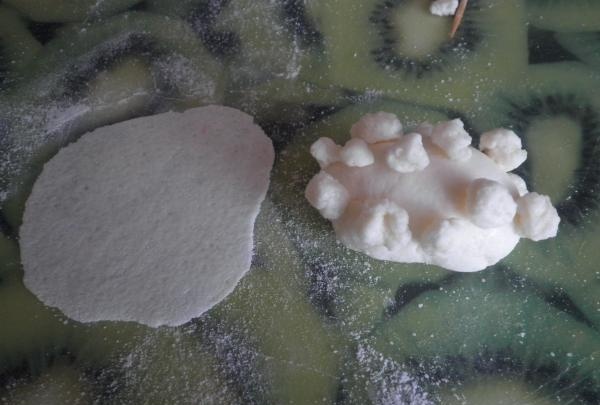
And then we cover the whole body with a thinly rolled piece of mastic.
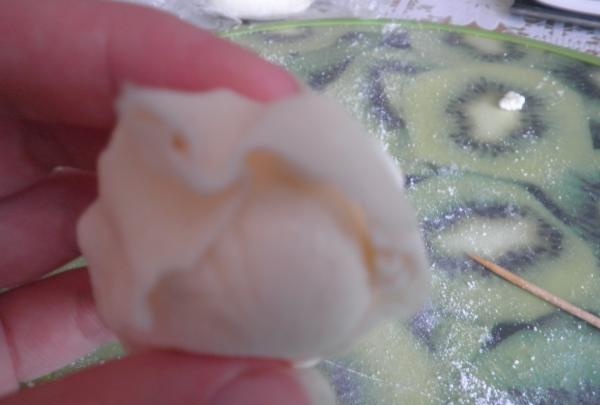
I made the heads and legs of the rams from leftover mastic, and then painted them with black paint.
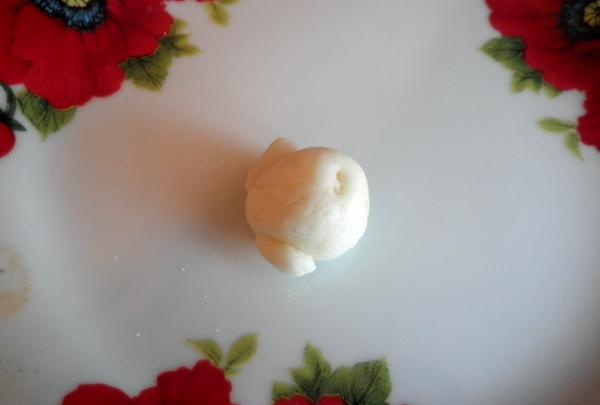
All the details are ready - all that remains is to assemble the cake. We glue the flat and thin parts with sugar syrup, and the larger parts: pigs, rams, using toothpicks.
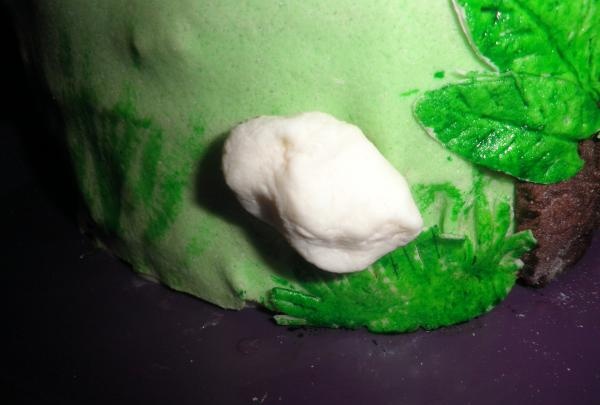
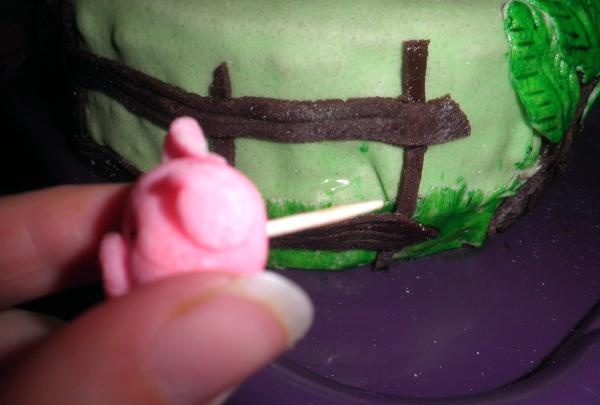
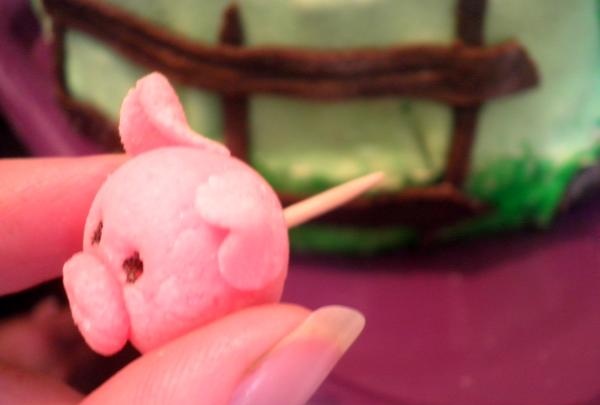
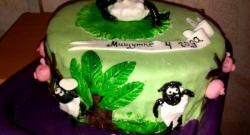
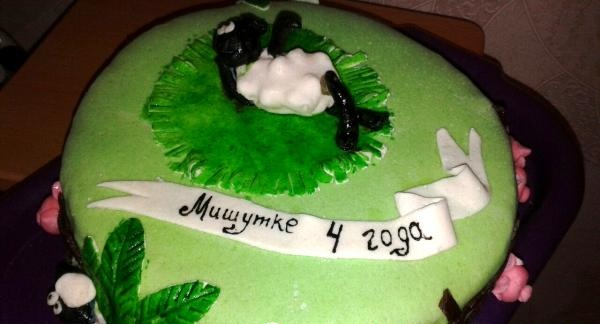
We put all the elements in their places, make an inscription and the cake is ready, the child is happy, and no extra money is left in the family budget.
So, first you need to prepare the cake that you will decorate. My baby loves honey cake with a banana layer, so that’s what I baked. To ensure that the mastic lies evenly on the cake, the surface is lubricated with a good layer of oil-based cream.
After the cream has hardened, the cake can be covered with mastic.
For work, it is better that the mastic is prepared in advance and has time to rest.I prepared it the night before, after which I wrapped it in cling film and put it in the refrigerator to rest.

I made the mastic from chewing marshmallows, which is what I like to work with the most. And considering that I need several colors for the work, I painted it during the preparation process, so the mastic is painted easier and more evenly.

For work we will need white, light green, pink, brown and black mastic.
I made light green and pink mastic by adding green and red dye to the mixture; due to the fact that the mastic itself is white, the colors are not too saturated.

I usually make brown mastic by adding cocoa, but this time I got the brown color in the process of preparing black mastic. To get the black color, I mixed red and green colors, then added a little blue, as a result the liquid turned out black (I made the inscription with the resulting liquid, using a toothpick). But when I mixed this paint with white mastic, I got a rich brown color, and that’s what I did on the tree trunks and the fence.
As a result, I didn’t get the black color, it’s probably better to buy a good black dye for it, we didn’t have that in our city, and it was too late to order on the Internet. Therefore, all the black elements had to be covered with black paint using a brush. It didn’t turn out very neatly, but still, this is a good way out of the situation.
So, all the colors are ready, you can start decorating. First, roll out light green fondant to cover the cake.

I hurried a little and didn’t roll out the mastic enough, it’s very difficult to roll out, but it practically doesn’t stick or tear.As a result, my cake was not completely covered, but this problem can be corrected. To do this, I made this imitation of grass from scraps of mastic, which I then painted green.

We make tree trunks and fence boards from brown mastic.

Using a toothpick, squeeze out the wood structure on the boards.

Making leaves for trees. I didn’t have any light green mastic left, so I made the leaves from white, and then painted them with green dye using a brush.


We make pigs from pink fondant. All we need to do is make the heads and butts of the pigs, glue the heels and ears on the head, draw the eyes - we’re done. And with butts it’s even easier, glue on the tail and that’s it.


We make a body for the lambs from white mastic by simply flattening a piece of mastic and making irregularities on it with our fingers.


Shaun the ram's body is made a little differently. Roll up a piece of white mastic, the size of the ram, and glue small balls to this piece, scattered.

And then we cover the whole body with a thinly rolled piece of mastic.


I made the heads and legs of the rams from leftover mastic, and then painted them with black paint.

All the details are ready - all that remains is to assemble the cake. We glue the flat and thin parts with sugar syrup, and the larger parts: pigs, rams, using toothpicks.


We put all the elements in their places, make an inscription and the cake is ready, the child is happy, and no extra money is left in the family budget.


Similar master classes
Particularly interesting
Comments (0)

