How to make an adorable rainbow giraffe for a child?
What could be more interesting for a child than a kind and beautiful toy. And if this toy is made by the hands of a loving mother or another close girl or woman, then it simply has no price.
Today we’ll talk about how to create a toy giraffe, 25 cm tall, using threads of different colors. Our giraffe will be very flexible and beautiful.
What will you need for this?
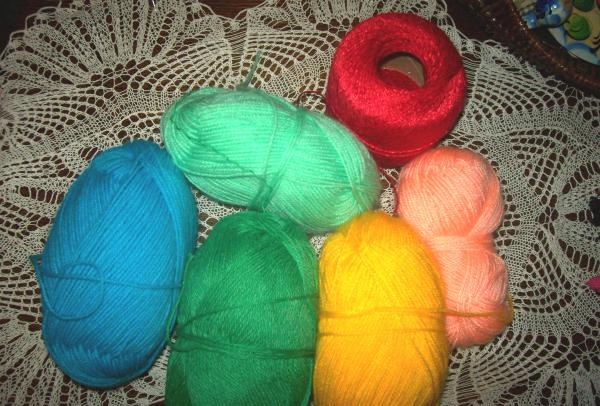
You need threads of different colors so that they combine the colors of the rainbow, hook No. 2, eyes, stuffing, glue, wire for hands.
Level of preparation for knitting: the most basic, time spent on completing the toy is about 3 hours.
All required thread colors are shown in the photo.
Act one. We make the forelimbs.
Our giraffe will be unusual in that it will look more like a person with arms and legs than an ordinary animal. Therefore, its forelimbs will be slightly smaller than its hind limbs.
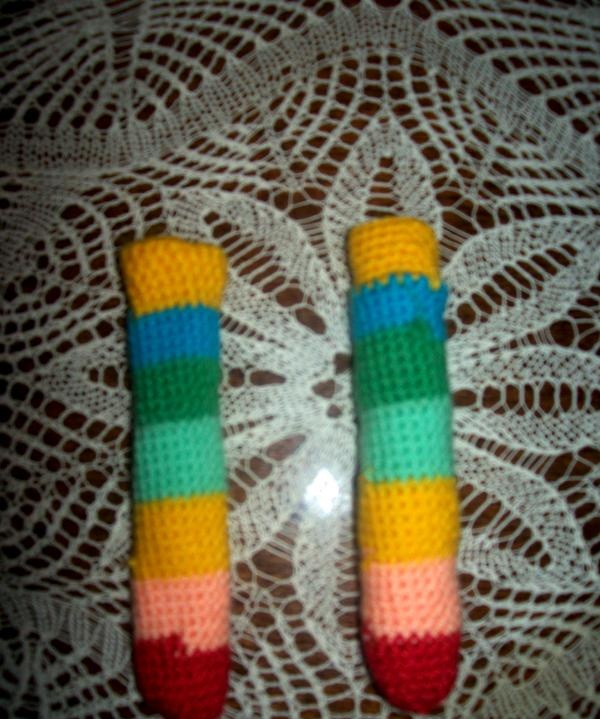
In order to knit the “hands”, we need to knit two initial loops, which are called air loops.Next, you need to gradually add loops, when 1.5 cm is knitted, it is important to switch to the pink color of the thread, in total you need to knit 7 multi-colored motifs, 2 cm each.
Next you need to repeat knitting, making the second hand of the future toy. This is what happens in the end.
Act two. Torso.
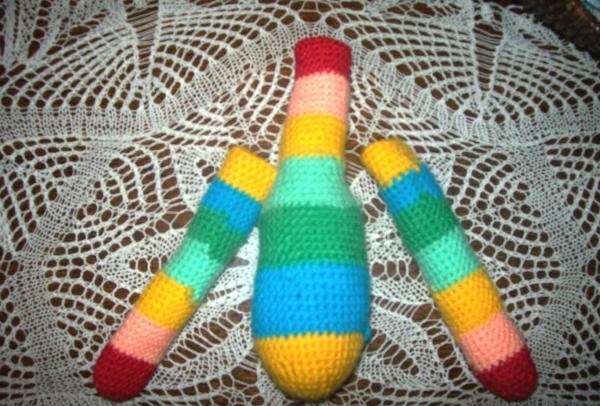
The body of our giraffe is made in a similar way as the arms. Two air loops are also cast on, then their volume increases. We start with a yellow thread, only the size of the multi-colored parts to be knitted is no longer 2 cm, but 3.5 cm. The product also uses 7 multi-colored motifs. Toward the area of the arms and neck, the knitting tapers significantly, as shown below.
Act three. Lower limbs.
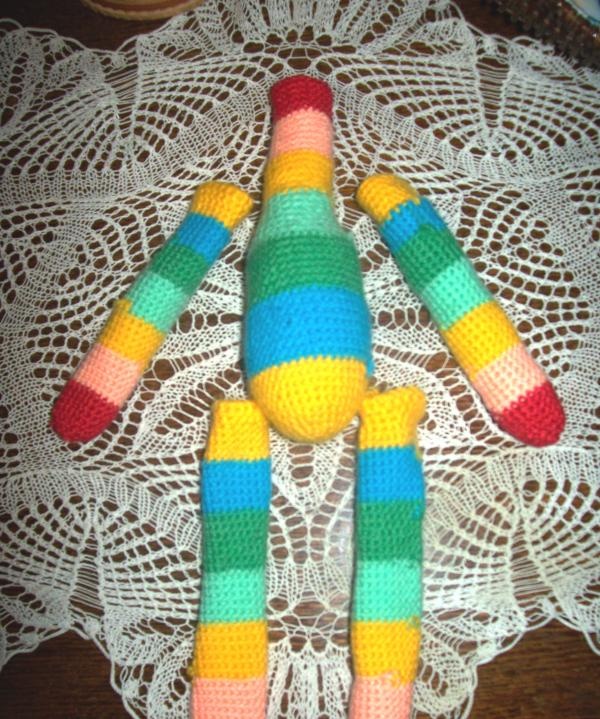
The lower limbs are tied in the same way as the upper ones. There are just as many motives. However, now the height of each motif reaches 2.5 cm.
Having made two legs of the future toy, we get such a blank.
Next, we need to fill our product with filler, and also sew the upper and lower limbs to the body. But there is no need to rush into this yet. Let's put what we have achieved aside and continue to work further.
Act four. Head
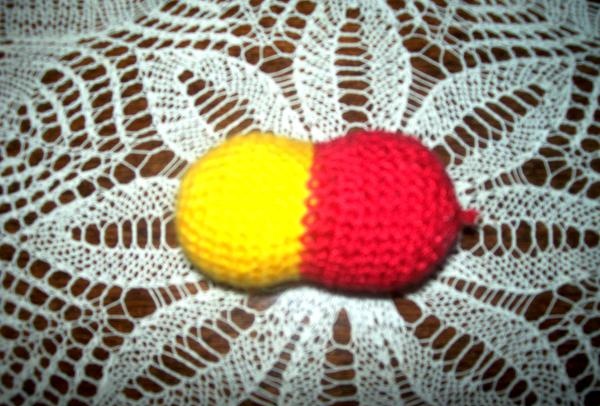
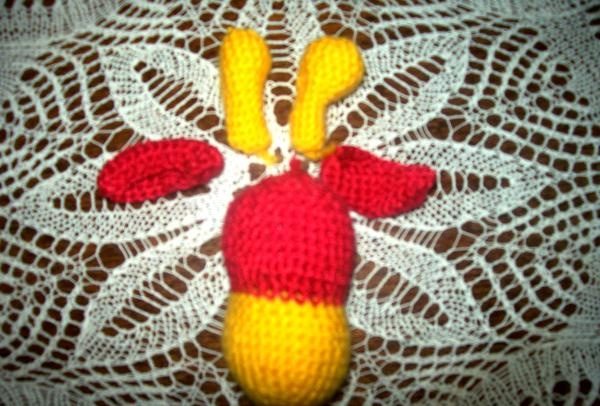
We make the head of the future giraffe as follows: we take red threads, tie two loops together, called air loops, and begin to actively add loops. So we knit 5 cm, then we shorten the loops, we knit 2 more rows like this, and then we switch to the yellow thread. After 2 rows of yellow, add loops. After another 3 cm we finish knitting.
It turns out that this is the head of the toy.
Next we tie the giraffe's ears using red thread. To do this, we knit 12 air loops, then tighten them and get ears.
The giraffe also needs yellow horns. We make them as follows: we knit the top circle and draw the wall down. The size of such a horn is 5 cm.
Act five.Tail.
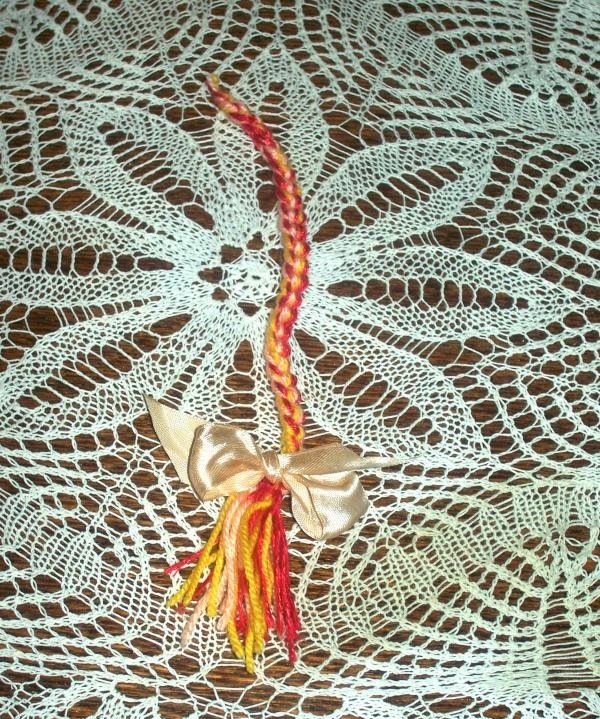
There are no giraffes without a tail; you can, of course, leave your toy tailless, but it’s better to give it a tail. Moreover, it is easy to do. We take several multi-colored threads and connect air loops with them (approximately 25 VP). Close the loops, add a bow and the tail is ready.
Act six. Eyes.
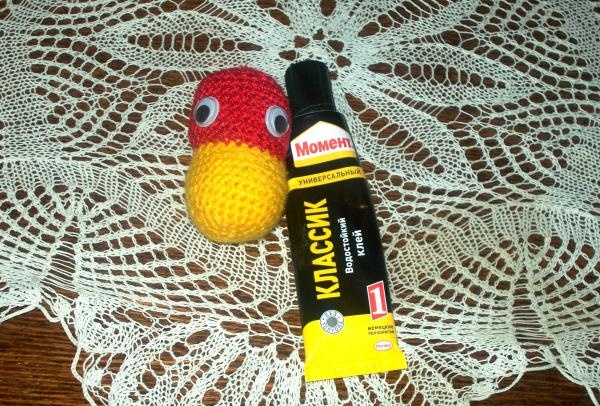
The simplest thing in our crafts – glue the eyes of the giraffe. For this we use ordinary Moment glue or its high-quality analogues. This is what we end up with.
Act seven. Sew on the head and body, add limbs
You can sew the head to the body using simple threads and a regular needle. We also did this without any problems.
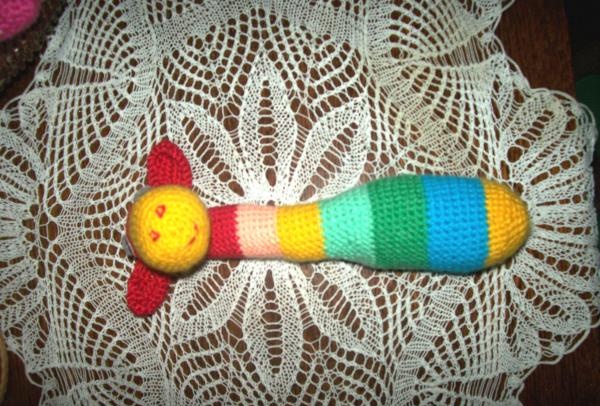
Now you need to insert the wire into the body in the places where the front and hind limbs will be located. The wire must be wrapped with adhesive tape so that its sharp edges cannot harm anyone.
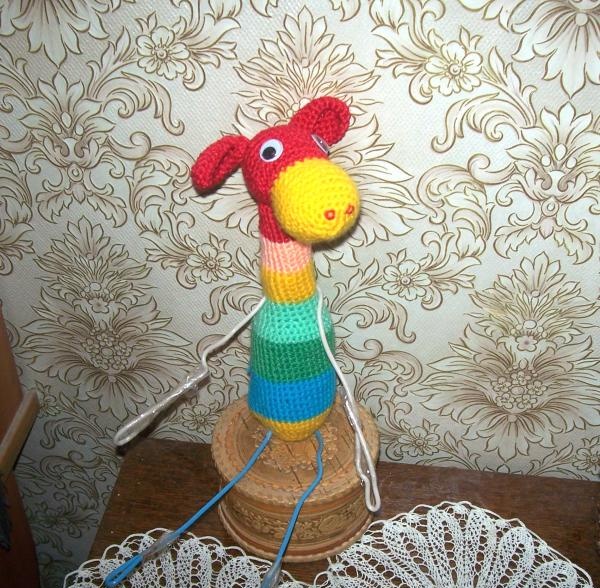
Then we carefully insert the upper limbs into the top wire and sew them to the body of the toy.
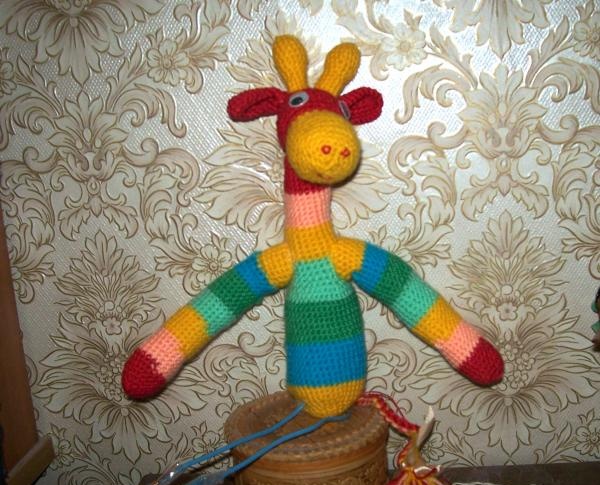
Don't forget to sew the tail where it should be.
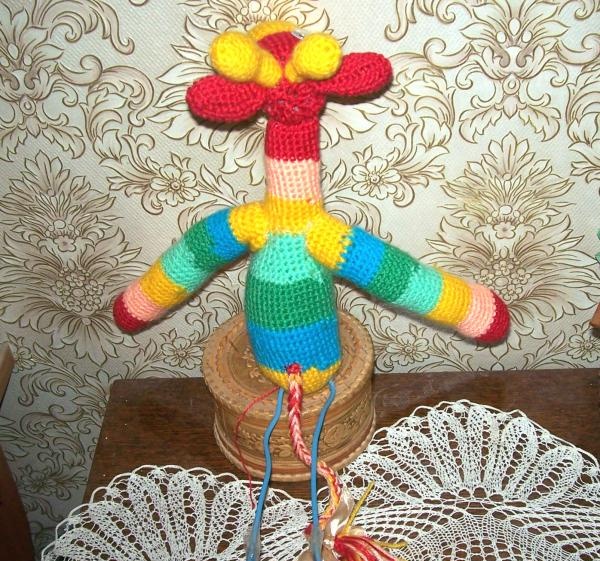
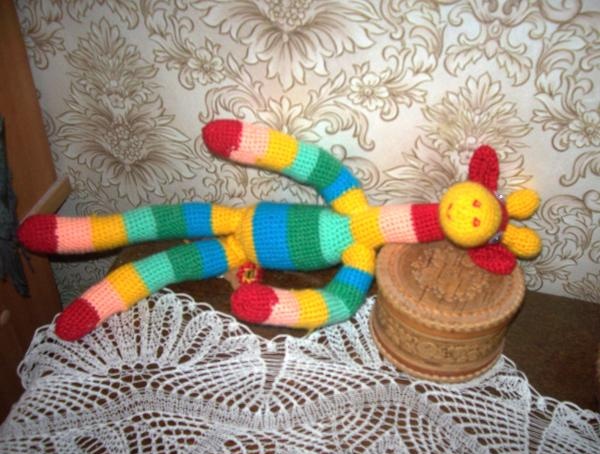
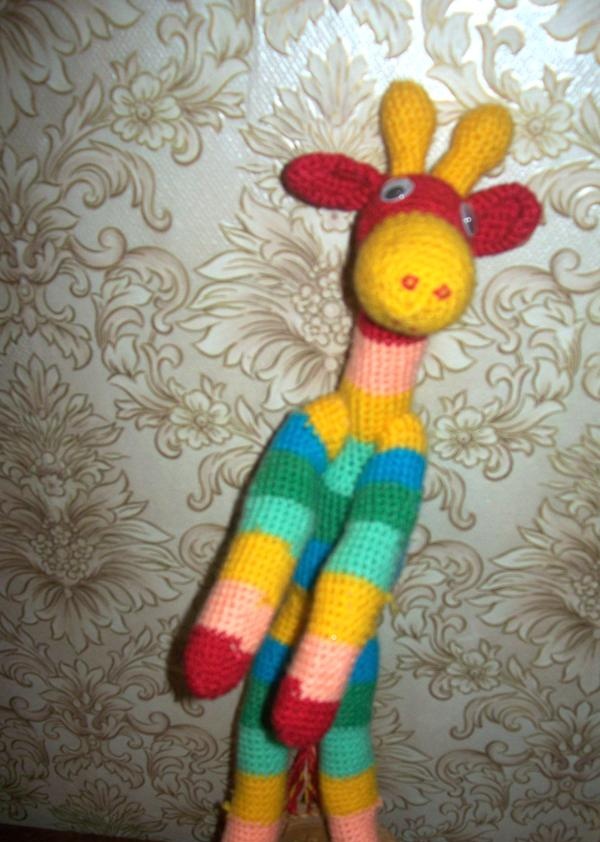
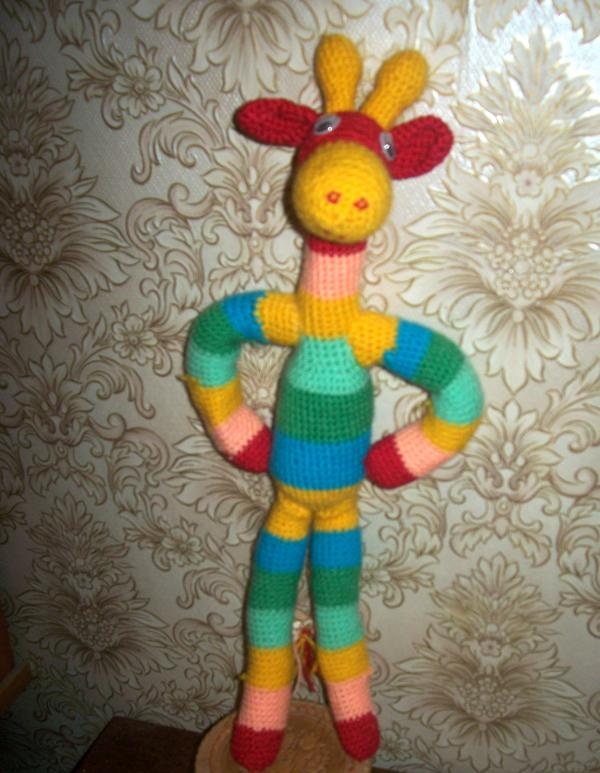
As a result, we get such a cute and well-behaved rainbow giraffe.
His arms and legs move, he can take any pose.
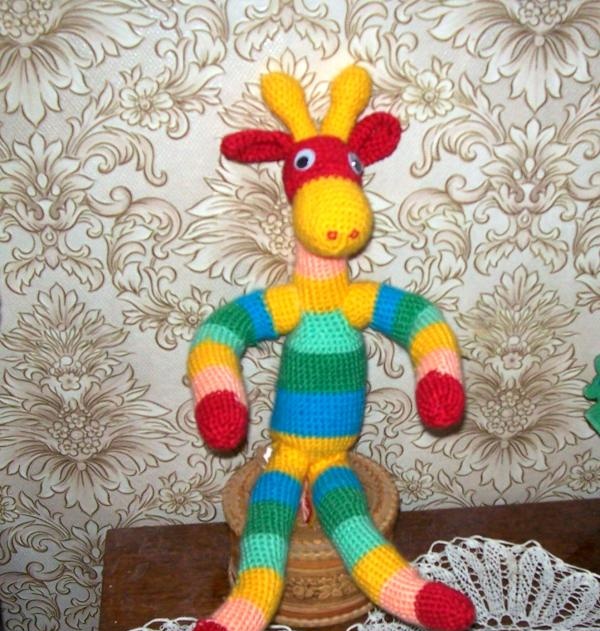
We hope that you will get a wonderful toy that will delight you and your loved ones for a long time!
Today we’ll talk about how to create a toy giraffe, 25 cm tall, using threads of different colors. Our giraffe will be very flexible and beautiful.
What will you need for this?
You need threads of different colors so that they combine the colors of the rainbow, hook No. 2, eyes, stuffing, glue, wire for hands.
Level of preparation for knitting: the most basic, time spent on completing the toy is about 3 hours.
All required thread colors are shown in the photo.

Act one. We make the forelimbs.
Our giraffe will be unusual in that it will look more like a person with arms and legs than an ordinary animal. Therefore, its forelimbs will be slightly smaller than its hind limbs.
In order to knit the “hands”, we need to knit two initial loops, which are called air loops.Next, you need to gradually add loops, when 1.5 cm is knitted, it is important to switch to the pink color of the thread, in total you need to knit 7 multi-colored motifs, 2 cm each.
Next you need to repeat knitting, making the second hand of the future toy. This is what happens in the end.

Act two. Torso.
The body of our giraffe is made in a similar way as the arms. Two air loops are also cast on, then their volume increases. We start with a yellow thread, only the size of the multi-colored parts to be knitted is no longer 2 cm, but 3.5 cm. The product also uses 7 multi-colored motifs. Toward the area of the arms and neck, the knitting tapers significantly, as shown below.

Act three. Lower limbs.
The lower limbs are tied in the same way as the upper ones. There are just as many motives. However, now the height of each motif reaches 2.5 cm.
Having made two legs of the future toy, we get such a blank.

Next, we need to fill our product with filler, and also sew the upper and lower limbs to the body. But there is no need to rush into this yet. Let's put what we have achieved aside and continue to work further.
Act four. Head
We make the head of the future giraffe as follows: we take red threads, tie two loops together, called air loops, and begin to actively add loops. So we knit 5 cm, then we shorten the loops, we knit 2 more rows like this, and then we switch to the yellow thread. After 2 rows of yellow, add loops. After another 3 cm we finish knitting.
It turns out that this is the head of the toy.

Next we tie the giraffe's ears using red thread. To do this, we knit 12 air loops, then tighten them and get ears.
The giraffe also needs yellow horns. We make them as follows: we knit the top circle and draw the wall down. The size of such a horn is 5 cm.

Act five.Tail.
There are no giraffes without a tail; you can, of course, leave your toy tailless, but it’s better to give it a tail. Moreover, it is easy to do. We take several multi-colored threads and connect air loops with them (approximately 25 VP). Close the loops, add a bow and the tail is ready.

Act six. Eyes.
The simplest thing in our crafts – glue the eyes of the giraffe. For this we use ordinary Moment glue or its high-quality analogues. This is what we end up with.

Act seven. Sew on the head and body, add limbs
You can sew the head to the body using simple threads and a regular needle. We also did this without any problems.

Now you need to insert the wire into the body in the places where the front and hind limbs will be located. The wire must be wrapped with adhesive tape so that its sharp edges cannot harm anyone.

Then we carefully insert the upper limbs into the top wire and sew them to the body of the toy.

Don't forget to sew the tail where it should be.

As a result, we get such a cute and well-behaved rainbow giraffe.
His arms and legs move, he can take any pose.


We hope that you will get a wonderful toy that will delight you and your loved ones for a long time!
Similar master classes
Particularly interesting
Comments (0)


