Funny brooch – giraffe
Children love to attach funny toys or keychains to their things or backpacks. You can pamper your child and make him a new toy – a brooch – once a month or even a week. In this master class I will show you how to knit a giraffe, but using the same principle you can knit any other animals that your child loves. Let's begin!
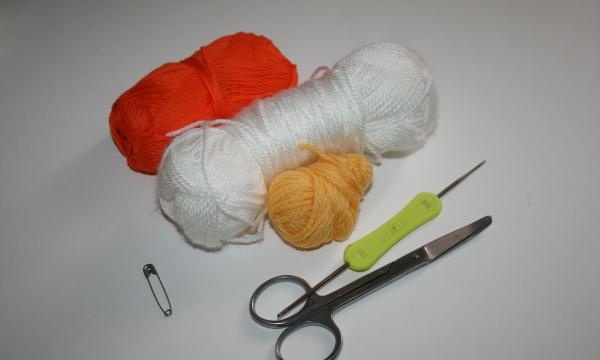
To make a small brooch you must have:
• Threads for knitting the required colors.
• Scissors.
• Pin.
• Crochet hook.
• Synthetic fluff for stuffing.
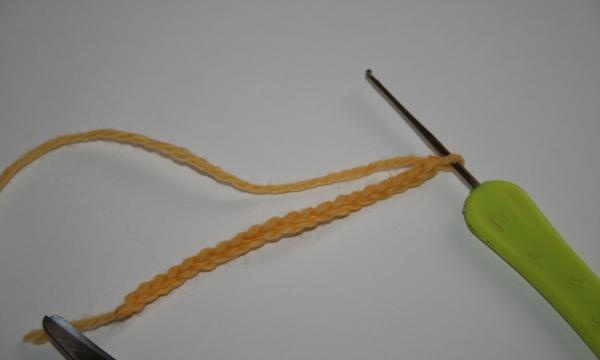
Knitting starts with a set of air loops, we need 20 of them.
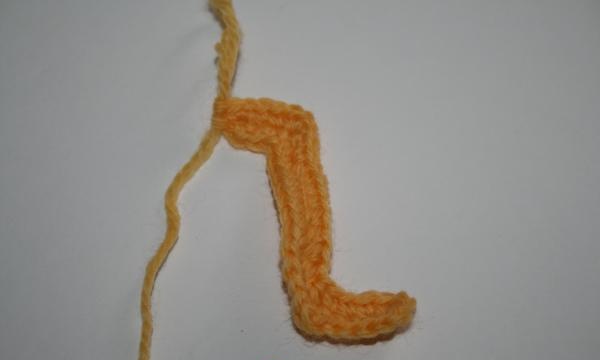
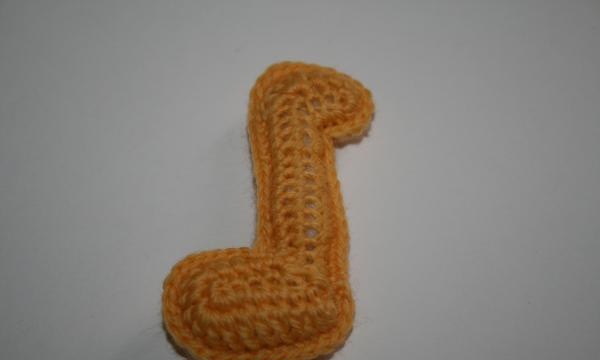
We tie the air loops in a circle. After the third stitch in the row, knit three single crochets into the fourth chain stitch. This will help create a curve that will become the giraffe's head. In the same row, after 12 stitches, connect the 13th and 14th chain stitches with one single crochet. We tie the remaining single crochets and move to the upper part, there, in the places of narrowing and widening, we knit everything in reverse. Where we knitted 3 single crochets into one chain stitch, we narrow it and vice versa.You should end up with a figure like in Tetris.
We knit the next row the same way, only in the place where, in theory, the body of the giraffe, we knit double crochets instead of simple double crochets.
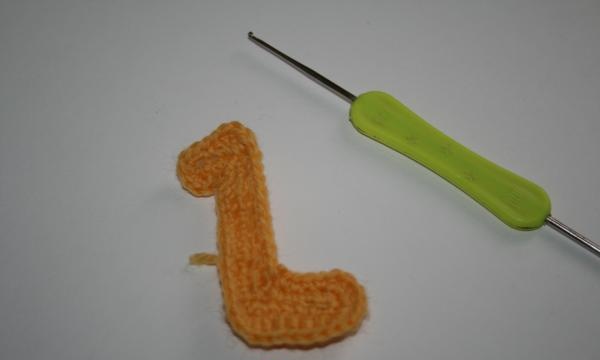
We knit another similar piece, which will mirror the first, and tie them together. We stuff the resulting body with synthetic fluff.
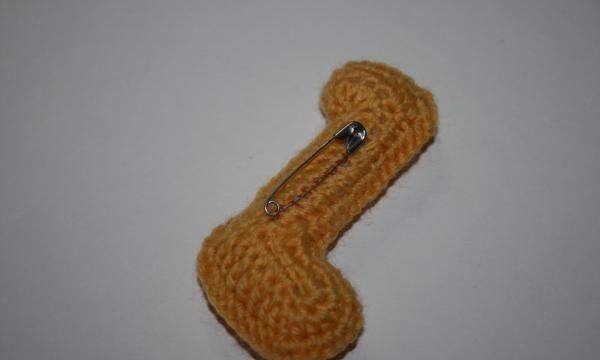
Sew a pin on one side.
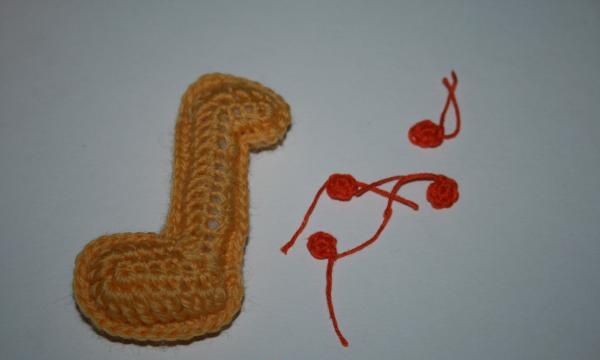
We make spots - we knit small circles from an Amigurumi loop.
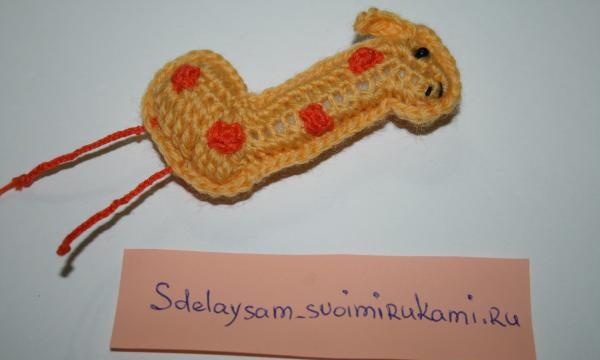
We sew on circles for the summer, make an eye for the giraffe and two stripes that will be the nose of our toy. We make the legs from waxed cord or thread tied into a braid.
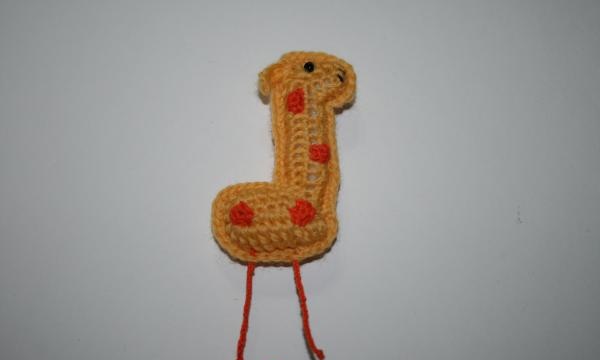
The result is a funny giraffe that your child will definitely like, because it looks so much like the one drawn, with its uneven outlines and funny appearance.
To make a small brooch you must have:
• Threads for knitting the required colors.
• Scissors.
• Pin.
• Crochet hook.
• Synthetic fluff for stuffing.

Knitting starts with a set of air loops, we need 20 of them.

We tie the air loops in a circle. After the third stitch in the row, knit three single crochets into the fourth chain stitch. This will help create a curve that will become the giraffe's head. In the same row, after 12 stitches, connect the 13th and 14th chain stitches with one single crochet. We tie the remaining single crochets and move to the upper part, there, in the places of narrowing and widening, we knit everything in reverse. Where we knitted 3 single crochets into one chain stitch, we narrow it and vice versa.You should end up with a figure like in Tetris.

We knit the next row the same way, only in the place where, in theory, the body of the giraffe, we knit double crochets instead of simple double crochets.

We knit another similar piece, which will mirror the first, and tie them together. We stuff the resulting body with synthetic fluff.

Sew a pin on one side.

We make spots - we knit small circles from an Amigurumi loop.

We sew on circles for the summer, make an eye for the giraffe and two stripes that will be the nose of our toy. We make the legs from waxed cord or thread tied into a braid.

The result is a funny giraffe that your child will definitely like, because it looks so much like the one drawn, with its uneven outlines and funny appearance.

Similar master classes
Particularly interesting
Comments (0)


