Felted toy - Owl
Even those who do not believe in good signs are glad to see them in their lives. There are many signs associated with owls. Their image is often used on the logos of enterprises.
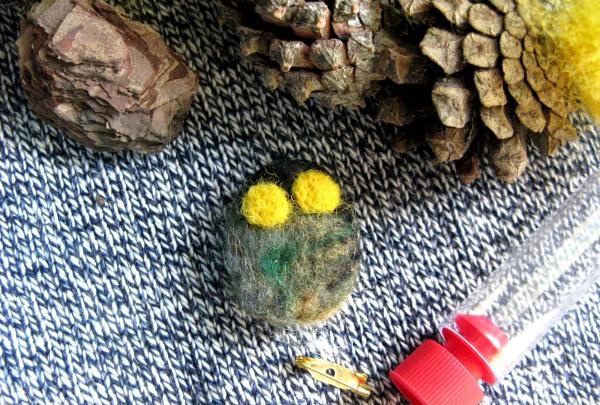
Making a small brooch in the shape of an owl is not difficult with your own hands. And let her become your companion, a symbol of wisdom.
To work, you will only need a few grams of unspun wool, a felting needle, a foam sponge and accessories for a brooch. It is better to use wool of several natural colors; for the eyes, yellow and black are a must.
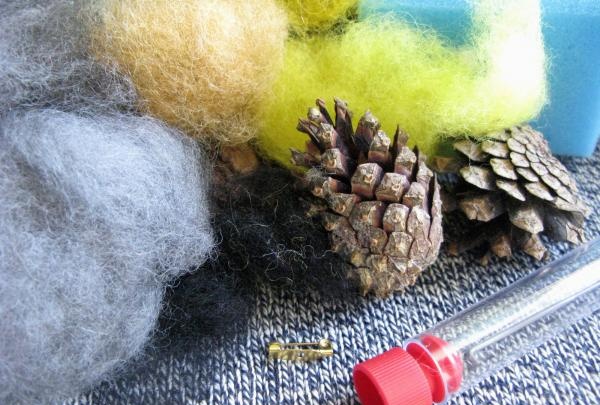
A small ball of gray wool is taken, from which an oval shape is formed with the help of a needle. In this case, the needle pierces all the fibers through and evenly over the surface.
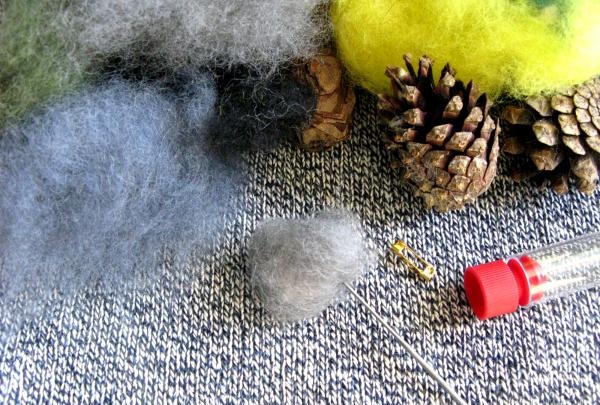
Working on your hand can cause injury. Therefore, you should use a foam sponge. Its thickness should be sufficient, no less than the length of the needle.
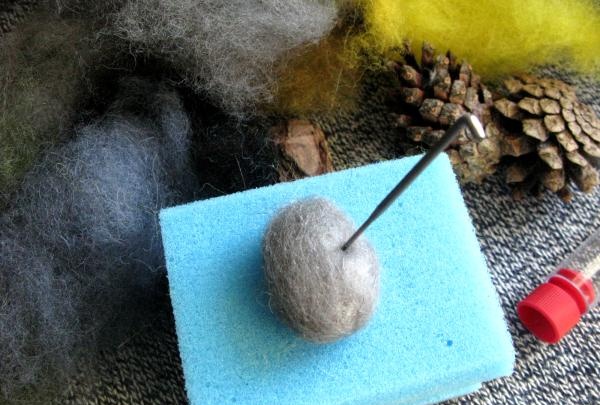
When the oval lump has become dense and elastic, it can be covered with a thin layer of wool fibers of various natural colors. Shades of green, brown, black, and gray work well. It is better to cover the upper part with black, thus marking the place of the head.
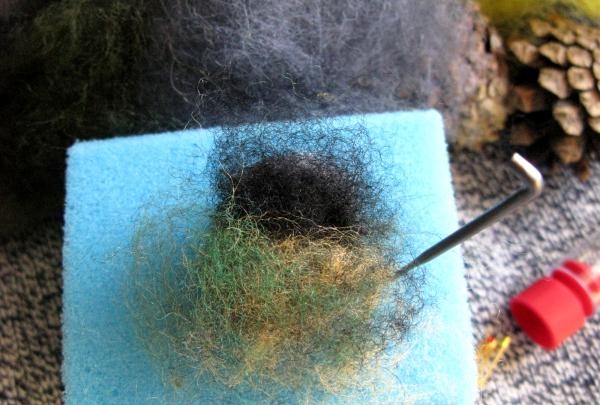
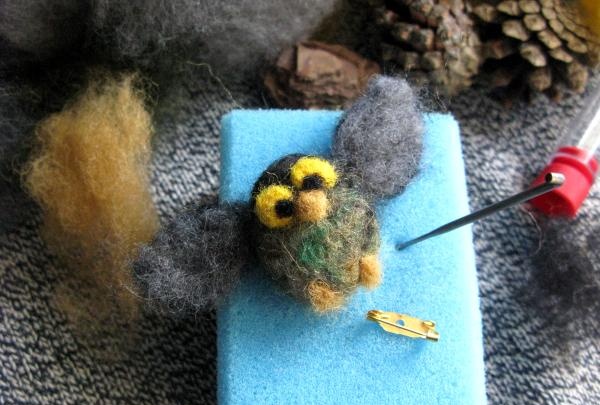
Tap the entire surface with a needle so that the fibers hold tightly.After this, the eyes are formed using yellow fur. Take a small pinch. After this, it is divided in half so that the eyes are the same size.
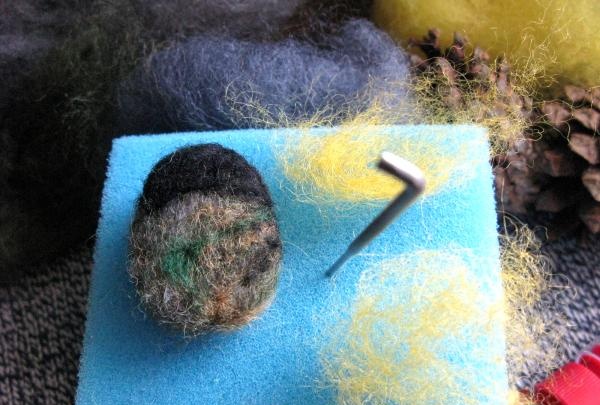
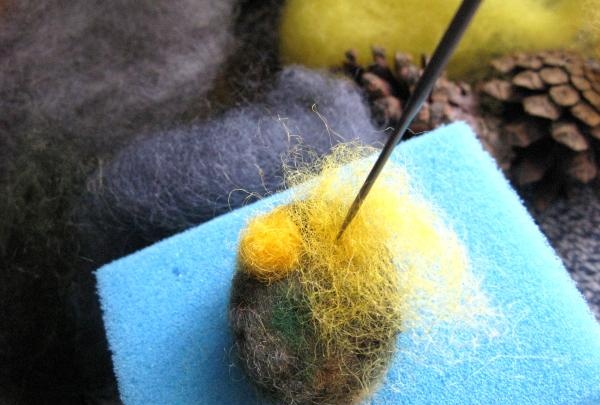
One part of the yellow fibers is placed in the place where the eye is supposed to be located. Pierced in the center. After this, using circular movements, all the fibers are collected from the edge to the center. It turns out to be a yellow circle. The second eye is done in the same way.
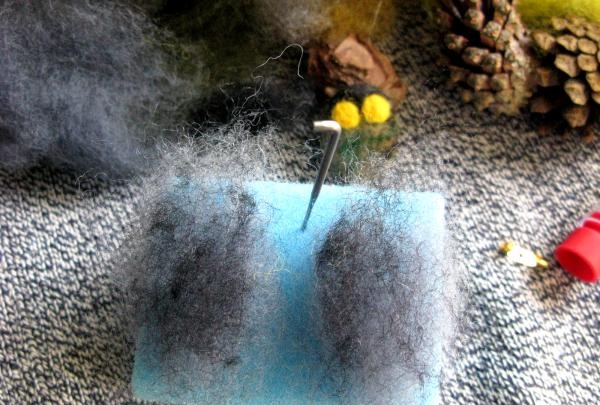
Both wings are created simultaneously. They can be made of wool of one or more colors. The fibers are laid on the sponge in the form of identical strips. Tap firmly over the entire surface. The needle pitch should be minimal.
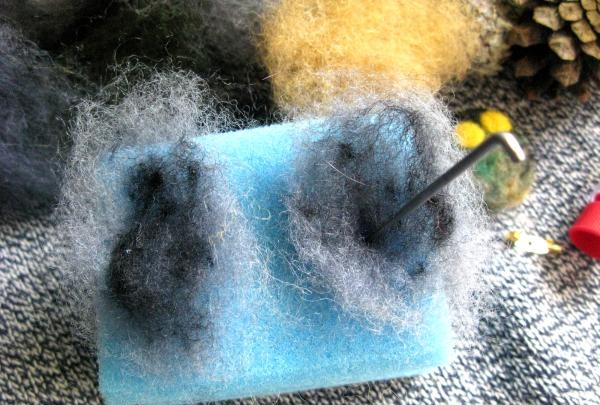
When the wool has set, symmetrical wings are formed using a needle.
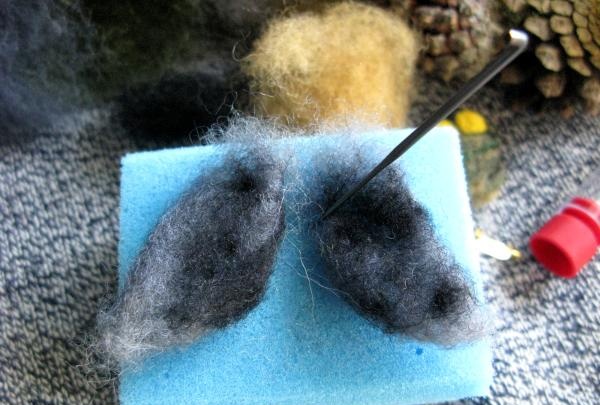
The wings are folded to the body from the back. By repeatedly tapping with a needle, they are securely fastened.
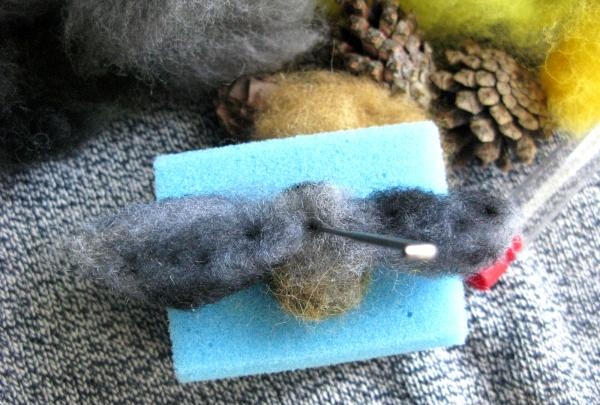
To create pupils, you need two or three pieces of black wool for each eye. They are placed and pierced with a needle at one point. After this, they gather in a small circle.
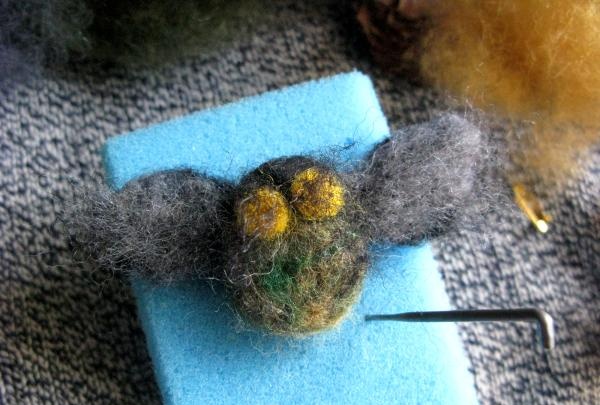
The paws are made in the same way as the eyes. A small pinch of wool is divided in half and then rolled.
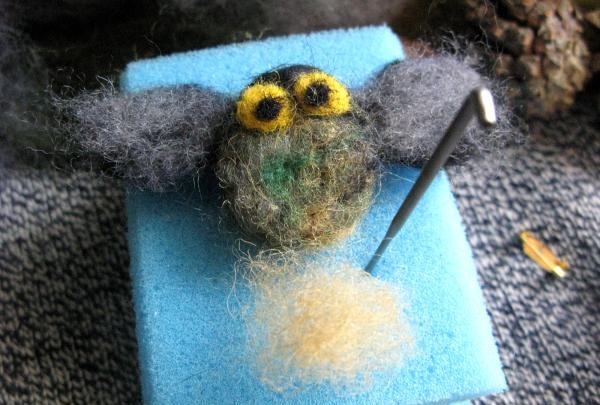
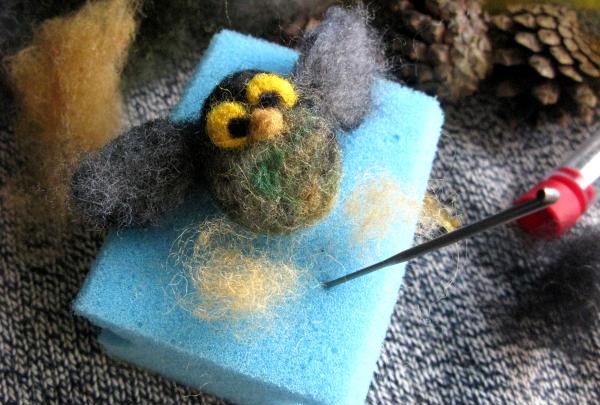
When the figurine is ready, you need to sew on the fittings. It is best to use a hairpin in the form of a pin. It has a hole for sewing and holds firmly to the product.
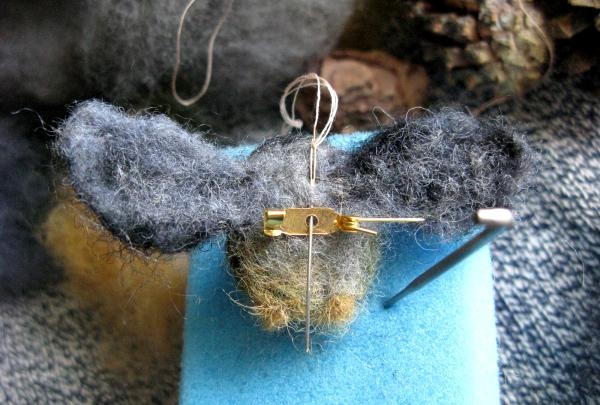
To make the work neat, the pin should be covered with wool fibers, felting them.
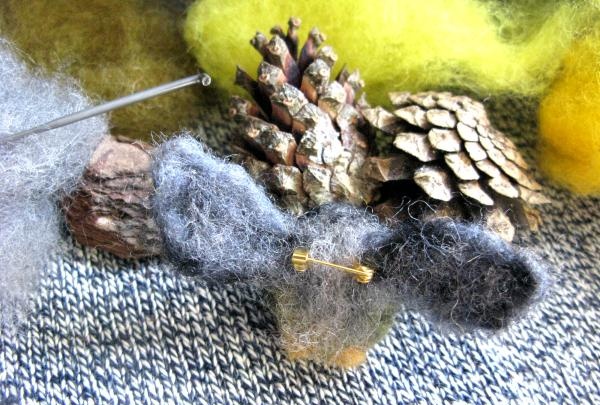
The brooch remains to be finalized by removing all the protruding fibers inside with a needle.
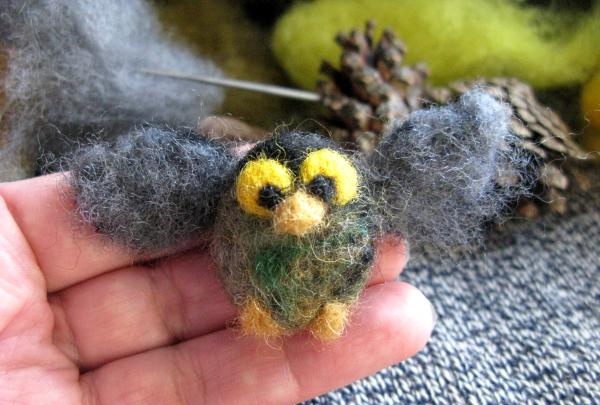
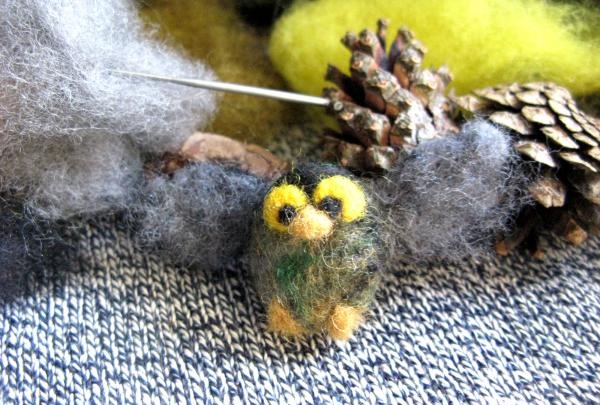
A cute little owl will not only be a good sign, but also a fashionable, stylish decoration.
Making a small brooch in the shape of an owl is not difficult with your own hands. And let her become your companion, a symbol of wisdom.
To work, you will only need a few grams of unspun wool, a felting needle, a foam sponge and accessories for a brooch. It is better to use wool of several natural colors; for the eyes, yellow and black are a must.

A small ball of gray wool is taken, from which an oval shape is formed with the help of a needle. In this case, the needle pierces all the fibers through and evenly over the surface.

Working on your hand can cause injury. Therefore, you should use a foam sponge. Its thickness should be sufficient, no less than the length of the needle.

When the oval lump has become dense and elastic, it can be covered with a thin layer of wool fibers of various natural colors. Shades of green, brown, black, and gray work well. It is better to cover the upper part with black, thus marking the place of the head.

Tap the entire surface with a needle so that the fibers hold tightly.After this, the eyes are formed using yellow fur. Take a small pinch. After this, it is divided in half so that the eyes are the same size.

One part of the yellow fibers is placed in the place where the eye is supposed to be located. Pierced in the center. After this, using circular movements, all the fibers are collected from the edge to the center. It turns out to be a yellow circle. The second eye is done in the same way.


Both wings are created simultaneously. They can be made of wool of one or more colors. The fibers are laid on the sponge in the form of identical strips. Tap firmly over the entire surface. The needle pitch should be minimal.


When the wool has set, symmetrical wings are formed using a needle.

The wings are folded to the body from the back. By repeatedly tapping with a needle, they are securely fastened.

To create pupils, you need two or three pieces of black wool for each eye. They are placed and pierced with a needle at one point. After this, they gather in a small circle.

The paws are made in the same way as the eyes. A small pinch of wool is divided in half and then rolled.


When the figurine is ready, you need to sew on the fittings. It is best to use a hairpin in the form of a pin. It has a hole for sewing and holds firmly to the product.


To make the work neat, the pin should be covered with wool fibers, felting them.

The brooch remains to be finalized by removing all the protruding fibers inside with a needle.


A cute little owl will not only be a good sign, but also a fashionable, stylish decoration.
Similar master classes
Particularly interesting
Comments (0)

