Snowman made of wool using the felting method
Felting wool can be used to make many beautiful products using the felting method. For example, for the New Year you can create a snowman.
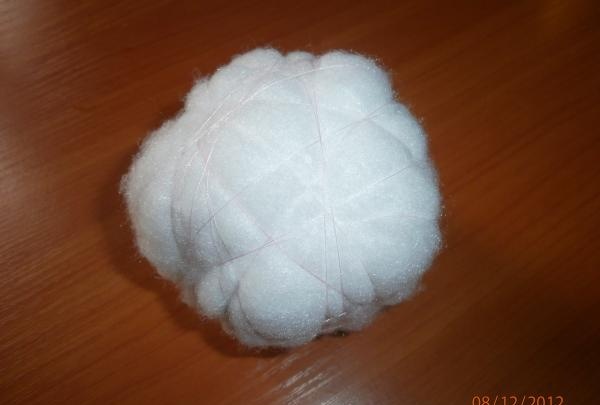
We will make a rather large snowman - 30 cm tall. Therefore, in order to save wool and to ensure that the snowman is not too heavy, padding polyester should be placed inside the toy. We make a ball out of padding polyester and wrap it with threads so that it does not fall apart.
Then we put blue wool on it, first in one direction.
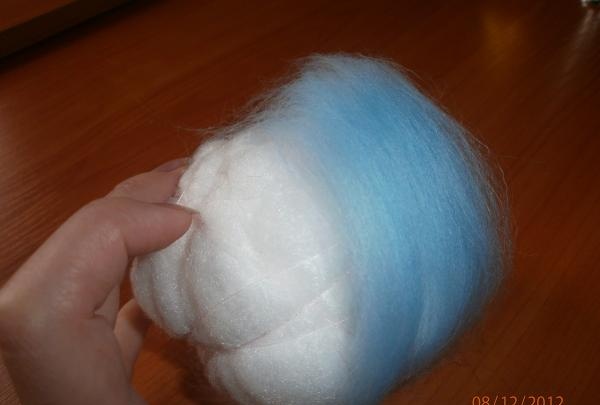
Then we apply blue wool, directing its fibers perpendicular to the first layer. We stick it a little with a felting needle.
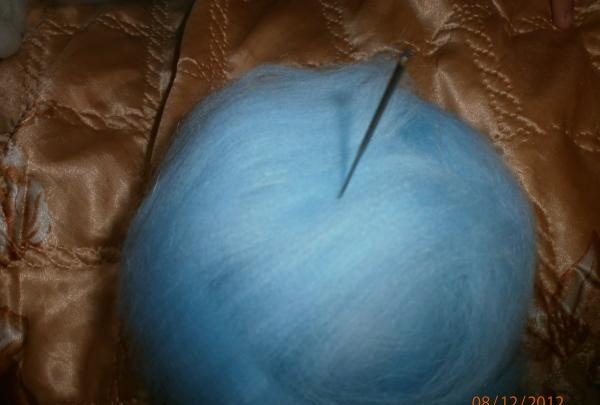
We distribute a small amount of white wool over the surface of the blue ball to create a “pearl-like” effect, a transition from one tone to another.
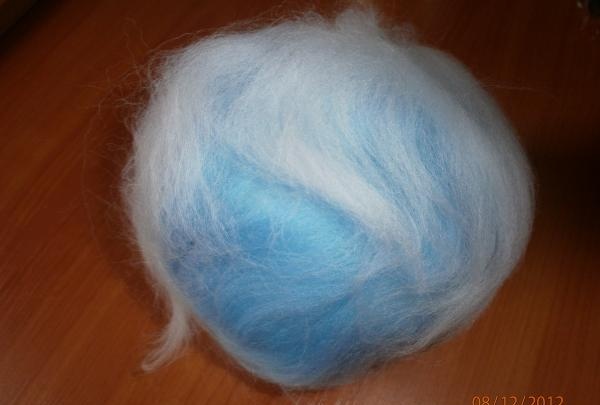
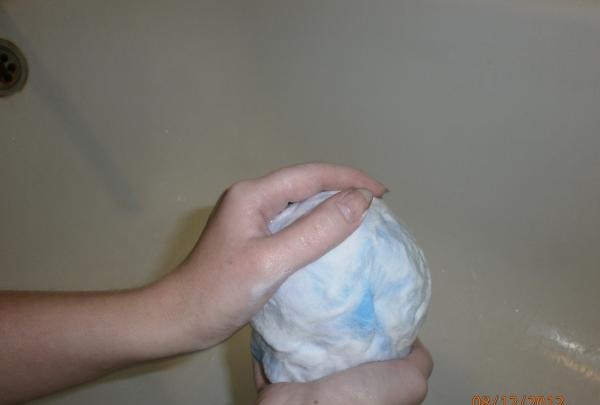
Now we wet the workpiece under hot water and gently soap it. First you need to rub in lightly, then rub with force. You need to rub until the wool mats quite well. You can even sometimes keep the balls under hot water - for better shrinkage of the wool. When the balls for the head, belly and arms are ready, put them out to dry.
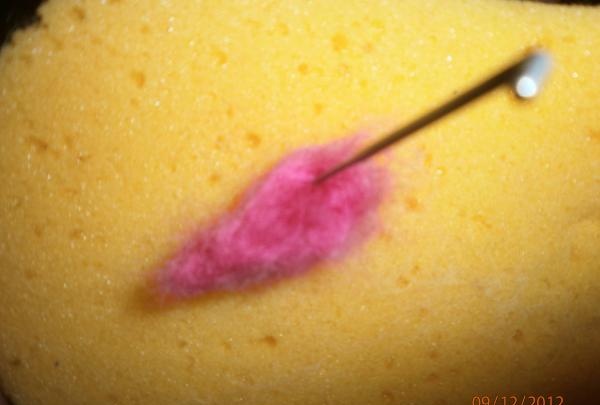
While the blanks are drying, you need to make a nose - a carrot. To do this, tear off a piece of orange or red wool, roll the part with wet, soapy hands, giving it the desired shape. Then we place the “nose” on the sponge and continue felting using a felting needle, rolling the workpiece along the sponge with the needle and “sticking” it. The needle, thanks to various notches located on its surface, allows us to “tangle” the wool fibers. By changing the inclination of the “prick”, the force and its depth, the desired shape of the part is achieved.
We “draw” the eyes and mouth with wool using a felting needle. To do this, you need to tear off a small piece of black wool, distribute the wool as needed, and “stick” it with a needle to attach it to the snowman’s head. You can filter for an unlimited amount of time, but it is advisable to achieve a state where the holes from the needle are not visible.
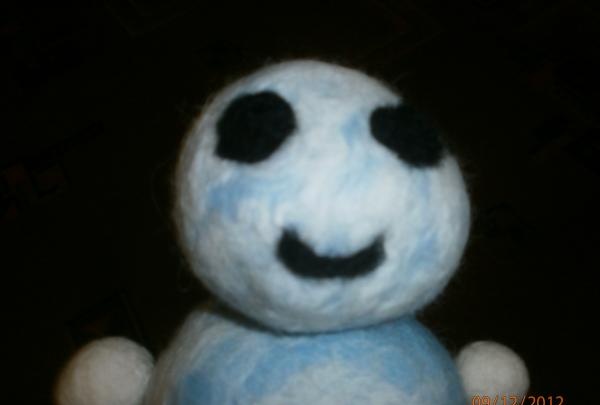
Then you need to “stitch” the nose to the head using a needle. "Filting" should be done along the edge of the joint. Assembly of the main parts can be done by conventional stitching of parts.

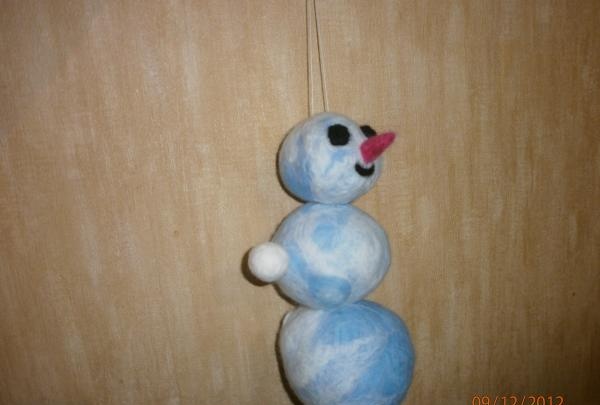
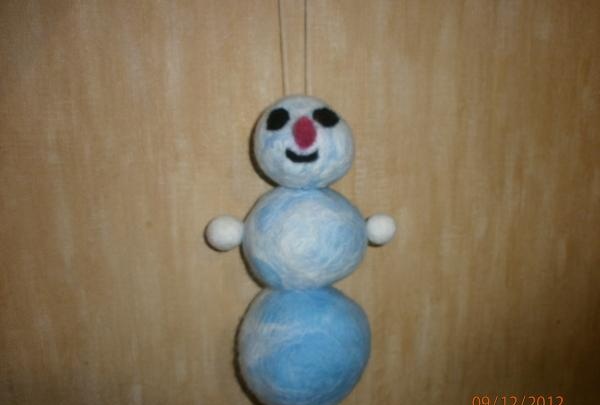
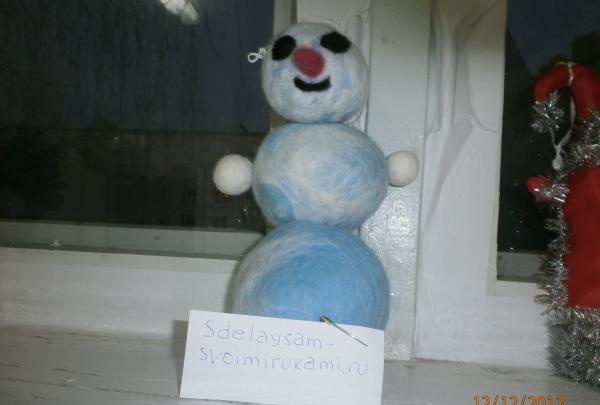
Our snowman is ready!

We will make a rather large snowman - 30 cm tall. Therefore, in order to save wool and to ensure that the snowman is not too heavy, padding polyester should be placed inside the toy. We make a ball out of padding polyester and wrap it with threads so that it does not fall apart.

Then we put blue wool on it, first in one direction.

Then we apply blue wool, directing its fibers perpendicular to the first layer. We stick it a little with a felting needle.

We distribute a small amount of white wool over the surface of the blue ball to create a “pearl-like” effect, a transition from one tone to another.

Now we wet the workpiece under hot water and gently soap it. First you need to rub in lightly, then rub with force. You need to rub until the wool mats quite well. You can even sometimes keep the balls under hot water - for better shrinkage of the wool. When the balls for the head, belly and arms are ready, put them out to dry.

While the blanks are drying, you need to make a nose - a carrot. To do this, tear off a piece of orange or red wool, roll the part with wet, soapy hands, giving it the desired shape. Then we place the “nose” on the sponge and continue felting using a felting needle, rolling the workpiece along the sponge with the needle and “sticking” it. The needle, thanks to various notches located on its surface, allows us to “tangle” the wool fibers. By changing the inclination of the “prick”, the force and its depth, the desired shape of the part is achieved.

We “draw” the eyes and mouth with wool using a felting needle. To do this, you need to tear off a small piece of black wool, distribute the wool as needed, and “stick” it with a needle to attach it to the snowman’s head. You can filter for an unlimited amount of time, but it is advisable to achieve a state where the holes from the needle are not visible.

Then you need to “stitch” the nose to the head using a needle. "Filting" should be done along the edge of the joint. Assembly of the main parts can be done by conventional stitching of parts.

Our snowman is ready!


Similar master classes
Particularly interesting
Comments (0)

