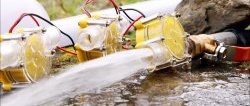
DIY mini car wash
In the modern world, almost every family has a car for personal use. At the same time, not every car enthusiast can use a garage as a place to store useful things. It is quite obvious that all cars, without exception, sooner or later require external cleaning. Sometimes, light, superficial. And to do this, you don’t need to stand in line at a car wash or spend money on purchasing a washing machine. In order to save time and money, you can make a mini-wash with your own hands: always carry it in the trunk and use it as needed in any secluded place.
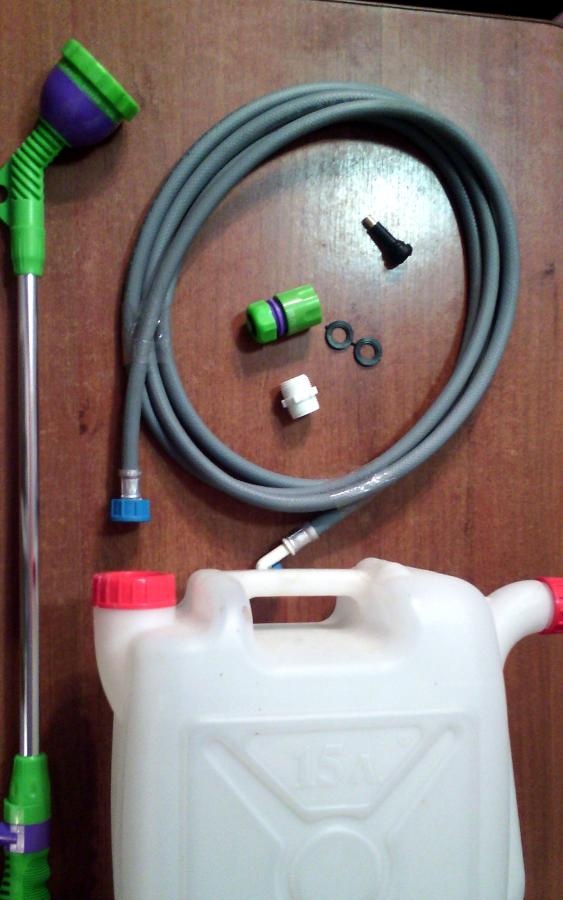
Materials for work:
- 1. Plastic canister with two necks for draining – 1 pc.;
- 2. Filling hose for a washing machine (length – 2 m) – 1 pc.;
- 3. Watering gun on a telescopic rod – 1 pc.;
- 4. Quick-release fitting – 1 pc.;
- 5. Valve for tubeless wheels (spool valve) – 1 pc.;
- 6. Rubber gasket (inner diameter 15 mm, outer diameter – 24 mm) – 1 pc.;
- 7. Coupling – 1 pc.;
8. Screwdriver, thick drill, feather drill with a diameter of 22 mm, silicone sealant or rubber glue, automobile compressor.
Stages of making a mini-wash:
First stage: install the air inlet.
Having collected the necessary components, remove the cap from the drain neck of the plastic canister. Important: in the future, when using a mini-wash, the canister will need to be placed on its side, with the filler hole down (for direct release of water under pressure), so we leave the lid of this hole for the junction with the hose. Use a thick drill to make a hole in the removed cover.
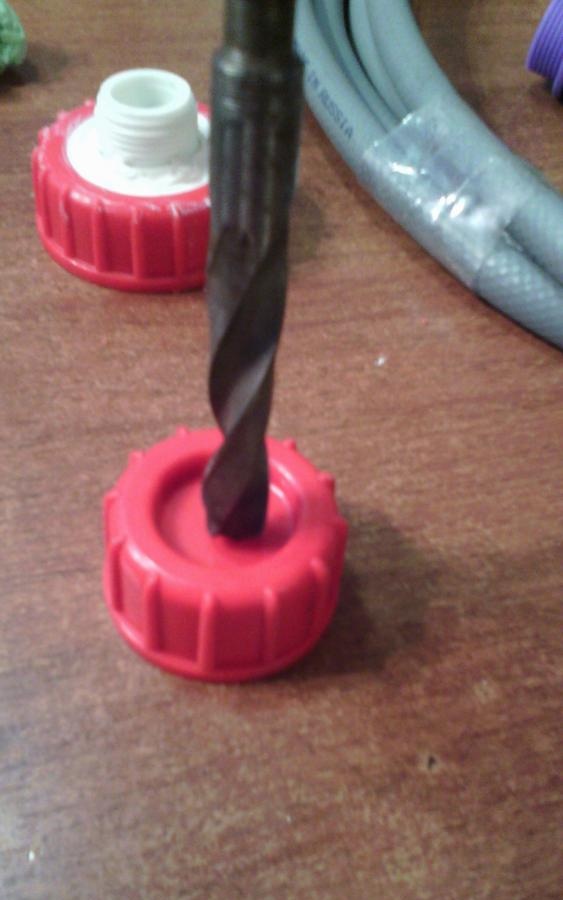
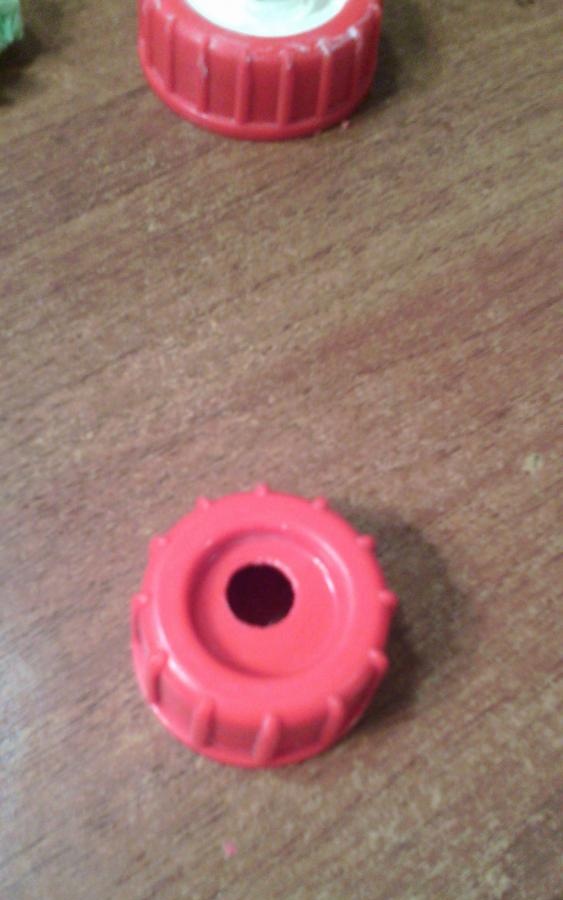
We apply silicone sealant along the side of the valve for tubeless wheels (colloquially - spool).
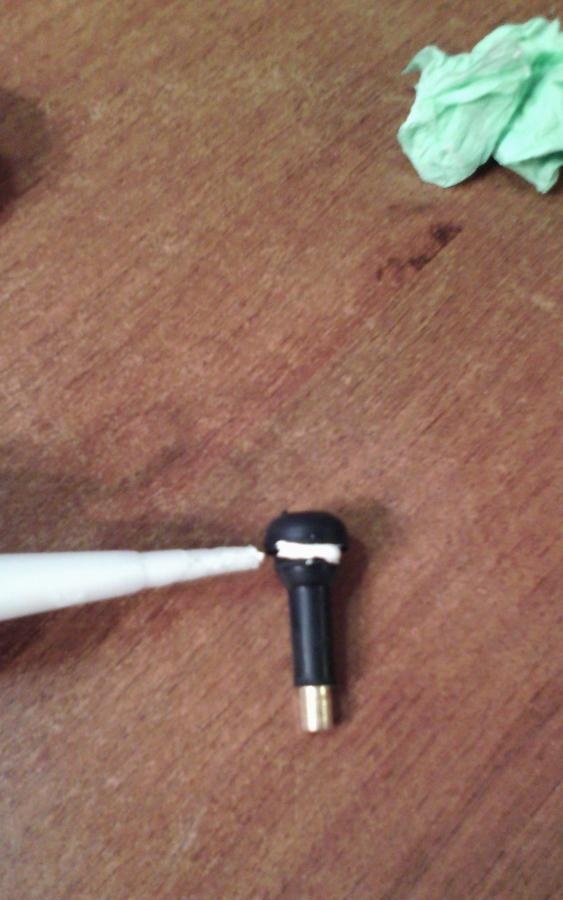
We insert the valve into the hole in the lid, press it carefully, and dry it.
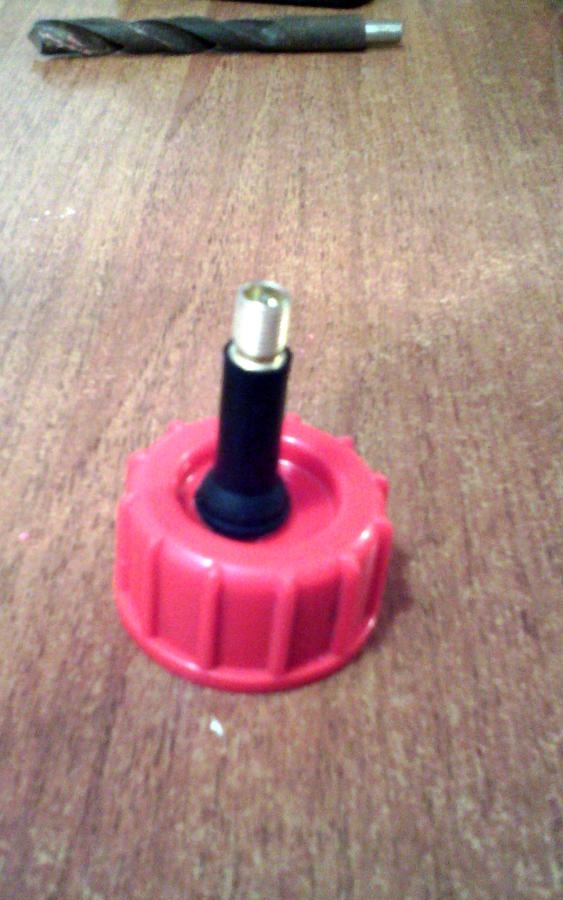
After the sealant has hardened, screw the lid onto the drain hole of the canister.
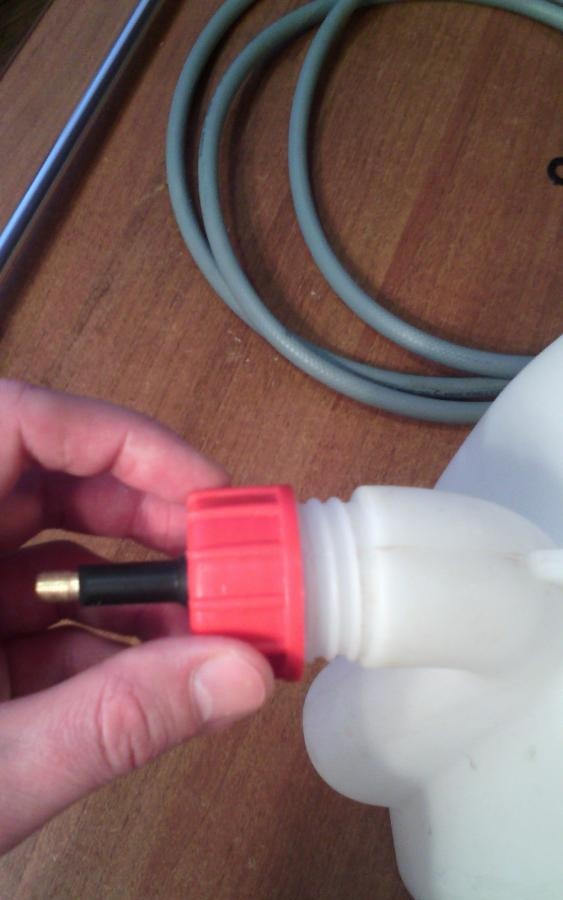
Second stage: installing a water outlet.
Remove the cap from the second hole of the canister. Using a feather drill, we make a hole in it corresponding to the diameter of the coupling.
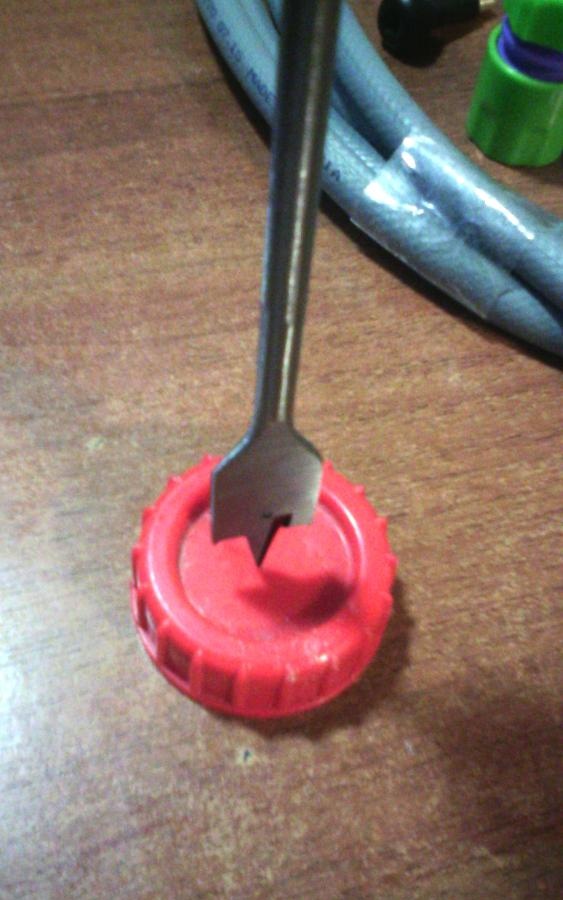
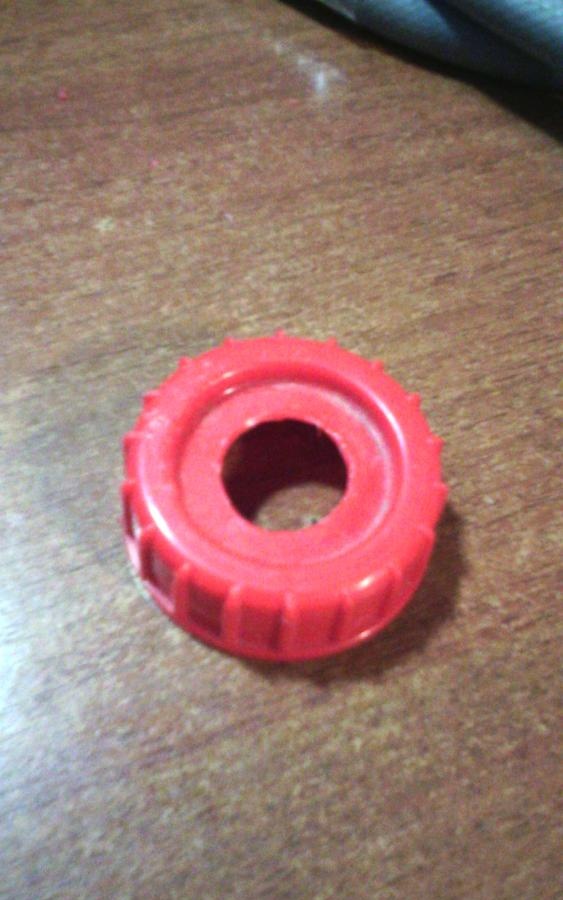
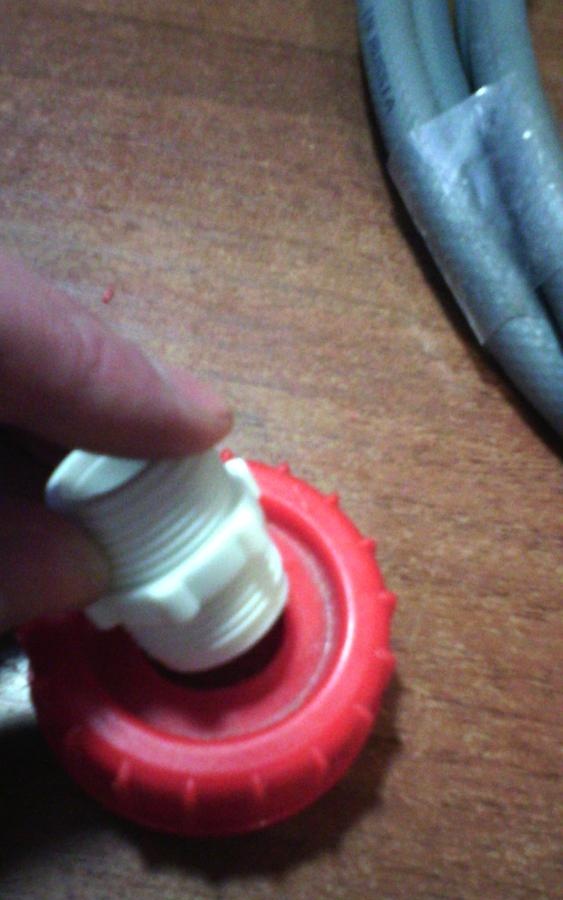
Insert the coupling into the drilled hole.
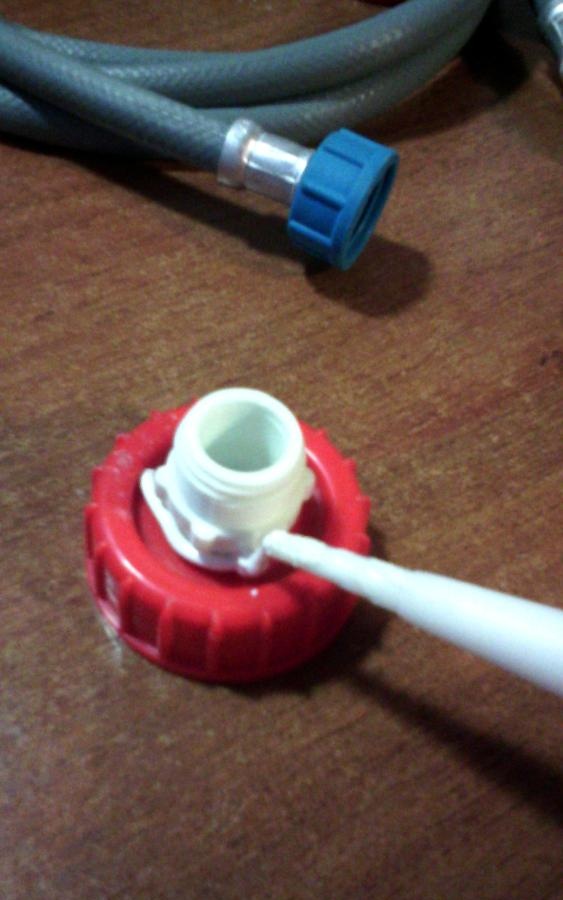
To secure the coupling more firmly, spray the joint with the lid with silicone sealant and dry it.
At one end (preferably a curved one) of the inlet hose for the washing machine, cut off the nut and its fastening.
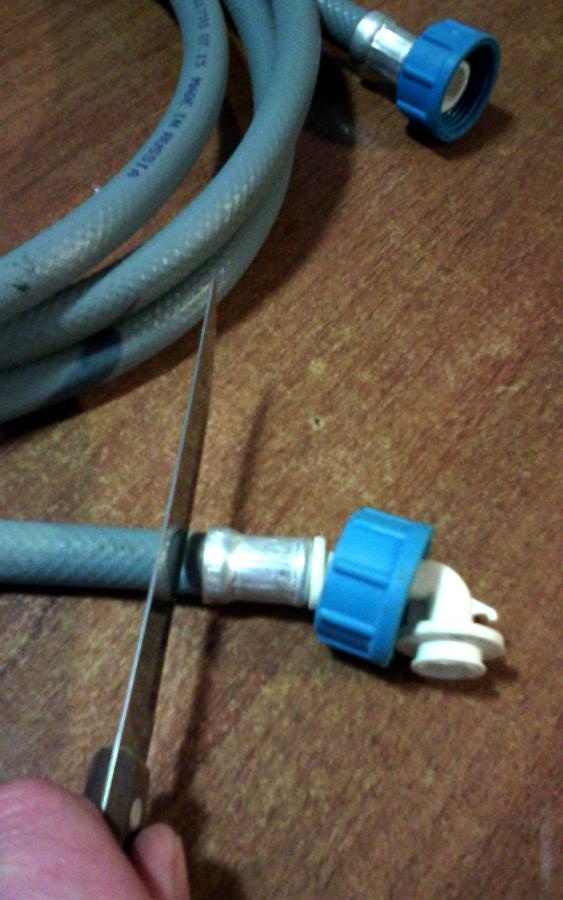
The fastening itself will not be useful in further work, but we use a nut to secure the back side of the coupling, having previously applied silicone sealant to it.
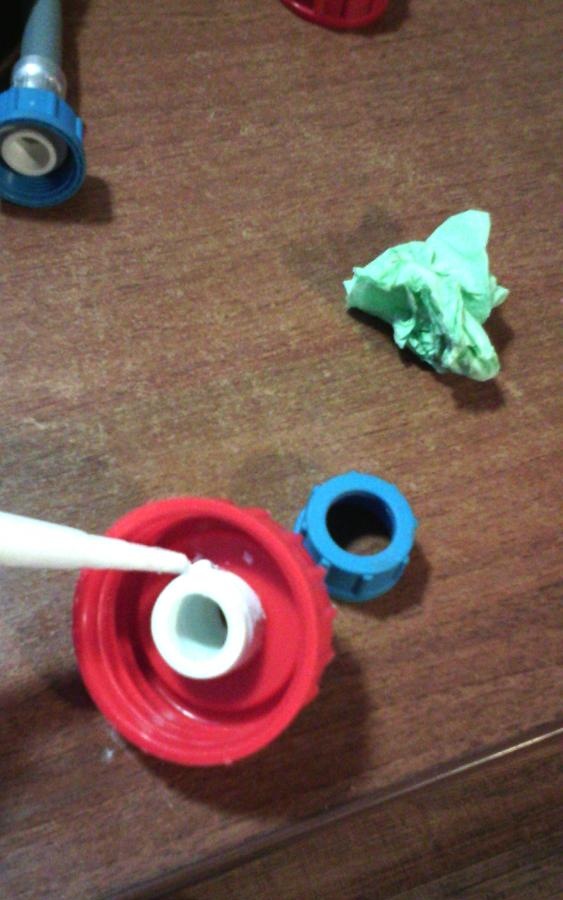
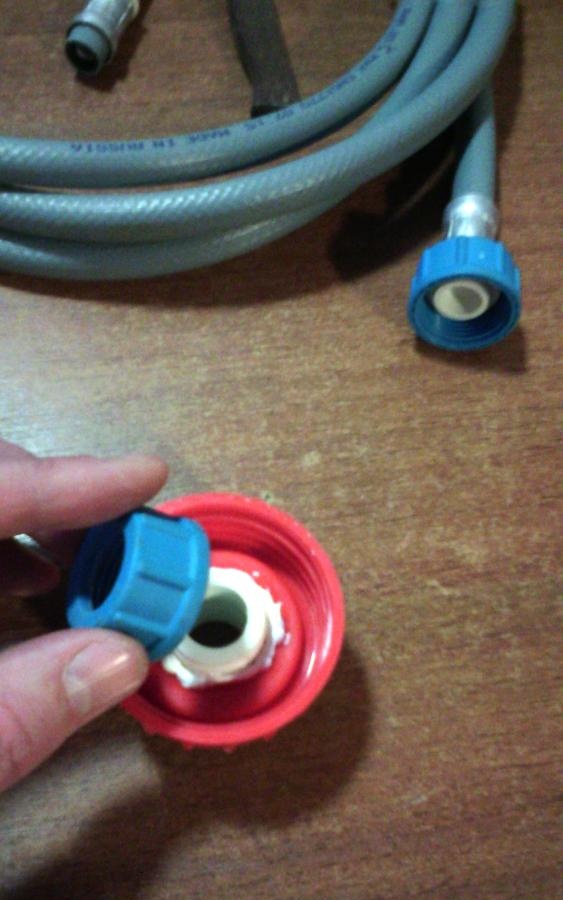
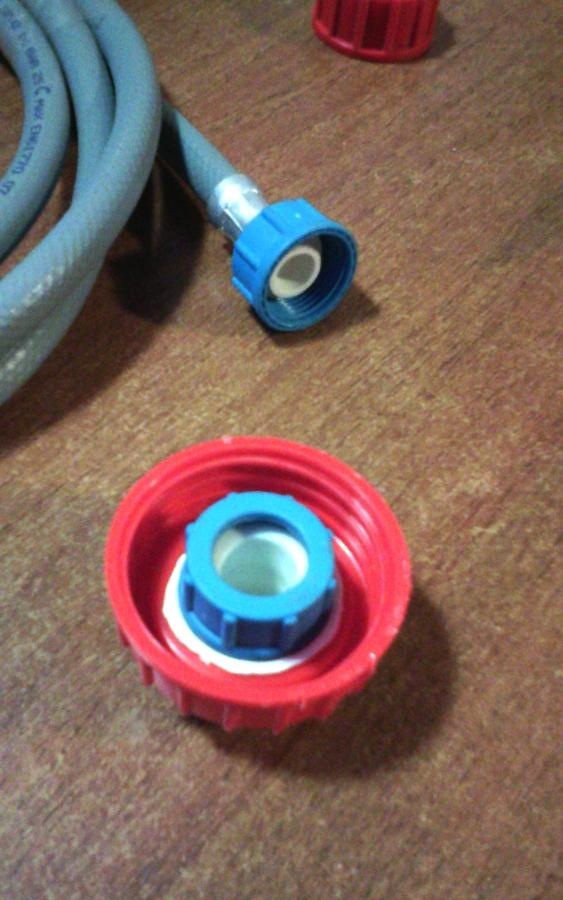
After drying the sealant, screw the cap onto the opening of the canister.
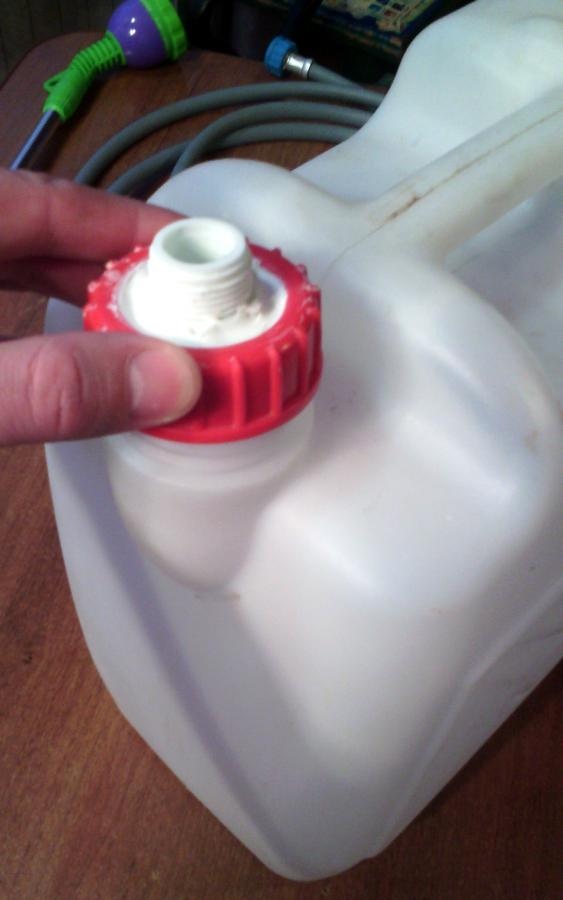
The use of a washing machine inlet hose is due to its ability to withstand high water pressure. We thread the cut part of the hose into the nut of the quick-release fitting.
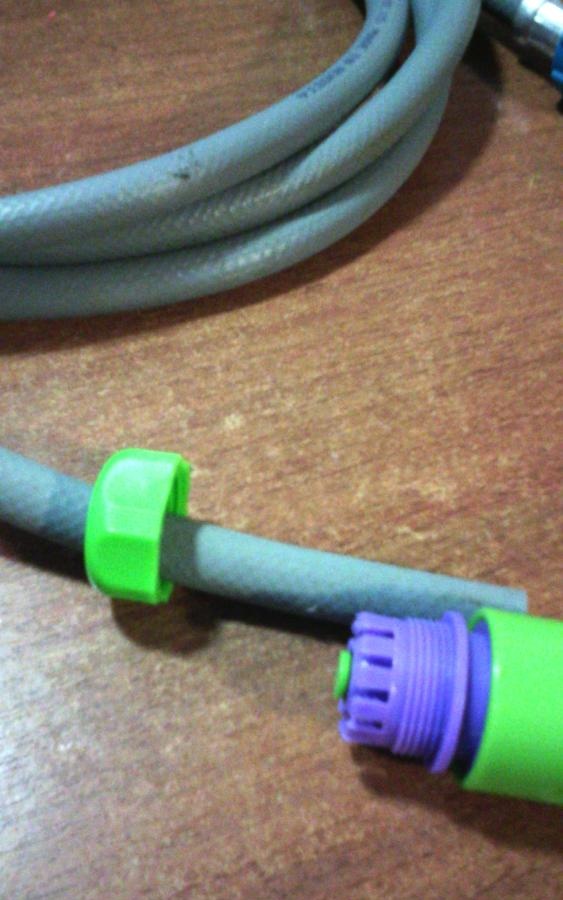
We fasten the section of the hose in the quick-release fitting (it is clamped with a special fastener).
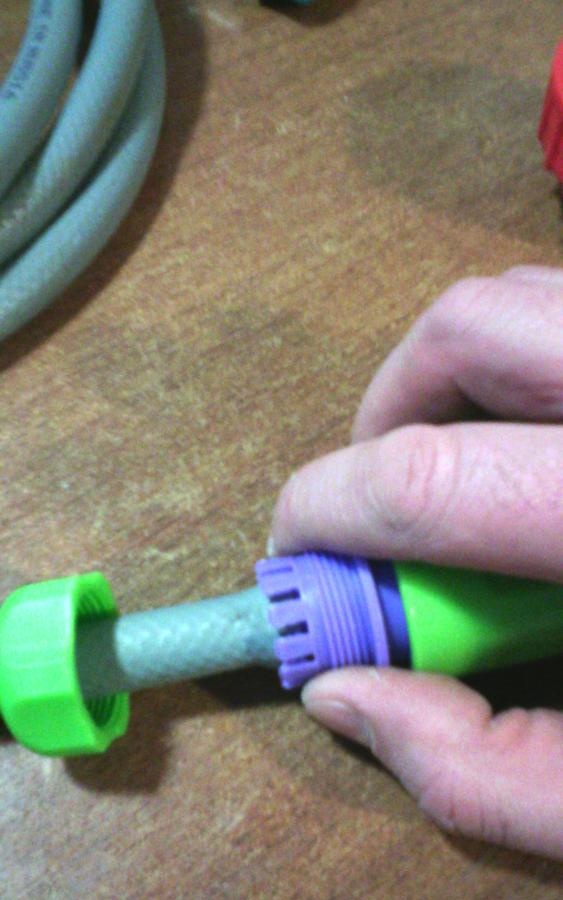
We twist the main fitting and its nut.
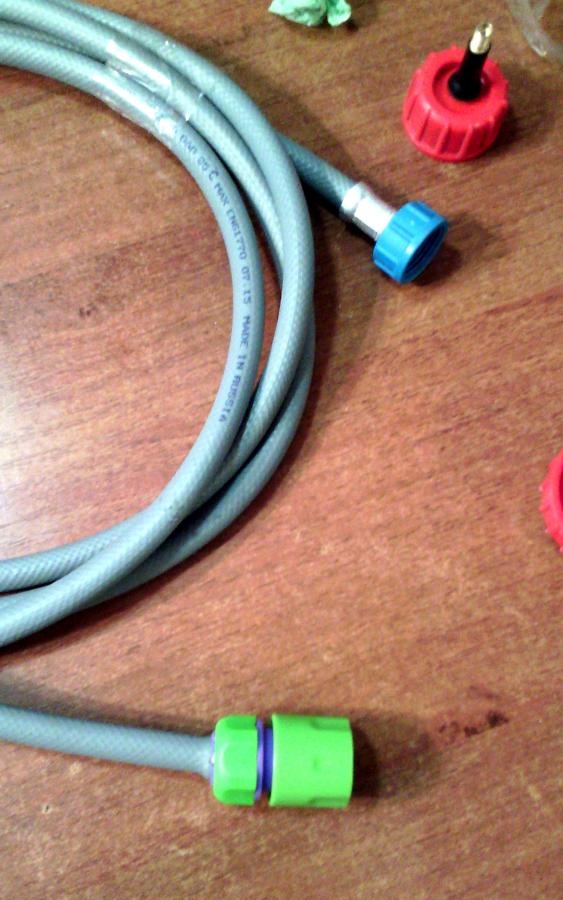
We screw the fitting onto the watering gun on the rod.
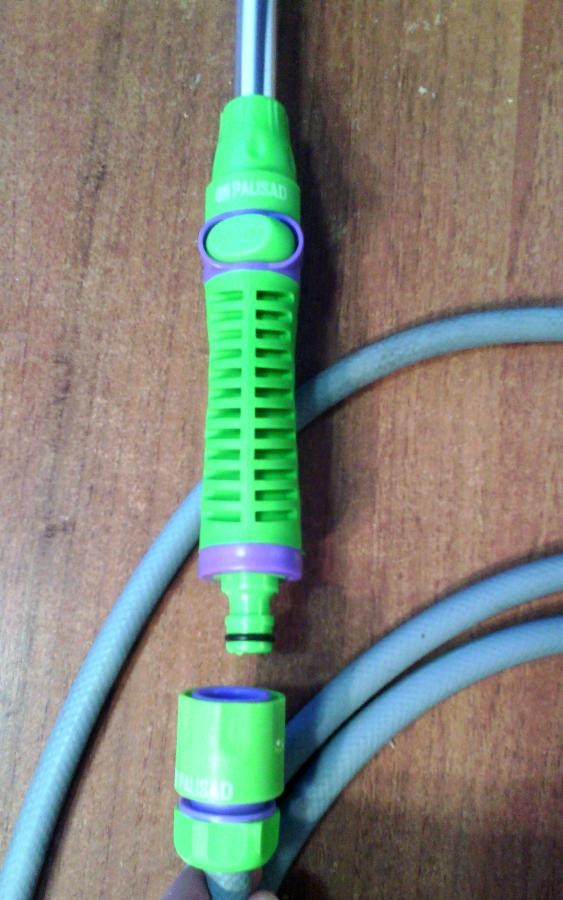
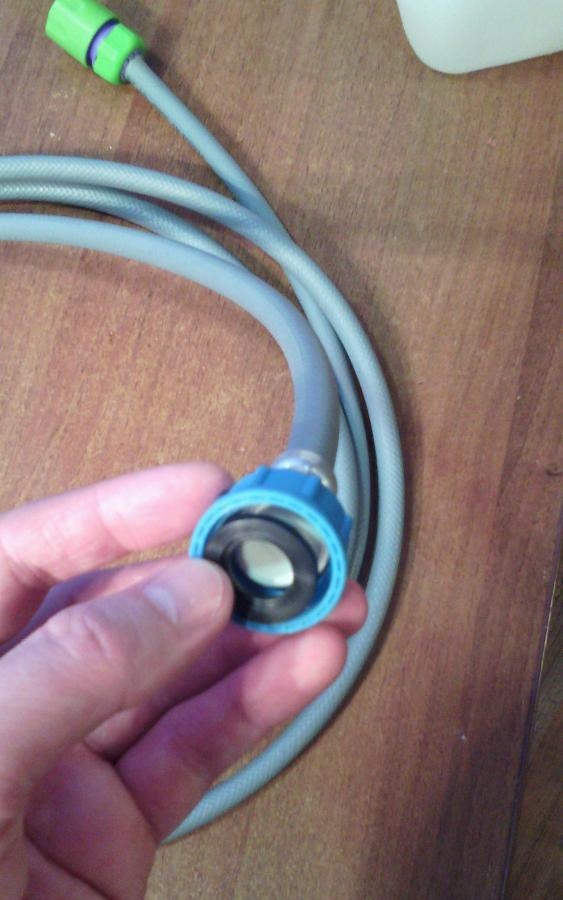
Stage four: connect the hose to the canister.
To prevent air from escaping when water is supplied under pressure, insert a rubber gasket of the required diameter into the second nut of the inlet hose.
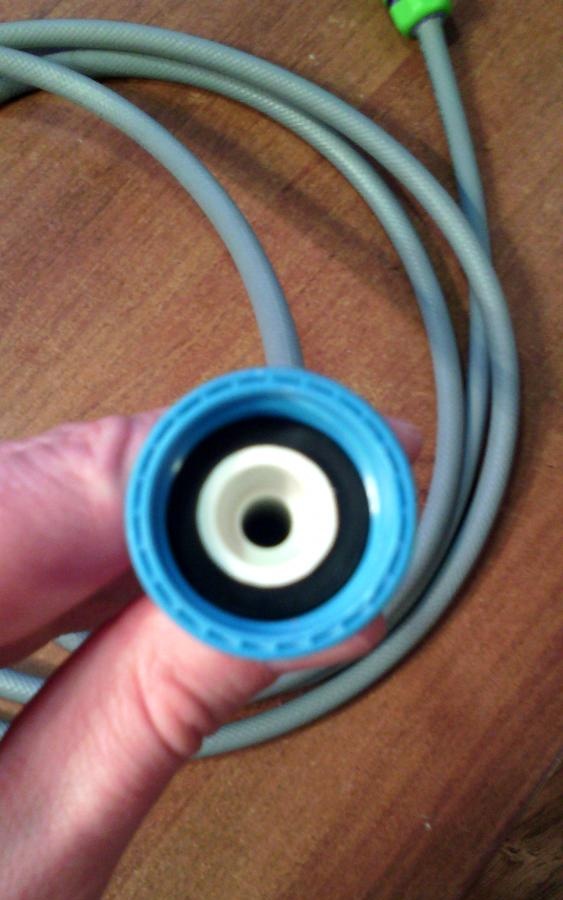
Screw the nut onto the quick-release fitting.
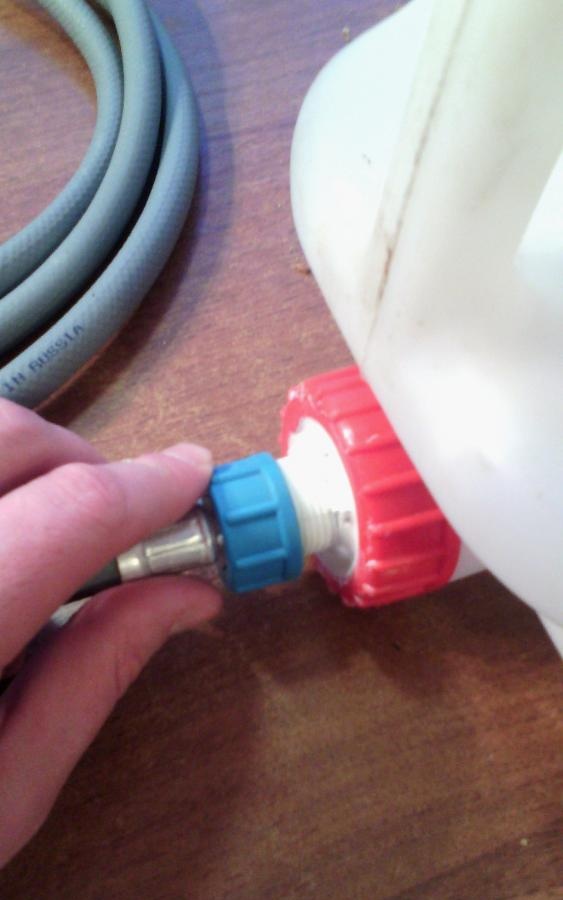
Mini-wash is ready!
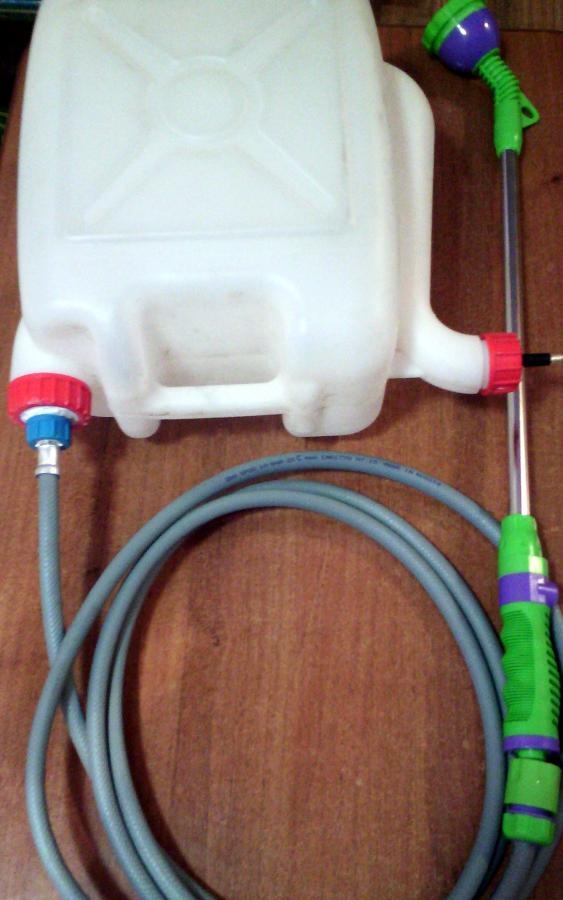
Fifth stage: putting the sink into operation.
Pour water into the canister.
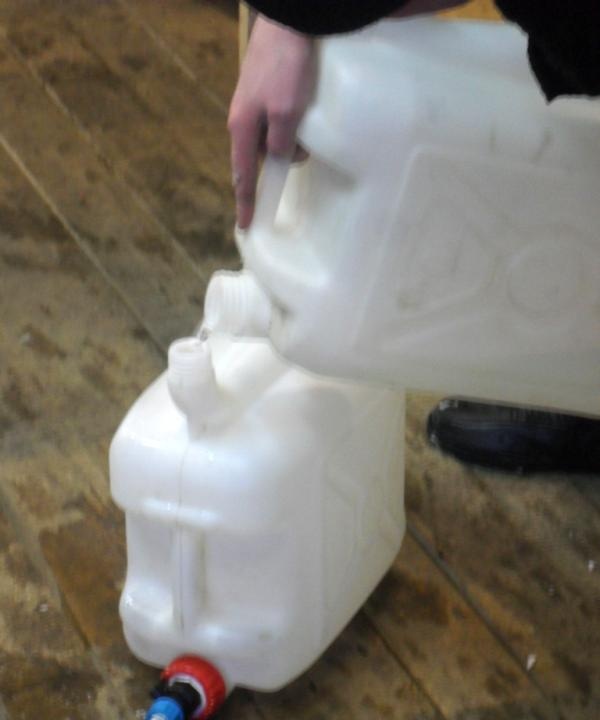
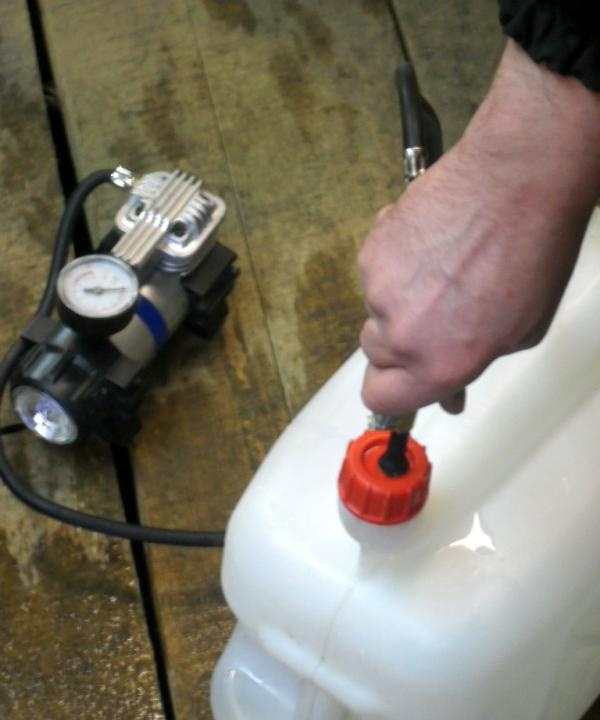
We connect a car compressor to the valve and pump up air (about 1 atmosphere, the main thing is not to overdo it in pumping - it can inflate or rupture the canister).
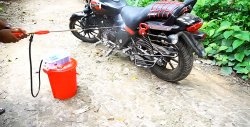
We press the start button on the watering gun and my favorite car.
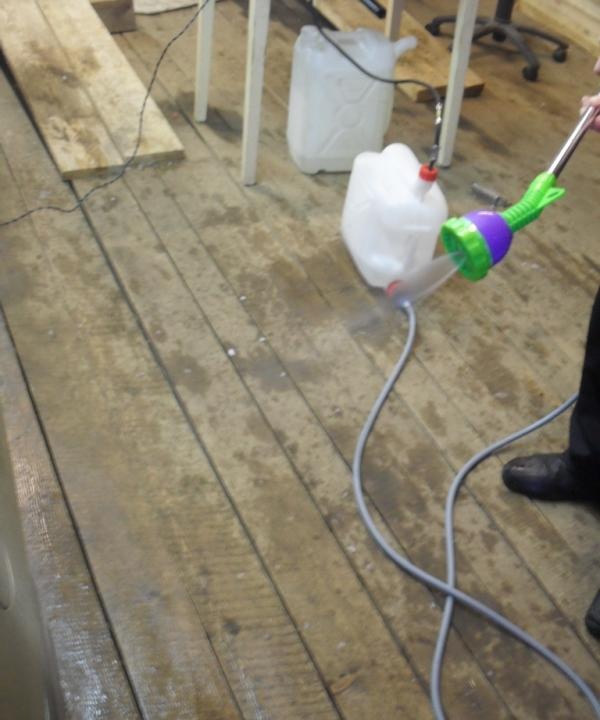
This mini sink is easy to use, requires little water, takes up little space and can be used in a miniature space. In addition to the car, the car wash will help with cleaning the windows of a country house, bicycle, boat, stroller, etc.

