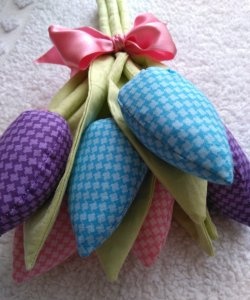
Complex cards for March 8
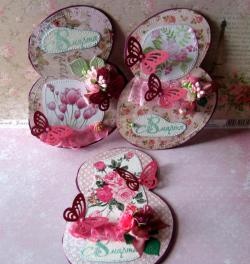
Spring is ahead, which brings with it a wonderful and joyful holiday for all women and girls, March 8th. Spring is a time of blooming and very beautiful, therefore the impressions of this holiday fully correspond to the time of year itself, spring. Not only men need to prepare for this holiday, but also women themselves show signs of attention to each other. This is especially true for congratulations for mother, daughter, sister, colleague, godfather, for a friend or for a grandmother, etc. The list is quite large, but you need to not ignore anyone or stay on the sidelines. For example, you can check out this interesting master class and make a lot of beautiful folding cards for March 8th with your own hands. It will be doubly pleasant to receive such a postcard, because it is made with soul and love. Right now we will make two folding cards and for this we will take:
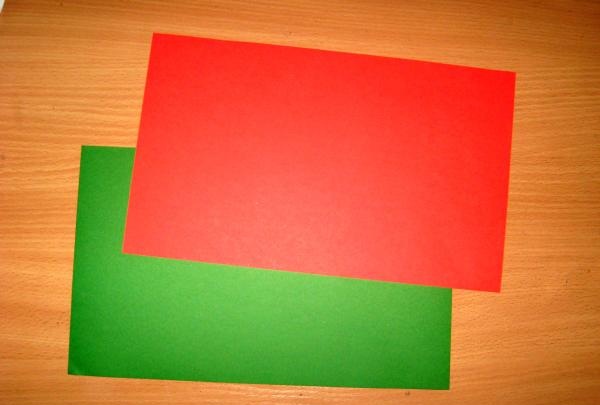
• Red and green cardboard A4 format, one sheet each;
• Scheme of a folding postcard;
• Pink polka dot and mint paper for scrapbooking, size 30*30 cm;
• Die-cut circles, one pink and two colored;
• Pictures and tags with flowers, a couple of boys and girls, a bunny with flowers;
• Printed poems and inscriptions about spring;
• Openwork paper napkins, red and green (cut out);
• Stamps “Happy March 8th”, two stamps and two ink pads;
• Butterfly hole puncher;
• Half beads are different;
• Curb hole punch;
• Watercolor paper;
• Stationery knife and scissors;
• Glue stick, double-sided tape;
• Ruler and pencil.
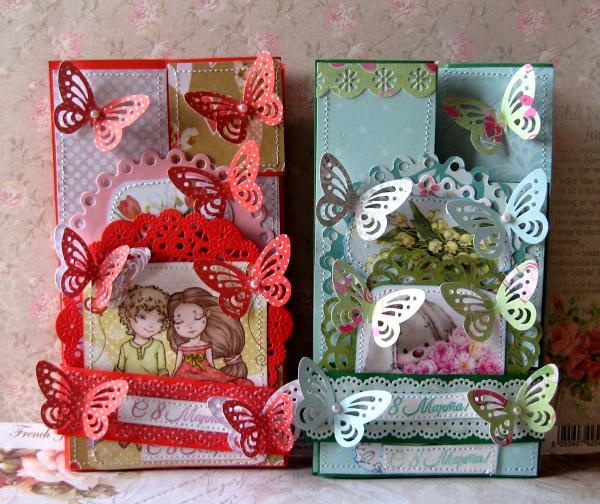
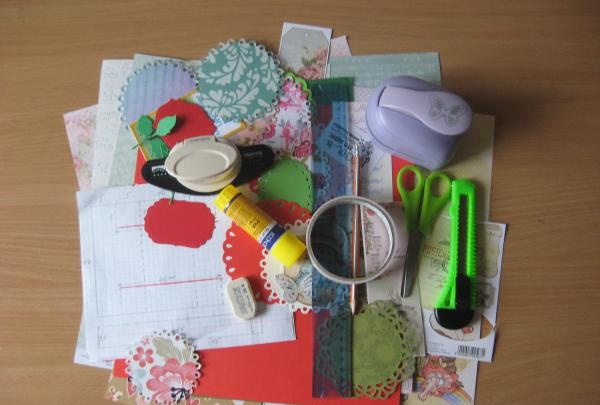
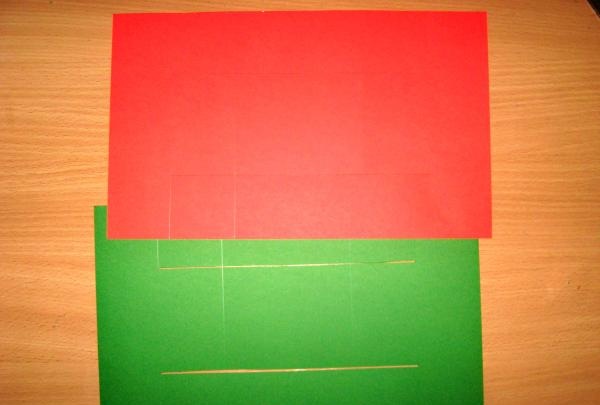
So, first we take cardboard and we will transfer the diagram onto it. We will have two postcards, so we take a sheet of red and green cardboard.
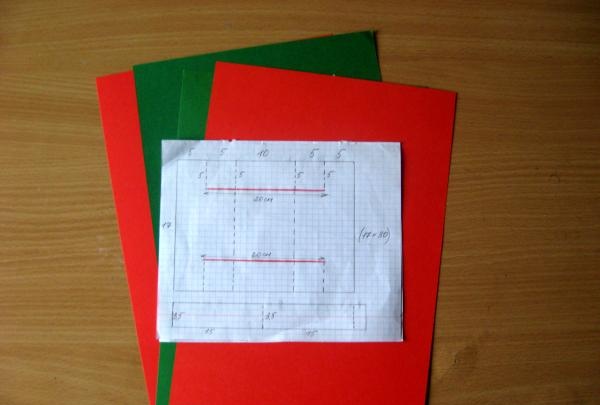
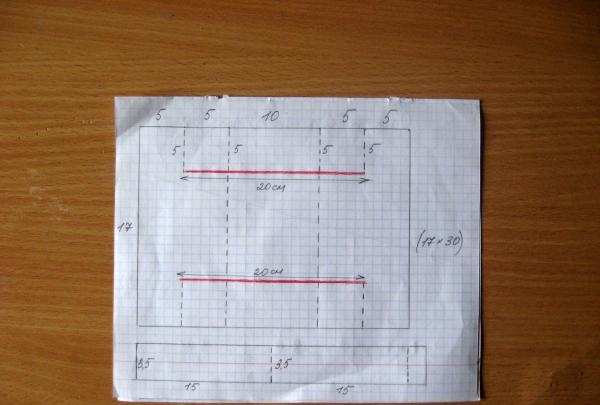
First we measure out a 17*30 cm rectangle. Now we apply the corresponding dimensions to each one according to the diagram.
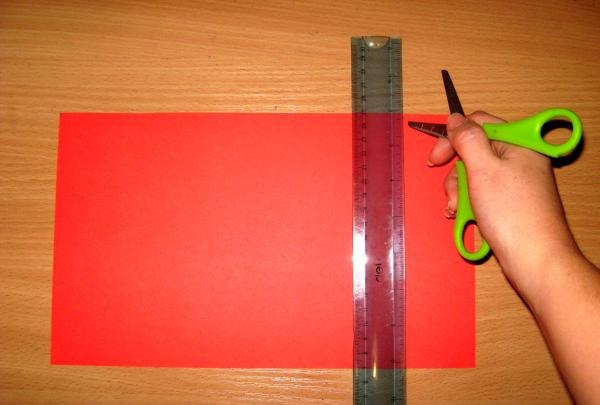
We make cuts with a stationery knife.
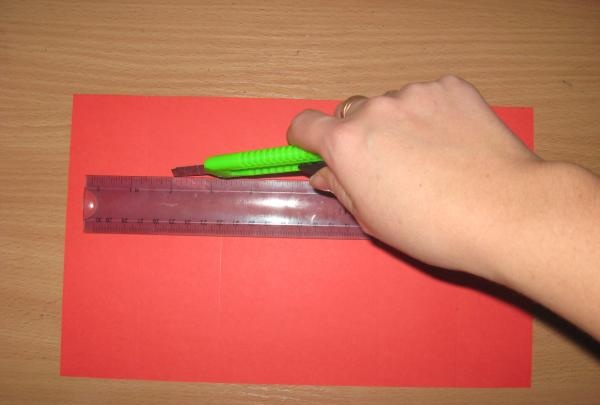
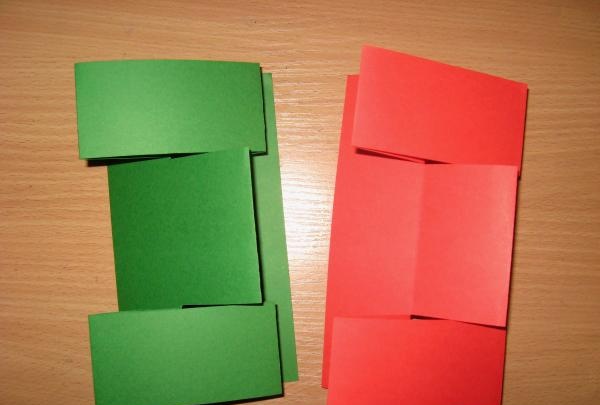
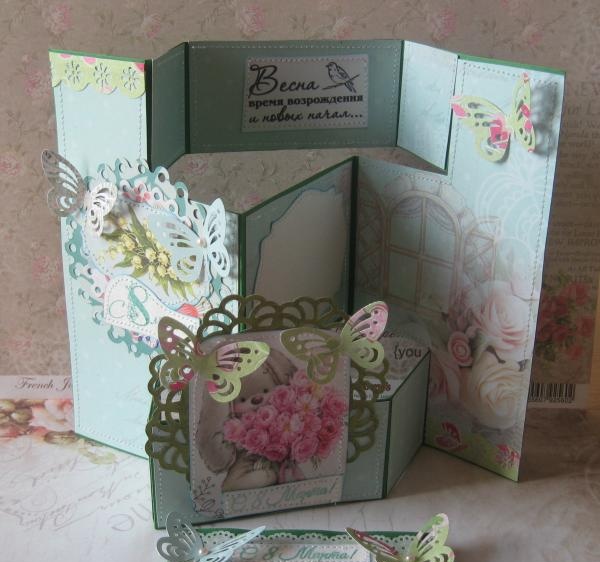
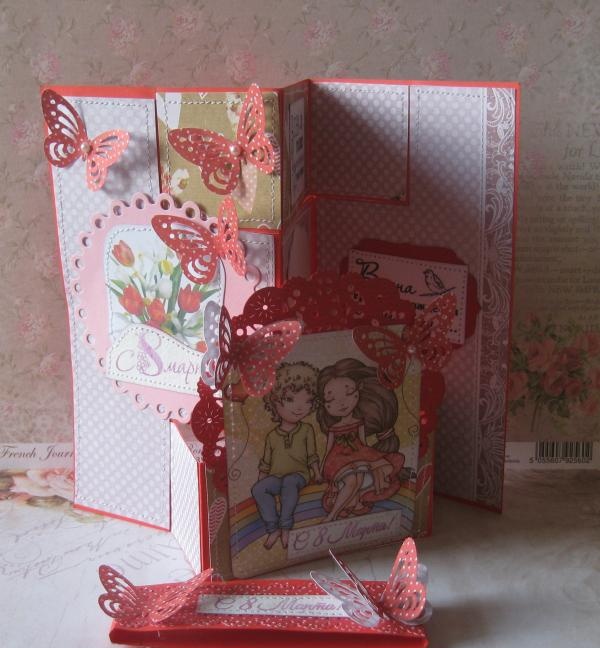
We fold the two bases along the bends like this. Please note that there are internal and external bends. Now we will cut out different shapes from scrap paper for decoration.
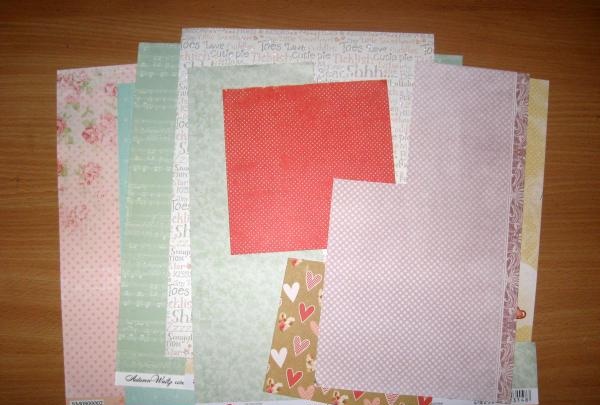
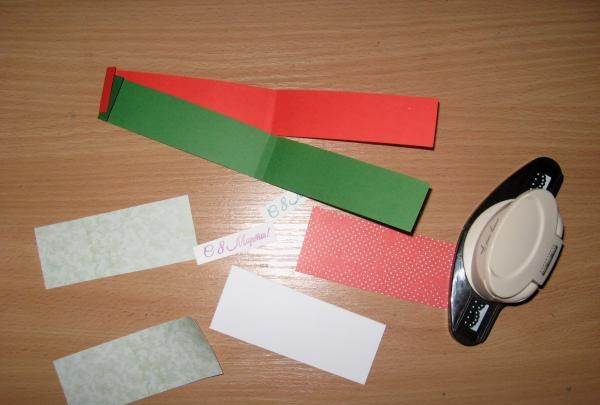
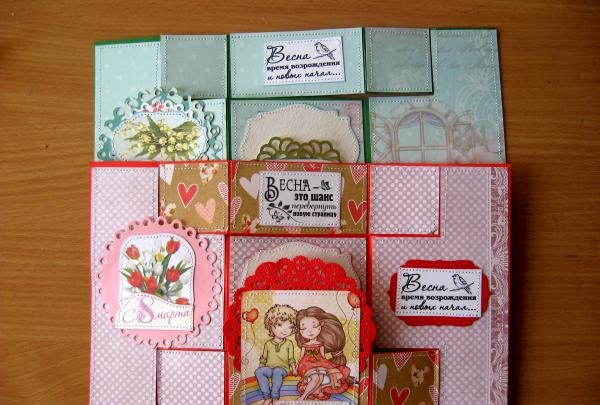
We cut out the following shapes, corresponding sizes, as in the photo. Cut out for the red base.
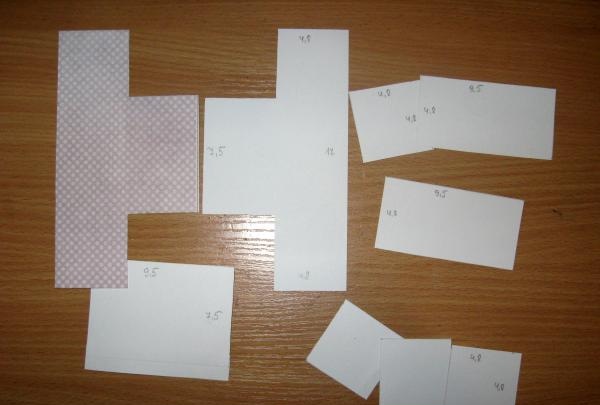
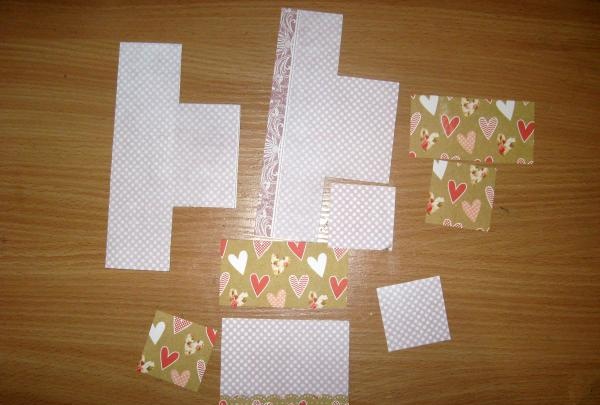
Now these are the ones for the green one. We glue some of the elements directly to the bases with double-sided tape. And on the second part we will glue cards, inscriptions, pictures.
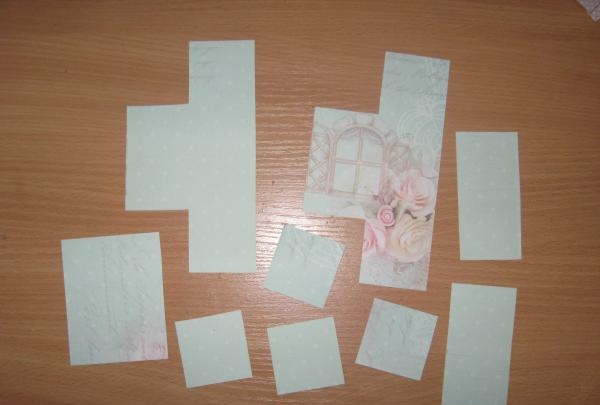
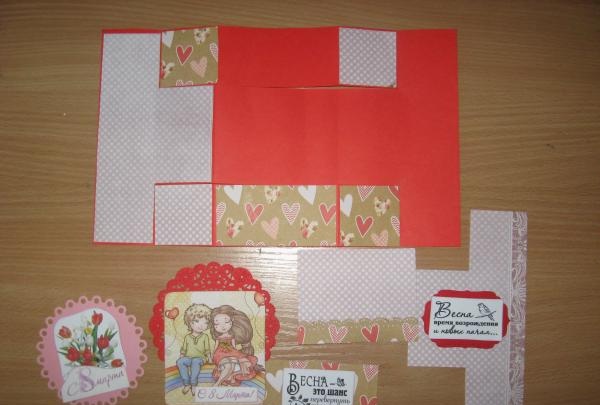
We sew pictures and inscriptions both to the blanks and to the mugs. We will make a card for a congratulatory inscription on the central rectangle.
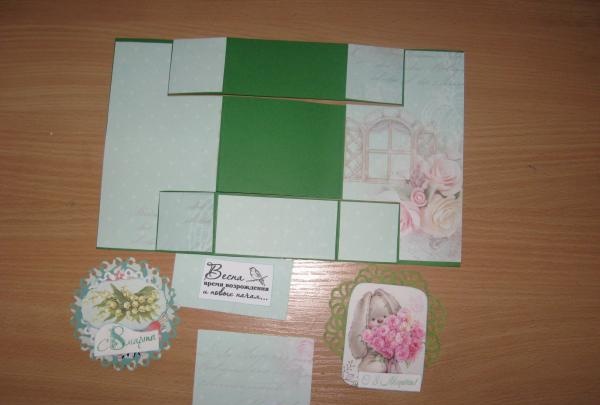
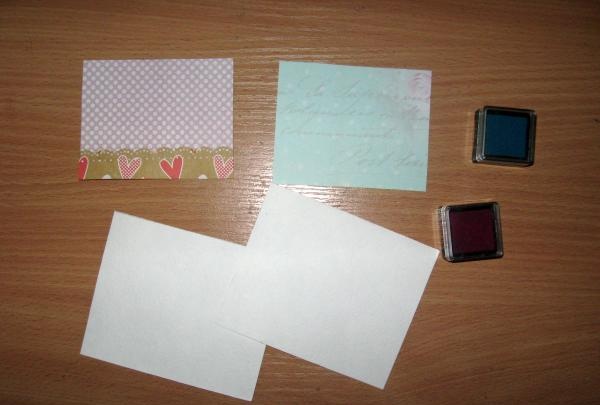
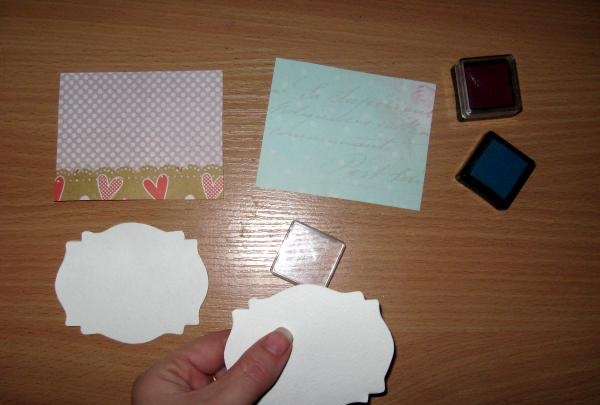
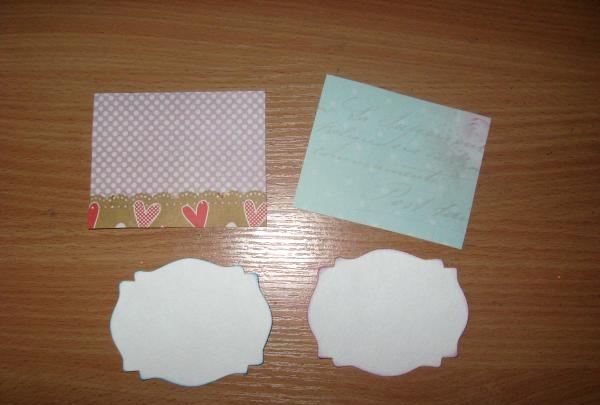
We cut out two blanks and tint them. Glue with double-sided tape.
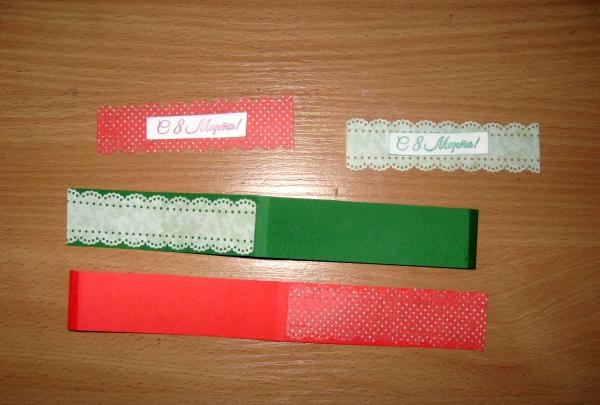
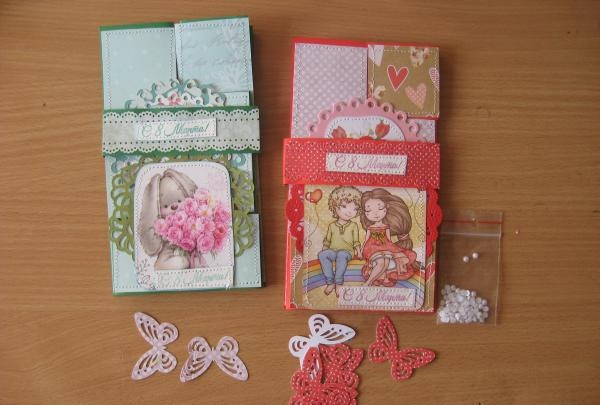
From the remaining strips of cardboard we need to make locks to close the folded cards. We divide them into parts 1 * 0.5 * 10.5 * 0.5 * 10.5 cm, and 3 cm in width.
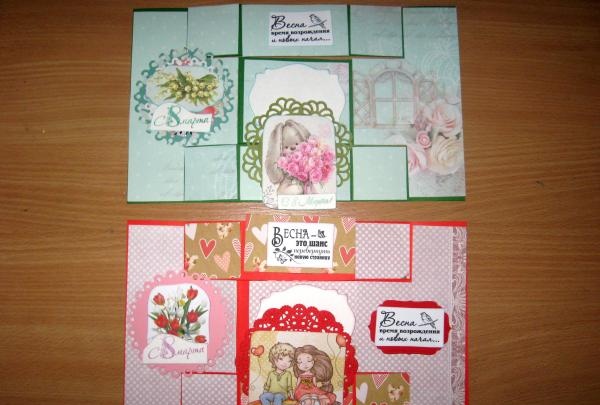
We punch the strips and glue one stamped inscription “Happy March 8th” onto them. We sew the inscription and glue these strips with a glue stick onto the cardboard lock.
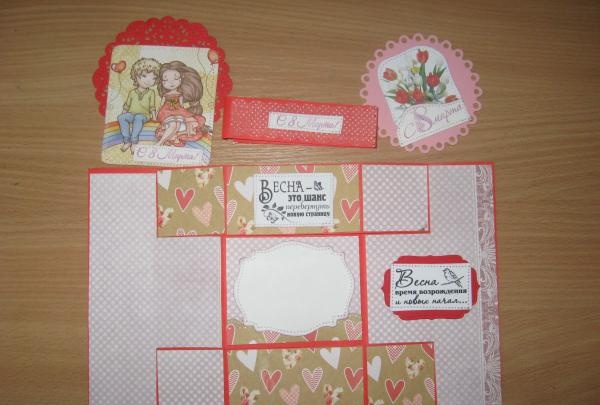
Now we completely close the entire base and stitch each element separately.
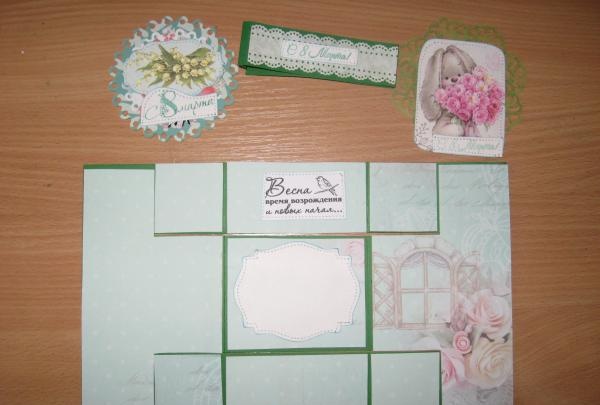
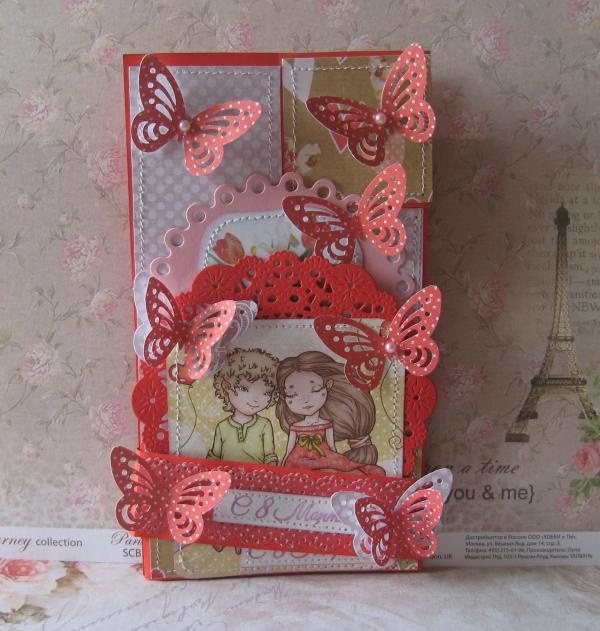
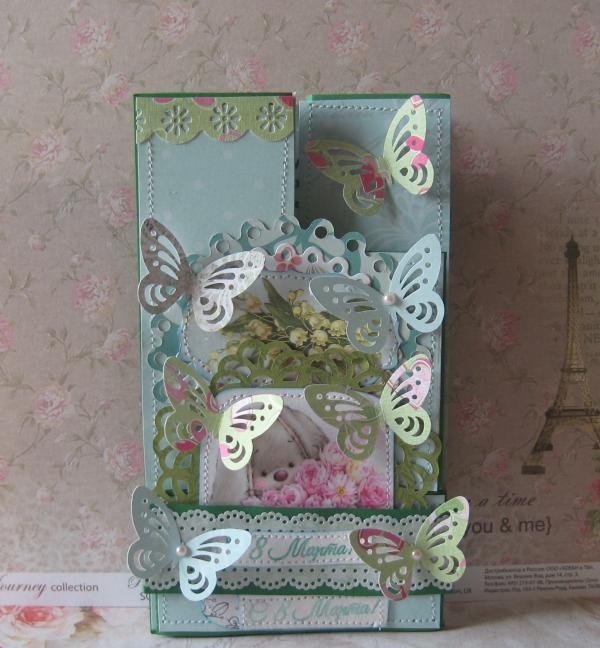
We fold both cards and close them with clasps.Now we punch the butterflies and decorate our cards by gluing them with a glue gun.
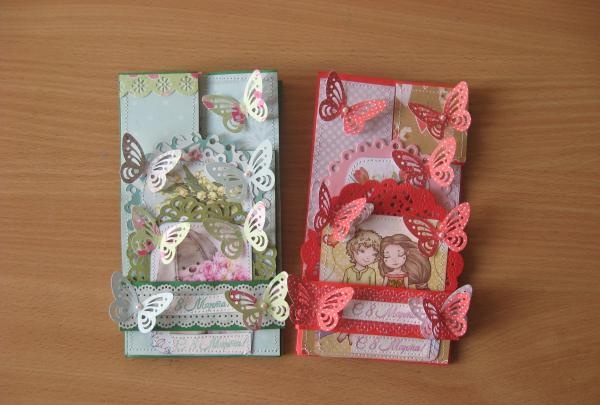
These bright and interesting postcards are ready for March 8th! Thank you for your attention!

• Red and green cardboard A4 format, one sheet each;
• Scheme of a folding postcard;
• Pink polka dot and mint paper for scrapbooking, size 30*30 cm;
• Die-cut circles, one pink and two colored;
• Pictures and tags with flowers, a couple of boys and girls, a bunny with flowers;
• Printed poems and inscriptions about spring;
• Openwork paper napkins, red and green (cut out);
• Stamps “Happy March 8th”, two stamps and two ink pads;
• Butterfly hole puncher;
• Half beads are different;
• Curb hole punch;
• Watercolor paper;
• Stationery knife and scissors;
• Glue stick, double-sided tape;
• Ruler and pencil.


So, first we take cardboard and we will transfer the diagram onto it. We will have two postcards, so we take a sheet of red and green cardboard.


First we measure out a 17*30 cm rectangle. Now we apply the corresponding dimensions to each one according to the diagram.


We make cuts with a stationery knife.


We fold the two bases along the bends like this. Please note that there are internal and external bends. Now we will cut out different shapes from scrap paper for decoration.


We cut out the following shapes, corresponding sizes, as in the photo. Cut out for the red base.


Now these are the ones for the green one. We glue some of the elements directly to the bases with double-sided tape. And on the second part we will glue cards, inscriptions, pictures.


We sew pictures and inscriptions both to the blanks and to the mugs. We will make a card for a congratulatory inscription on the central rectangle.


We cut out two blanks and tint them. Glue with double-sided tape.


From the remaining strips of cardboard we need to make locks to close the folded cards. We divide them into parts 1 * 0.5 * 10.5 * 0.5 * 10.5 cm, and 3 cm in width.


We punch the strips and glue one stamped inscription “Happy March 8th” onto them. We sew the inscription and glue these strips with a glue stick onto the cardboard lock.


Now we completely close the entire base and stitch each element separately.


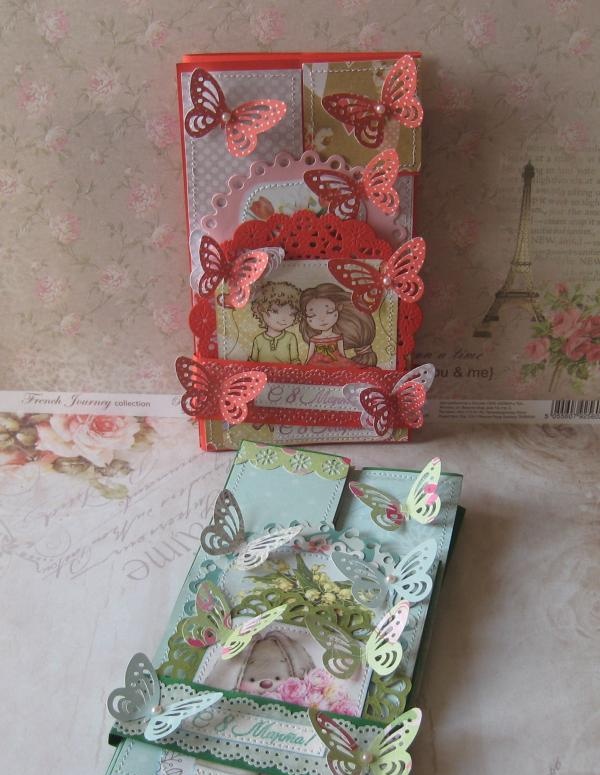
We fold both cards and close them with clasps.Now we punch the butterflies and decorate our cards by gluing them with a glue gun.


These bright and interesting postcards are ready for March 8th! Thank you for your attention!


Similar master classes
Particularly interesting
Comments (0)

