House for a cat made from newspaper tubes
Hello, dear readers. By getting into weaving from newspaper tubes, you can make a beautiful house for a cat. Houses for cats are now sold in stores and can be bought, but if you wish, you can make a unique house yourself and save money on the purchase. And you will like the house you made with your own hands.
We decided to make our cat house round:
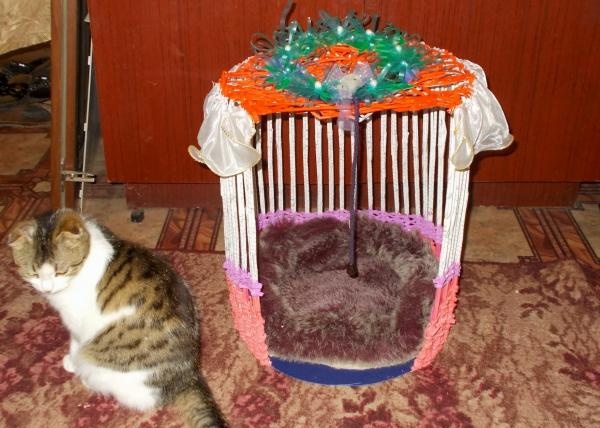
In order to make such a house, we needed:
- Paper sheets of paper (we used A4 size pages);
- Scissors;
- Glue;
- Pen rod;
- Copper wire of medium thickness;
- Needle;
- Several wide plastic sheets (we used an old paper folder);
- Gouache paints and brush;
- Scotch;
- Fur bedding (we cut off part from an old fur coat);
- Decorative decorations (bow, flowers (wreath)).
Starting work, we take an old plastic folder for papers and cut out a circle from it:
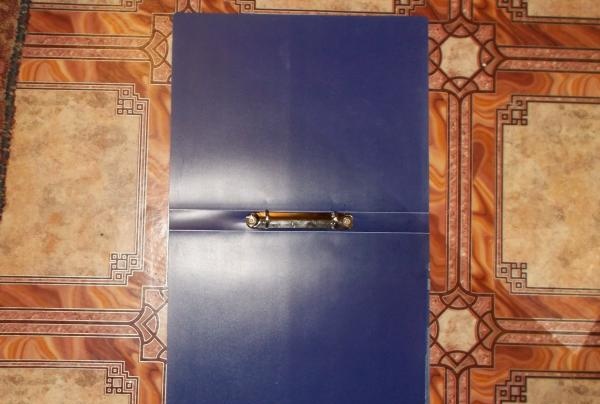
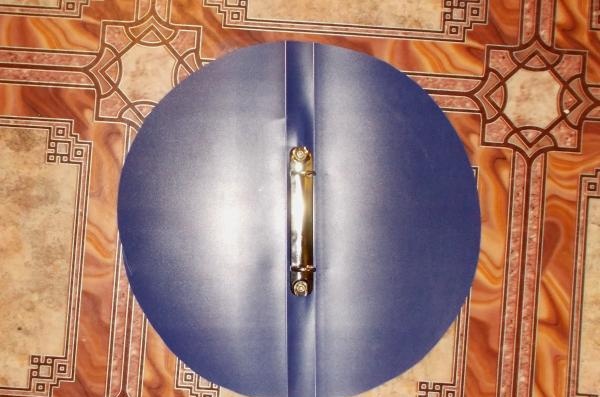
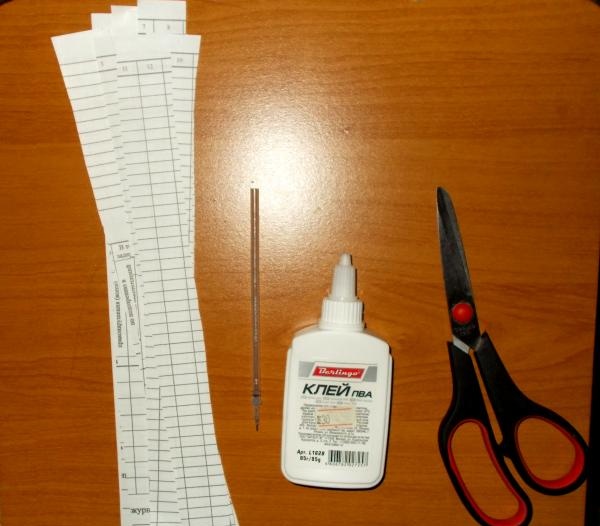
Then we take the paper and cut it into thin strips (2 centimeters wide):
Using a pen refill, we roll strips of paper into tubes and glue them together:
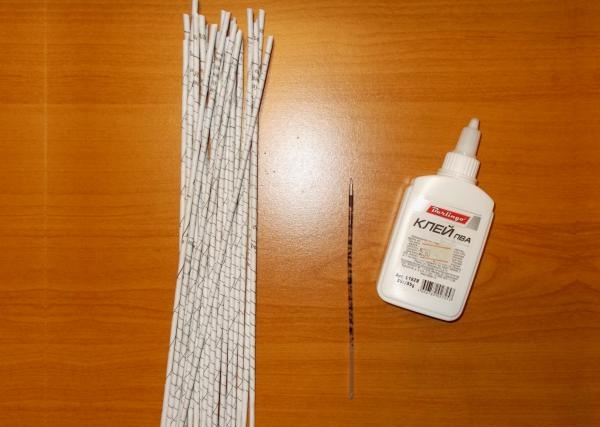
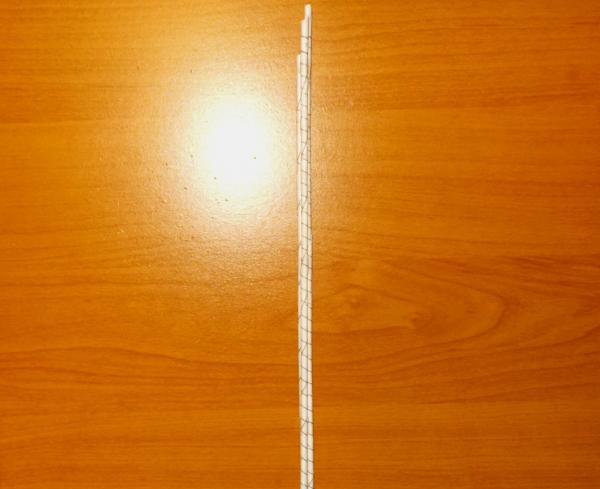
After this, we glue the resulting tubes together in three pieces using tape in order to make the walls of the house stronger:
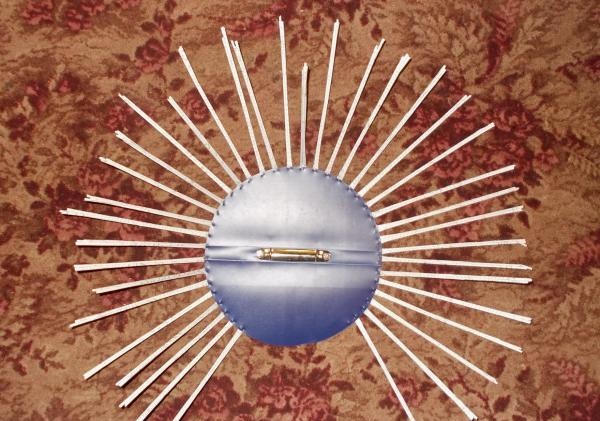
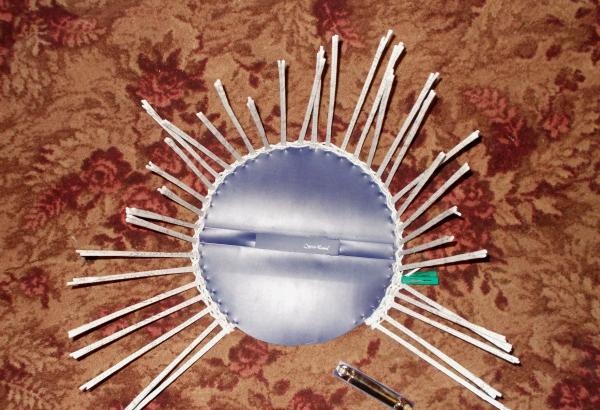
We pierce the glued tubes from below with a needle and sew them with wire to the edges of the round plastic base:
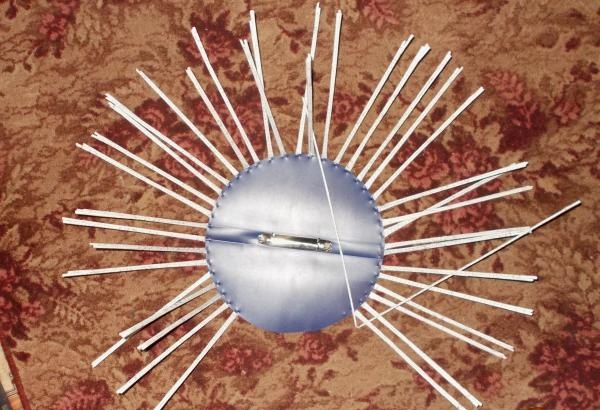
Next, when making new tubes, we braid them around those that are already sewn to the plastic base. You need to braid with a “zigzag”, that is, constantly intertwining both ends. We start braiding like this:
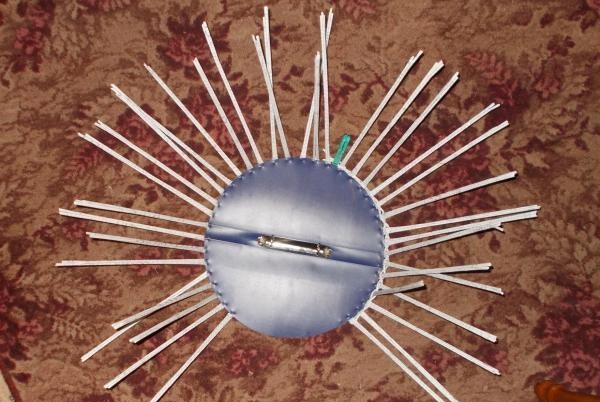
When the braiding tubes run out, they need to be secured with a clothespin and new ones added (insert them inside or on top, depending on how wide or narrow their tips are).
After making five circles of weaving, we decided to remove the section with the iron lock from the plastic base, which would be inconvenient for the cat. We managed to do this with the help of a thick needle and scissors, but there was no way we could have done it with scissors alone. From another piece of plastic folder we cut out a rectangular section, slightly larger than the size of the cut section and glue it:
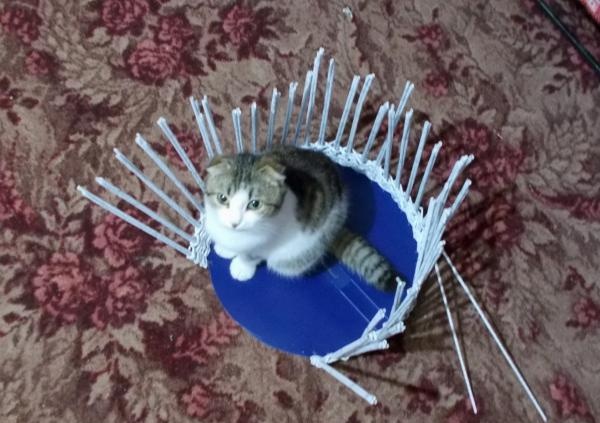
To calculate the required height of the walls of the house, you need to measure the height of the cat. Our cat’s height is 32.5 cm, and we decided to make the height of the walls of the house to match this height (but a little higher).
The cat came inside more than once:
Having made nine rows of weaving, we decided to further make several rows of patterned, “openwork” weaving:
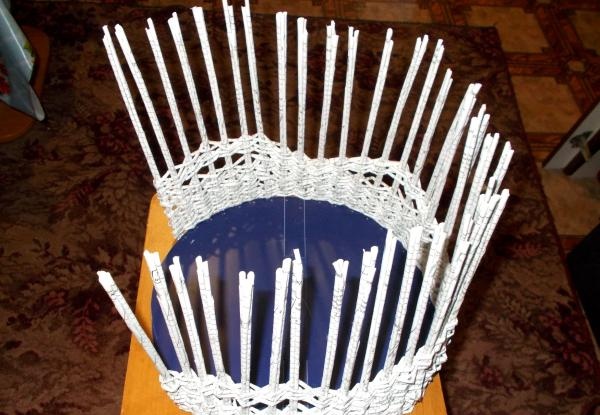
This is what the resulting house looks like from the front:
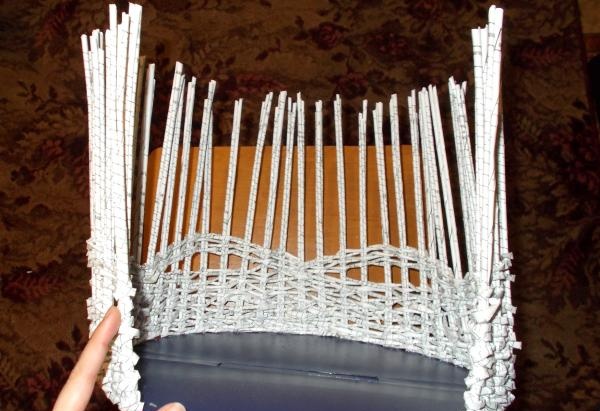
We decided to add a second row:
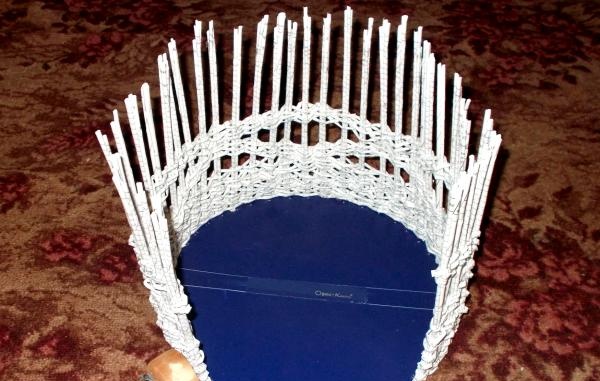
Then we placed a fur blanket, but it turned out that it hid all the patterns from the inside:

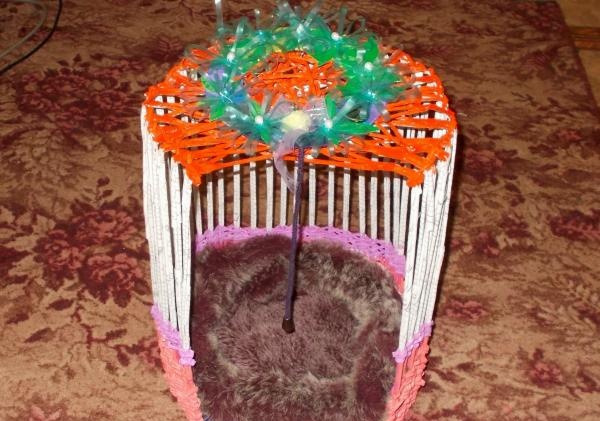
Next, we bend the ends of the tubes from above and add new ones to them, after which we intertwine them and connect them to opposite ends, forming a roof. At first our roof didn’t look very good:
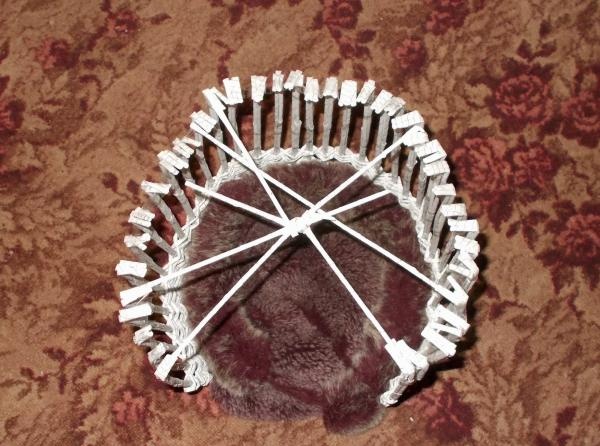
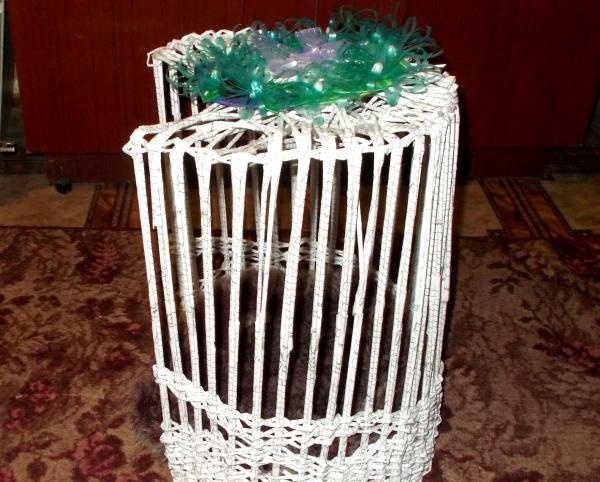
The work on the roof took us about two days.During this time, we managed to trim it and make a row of weaving around the edges. For decoration, we added a decorative wreath of plastic flowers on top:
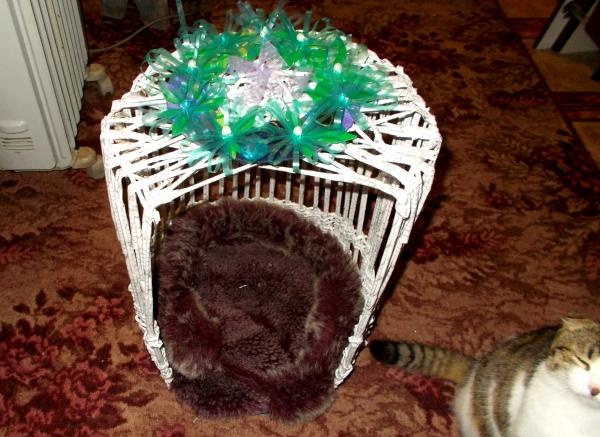
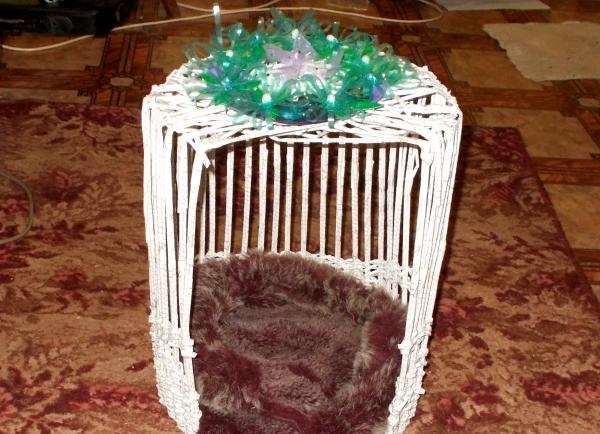
Here's our view crafts side:
After that we started painting the outside of the house. This is where gouache paints came in handy; and after dyeing, we decided to add a bow with a rose and a lace on top. During work, we constantly adjusted the roof, trying to make it even.
After some time, we discovered that the craft was leaning too forward due to the patterned weaving at the back (one row of weaving was located too high), and when we lowered this row, the house stopped tilting:
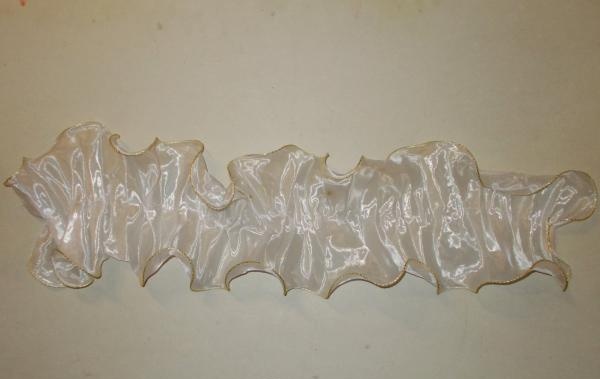
Now we take an old school bow and unravel its seams. The result is a piece of fabric like this:
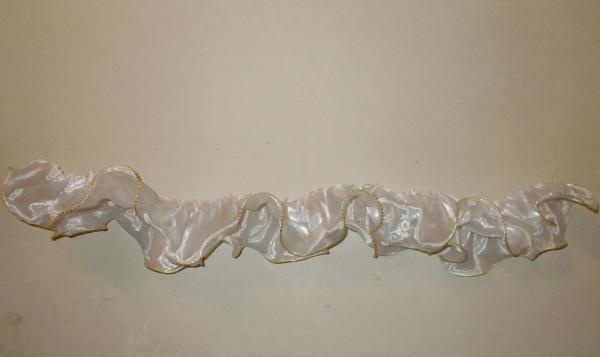
Having folded the fabric in half, we make seams on its upper side and tighten (compress) the fabric:
Then we sew it to the tubes of the upper section of the house (along the edges of its roof), aligning it in length to its circumference:
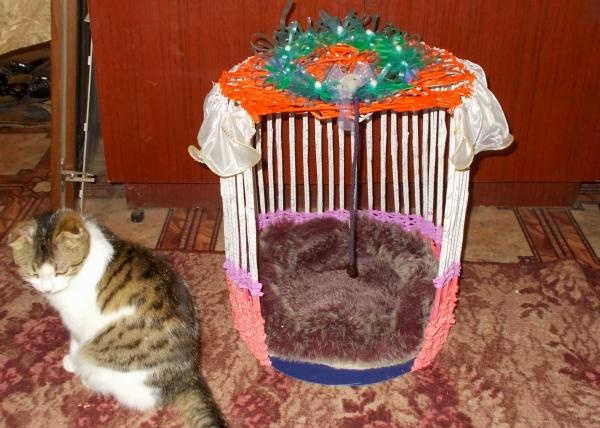
After that, that's it - our cat house is ready.
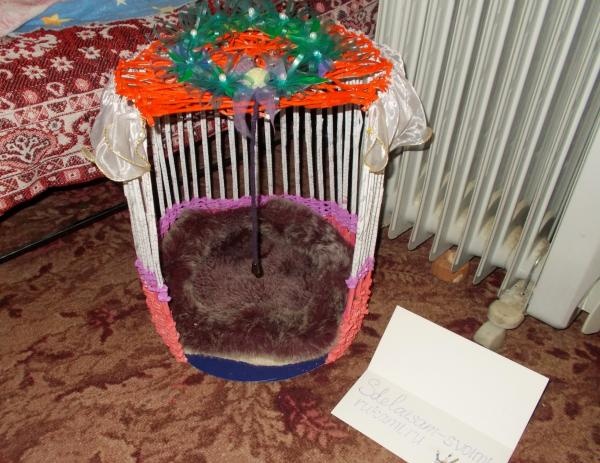
In total, it took us ten days to make this house:
We decided to make our cat house round:

In order to make such a house, we needed:
- Paper sheets of paper (we used A4 size pages);
- Scissors;
- Glue;
- Pen rod;
- Copper wire of medium thickness;
- Needle;
- Several wide plastic sheets (we used an old paper folder);
- Gouache paints and brush;
- Scotch;
- Fur bedding (we cut off part from an old fur coat);
- Decorative decorations (bow, flowers (wreath)).
Starting work, we take an old plastic folder for papers and cut out a circle from it:


Then we take the paper and cut it into thin strips (2 centimeters wide):

Using a pen refill, we roll strips of paper into tubes and glue them together:

After this, we glue the resulting tubes together in three pieces using tape in order to make the walls of the house stronger:

We pierce the glued tubes from below with a needle and sew them with wire to the edges of the round plastic base:

Next, when making new tubes, we braid them around those that are already sewn to the plastic base. You need to braid with a “zigzag”, that is, constantly intertwining both ends. We start braiding like this:

When the braiding tubes run out, they need to be secured with a clothespin and new ones added (insert them inside or on top, depending on how wide or narrow their tips are).

After making five circles of weaving, we decided to remove the section with the iron lock from the plastic base, which would be inconvenient for the cat. We managed to do this with the help of a thick needle and scissors, but there was no way we could have done it with scissors alone. From another piece of plastic folder we cut out a rectangular section, slightly larger than the size of the cut section and glue it:

To calculate the required height of the walls of the house, you need to measure the height of the cat. Our cat’s height is 32.5 cm, and we decided to make the height of the walls of the house to match this height (but a little higher).
The cat came inside more than once:

Having made nine rows of weaving, we decided to further make several rows of patterned, “openwork” weaving:

This is what the resulting house looks like from the front:

We decided to add a second row:

Then we placed a fur blanket, but it turned out that it hid all the patterns from the inside:

Next, we bend the ends of the tubes from above and add new ones to them, after which we intertwine them and connect them to opposite ends, forming a roof. At first our roof didn’t look very good:

The work on the roof took us about two days.During this time, we managed to trim it and make a row of weaving around the edges. For decoration, we added a decorative wreath of plastic flowers on top:


Here's our view crafts side:

After that we started painting the outside of the house. This is where gouache paints came in handy; and after dyeing, we decided to add a bow with a rose and a lace on top. During work, we constantly adjusted the roof, trying to make it even.
After some time, we discovered that the craft was leaning too forward due to the patterned weaving at the back (one row of weaving was located too high), and when we lowered this row, the house stopped tilting:

Now we take an old school bow and unravel its seams. The result is a piece of fabric like this:

Having folded the fabric in half, we make seams on its upper side and tighten (compress) the fabric:

Then we sew it to the tubes of the upper section of the house (along the edges of its roof), aligning it in length to its circumference:

After that, that's it - our cat house is ready.

In total, it took us ten days to make this house:

Sincerely, Vorobyova Dinara.
Similar master classes
Particularly interesting
Comments (1)

