Mini cardboard box
If you are planning to give someone a small souvenir, then take care of its packaging. A beautiful box looks much more presentable than a paper or cellophane wrapper. Moreover, it is very easy to make a box yourself. Technique origami allows you to make packaging that does not need to be sealed with glue.
Prepare the following components:
- two sheets of not too thick cardboard;
- ruler;
- scissors;
- pen or pencil.
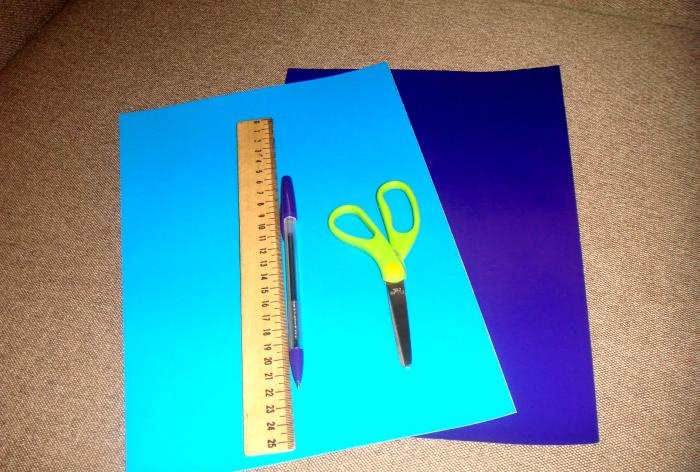
It is better to use two contrasting shades of adjacent colors. For example, blue and purple. 2 squares should be cut out of them. The purple square should be 1 cm smaller than the blue one.
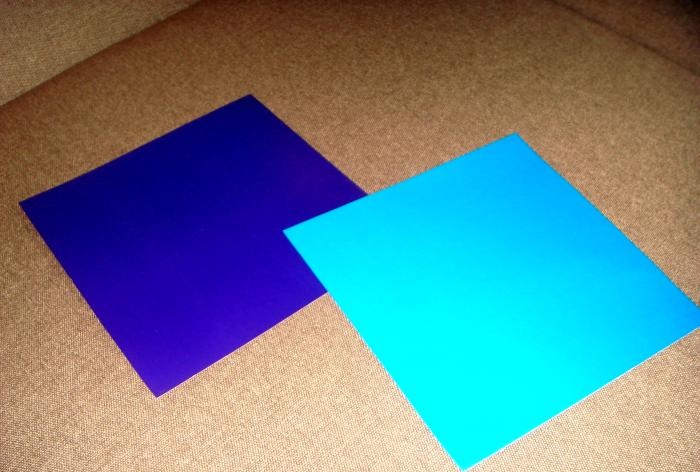
Take one square and bend it diagonally twice.
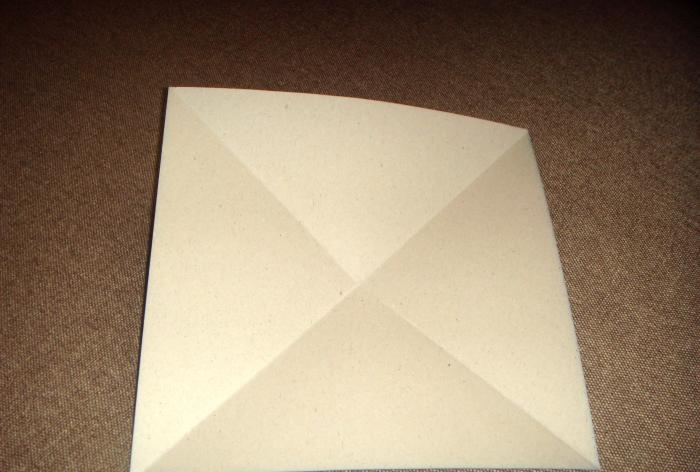
Then open the workpiece and fold two opposite corners towards the center.
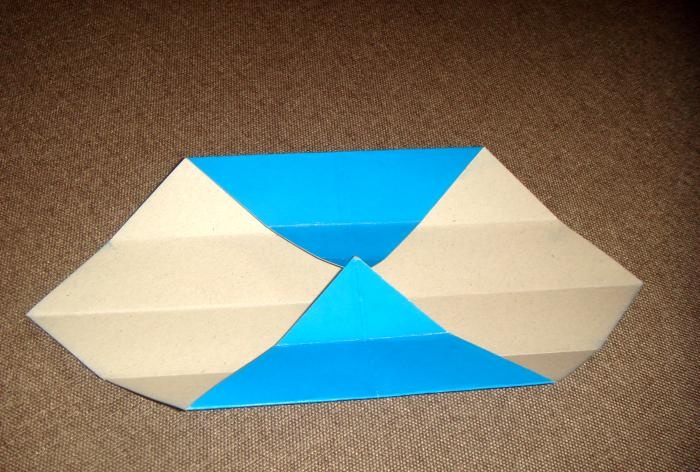
And fold the sides into the middle again. It turns out to be such a preparation.
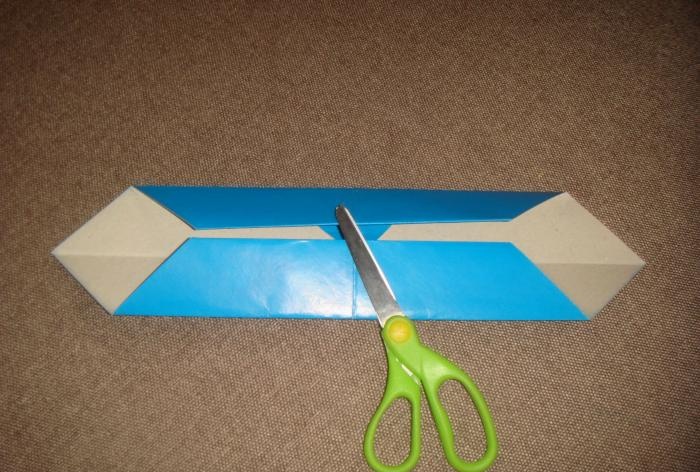
Open it and repeat the same manipulations with other corners.
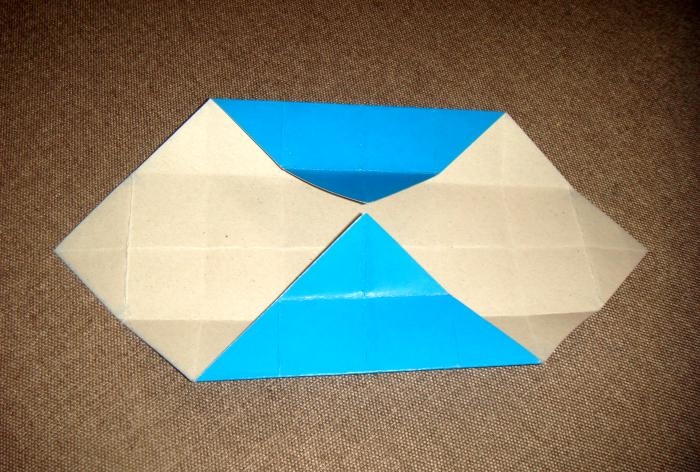
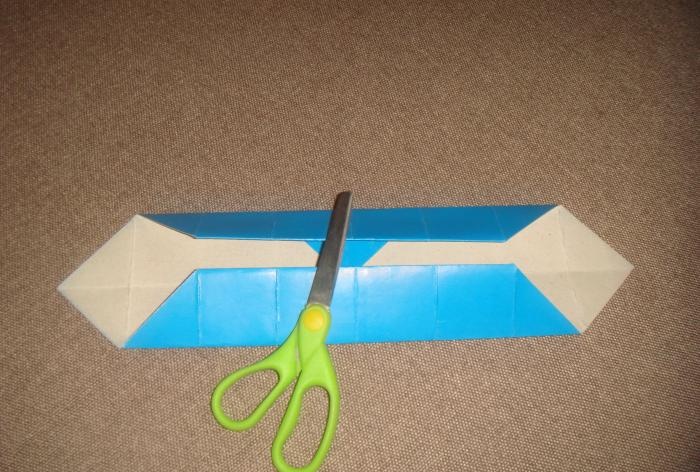
Expand everything to its original state and notice that the large square is completely divided into small squares and triangles. Cut two opposite corners so that there are 4 small squares left in the center and two slits on each side.
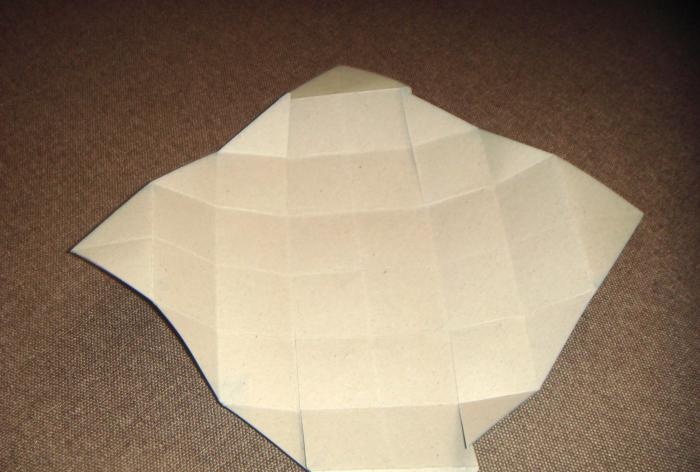
Fold the left and right corners into the center, creating the sides of the future box and connect the upper and lower cut corners.
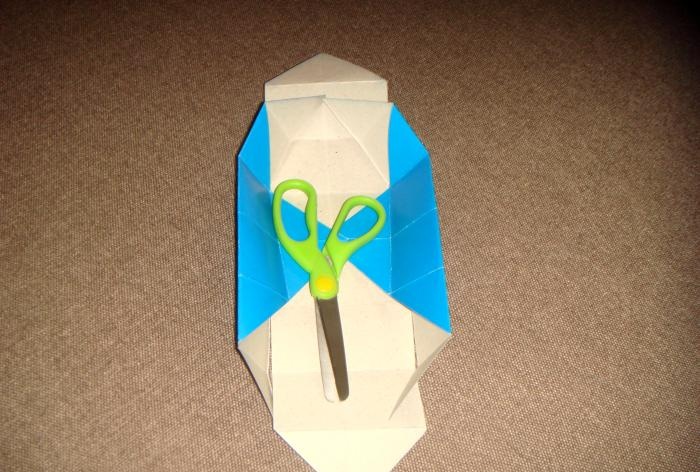
Hide them with the remaining corners so that the sides are formed at the top and bottom.
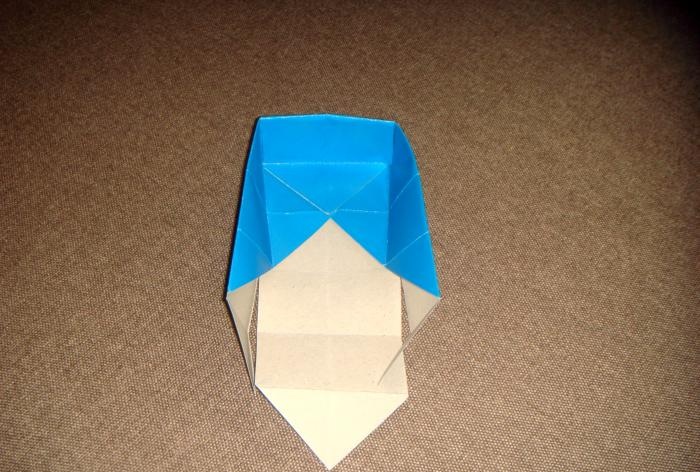
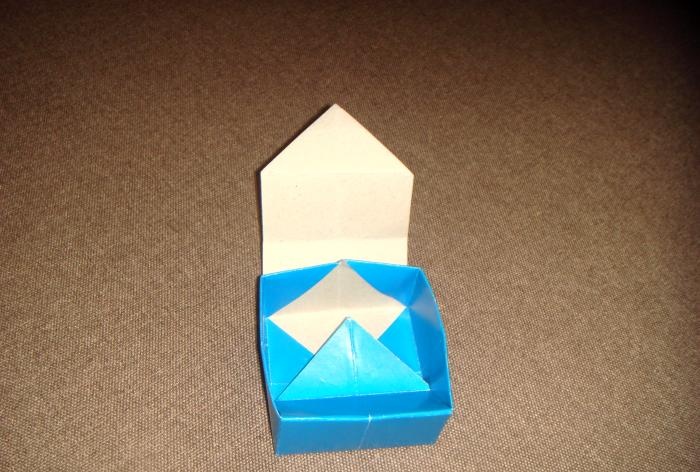
What comes out is this miniature blue box.
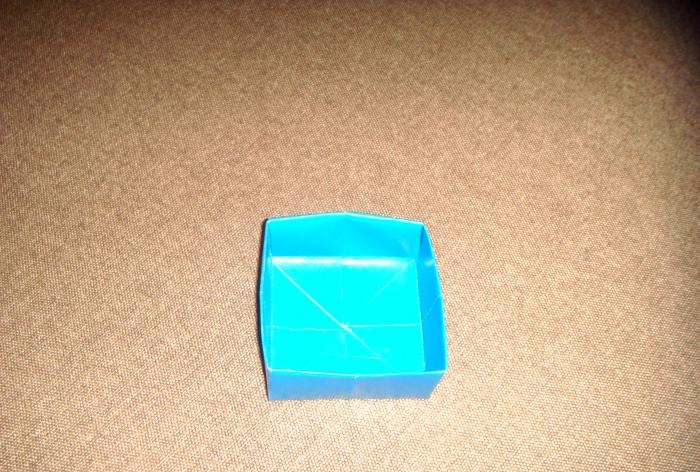
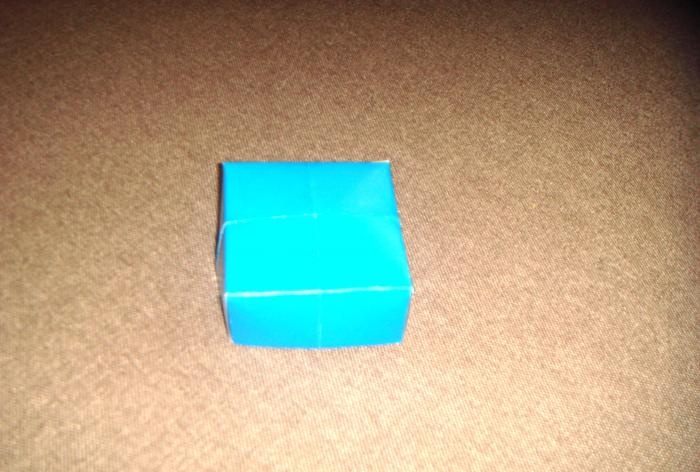
Fold the same blank from the purple square. It turns out a little smaller than blue.
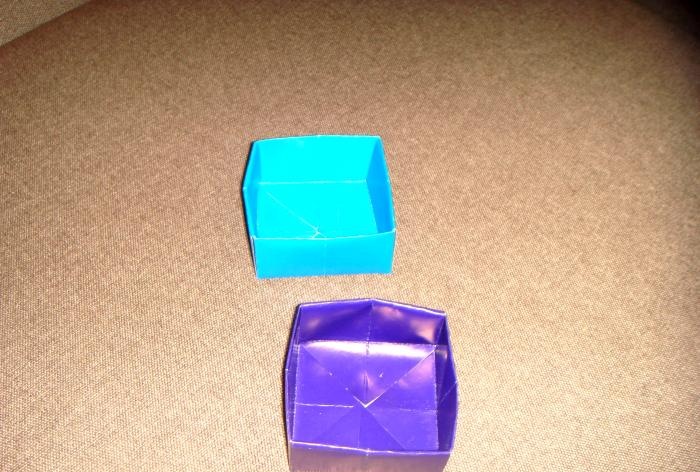
Both parts are easily connected to each other.
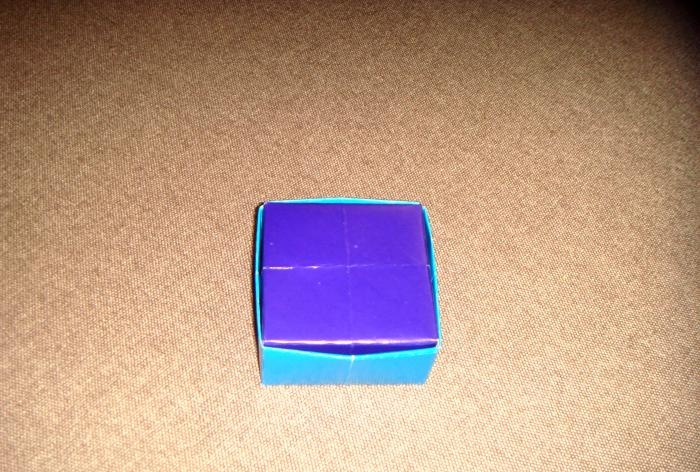
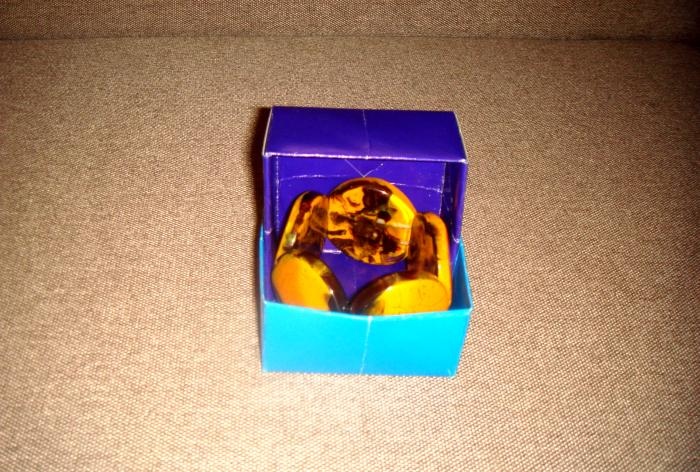
Hide a small souvenir in this package. This could be a bracelet for your daughter.
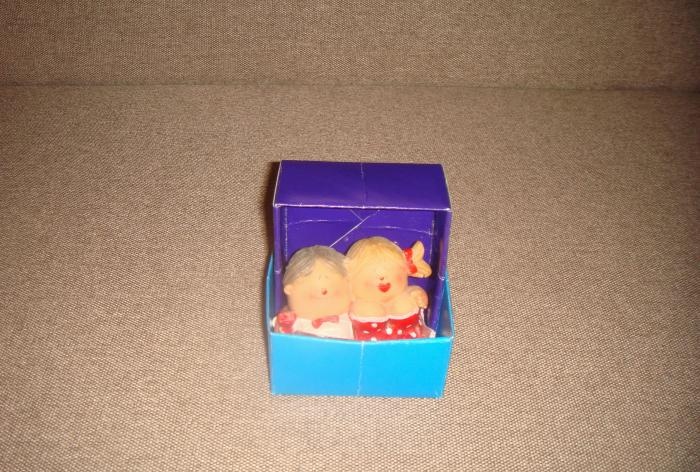
An original figurine for a friend.
You can decorate the box with a satin ribbon bow or tie a ribbon around the entire perimeter so that the birthday boy will also unpack it with interest. It would be appropriate to put a piece of paper inside with your wishes.
If you take larger cardboard, the box will come out larger. And thick paper, which is used in scrapbooking, will allow you to create a bright box with a cheerful print.
Prepare the following components:
- two sheets of not too thick cardboard;
- ruler;
- scissors;
- pen or pencil.

It is better to use two contrasting shades of adjacent colors. For example, blue and purple. 2 squares should be cut out of them. The purple square should be 1 cm smaller than the blue one.

Take one square and bend it diagonally twice.

Then open the workpiece and fold two opposite corners towards the center.

And fold the sides into the middle again. It turns out to be such a preparation.

Open it and repeat the same manipulations with other corners.


Expand everything to its original state and notice that the large square is completely divided into small squares and triangles. Cut two opposite corners so that there are 4 small squares left in the center and two slits on each side.

Fold the left and right corners into the center, creating the sides of the future box and connect the upper and lower cut corners.

Hide them with the remaining corners so that the sides are formed at the top and bottom.


What comes out is this miniature blue box.


Fold the same blank from the purple square. It turns out a little smaller than blue.

Both parts are easily connected to each other.

Hide a small souvenir in this package. This could be a bracelet for your daughter.

An original figurine for a friend.

You can decorate the box with a satin ribbon bow or tie a ribbon around the entire perimeter so that the birthday boy will also unpack it with interest. It would be appropriate to put a piece of paper inside with your wishes.
If you take larger cardboard, the box will come out larger. And thick paper, which is used in scrapbooking, will allow you to create a bright box with a cheerful print.
Similar master classes
Particularly interesting
Comments (0)

