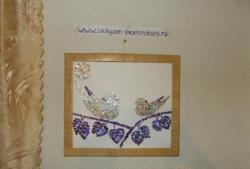
Painting using isothread technique “Birds in the sun”
The isothread technique allows you to create very unusual images. By moving the thread in a given direction, you can embroider such a stunning picture that you just can’t take your eyes off it. For those who know how to sew, creating something beautiful in this type of creativity is not a problem. But even if you've never worked with thread and needle, it's worth trying to create something basic using this fun crafting technique.
Today you will learn all the secrets of making the painting “Birds in the Sun”, and step-by-step photographs will help you master the techniques of embroidery on cardboard.
To work you need to collect the following materials:
- a sheet of black cardboard;
- compass;
- a simple pencil;
- ruler;
- awl;
- a needle;
- yellow and white threads.
We take colored cardboard in a dark shade. Black is best, but dark blue and deep purple also work great.
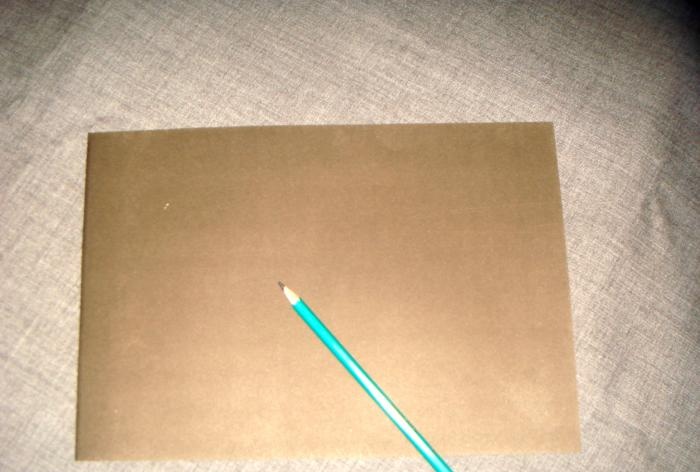
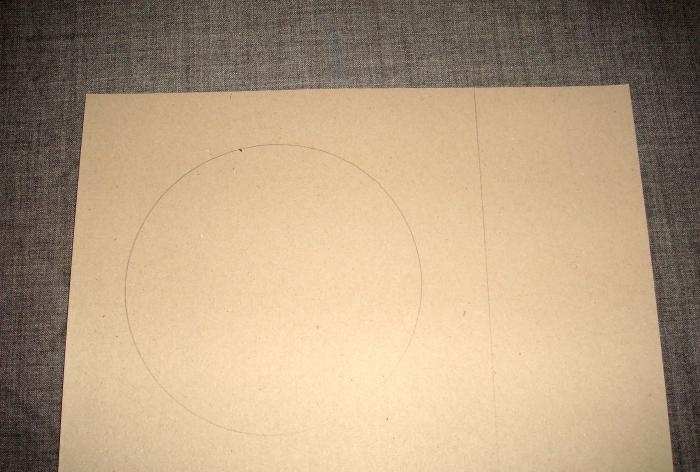
On the reverse (non-colored) side of the cardboard we draw a circle; it is best to do this with a compass. If you don’t have such a tool in your home, then you can use a plate or any other round-shaped object as a stencil.
Next, draw a part from the rectangular base to make a square.
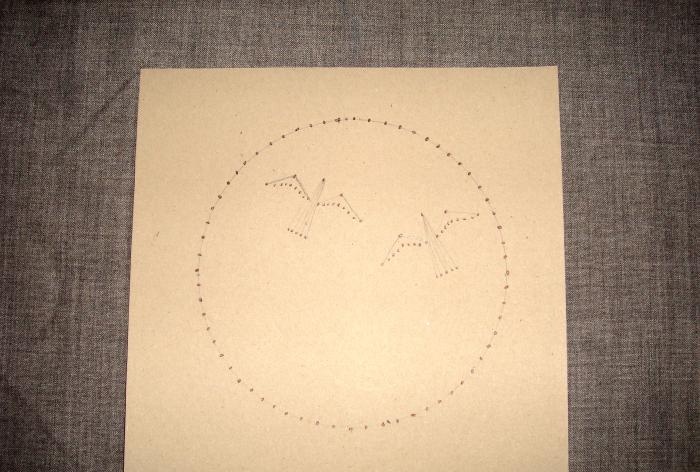
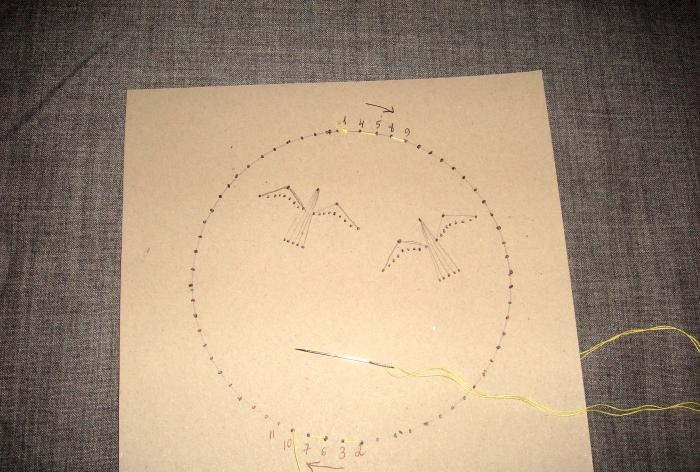
We draw dots along the entire ring at a distance of 8-10 mm and in the center we depict two birds with dots and lines.
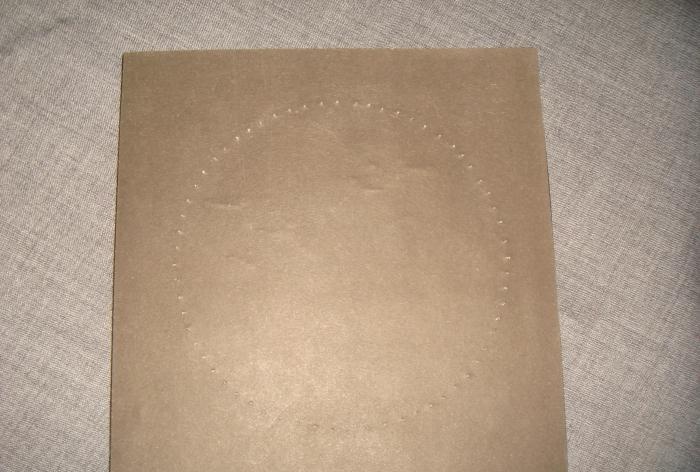
To make the needle pass through thick cardboard more easily, you can first use an awl to make a small hole at each point of the pattern.
Now we pull the yellow thread into the needle and begin to fill the circle as indicated in the diagram. That is, from above we move to the right, and from below - to the left. The numbers show the thread steps on the front and back sides.
This is how the threads should lie on the colored side of the cardboard.
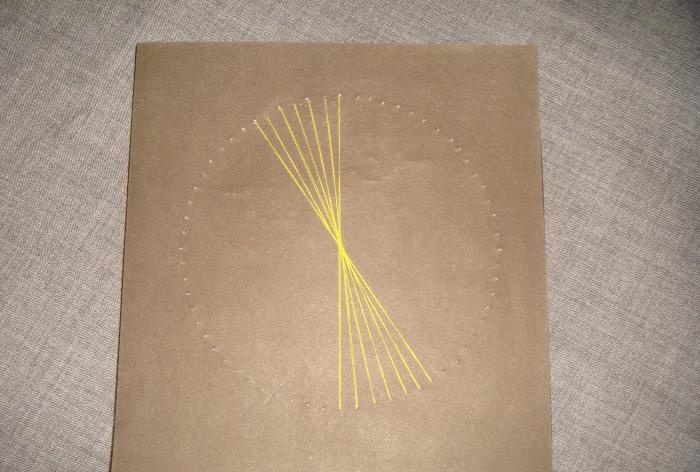
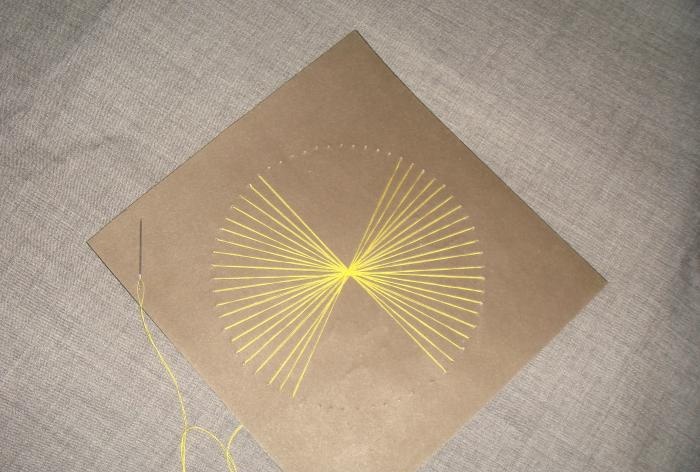
Gradually fill the entire plane of our circle.
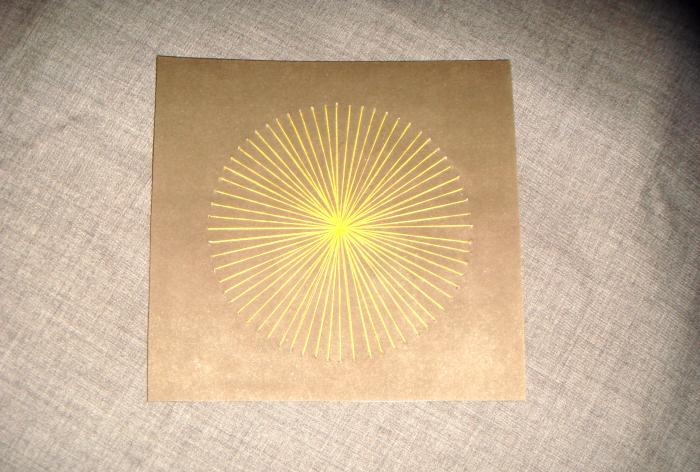
Now let's move on to embroidering the birds.
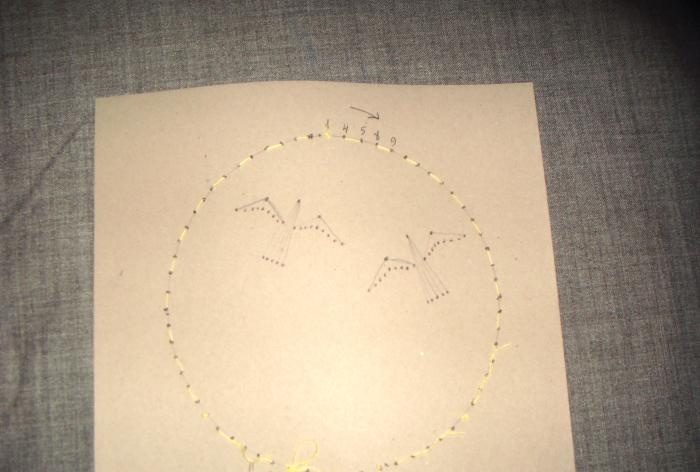
To do this, you need to take a white thread and fill in the images according to the diagram.
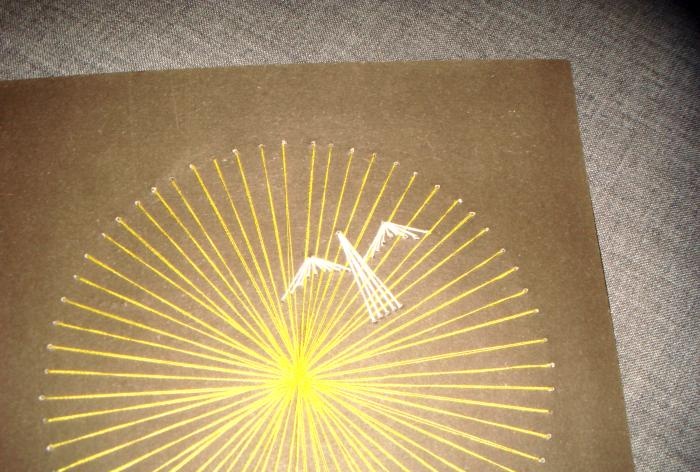
This is what birds made of threads look like.
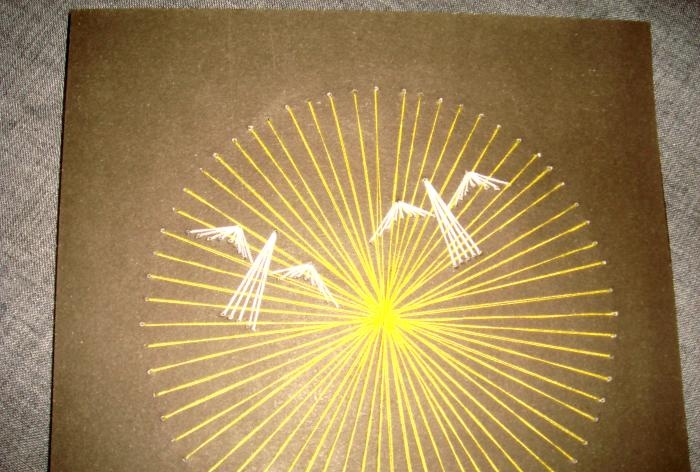
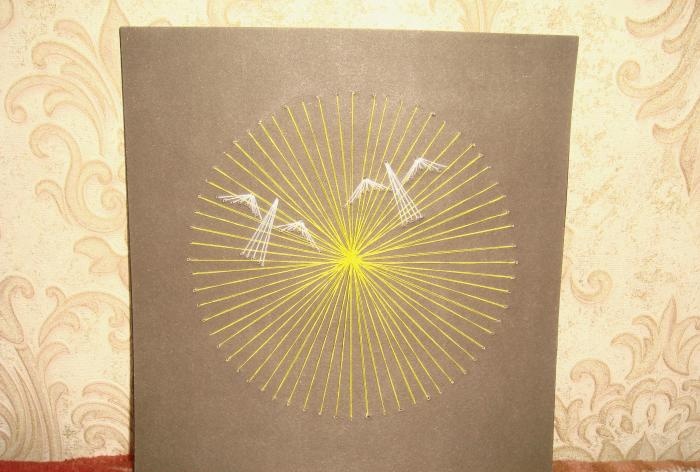
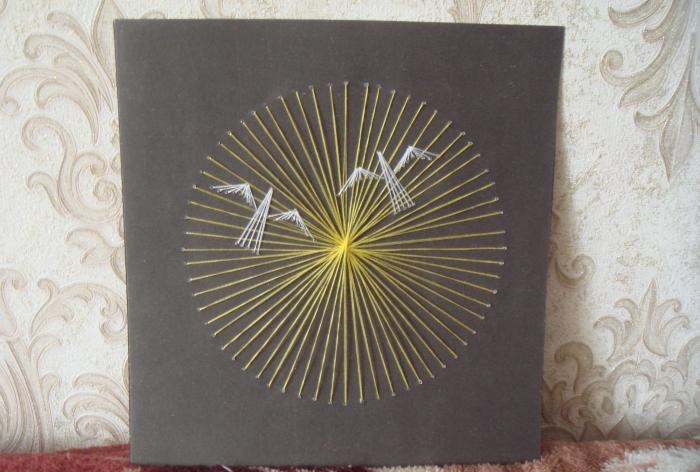
And this is the general view of our picture.
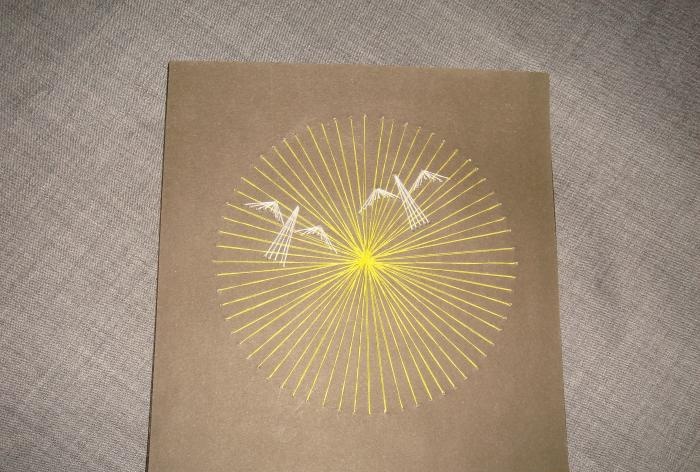
Look how organically the birds look against the background of the sun (or moon).
Adviсe:
- you can first embroider the birds and then move on to filling in the sun;
- the picture will look even more magnificent in a frame;
- if you use light cardboard as a base, then the birds should be embroidered with black threads;
- when you learn how to make simple paintings (you get a little practiced), you can move on to plot images and apply more complex schemes.
As a rule, with this technique, each subsequent painting turns out better than the previous one. So don't stop, and soon you will be able to create a real masterpiece.
Today you will learn all the secrets of making the painting “Birds in the Sun”, and step-by-step photographs will help you master the techniques of embroidery on cardboard.
To work you need to collect the following materials:
- a sheet of black cardboard;
- compass;
- a simple pencil;
- ruler;
- awl;
- a needle;
- yellow and white threads.
We take colored cardboard in a dark shade. Black is best, but dark blue and deep purple also work great.

On the reverse (non-colored) side of the cardboard we draw a circle; it is best to do this with a compass. If you don’t have such a tool in your home, then you can use a plate or any other round-shaped object as a stencil.
Next, draw a part from the rectangular base to make a square.

We draw dots along the entire ring at a distance of 8-10 mm and in the center we depict two birds with dots and lines.

To make the needle pass through thick cardboard more easily, you can first use an awl to make a small hole at each point of the pattern.

Now we pull the yellow thread into the needle and begin to fill the circle as indicated in the diagram. That is, from above we move to the right, and from below - to the left. The numbers show the thread steps on the front and back sides.

This is how the threads should lie on the colored side of the cardboard.


Gradually fill the entire plane of our circle.

Now let's move on to embroidering the birds.

To do this, you need to take a white thread and fill in the images according to the diagram.

This is what birds made of threads look like.

And this is the general view of our picture.

Look how organically the birds look against the background of the sun (or moon).


Adviсe:
- you can first embroider the birds and then move on to filling in the sun;
- the picture will look even more magnificent in a frame;
- if you use light cardboard as a base, then the birds should be embroidered with black threads;
- when you learn how to make simple paintings (you get a little practiced), you can move on to plot images and apply more complex schemes.
As a rule, with this technique, each subsequent painting turns out better than the previous one. So don't stop, and soon you will be able to create a real masterpiece.
Similar master classes
Particularly interesting
Comments (0)

