Painting using isothread technique “Rowan branch”
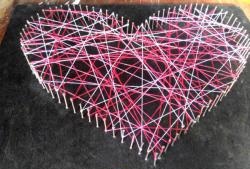
The isothread technique allows embroidery lovers to try themselves in a slightly different role. As a basis for crafts cardboard is used, so the sensations during embroidery are completely different than when working with canvas or fabric. Today you will learn how to make a painting using the isothread technique called “Rowan Branch”. This master class will reveal all the secrets and subtleties of manufacturing.
For work, collect the following materials:
- a sheet of blue cardboard;
- a simple pencil;
- awl;
- igloo;
- sewing threads in black, green, red and white;
- scissors;
- A4 frame.
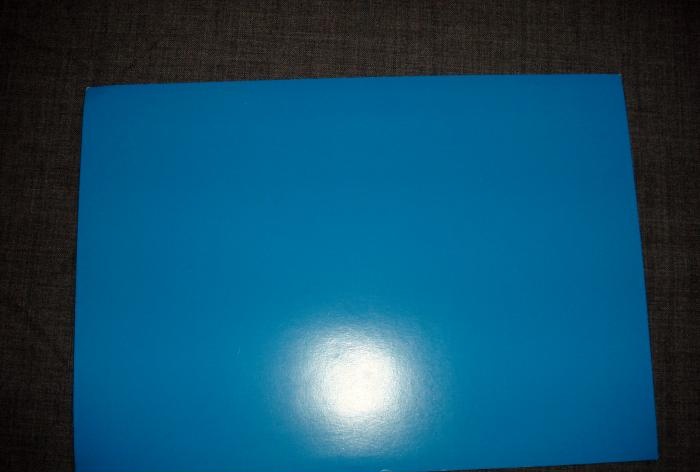
For work, select thick blue cardboard.
On the wrong side, draw an image of a twig with a rowan brush.
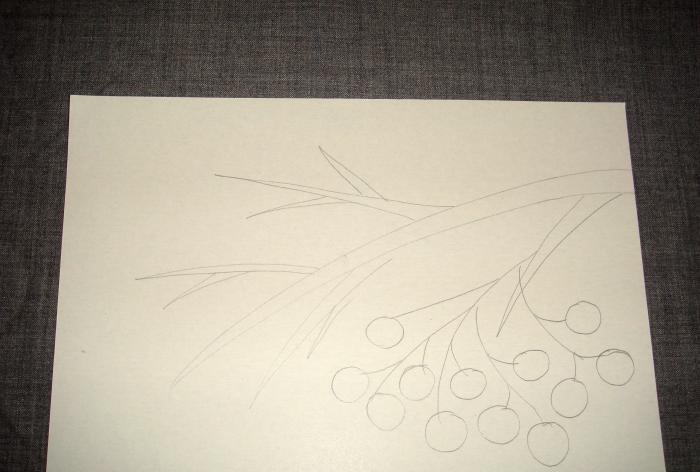
Throughout the graphic design, mark points at a distance of 6-8 mm.
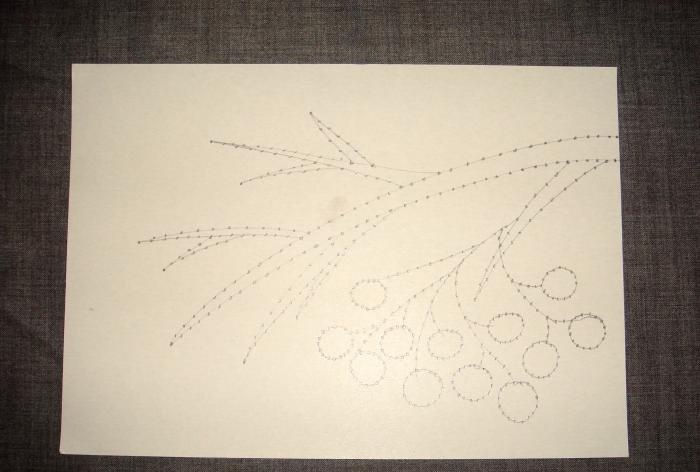
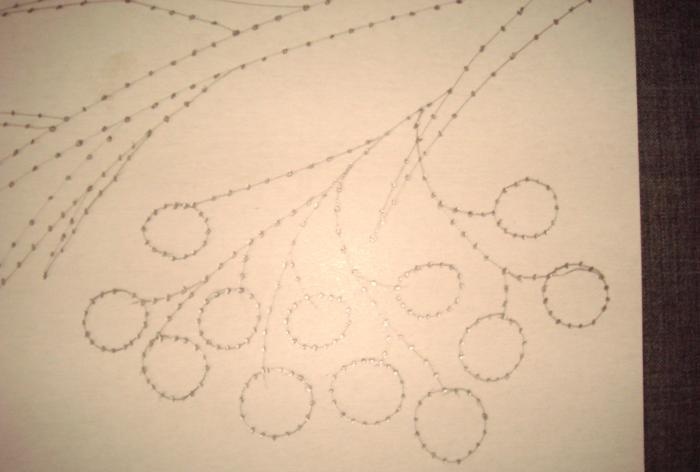
Place the dots on the round berries especially carefully; there should be an even number of them.
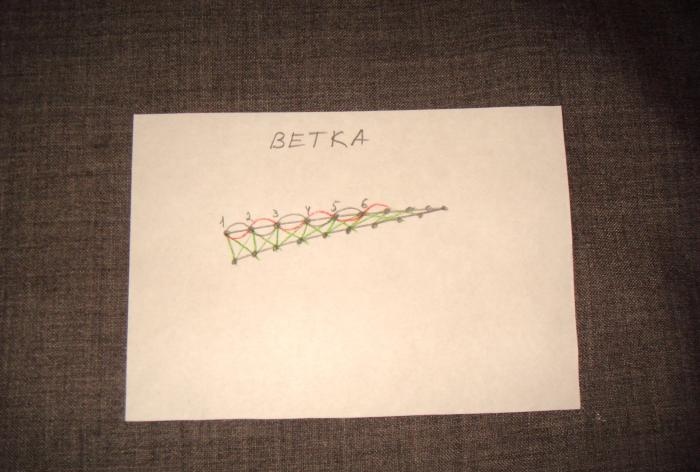
Fill out the big thread first. Diagram 1 will help you with this. It shows the movement of the threads.
Using an awl, make holes at the points.
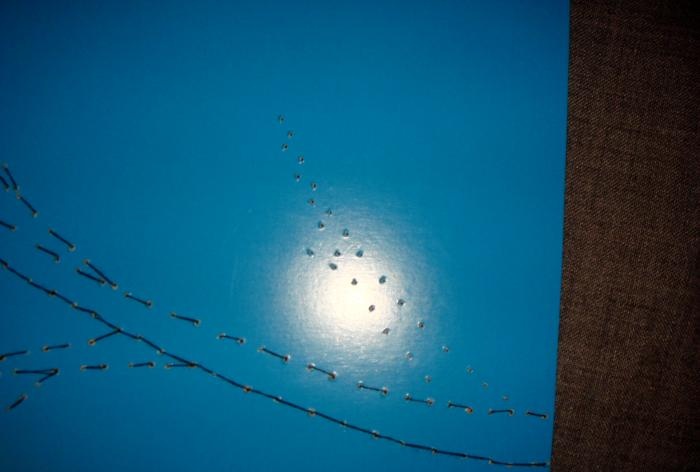
Then go with a needle and black thread, filling the holes with a “forward needle” stitch (in diagram 1 this line is outlined with a red pencil).
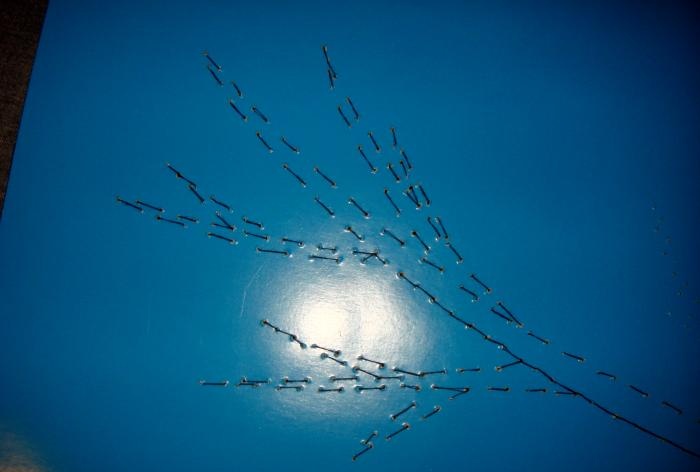
Then go over all the points again with the same type of seam, just make sure that the thread lies on the unfilled areas of the warp (in diagram 1 the movement is shown with a simple pencil).
Use green thread to sew along the points of the branch on which the berries will be. Now use a needle stitch.
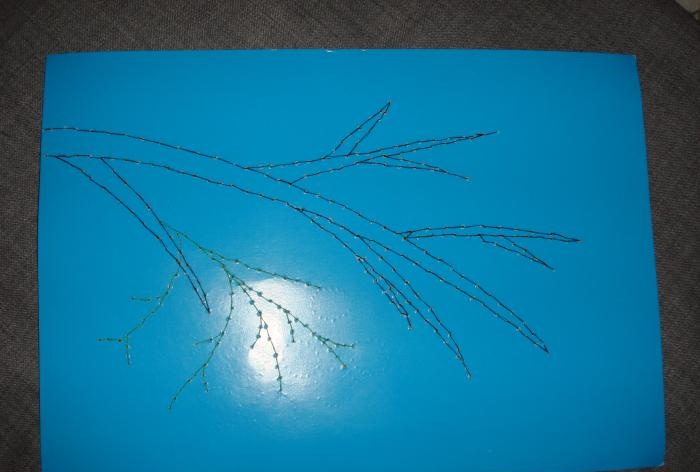
Fill a large black branch around the perimeter with black thread, moving in a chaotic manner (shown in diagram 1 with a green pencil).
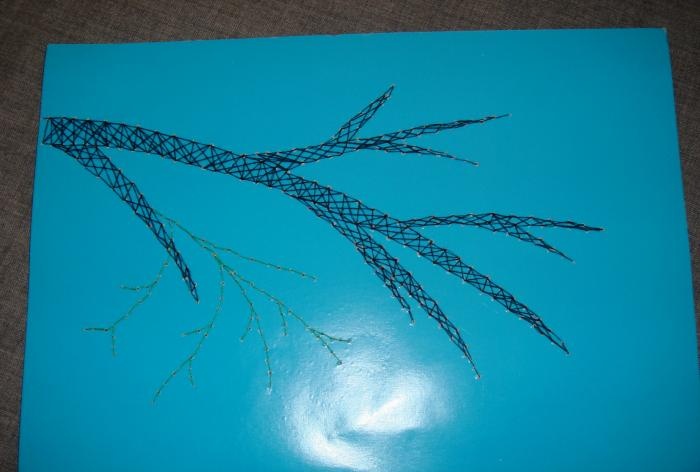
Now move on to embroidering the berries. This can be easily done according to scheme 2.
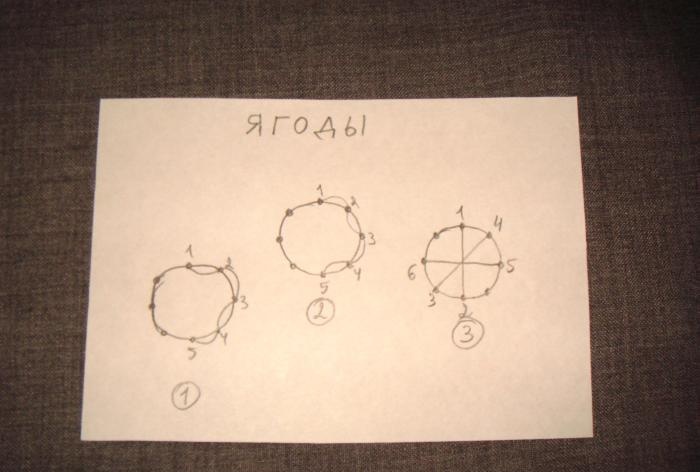
First, make notches with an awl.
Then you move in a circle with a needle and red thread (the “forward needle” stitch).
Then you return in a circle in the other direction, filling the empty sections with threads.
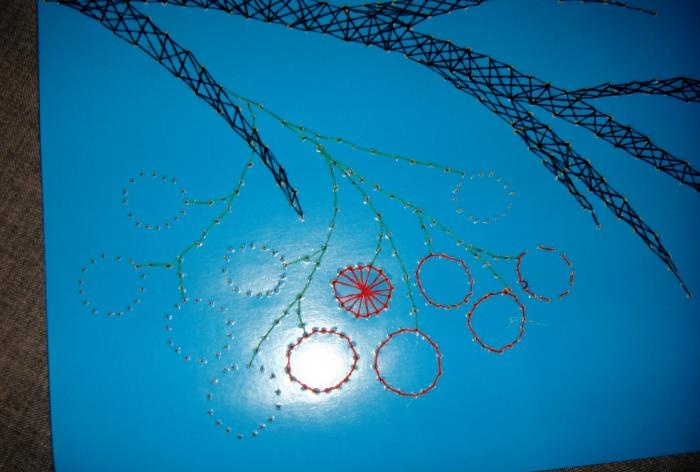
And fill the center of the circle according to scheme 2, figure 3. Move along the points from the center.
The result is delicate red berries.
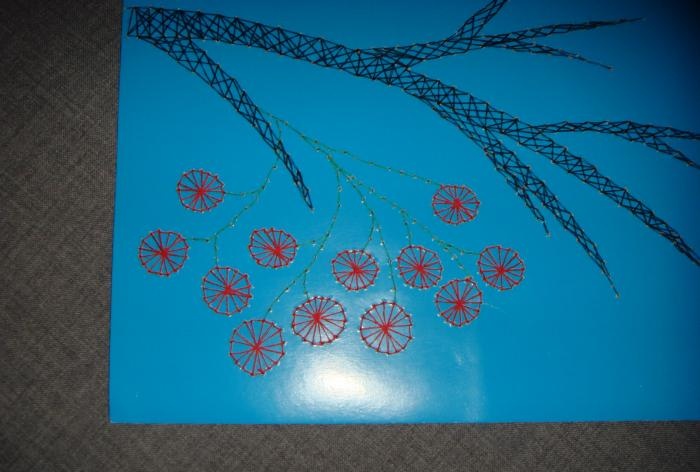
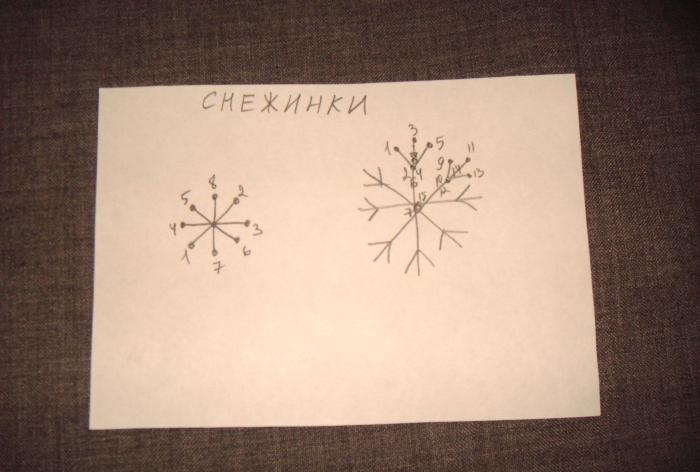
All that remains is to embroider the snowflakes. This is easy to do according to scheme 3.
There will be simple small snowflakes and complex large ones.
Snowflakes filled with white threads look very beautiful.
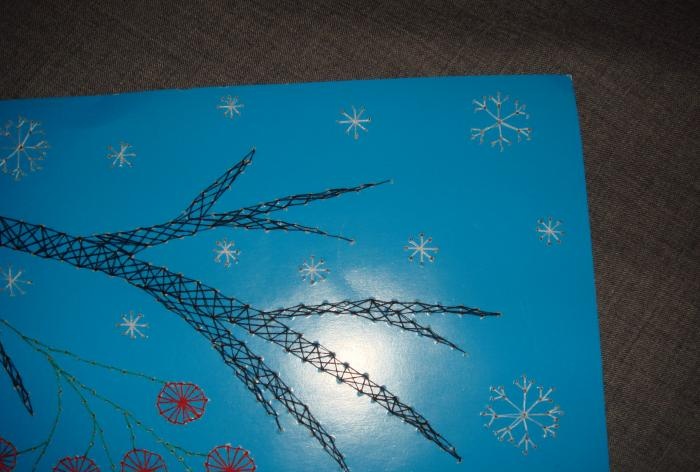
The painting “Rowan Branch” is ready.
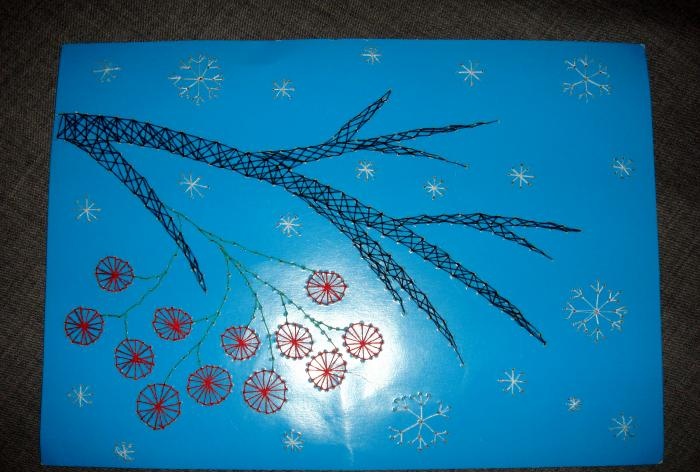
Frame it to make it look even better.
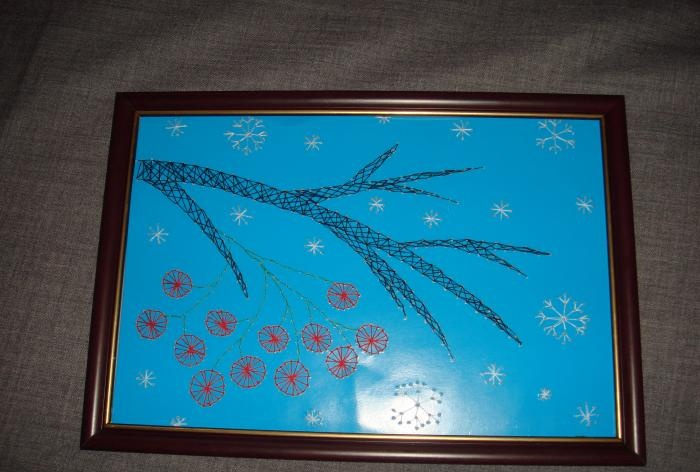
This is such a magnificent picture obtained using the isothread technique.
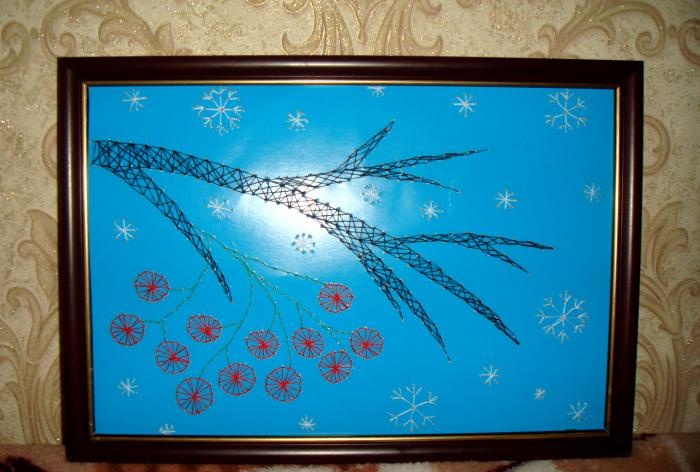
You can teach this technique to your daughter. For a school exhibition on a winter theme, she presents a very extraordinary work that will captivate all her classmates.
- if you want the work to be brighter, then you can glue the branch and berries onto cardboard made of colored paper, and then sew it with threads;
- on a branch you can also embroider a bullfinch that has flown in to eat the berries;
- instead of sewing threads, you can use bright floss or knitting threads, then the image will be more textured.
For work, collect the following materials:
- a sheet of blue cardboard;
- a simple pencil;
- awl;
- igloo;
- sewing threads in black, green, red and white;
- scissors;
- A4 frame.
For work, select thick blue cardboard.

On the wrong side, draw an image of a twig with a rowan brush.

Throughout the graphic design, mark points at a distance of 6-8 mm.

Place the dots on the round berries especially carefully; there should be an even number of them.

Fill out the big thread first. Diagram 1 will help you with this. It shows the movement of the threads.

Using an awl, make holes at the points.

Then go with a needle and black thread, filling the holes with a “forward needle” stitch (in diagram 1 this line is outlined with a red pencil).

Then go over all the points again with the same type of seam, just make sure that the thread lies on the unfilled areas of the warp (in diagram 1 the movement is shown with a simple pencil).
Use green thread to sew along the points of the branch on which the berries will be. Now use a needle stitch.

Fill a large black branch around the perimeter with black thread, moving in a chaotic manner (shown in diagram 1 with a green pencil).

Now move on to embroidering the berries. This can be easily done according to scheme 2.

First, make notches with an awl.
Then you move in a circle with a needle and red thread (the “forward needle” stitch).
Then you return in a circle in the other direction, filling the empty sections with threads.

And fill the center of the circle according to scheme 2, figure 3. Move along the points from the center.
The result is delicate red berries.

All that remains is to embroider the snowflakes. This is easy to do according to scheme 3.
There will be simple small snowflakes and complex large ones.

Snowflakes filled with white threads look very beautiful.

The painting “Rowan Branch” is ready.

Frame it to make it look even better.

This is such a magnificent picture obtained using the isothread technique.

You can teach this technique to your daughter. For a school exhibition on a winter theme, she presents a very extraordinary work that will captivate all her classmates.
Adviсe:
- if you want the work to be brighter, then you can glue the branch and berries onto cardboard made of colored paper, and then sew it with threads;
- on a branch you can also embroider a bullfinch that has flown in to eat the berries;
- instead of sewing threads, you can use bright floss or knitting threads, then the image will be more textured.
Similar master classes
Particularly interesting
Comments (0)

