How to make a spinner
Good day to all. In this article I will tell you how to make a simple spinner toy. Everything is done very simply, and most of the materials can be obtained completely free of charge.
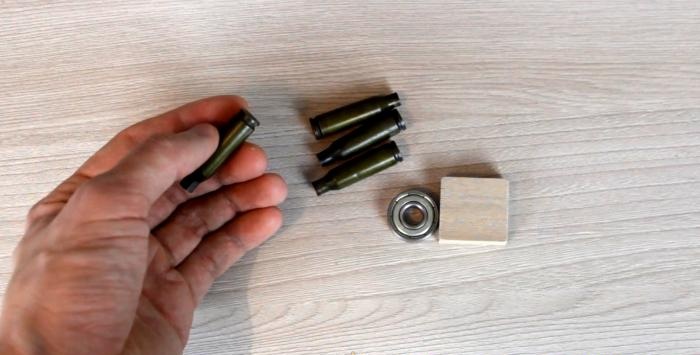
For this we need:
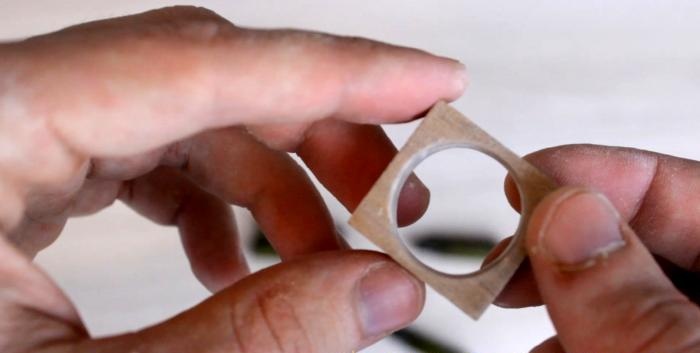
Once everything is prepared, we begin production. Using a step drill, drill a hole of the required diameter for the bearing.
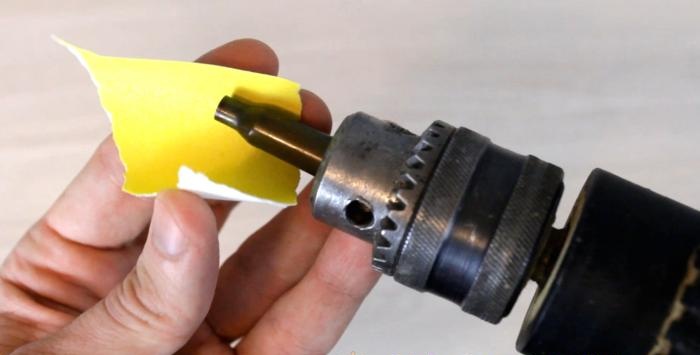
We clamp the sleeves into the drill chuck and at low speeds, leaning the sandpaper against them, we begin to grind them until the paint is completely removed.
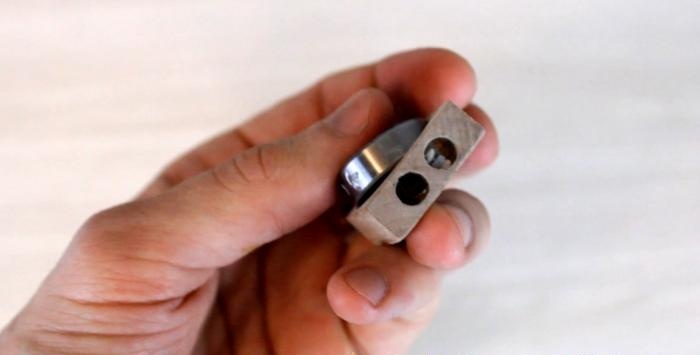
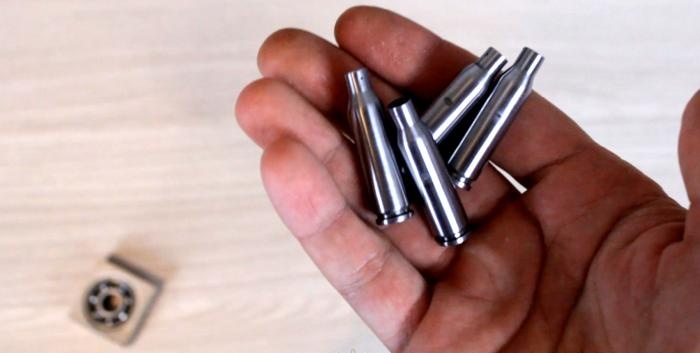
Remove the boots from the bearing, clean it by generously spraying with WD-40
Next, coat the edges of the bearing with epoxy resin, press it into a block, and only after that drill the side holes for the sleeves.
This is done so that the block does not burst, because in my case the walls turned out to be a bit thin.
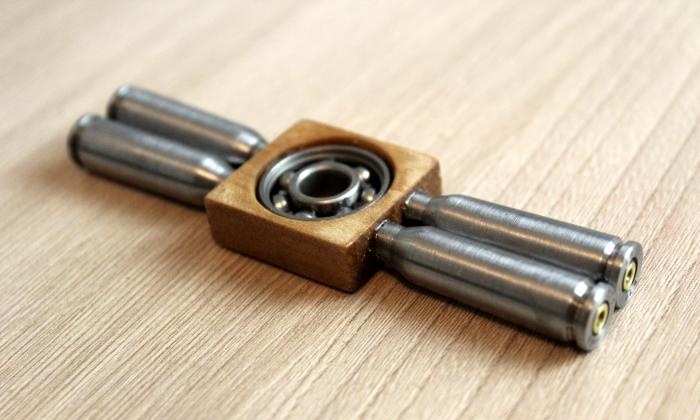
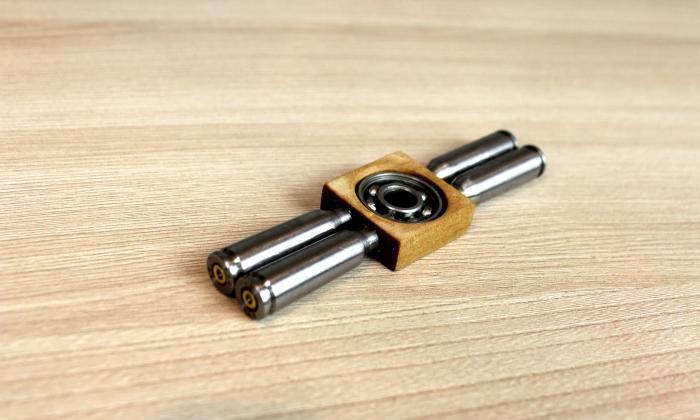
In the end, I decided to put the drill aside and widen the holes using an engraver to the desired diameter. We glue the sleeves together (the same epoxy resin), we also coat the holes in the block with epoxy and press the sleeves in. We leave it all to dry for 6 hours and in the end we enjoy a simple toy made by ourselves.

For this we need:
- 5.45 shells (I picked mine up at a combat shooting range, although you can find them at any training range or order them online).
- Bearing ABEC 5 (Ideally ABEC 7, was extracted from the wheel of an old skateboard, you can also find it in a car store or order it on AliExpress).
- Wooden block (Any hard wood, specifically in this case - walnut).
- Epoxy resin (To glue it all together is an ideal option).

Once everything is prepared, we begin production. Using a step drill, drill a hole of the required diameter for the bearing.

We clamp the sleeves into the drill chuck and at low speeds, leaning the sandpaper against them, we begin to grind them until the paint is completely removed.


Remove the boots from the bearing, clean it by generously spraying with WD-40
Next, coat the edges of the bearing with epoxy resin, press it into a block, and only after that drill the side holes for the sleeves.
This is done so that the block does not burst, because in my case the walls turned out to be a bit thin.

In the end, I decided to put the drill aside and widen the holes using an engraver to the desired diameter. We glue the sleeves together (the same epoxy resin), we also coat the holes in the block with epoxy and press the sleeves in. We leave it all to dry for 6 hours and in the end we enjoy a simple toy made by ourselves.


Similar master classes
Particularly interesting
Comments (2)


