Flexible tool storage system for the home workshop
The appearance of new equipment in a home workshop is always associated with a search for places to place it. In order not to constantly redo shelves or cabinets with your own hands, organize tool storage using a “flexible” system that allows you to change the location of ready-made modules and easily add other blocks.
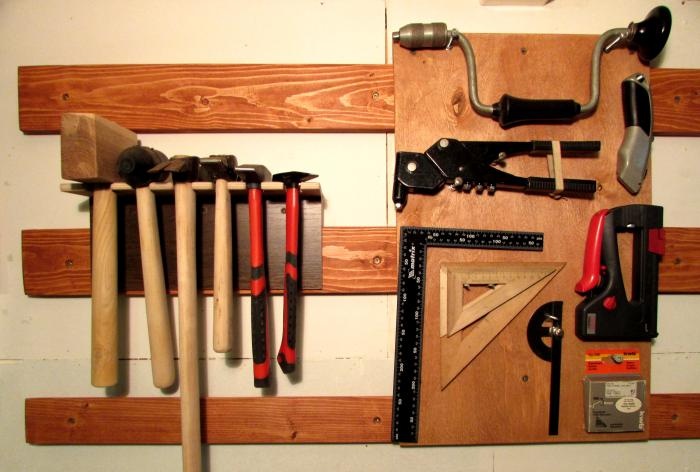
The main elements of this universal system are horizontal slats:

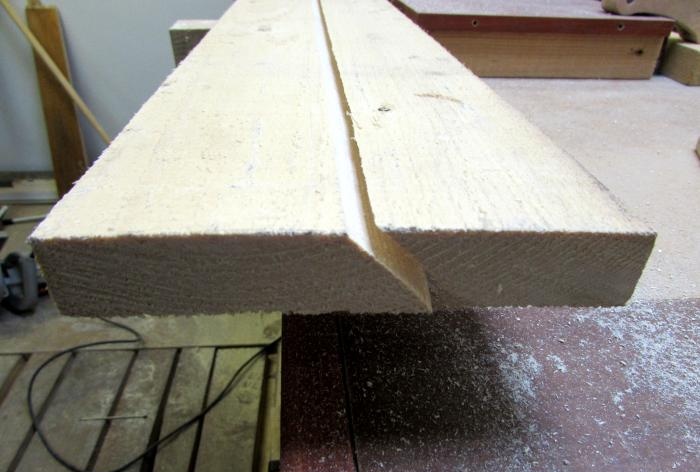
Plan the placement of wall strips based on your needs. You can organize several levels of tool storage from floor to ceiling or use the space above the workbench by installing two or three support strips. Having decided on the total length of the slats, prepare flat lumber with a cross-section of 30x150 mm. Secure the boards to the workbench and set the circular saw blade at an angle of 45°.
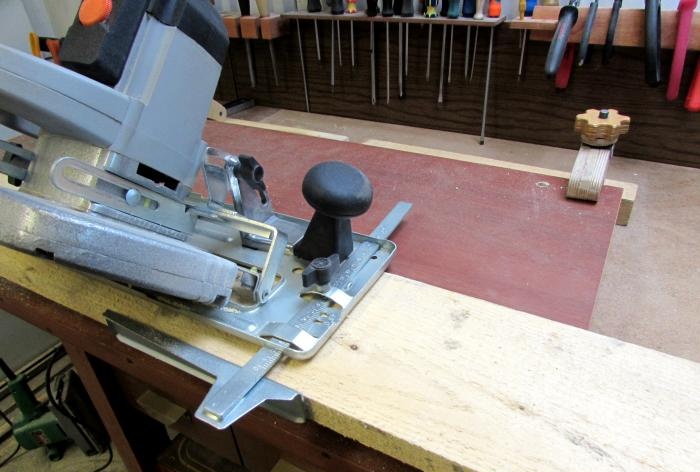
Set the rip fence to 60mm to create different slats. Wider support strips will go to the walls, as they must withstand a greater load. For hanging individual components, narrower boards are sufficient.
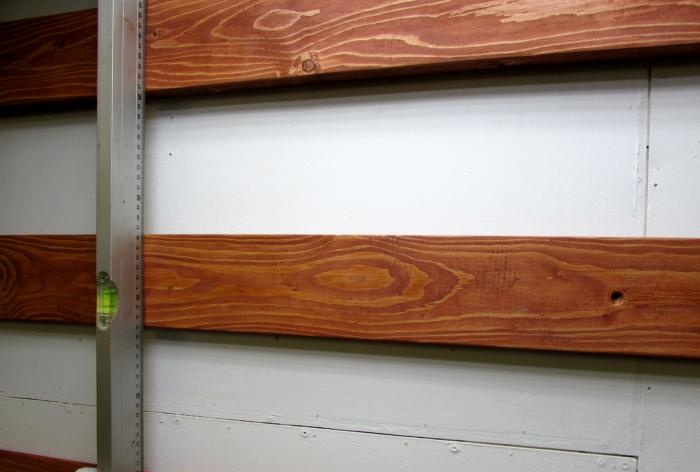
Plan and sand the pieces, apply the finish, and install the wall pieces to the desired height. Align the boards horizontally and check that they are in the same plane. Use pads if necessary.
Panels are better suited for storing tools of various shapes, and for equipment of the same type it is recommended to use holder shelves. Let us consider further examples of making such devices with our own hands.
Lay out your tools on the table, leaving spaces between them. Take the dimensions of the future panel, taking into account the distance between the wall planks.
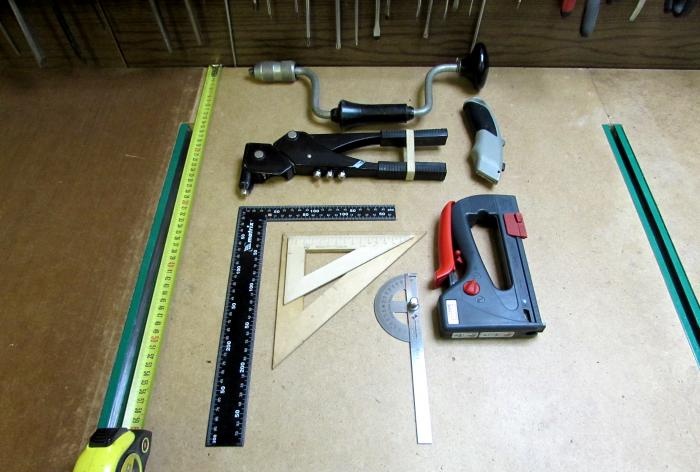
Cut out a rectangle of 5mm plywood with a hacksaw and cut boards with bevels along its width.
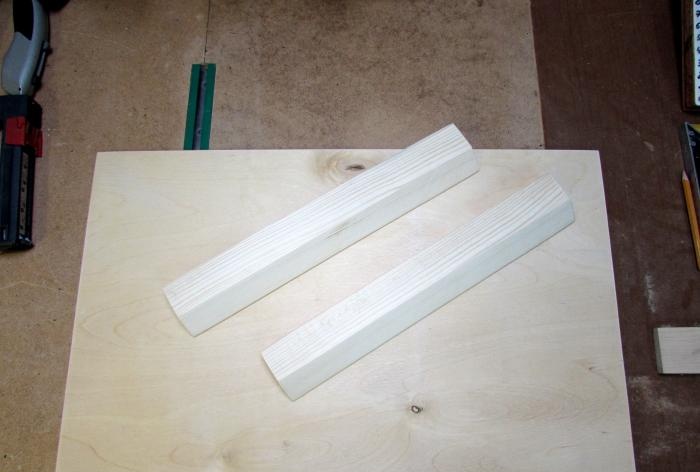
Assemble the hinged panel by fastening the parts with screws through countersinked guide holes.
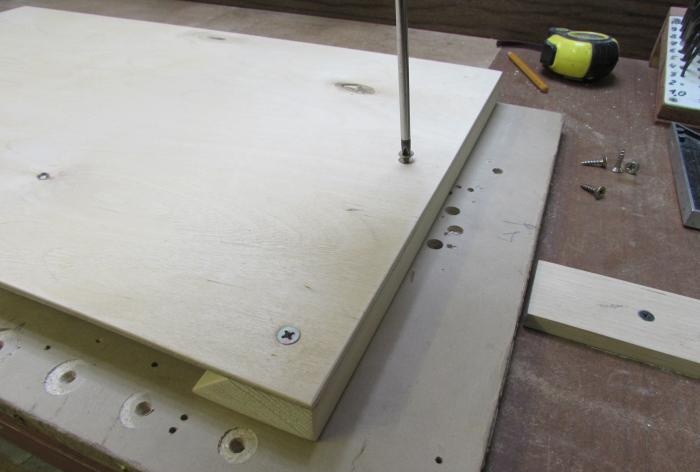
Make markings for storing tools that can be hung on a pin.
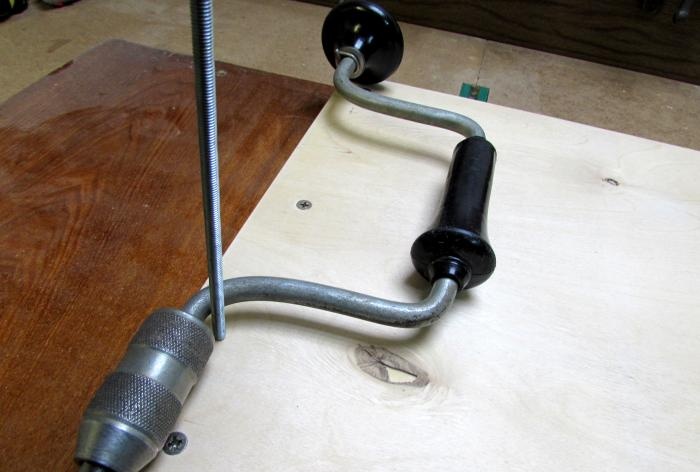
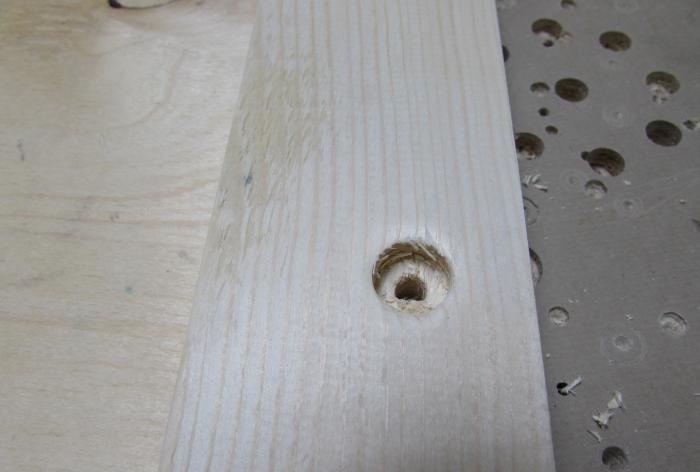
Drill through the mounting holes and make recesses on the back side where the protruding nuts will interfere with the suspension.
Insert the studs with nuts into the holes and tighten the threaded connection.
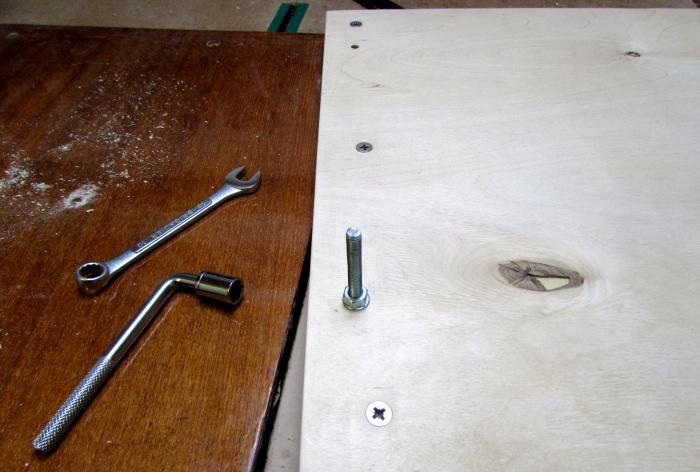
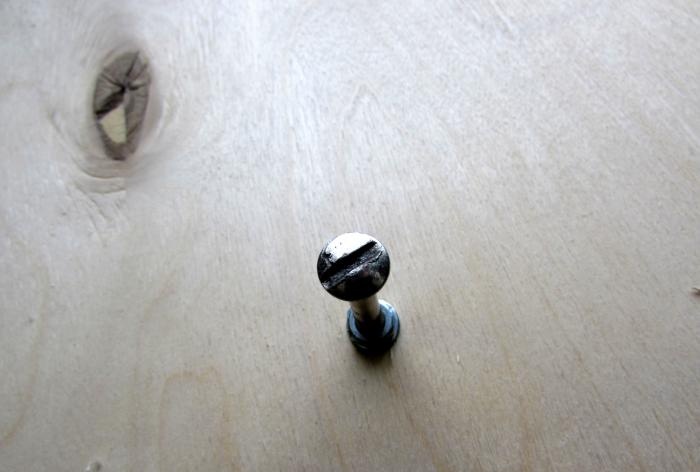
You can also use bolts as pins, the heads of which will additionally hold the tool.
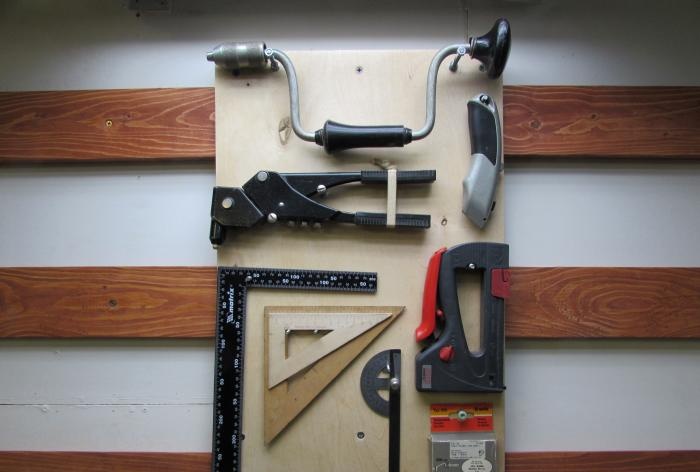
Having placed everything you need on the panel, hang it in place.
A homemade device for storing hammers consists of three parts: a holder, a block with a bevel and a backdrop.

First, determine the dimensions of the holder, depending on the dimensions of the hammers you have.
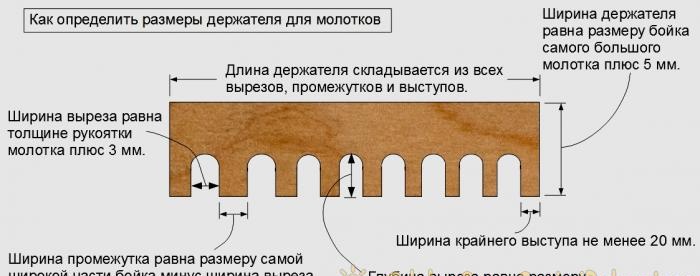
Cut a piece of 12mm birch plywood to the appropriate length and width.
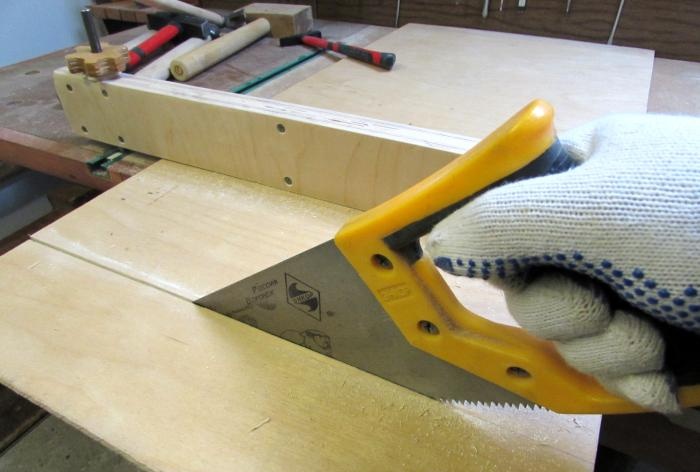
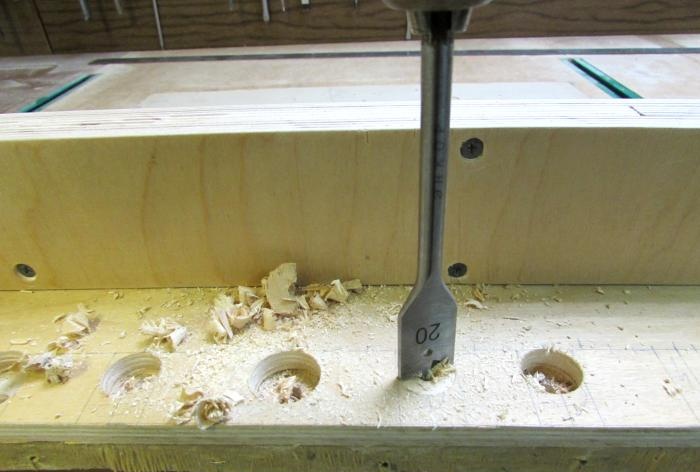
Mark the grooves on it and make through holes with a feather drill with a diameter the width of the cutout.
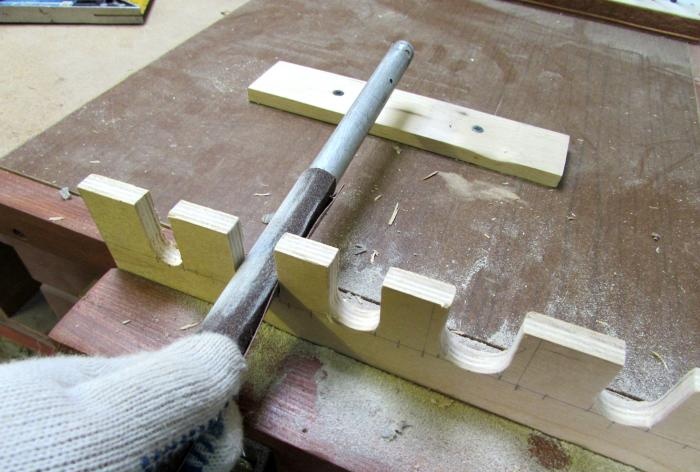
Saw straight lines and remove excess material. Sand the edges of the grooves with sandpaper screwed onto the tube.
Saw off the hanging strip to length and grind off the top edge at an angle of 2° with a plane.
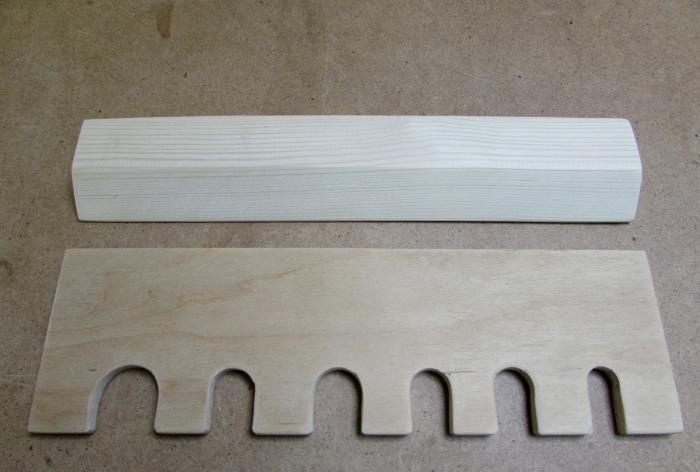
Screw the holder to the rail with countersunk screws, having previously prepared the mounting holes with a countersink.
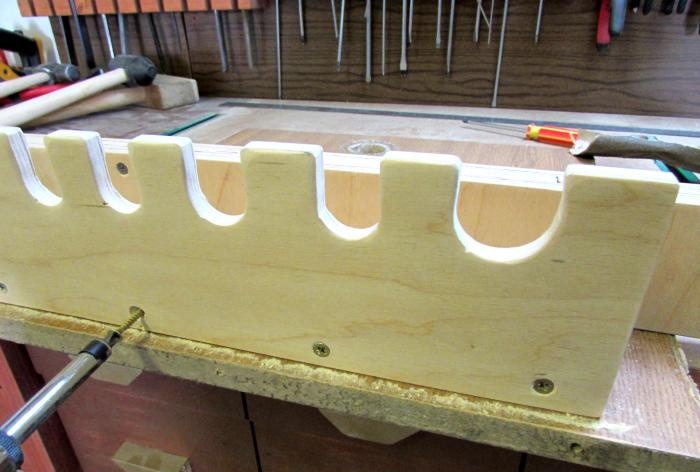
Cut out the backdrop from dense sheet material 5–10 mm thick, secure it to the plank with small screws.
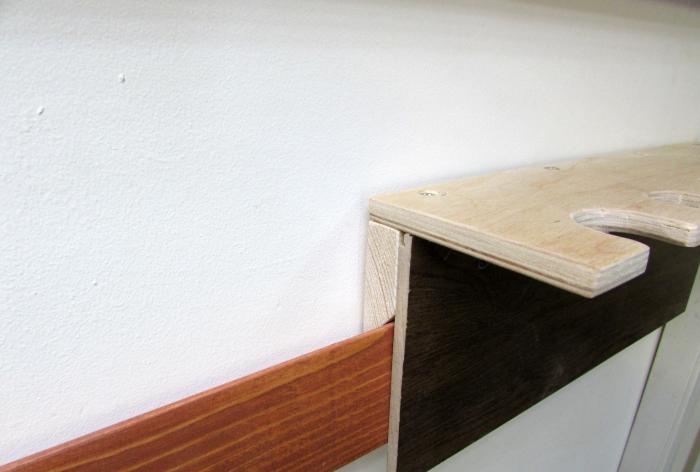
Place the fixture on the hanger in a convenient location and fill with hammers.
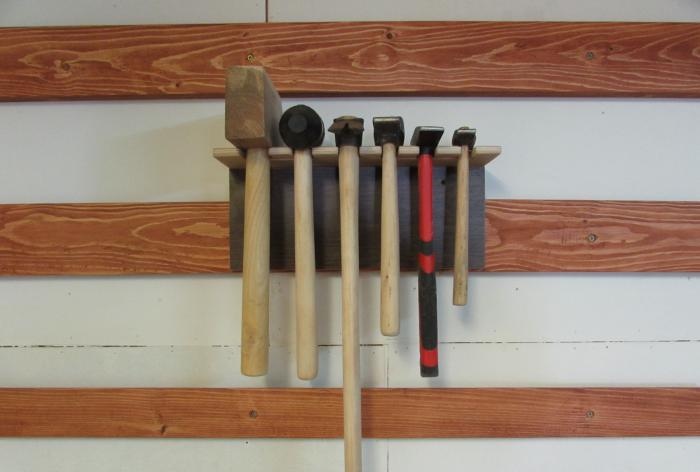
This holder design is also suitable for storing pipe or rack clamps; you just need to calculate the dimensions of the cutouts and spaces of the holder bar.
Consider a convenient and accessible arrangement of tools and accessories. Store specialized accessories near the work areas where they are used. For example, planes are at the workbench, and next to the assembly table are clamps and screwdrivers. Inexpensive marking tools (rulers, pencils, squares, etc.) are useful to have in excess and store in different places so that they are always at hand.

Start with beveled planks
The main elements of this universal system are horizontal slats:
- Supporting, having a 45° bevel at the top edge and fixed to the wall.
- Suspended with a bevel on the bottom edge, mounted on a removable panel or cabinet.

Plan the placement of wall strips based on your needs. You can organize several levels of tool storage from floor to ceiling or use the space above the workbench by installing two or three support strips. Having decided on the total length of the slats, prepare flat lumber with a cross-section of 30x150 mm. Secure the boards to the workbench and set the circular saw blade at an angle of 45°.

Set the rip fence to 60mm to create different slats. Wider support strips will go to the walls, as they must withstand a greater load. For hanging individual components, narrower boards are sufficient.

Plan and sand the pieces, apply the finish, and install the wall pieces to the desired height. Align the boards horizontally and check that they are in the same plane. Use pads if necessary.

Panels are better suited for storing tools of various shapes, and for equipment of the same type it is recommended to use holder shelves. Let us consider further examples of making such devices with our own hands.
Make a hanging panel
Lay out your tools on the table, leaving spaces between them. Take the dimensions of the future panel, taking into account the distance between the wall planks.

Cut out a rectangle of 5mm plywood with a hacksaw and cut boards with bevels along its width.

Assemble the hinged panel by fastening the parts with screws through countersinked guide holes.

Make markings for storing tools that can be hung on a pin.

Drill through the mounting holes and make recesses on the back side where the protruding nuts will interfere with the suspension.

Insert the studs with nuts into the holes and tighten the threaded connection.

You can also use bolts as pins, the heads of which will additionally hold the tool.

Having placed everything you need on the panel, hang it in place.

Add a hammer hanger
A homemade device for storing hammers consists of three parts: a holder, a block with a bevel and a backdrop.

First, determine the dimensions of the holder, depending on the dimensions of the hammers you have.

Cut a piece of 12mm birch plywood to the appropriate length and width.

Mark the grooves on it and make through holes with a feather drill with a diameter the width of the cutout.

Saw straight lines and remove excess material. Sand the edges of the grooves with sandpaper screwed onto the tube.

Saw off the hanging strip to length and grind off the top edge at an angle of 2° with a plane.

Screw the holder to the rail with countersunk screws, having previously prepared the mounting holes with a countersink.

Cut out the backdrop from dense sheet material 5–10 mm thick, secure it to the plank with small screws.

Place the fixture on the hanger in a convenient location and fill with hammers.

This holder design is also suitable for storing pipe or rack clamps; you just need to calculate the dimensions of the cutouts and spaces of the holder bar.
Consider a convenient and accessible arrangement of tools and accessories. Store specialized accessories near the work areas where they are used. For example, planes are at the workbench, and next to the assembly table are clamps and screwdrivers. Inexpensive marking tools (rulers, pencils, squares, etc.) are useful to have in excess and store in different places so that they are always at hand.
Similar master classes
Mega convenient transformable shelf for the workshop

How to make hanging shelves in a garage or workshop that don't

How I made a convenient stand for storing tools in a drawer
Inexpensive guide for a hand-held circular saw with your own hands

How to make a comfortable tool handle from PET caps
Arrangement of the working area in the workshop
Particularly interesting
Comments (1)


