Mega convenient transformable shelf for the workshop
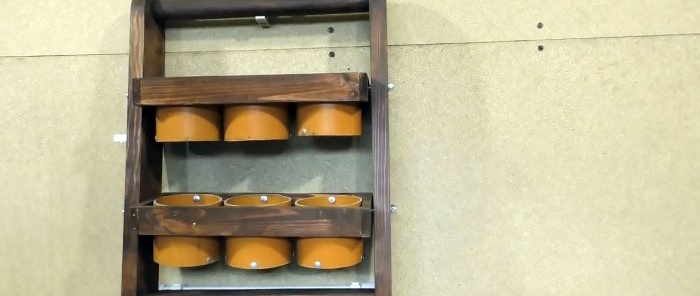
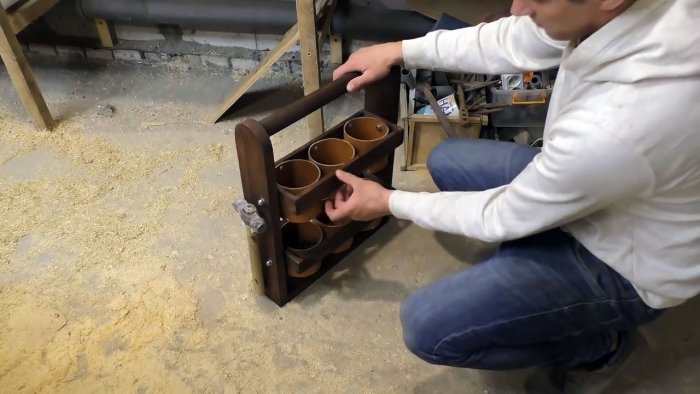
There are never too many drawers, shelves or boxes for storing small tools and hardware in a home workshop. No matter how much you make them, they will still be filled to capacity. And everything would be fine, but sometimes their fixed location in a certain place is inconvenient. Today we will tell you how to make a simple and reliable mobile design of a wall shelf with containers for storing small items.
The uniqueness of this design is that it can be hinged, folding and removable. We will make it practically from those materials that often end up in the corners of the workshop without any chance of further use. Let's give them a second life, and an honorable one at that. Go!
Tools you will need:
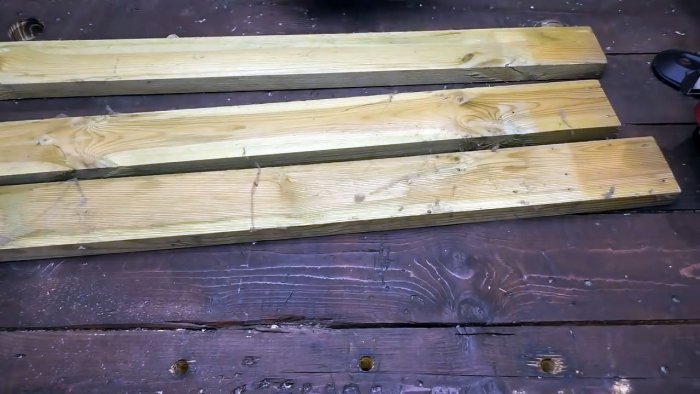
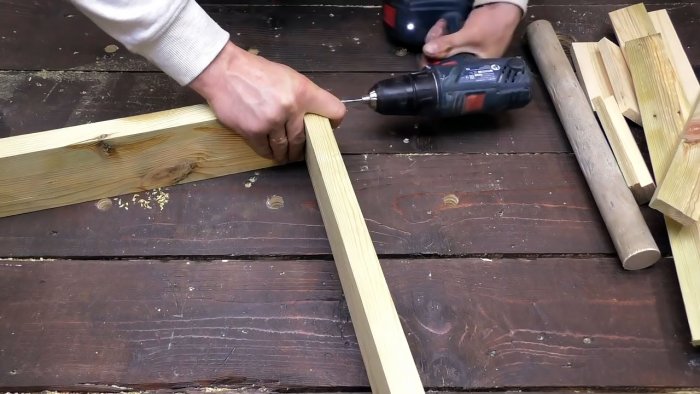
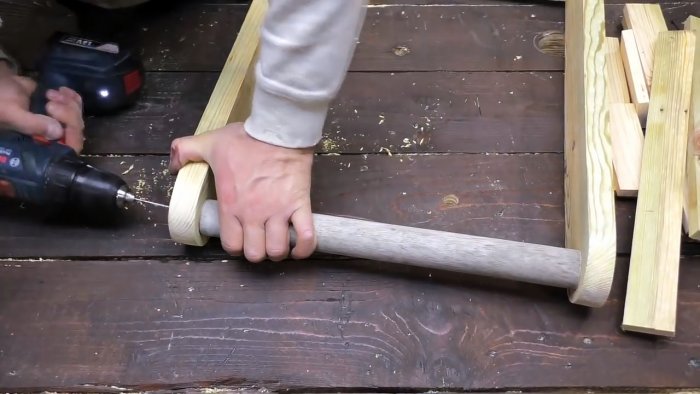
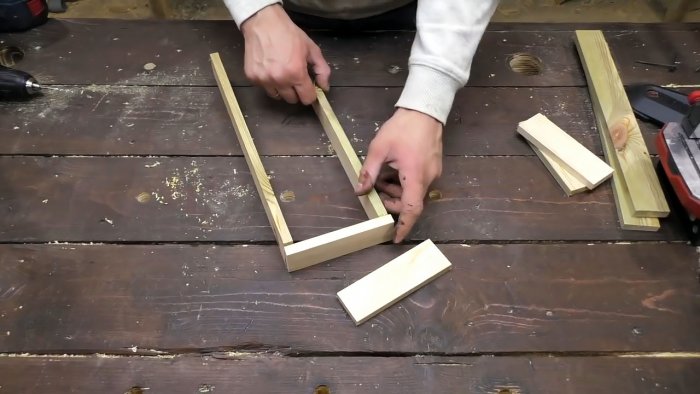
First of all, we assemble a frame from larger slats. Three 20 mm thick slats and a piece of cutting are involved. We round the ends of the sidewalls with a jigsaw and clean the edges of the cut. Using self-tapping screws, we fasten it all into a small frame structure.
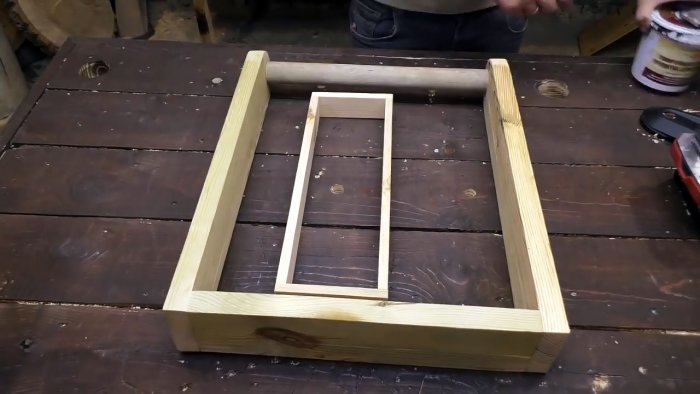
We make two frames from the facing strip.
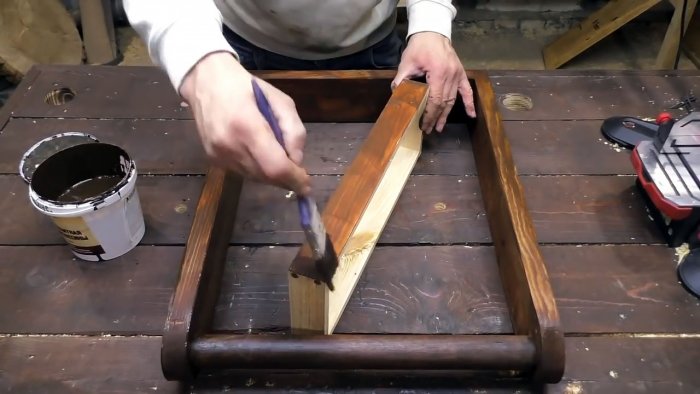
Burrs from wooden workpieces can be easily removed with sandpaper or a grinder. At the end, the entire shelf structure can be painted or varnished. This way it will last much longer.
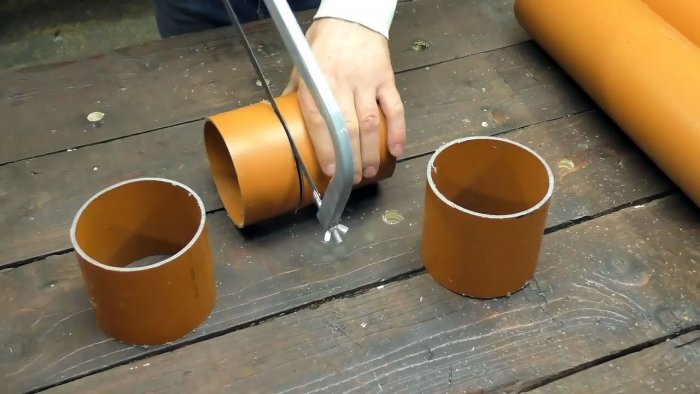
We cut the uPVC pipe scraps to size with a hacksaw or grinder.
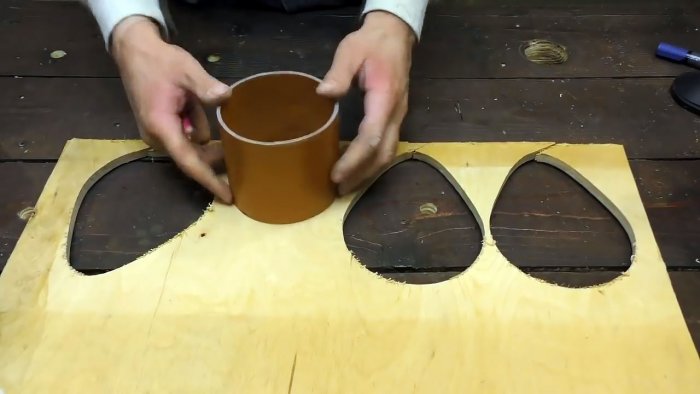
We mark the plywood along the inner edge of the pipe onto the bottoms for the containers, and cut them out.
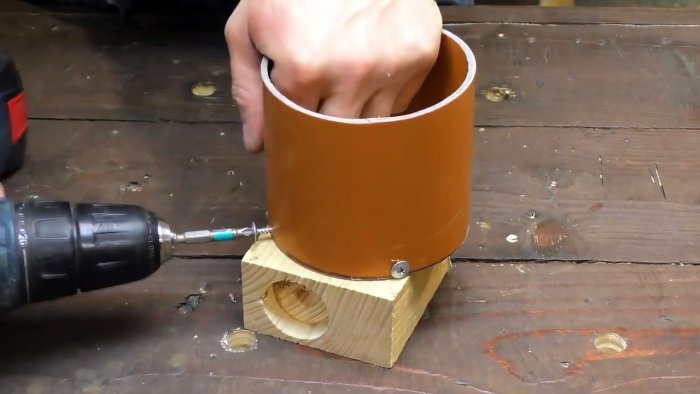
Place a small working block under the bottom of the container and secure the bottoms with a press washer.
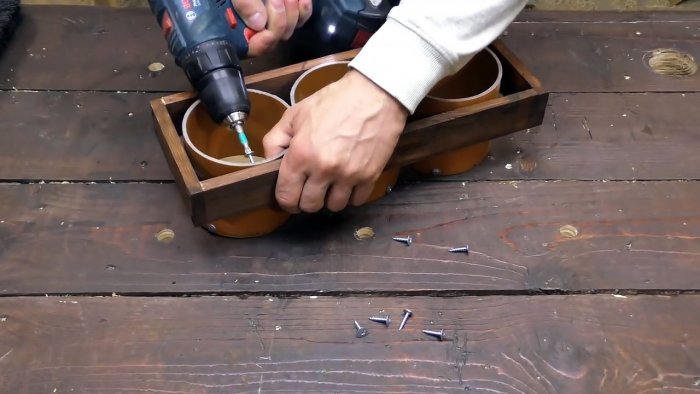
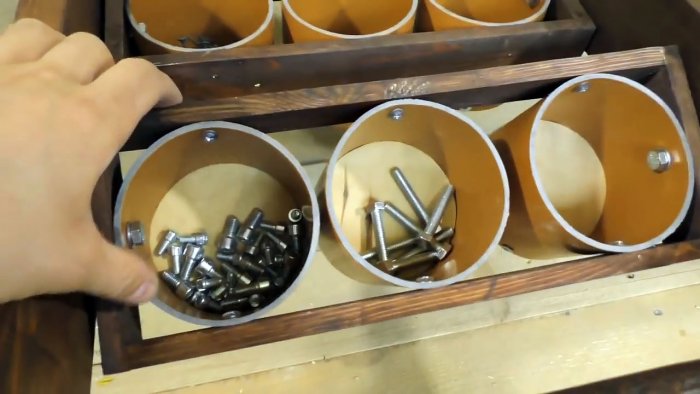
We evenly arrange the jars of containers and secure them along the edge with self-tapping screws.
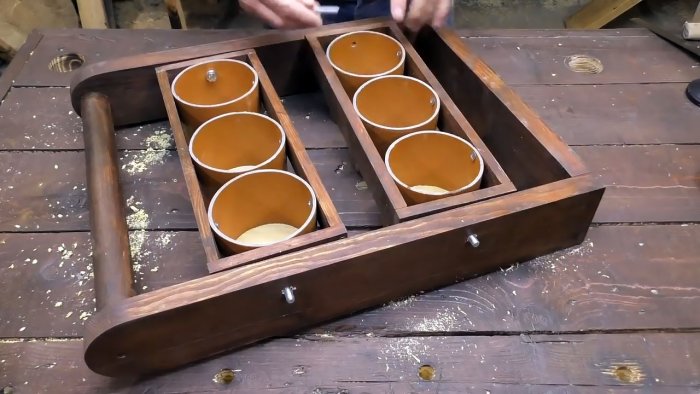
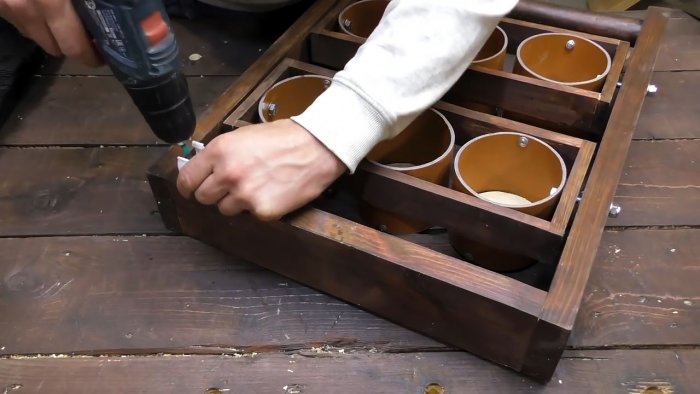
We insert the finished frames into the frame and drill mounting holes for the bolts. When inserting the bolt into the hole, place a washer between the container and the side. This will ensure free movement of the frames and prevent rubbing of the sides.
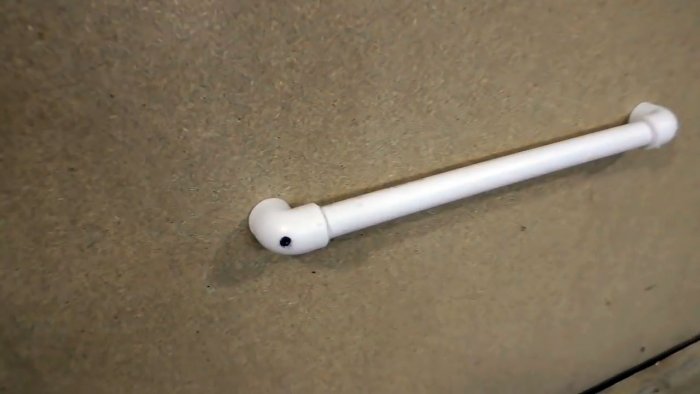
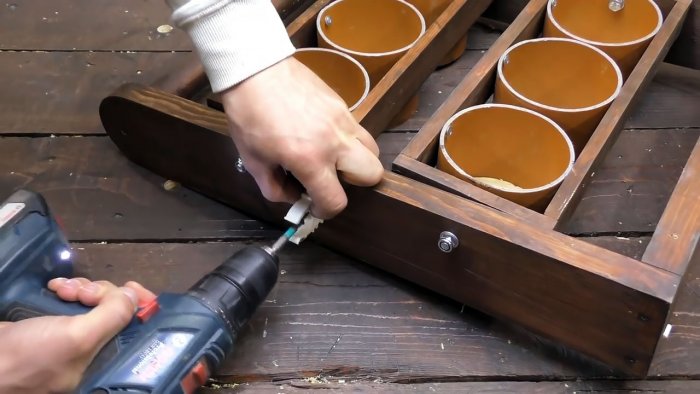
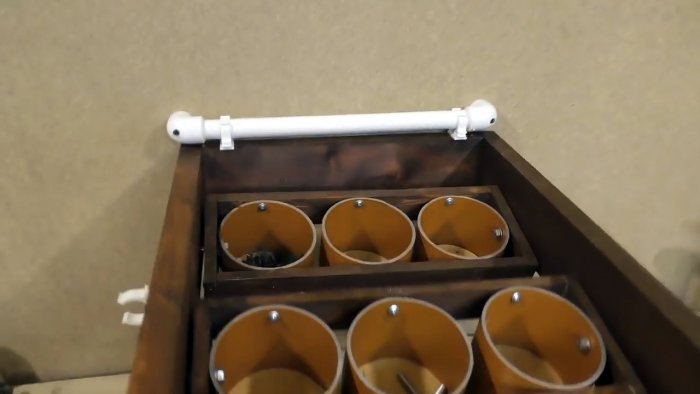
On the bottom rail of the frame we attach plumbing clips under the PP pipe, from which we need to solder a small assembly with two corners in the same plane, like a handle. This thing must first be secured to the wall.
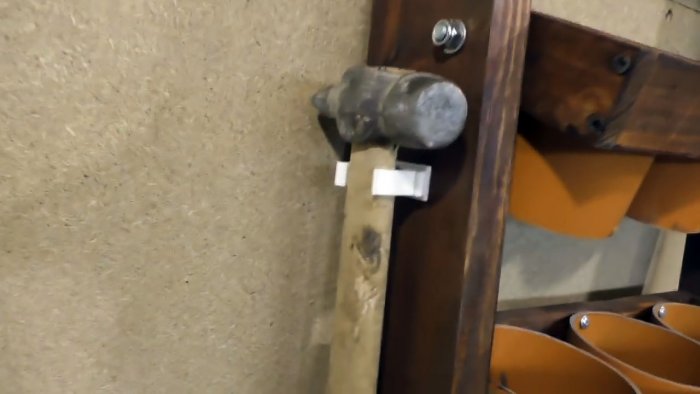
On the side you can place another clip for a tool, for example, for a hammer.
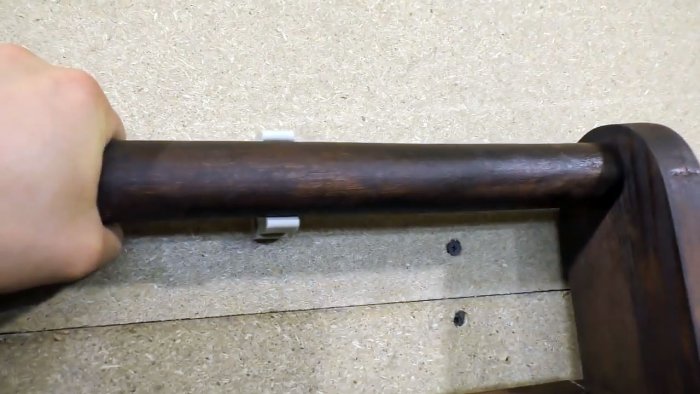
Finally, the largest clip is attached under the handle. It is most convenient to mark it after attaching the shelf to the wall using the lower clips.
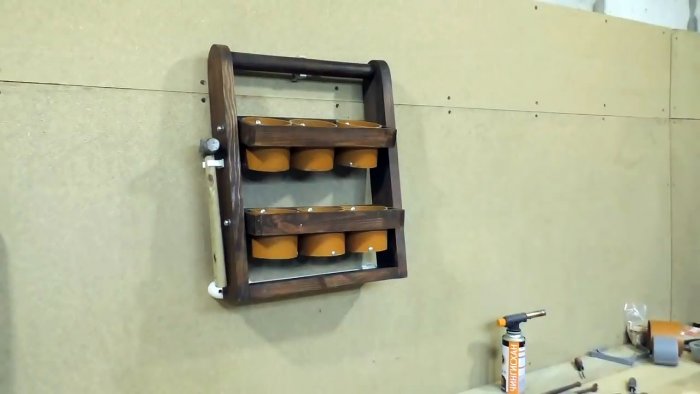
Try this shelf at work and appreciate the practicality of a new level. The removable and folding design reclines at an angle of up to 90 degrees.
It is fixed on the wall in a matter of seconds, and the containers for filling them will always be rotated in one desired plane, and you can always find small things easily and quickly!
Below are the sizes and quantities of all elements of this assembly:
The uniqueness of this design is that it can be hinged, folding and removable. We will make it practically from those materials that often end up in the corners of the workshop without any chance of further use. Let's give them a second life, and an honorable one at that. Go!
Required materials and tools
- Cuttings of uPVC sewer pipe;
- Wooden slats of various calibers, for example, from Euro pallets;
- A small fragment of a shovel handle;
- Pieces of plywood for the bottoms of containers;
- Bolts, nuts, self-tapping screws.
Tools you will need:
- Jigsaw;
- Drill/screwdriver with drills and attachments for tightening screws;
- Soldering iron for PP pipes;
- Hacksaw or grinder (angle grinder)
- Open-end or spanner wrenches;
- Hammer;
- Tape measure, compass, pencil.
Instructions for making a transforming shelf
First of all, we assemble a frame from larger slats. Three 20 mm thick slats and a piece of cutting are involved. We round the ends of the sidewalls with a jigsaw and clean the edges of the cut. Using self-tapping screws, we fasten it all into a small frame structure.
We make two frames from the facing strip.
Burrs from wooden workpieces can be easily removed with sandpaper or a grinder. At the end, the entire shelf structure can be painted or varnished. This way it will last much longer.
We cut the uPVC pipe scraps to size with a hacksaw or grinder.
We mark the plywood along the inner edge of the pipe onto the bottoms for the containers, and cut them out.
Place a small working block under the bottom of the container and secure the bottoms with a press washer.
We evenly arrange the jars of containers and secure them along the edge with self-tapping screws.
We insert the finished frames into the frame and drill mounting holes for the bolts. When inserting the bolt into the hole, place a washer between the container and the side. This will ensure free movement of the frames and prevent rubbing of the sides.
On the bottom rail of the frame we attach plumbing clips under the PP pipe, from which we need to solder a small assembly with two corners in the same plane, like a handle. This thing must first be secured to the wall.
On the side you can place another clip for a tool, for example, for a hammer.
Finally, the largest clip is attached under the handle. It is most convenient to mark it after attaching the shelf to the wall using the lower clips.
Try this shelf at work and appreciate the practicality of a new level. The removable and folding design reclines at an angle of up to 90 degrees.
It is fixed on the wall in a matter of seconds, and the containers for filling them will always be rotated in one desired plane, and you can always find small things easily and quickly!
Below are the sizes and quantities of all elements of this assembly:
Watch the video
Similar master classes
Particularly interesting
Comments (0)

