Wax crayons candle
For many centuries, candles have been a wonderful interior decoration. Besides, the candle is lovely present. Candles can add romance to the interior and decorate any room. I suggest making a candle from colored wax crayons. This colored candle will fill your home with energy, fun and give you a great mood!
Let's get started! Materials:

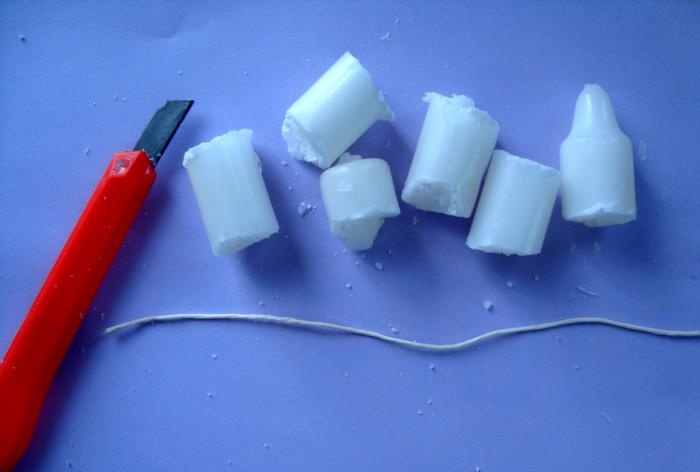
Step 1. Take a candle. Using a stationery or regular knife, cut the candle into several small pieces, so it will melt faster. Be careful not to damage or accidentally cut the wick inside the candle. Then we will need it.
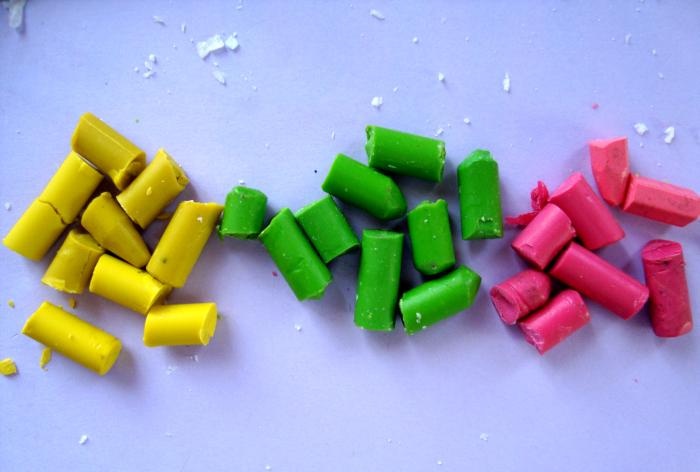
Step 2. Next, take wax crayons in yellow, green and pink, but you can use any other colors. We remove the wrapper from them, if there is one, and using a stationery knife, cut the crayons into many small pieces.
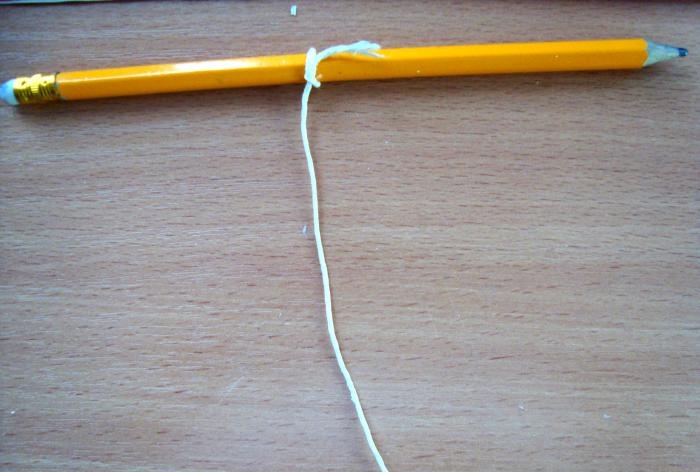
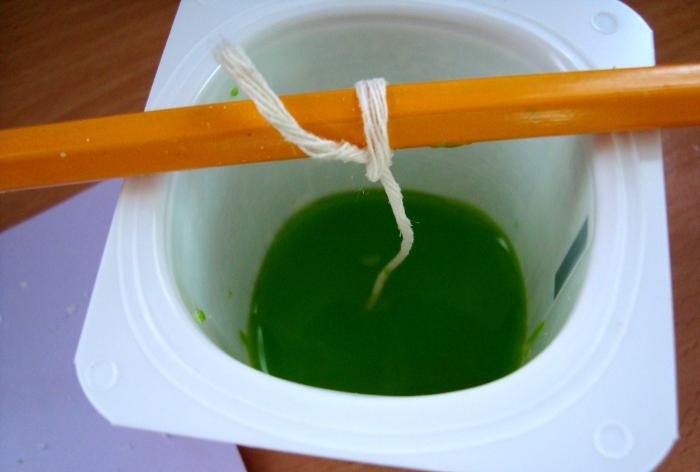
Step 3. We tie the pre-prepared wick left over from the candle onto a pencil or stick.
Step 4.Place a few pieces of candle and crayons in an iron jar (they should be the same color, for example green).
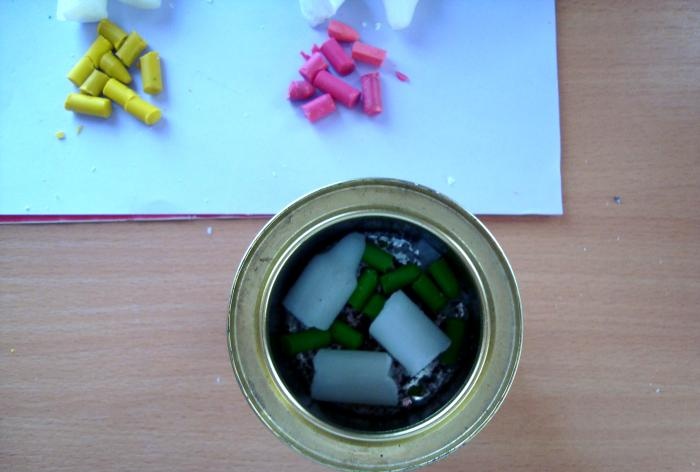
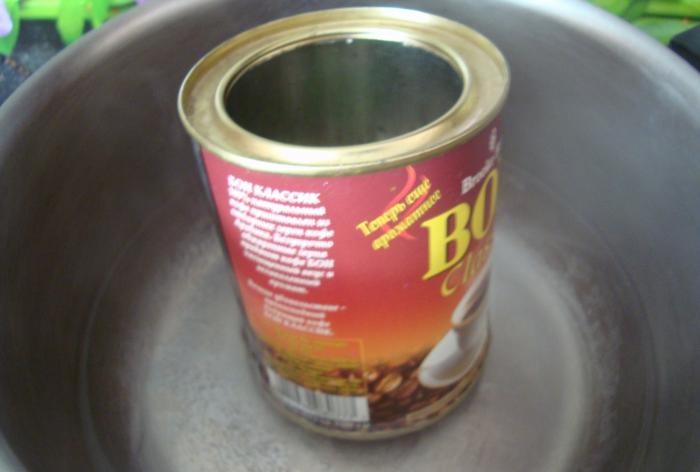
Step 5. Fill the pan with water, boil it, and then immerse an iron can with a cut candle and crayons in it. We are waiting for everything to completely melt.
Step 6. Now let's start choosing a mold. It can be anything, for example, you can use a cup of yogurt, a jar of sour cream or cream. Keep in mind that if the candle cannot be removed from the mold, the mold will have to be cut. Next, lower the pencil with the wick into the mold. We make the first layer - green. While the wax has not hardened, pour it into the mold and wait until it hardens completely, only after that can you pour the second layer and subsequent ones.
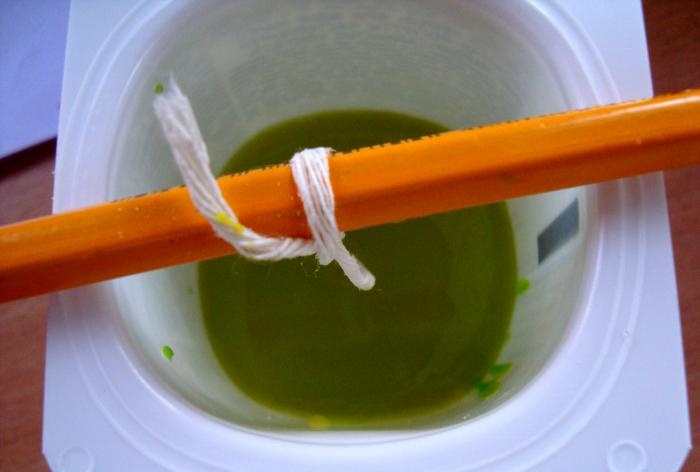
Step 7. Fill the second (yellow) and third (pink) layers. There may be more or fewer layers, it all depends on your imagination.
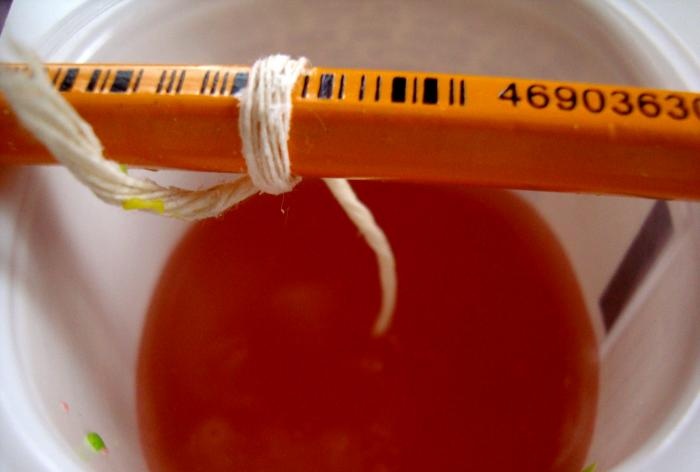
Step 8. Wait for all layers to completely harden. Cut off the excess wick and remove the candle from the mold.
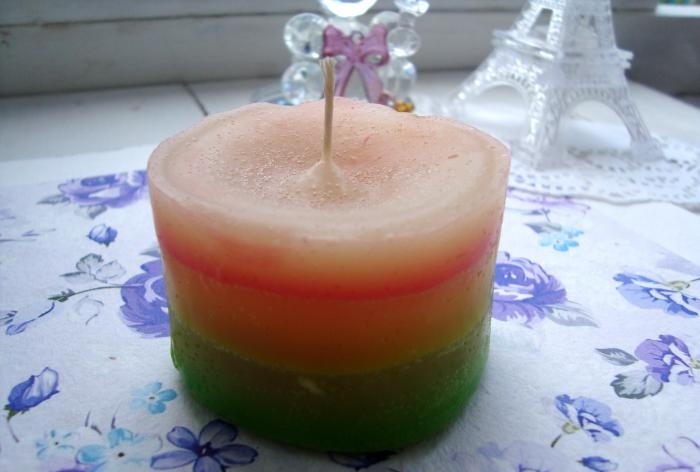
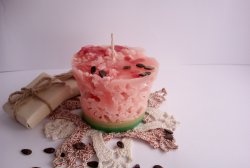
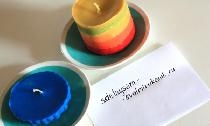
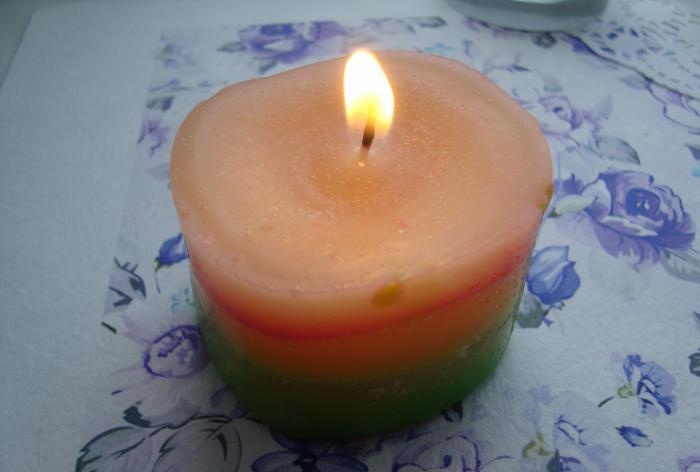
This is the colored candle we got!

You can also change colors, add aromatic oils, and various glitters. This candle can be wrapped in a beautiful package and given to a loved one. Imagine!

Let's get started! Materials:
- - wax candle;
- - colored wax crayons;
- - stationery knife;
- - pencil or stick;
- - a yogurt cup or mold;
- - an iron jar (for example, for coffee).

Step 1. Take a candle. Using a stationery or regular knife, cut the candle into several small pieces, so it will melt faster. Be careful not to damage or accidentally cut the wick inside the candle. Then we will need it.

Step 2. Next, take wax crayons in yellow, green and pink, but you can use any other colors. We remove the wrapper from them, if there is one, and using a stationery knife, cut the crayons into many small pieces.

Step 3. We tie the pre-prepared wick left over from the candle onto a pencil or stick.

Step 4.Place a few pieces of candle and crayons in an iron jar (they should be the same color, for example green).

Step 5. Fill the pan with water, boil it, and then immerse an iron can with a cut candle and crayons in it. We are waiting for everything to completely melt.

Step 6. Now let's start choosing a mold. It can be anything, for example, you can use a cup of yogurt, a jar of sour cream or cream. Keep in mind that if the candle cannot be removed from the mold, the mold will have to be cut. Next, lower the pencil with the wick into the mold. We make the first layer - green. While the wax has not hardened, pour it into the mold and wait until it hardens completely, only after that can you pour the second layer and subsequent ones.

Step 7. Fill the second (yellow) and third (pink) layers. There may be more or fewer layers, it all depends on your imagination.


Step 8. Wait for all layers to completely harden. Cut off the excess wick and remove the candle from the mold.

This is the colored candle we got!

You can also change colors, add aromatic oils, and various glitters. This candle can be wrapped in a beautiful package and given to a loved one. Imagine!
Similar master classes
Particularly interesting
Comments (0)

