How to make red candles
Red candles are an essential attribute of love magic. After all, red is the color of energy and unbridled passion, love and sensual expression. They will help not only attract new relationships into your life, but also return lost feelings and increase sexual attraction. The combination of scarlet color and fire is a truly powerful remedy, since red greatly enhances the energy contained in the scorching flame. Do you want to change your life for the better? Take advantage of the magic of red candles!
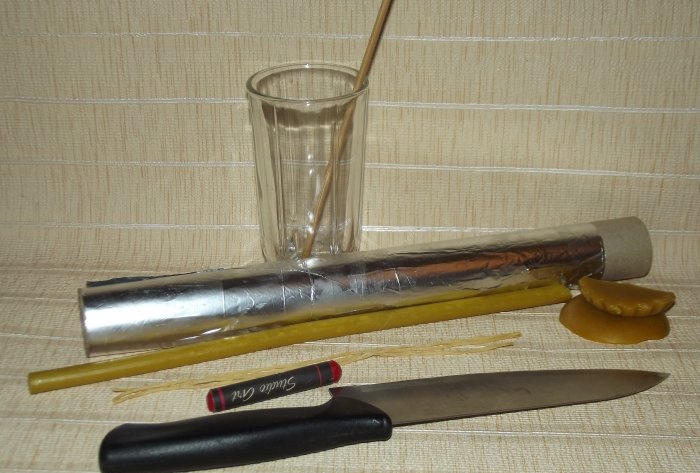
To work you will need the following materials and tools:
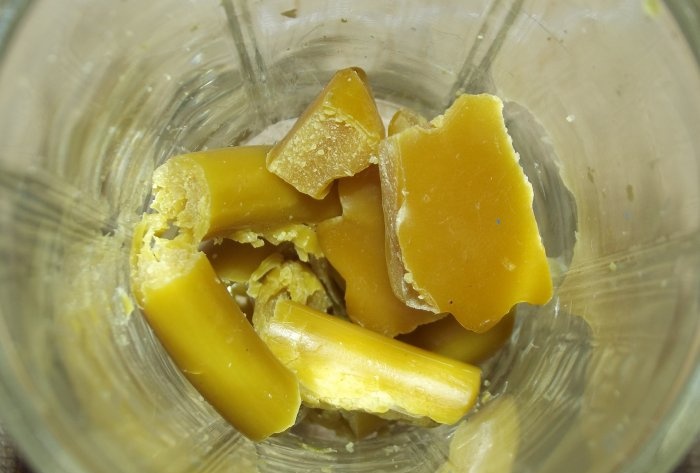
Break candles and/or wax into small pieces. If you use store-bought/church candles, do not throw away the remaining wicks from their breakage, but put them aside for now - you will need them later.
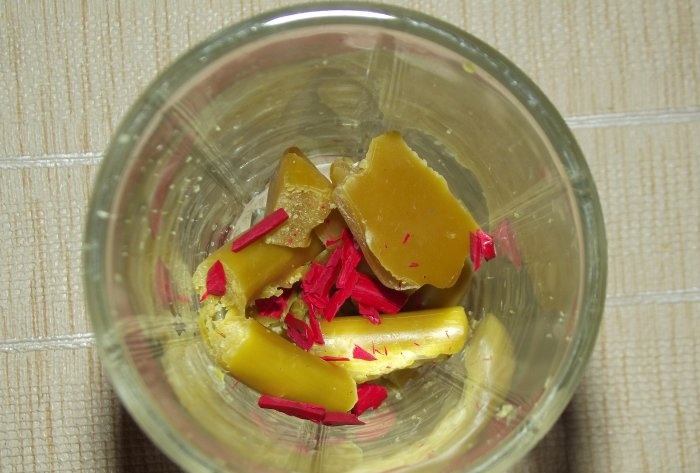
Cut a piece approximately 1 cm long from the wax pencil. Chop it with a knife into small chips. Pour these shavings into a container with pieces of wax and/or candles.
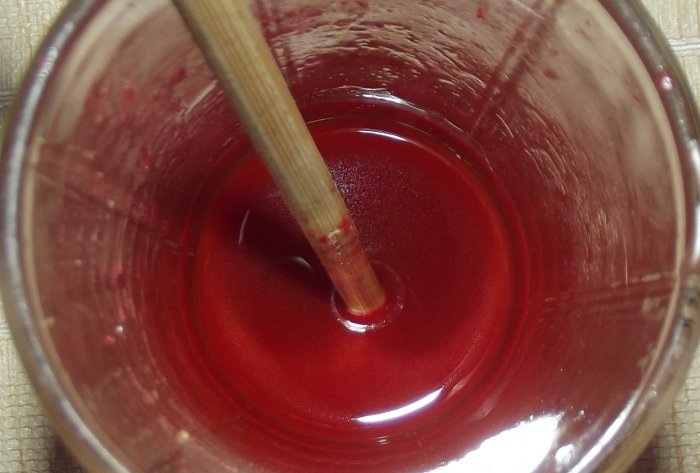
Place the container with the ingredients in a bowl of water and turn on the stove to medium heat. Melt the ingredients in a water bath until they become liquid with a homogeneous structure.
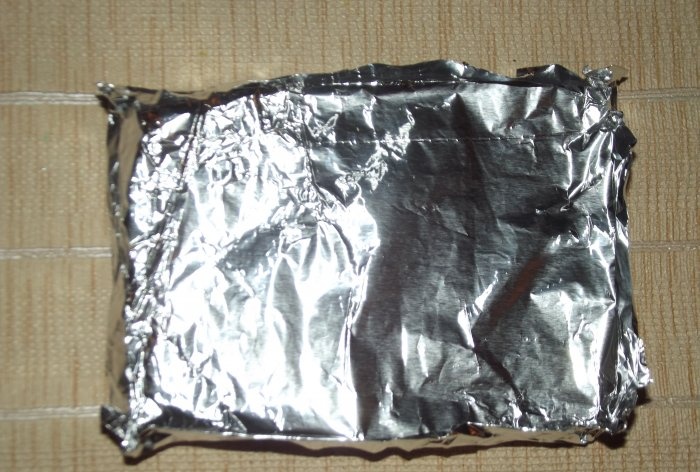
Build something like a box with closed sides from aluminum foil. This will be the form.
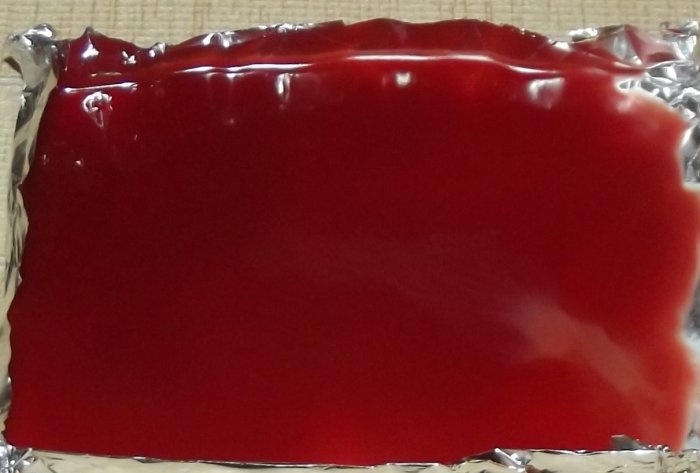
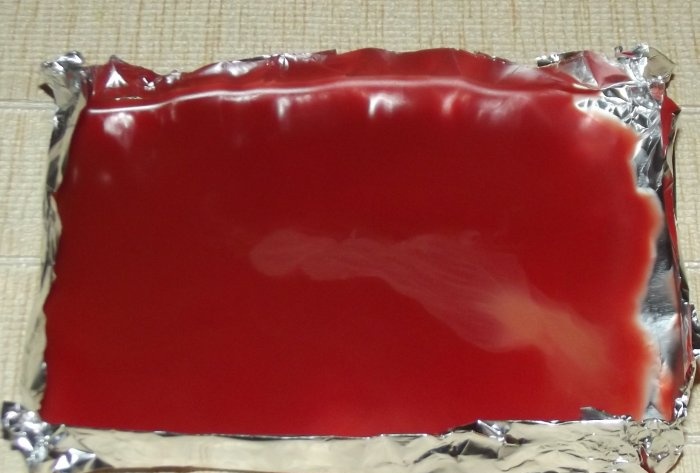
Pour the melted wax into the mold and leave it to harden for a few minutes.
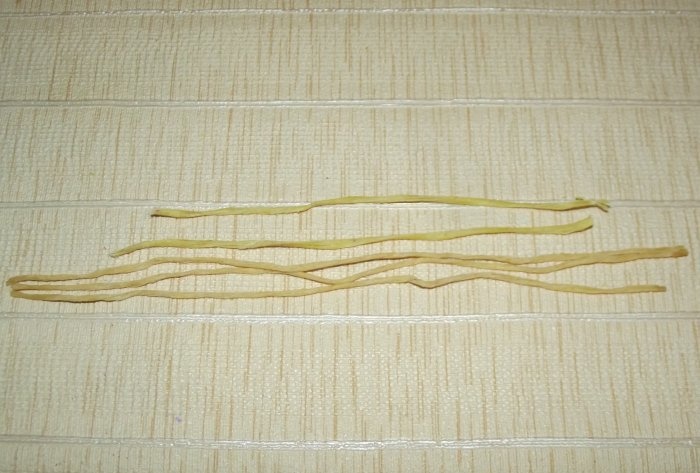
While the wax hardens, work on the wicks at this time. To do this, you can use wicks that you have left over from broken store/church candles.
Attention! If in the process of work you do not use store-bought candles in any way and use only pure wax, then you can make the wicks yourself. To do this, take natural 100% cotton threads and twist them into 5-6 threads. Then dip them in melted wax and place them on a piece of paper. Once the wax on the threads has set, your wicks will be completely ready to use.
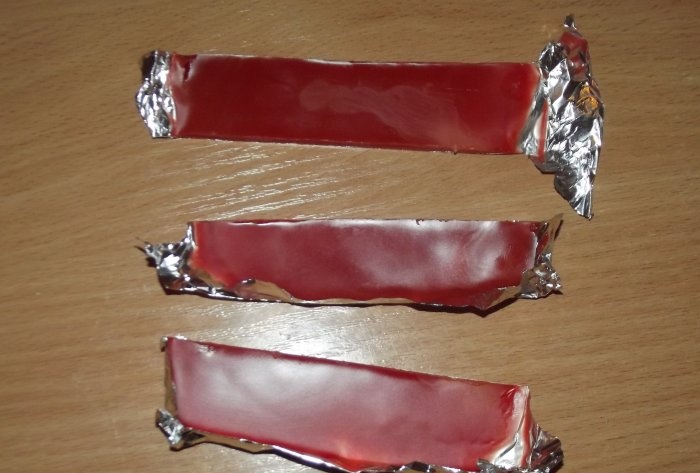
Cut the slightly hardened, but still soft and warm wax into strips 2.5-3 cm wide.
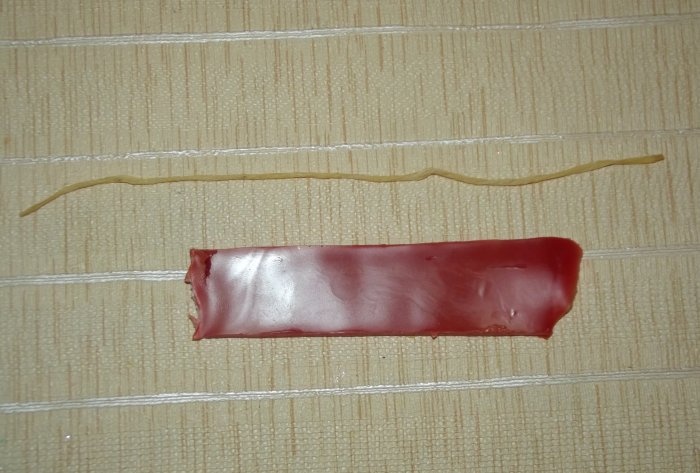
Separate the foil from one strip. Take one of the prepared wicks.
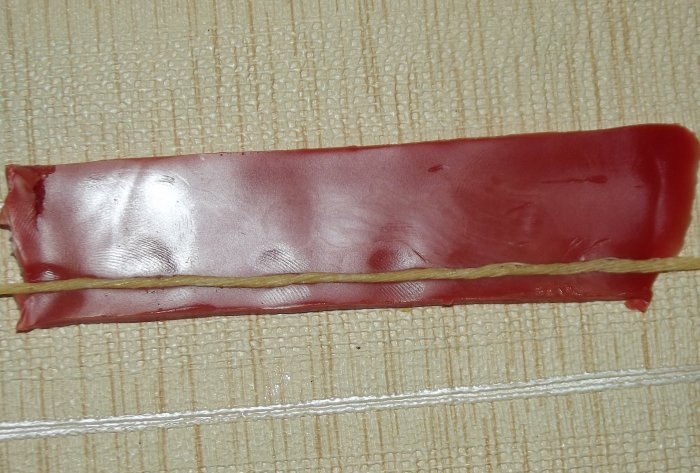
Place the wick on the edge of the strip and press it slightly into the wax.
Using gentle movements, wrap the wax strip around the wick.
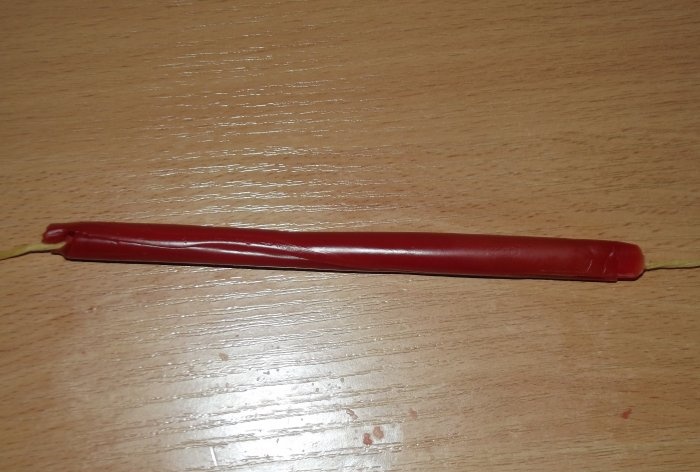
Place the structure on a flat surface. Gently roll it out onto the table until it is even and smooth on all sides.
Using the sharp edge of a knife, cut the product where you can see the bottom of the candle.
Using the blunt edge of a knife, trim the wax where you can see the top of the candle. Leave 1 cm of thread for the wick along the top of the product, cut off the rest.
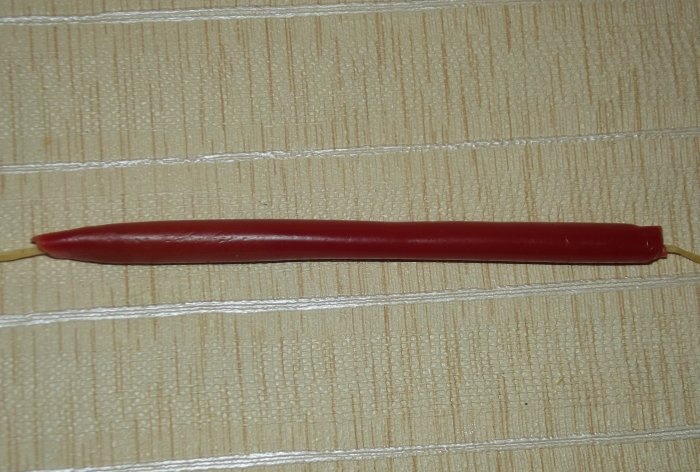
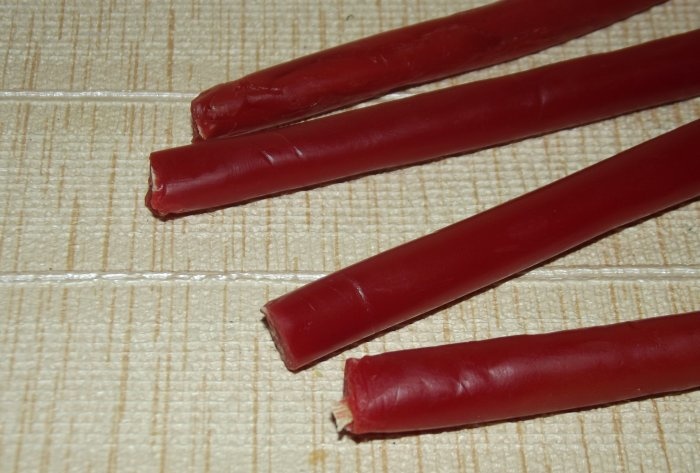
DIY red wax candles are ready! Good luck to you in love!
Will need
To work you will need the following materials and tools:
- natural beeswax and/or wax-based store/church candles;
- red wax pencil;
- aluminium foil;
- an ordinary kitchen knife;
- small container;
- water bath;
- stirring stick;
- wicks from store-bought candles or natural cotton threads.
Step-by-step instructions for making candles
Step 1: Prepare Ingredients
Break candles and/or wax into small pieces. If you use store-bought/church candles, do not throw away the remaining wicks from their breakage, but put them aside for now - you will need them later.
Cut a piece approximately 1 cm long from the wax pencil. Chop it with a knife into small chips. Pour these shavings into a container with pieces of wax and/or candles.
Step 2: Melt the ingredients
Place the container with the ingredients in a bowl of water and turn on the stove to medium heat. Melt the ingredients in a water bath until they become liquid with a homogeneous structure.
Step 3: Prepare the Candle Mold
Build something like a box with closed sides from aluminum foil. This will be the form.
Step 4: Pour the wax into the mold
Pour the melted wax into the mold and leave it to harden for a few minutes.
Step 5: Prepare the Wicks
While the wax hardens, work on the wicks at this time. To do this, you can use wicks that you have left over from broken store/church candles.
Attention! If in the process of work you do not use store-bought candles in any way and use only pure wax, then you can make the wicks yourself. To do this, take natural 100% cotton threads and twist them into 5-6 threads. Then dip them in melted wax and place them on a piece of paper. Once the wax on the threads has set, your wicks will be completely ready to use.
Step 6: Make the Candles
Cut the slightly hardened, but still soft and warm wax into strips 2.5-3 cm wide.
Separate the foil from one strip. Take one of the prepared wicks.
Place the wick on the edge of the strip and press it slightly into the wax.
Using gentle movements, wrap the wax strip around the wick.
Place the structure on a flat surface. Gently roll it out onto the table until it is even and smooth on all sides.
Using the sharp edge of a knife, cut the product where you can see the bottom of the candle.
Using the blunt edge of a knife, trim the wax where you can see the top of the candle. Leave 1 cm of thread for the wick along the top of the product, cut off the rest.
DIY red wax candles are ready! Good luck to you in love!
Similar master classes
Particularly interesting
Comments (0)


