Simple Tesla Coil
Nikola Tesla is truly a brilliant inventor of all times. He practically created the entire modern world. Without his inventions, we would not have known what we know now about electric current for a long time.
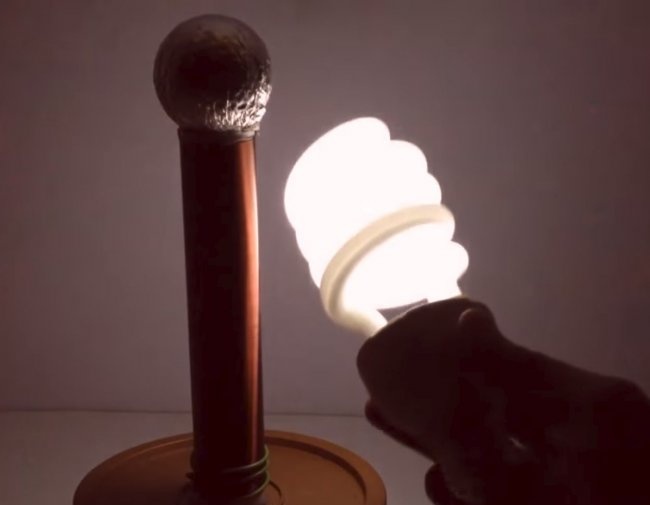
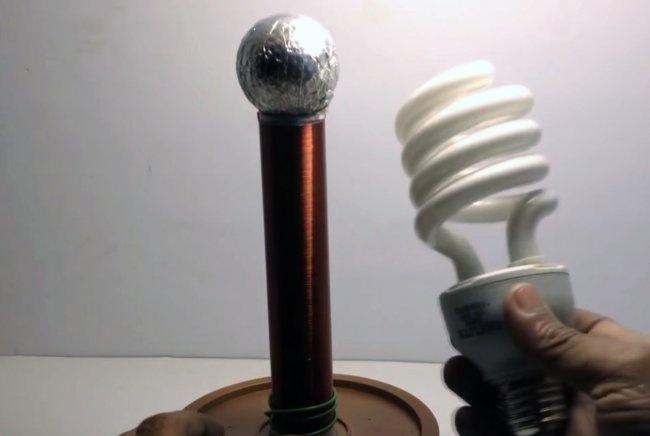
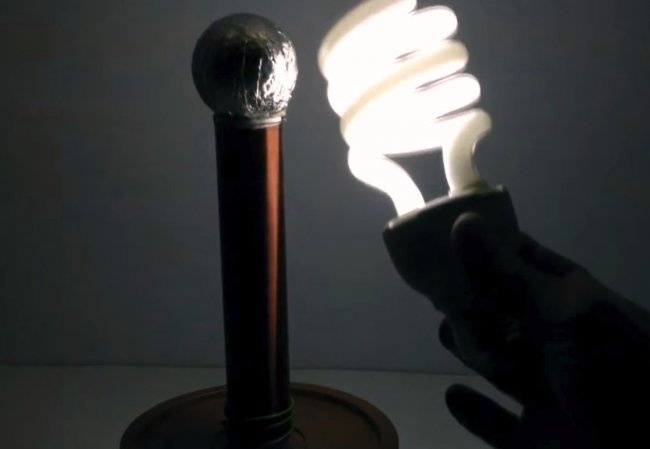
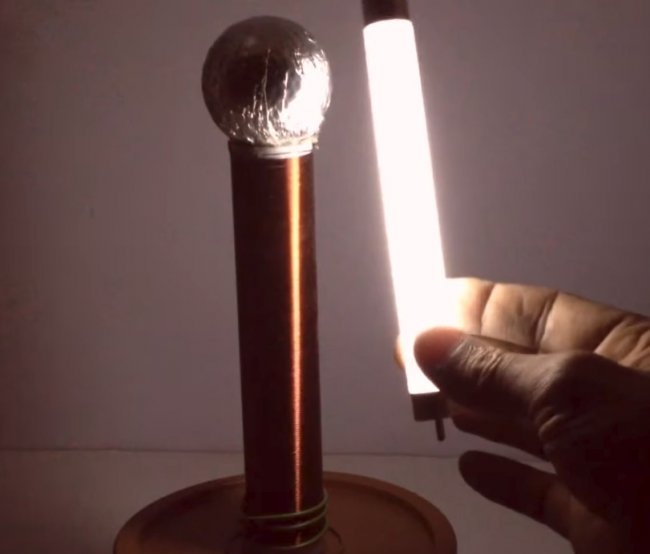
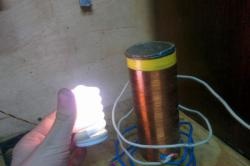
One of Tesla's brightest and most amazing inventions is his coil or transformer. Which perfectly demonstrates the transfer of energy over a distance.
To conduct experiments, please and surprise your friends, you can assemble a simple but completely working prototype at home. This does not require a large number of scarce parts and a lot of time.
Tools: a stationery knife, a hot glue gun, an awl, scissors and maybe another tool that is found in almost every home.
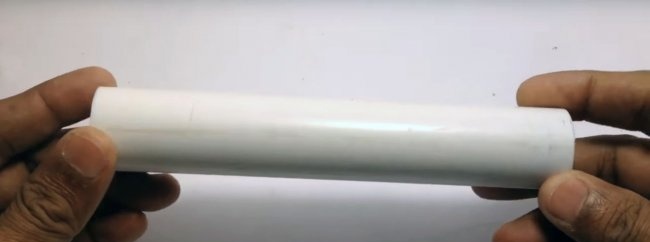
First of all, we need to cut a piece of polypropylene tube approximately 12-20 centimeters long. Any pipe diameter, take whatever you have on hand.
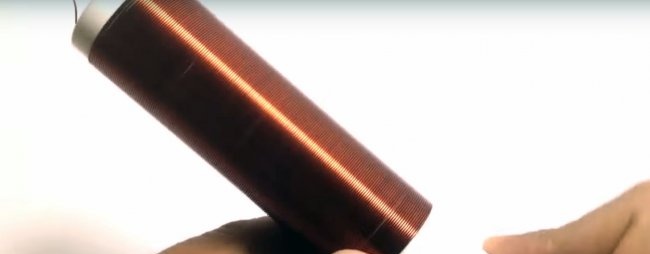
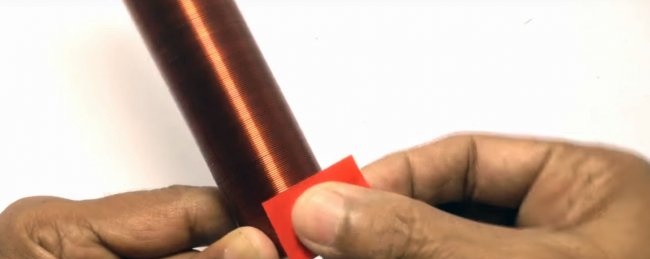
Let's take a thin wire.We fix one end with electrical tape and begin to wind tightly, turn to turn, until we cover the entire tube, leaving 1 centimeter from the edge. Once we have wound it, we will also secure the second end of the wire with electrical tape. You can use hot glue, but in this case you will have to wait a little.
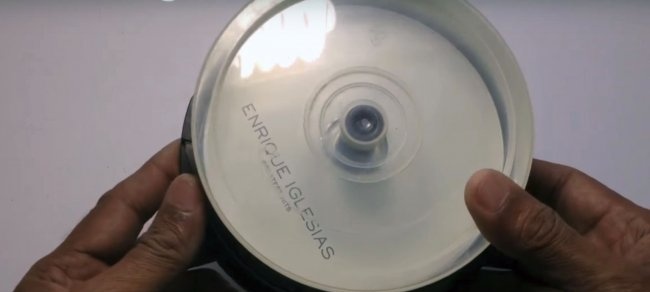
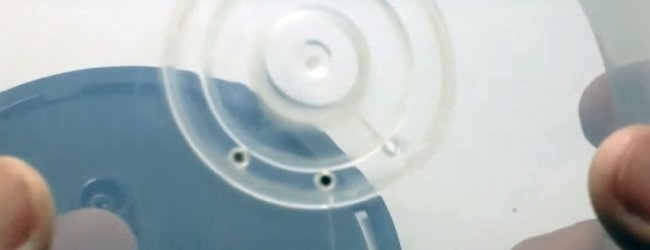
We take the disc case and make three holes for the wire. See photo.
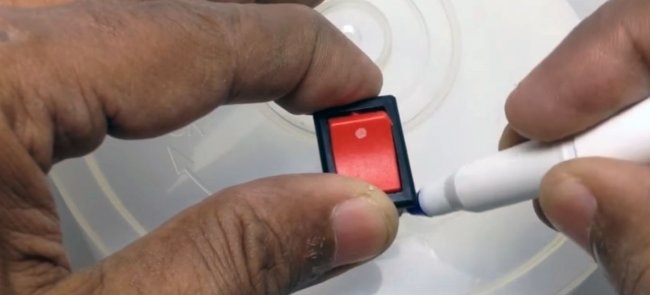
We cut a groove for the switch with which we will turn our Tesla coil on and off.
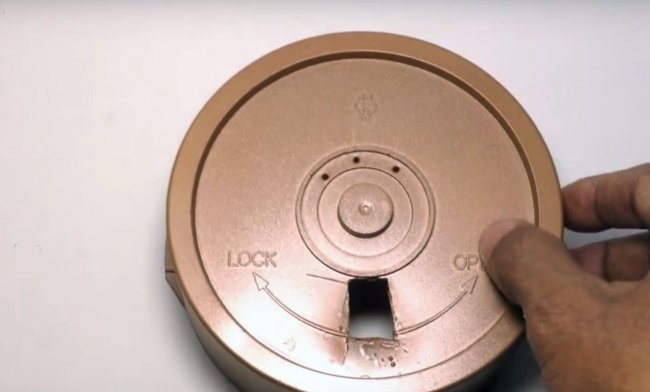
To make it look better I painted the box with spray paint.
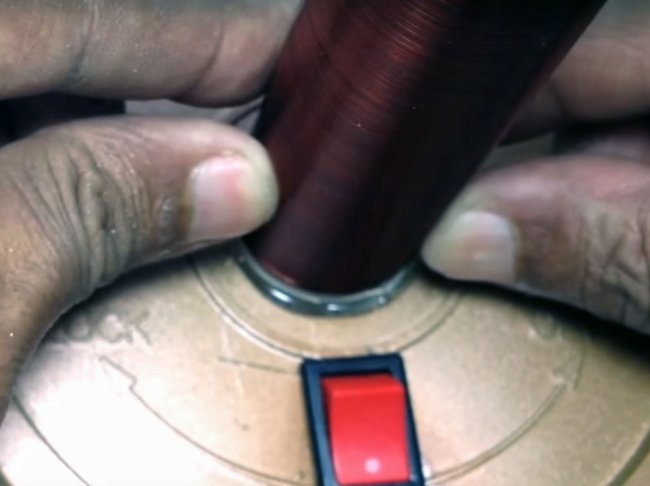
We insert the switch. Glue the coil wound on the tube with hot glue into the middle of the jar.
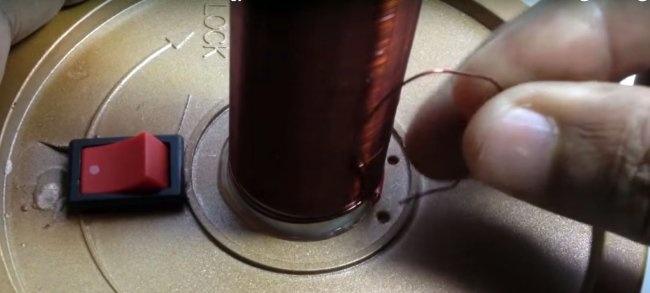
Pass the lower end of the wire through the hole.
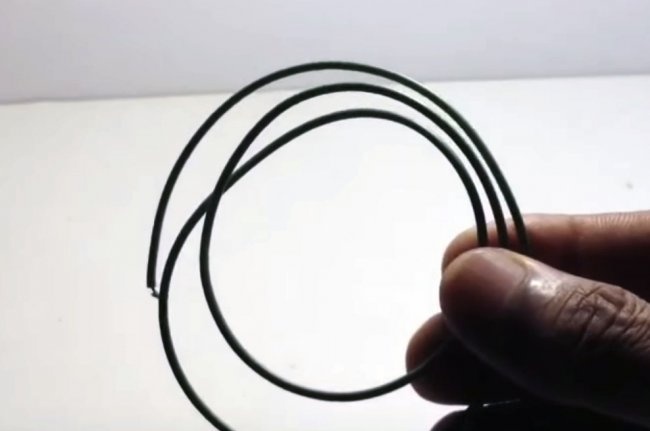
We take a thicker wire. We will make a power coil from it.
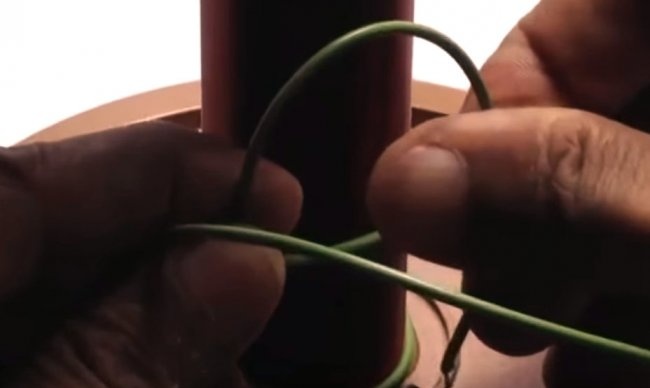
We wrap the wire around the tube. We do not do it closely, at some distance. Coil 4-5 turns.
We pass both ends of the resulting coil through the holes.
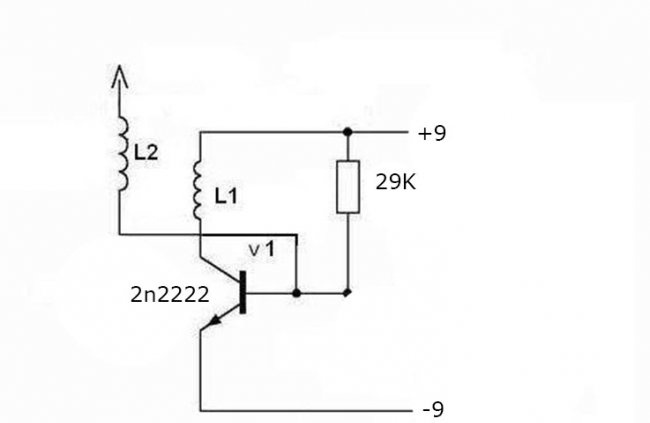
Next we assemble the diagram:
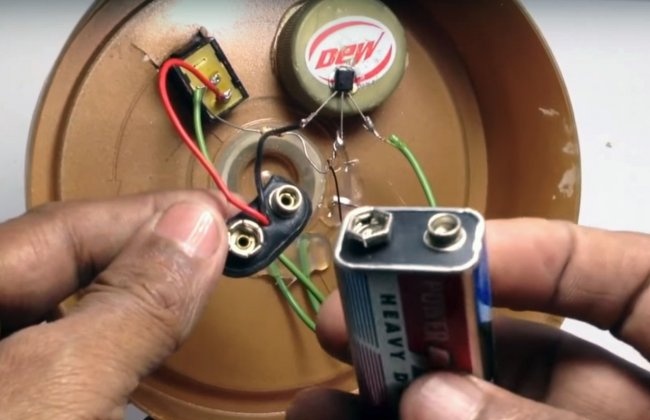
I glued the transistor with hot glue to a soda cap, which I had previously glued with hot glue. In general, we fix all the elements, including wires and batteries, with this glue.
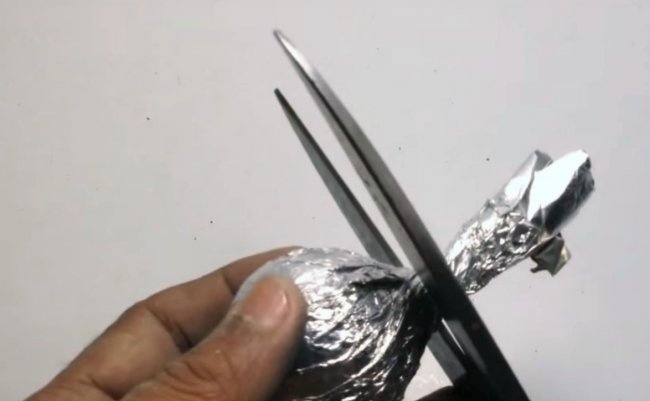
Next we make the electrode. Take a ping pong ball, golf ball, or other small ball and wrap it in aluminum foil. Cut off the excess with scissors.
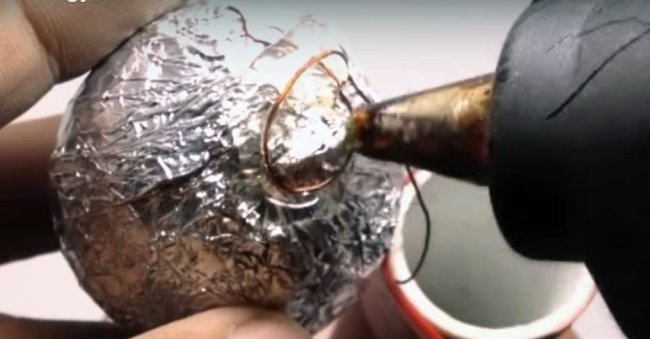
We strip the wire from the top of the tube and screw it to the foil of the ball. And we put it all on hot glue and on a tube.
That's all. If the circuit is assembled correctly, everything should work without problems. If for some reason this does not happen, then try swapping the ends of the power coil.
One of Tesla's brightest and most amazing inventions is his coil or transformer. Which perfectly demonstrates the transfer of energy over a distance.
To conduct experiments, please and surprise your friends, you can assemble a simple but completely working prototype at home. This does not require a large number of scarce parts and a lot of time.
To make a Tesla Coil you will need:
- CD can.
- A piece of polypropylene tube.
- Switch.
- Transistor 2n2222 (you can use domestic ones like KT815, KT817, KT805, etc.).
- Resistor 20-60 KOhm.
- Wires.
- Wire 0.08-0.3 mm.
- 9V battery or other 6-15V source.
Tools: a stationery knife, a hot glue gun, an awl, scissors and maybe another tool that is found in almost every home.
Making a Tesla coil with your own hands
First of all, we need to cut a piece of polypropylene tube approximately 12-20 centimeters long. Any pipe diameter, take whatever you have on hand.
Let's take a thin wire.We fix one end with electrical tape and begin to wind tightly, turn to turn, until we cover the entire tube, leaving 1 centimeter from the edge. Once we have wound it, we will also secure the second end of the wire with electrical tape. You can use hot glue, but in this case you will have to wait a little.
We take the disc case and make three holes for the wire. See photo.
We cut a groove for the switch with which we will turn our Tesla coil on and off.
To make it look better I painted the box with spray paint.
We insert the switch. Glue the coil wound on the tube with hot glue into the middle of the jar.
Pass the lower end of the wire through the hole.
We take a thicker wire. We will make a power coil from it.
We wrap the wire around the tube. We do not do it closely, at some distance. Coil 4-5 turns.
We pass both ends of the resulting coil through the holes.
Next we assemble the diagram:
I glued the transistor with hot glue to a soda cap, which I had previously glued with hot glue. In general, we fix all the elements, including wires and batteries, with this glue.
Next we make the electrode. Take a ping pong ball, golf ball, or other small ball and wrap it in aluminum foil. Cut off the excess with scissors.
We strip the wire from the top of the tube and screw it to the foil of the ball. And we put it all on hot glue and on a tube.
That's all. If the circuit is assembled correctly, everything should work without problems. If for some reason this does not happen, then try swapping the ends of the power coil.
Watch the video:
Similar master classes
Particularly interesting
Comments (3)

