A simple plasma ball made from a light bulb
Many people have heard about the plasma ball, but not everyone wants to spend money on buying it. Radio amateurs know that you can make it yourself. Alas, for beginner radio amateurs, the diagrams on the Internet are quite complex and incomprehensible. This article will help you make a plasma ball even for those who are holding a soldering iron for the second time in their life. But first, I advise you to familiarize yourself with the safety precautions presented in the article Jacob’s Ladder.
So, let's start making.
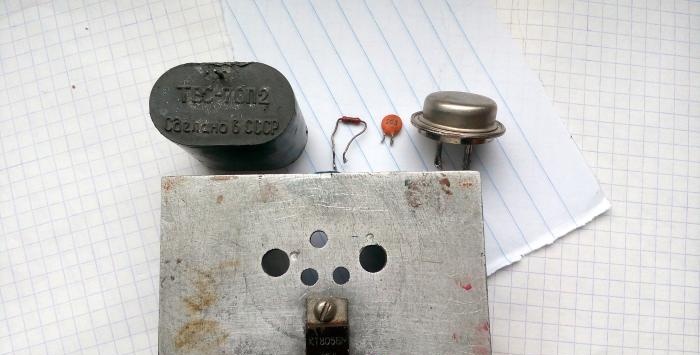
We will need the following parts:
All parts except VT1 can be found in an old tube TV. VT2 needs a good heat sink!
Often, beginning radio amateurs have difficulty obtaining a particular voltage, but this problem has been solved here. The supply voltage of the circuit fluctuates in a wide range: 9 volts-30 volts, 1-2 amperes.
Here are three transformers:
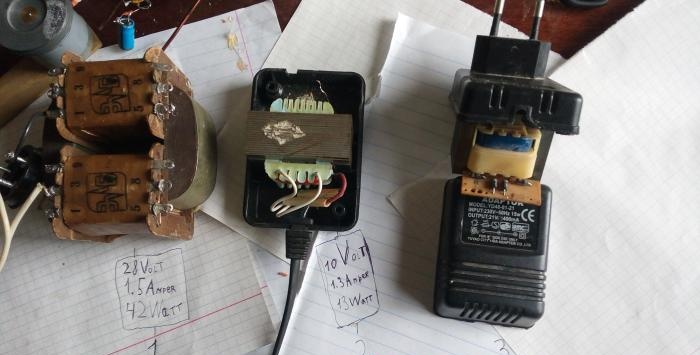
The most suitable one is the first one.The second one can also be used, but the discharges will be different, and the third transformer is not recommended at all. Current can be rectified only with the following diodes:
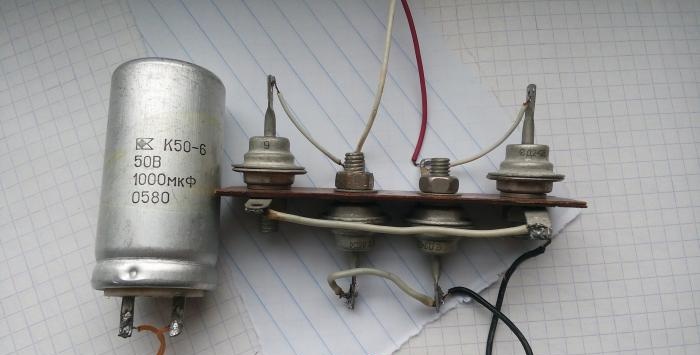
This is D242D (VD1-VD4).
The plasma ball diagram itself looks like this:
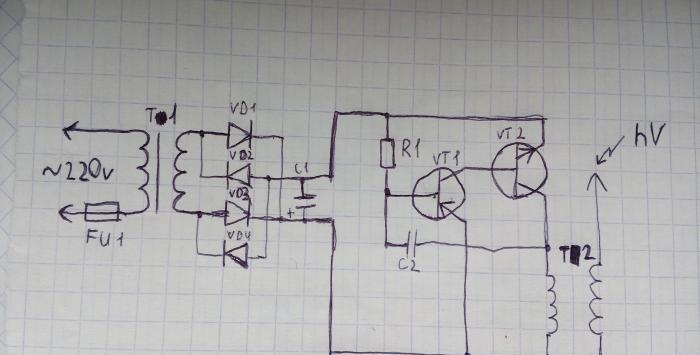
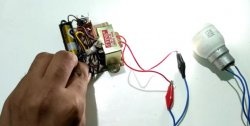
As you can see, the circuit involves a minimum number of parts, which is especially important for novice radio amateurs; the circuit can be assembled by surface mounting, which is very pleasing. And this is what the assembled circuit looks like:
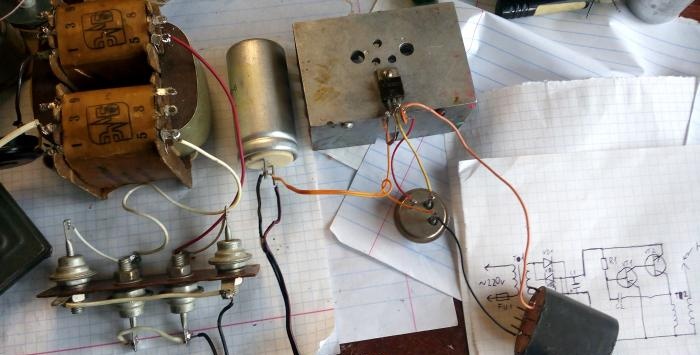
It is important that the line transformer must be connected correctly! We connect the VT2 collector to pin 4.
We connect the VT1 emitter to pin 6. Be careful, when turned on, a high high frequency voltage is generated on pin 7.
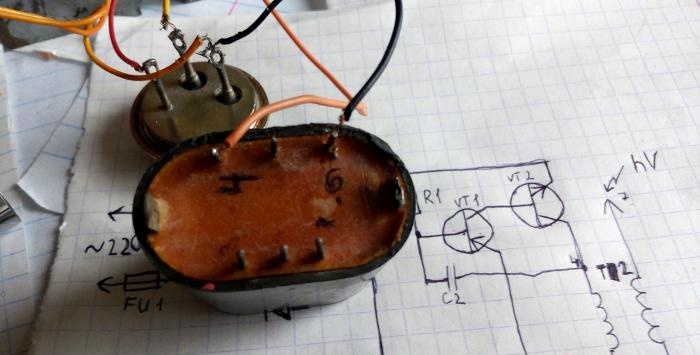
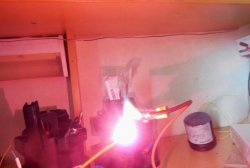
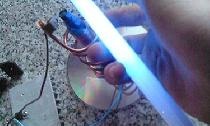
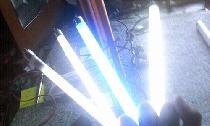
When everything is ready, turn on the transformer to the network. When you bring iron objects to contact 7, sparks appear, you can experiment with them.
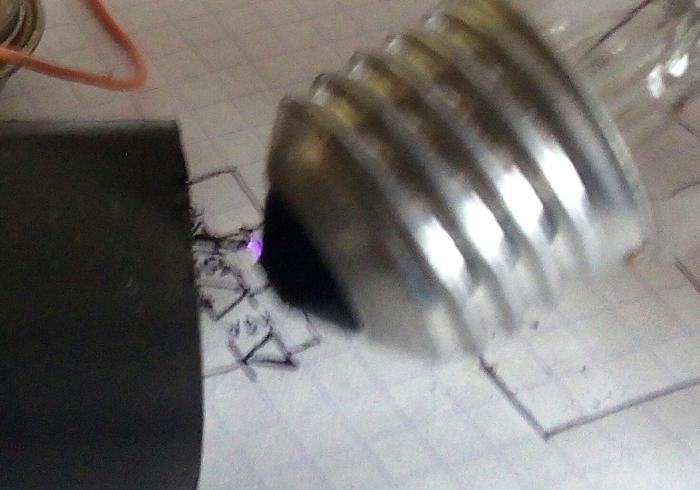
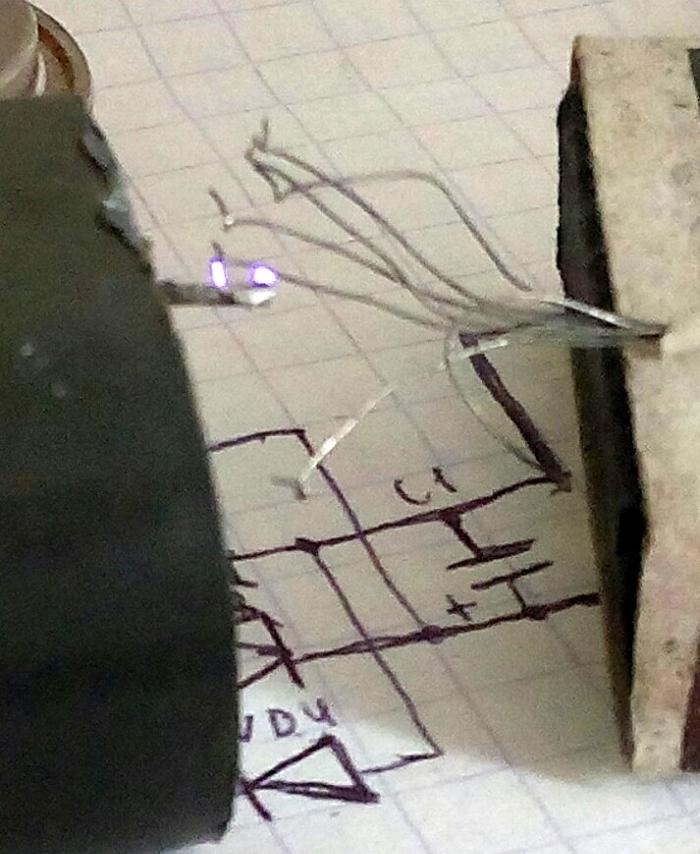
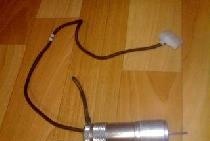
Now you need to find such a cartridge.
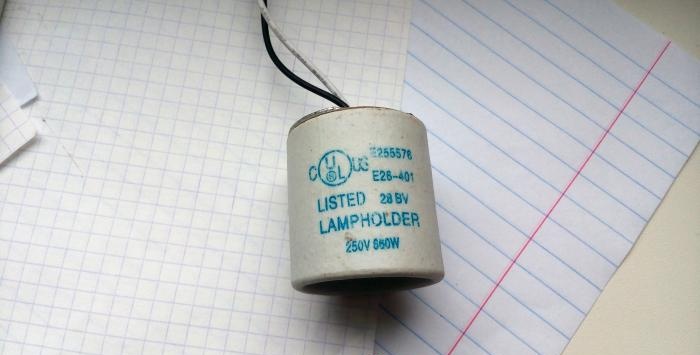
And a suitable lamp, solder the wires coming from the socket to pin 7. Screw the lamp into the socket and place it in a vertical position.
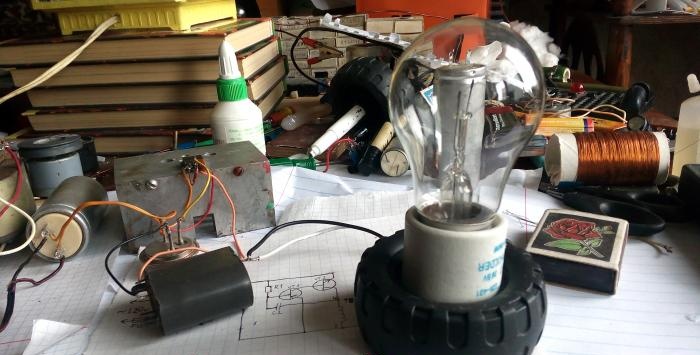
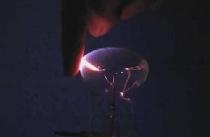
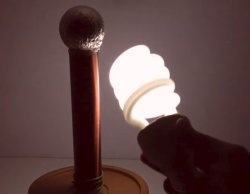
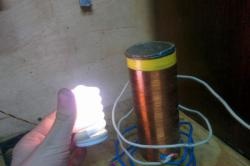
All! The plasma ball is ready. Turn on the plasma ball, turn off the light and enjoy the discharges.
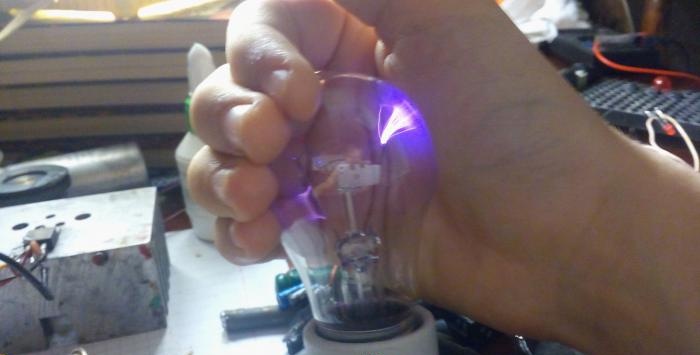
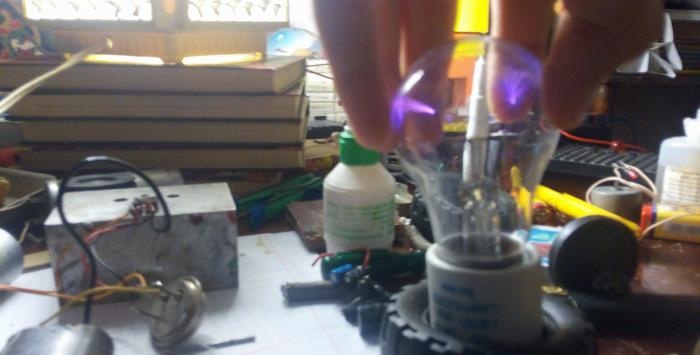
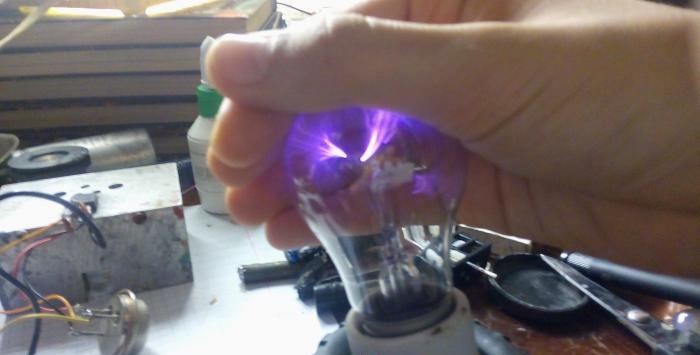
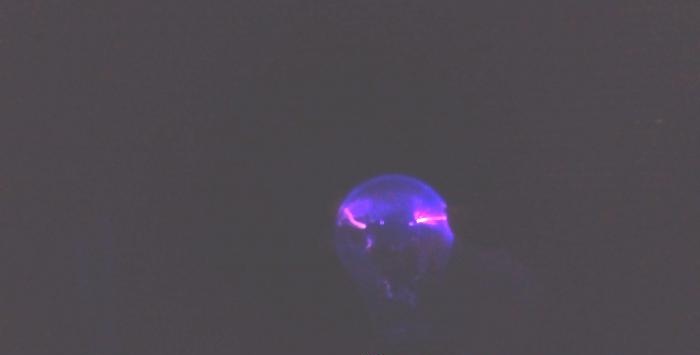
When the plasma ball is turned on, do not touch the line transformer with your hands! There is a risk of getting burned!
So, let's start making.
We will need the following parts:
- VT1 - GT806D,
- VT2 - KT805AM,
- R1 - 1kOhm,
- C2 - 0.02 µF (import marking: 203),
- Linear transformer Tr2: TVS-70P2.
All parts except VT1 can be found in an old tube TV. VT2 needs a good heat sink!

Often, beginning radio amateurs have difficulty obtaining a particular voltage, but this problem has been solved here. The supply voltage of the circuit fluctuates in a wide range: 9 volts-30 volts, 1-2 amperes.
Here are three transformers:

The most suitable one is the first one.The second one can also be used, but the discharges will be different, and the third transformer is not recommended at all. Current can be rectified only with the following diodes:

This is D242D (VD1-VD4).
The plasma ball diagram itself looks like this:

As you can see, the circuit involves a minimum number of parts, which is especially important for novice radio amateurs; the circuit can be assembled by surface mounting, which is very pleasing. And this is what the assembled circuit looks like:

It is important that the line transformer must be connected correctly! We connect the VT2 collector to pin 4.
We connect the VT1 emitter to pin 6. Be careful, when turned on, a high high frequency voltage is generated on pin 7.

When everything is ready, turn on the transformer to the network. When you bring iron objects to contact 7, sparks appear, you can experiment with them.


Now you need to find such a cartridge.

And a suitable lamp, solder the wires coming from the socket to pin 7. Screw the lamp into the socket and place it in a vertical position.

All! The plasma ball is ready. Turn on the plasma ball, turn off the light and enjoy the discharges.


When the plasma ball is turned on, do not touch the line transformer with your hands! There is a risk of getting burned!
Similar master classes
Particularly interesting
Comments (1)

