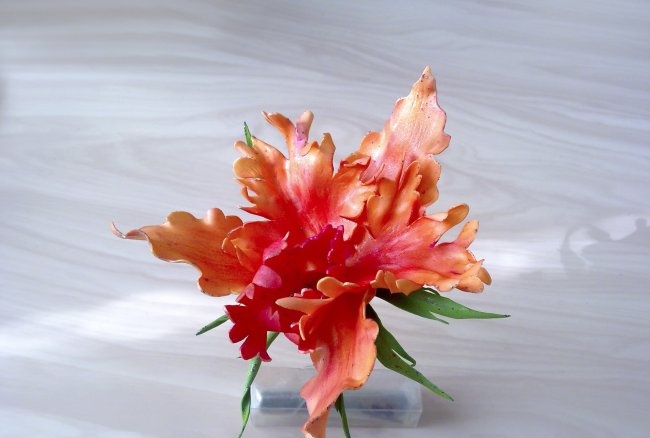
Orchid - New Year's hair decoration
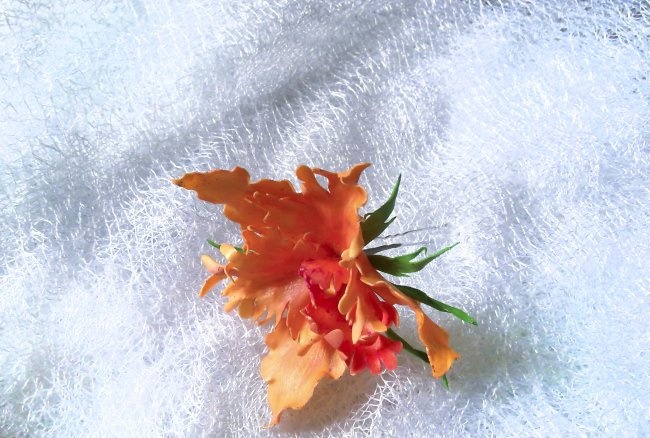
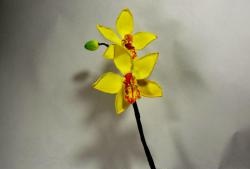
There is very little left before the start of the New Year and it’s time to think about the festive outfit and hairstyle. Recently, it has become very fashionable to decorate your hair with flowers, but they are not cheap. In the master class we suggest making an orchid flower on a stiletto heel with your own hands.
Materials and tools:
- - apricot-colored foamiran (Silk Lux);
- - green foamiran;
- -oil pastel (cuff, purple, orange, green, red, yellow);
- - acrylic paint (raspberry);
- - stamen;
- - thin wire;
- - tape;
- - acrylic lacquer;
- - second glue;
- - foam sponge;
- - gold and purple sparkles;
- - gold paint;
- - brush;
- - bulk;
- - orchid mold;
- - toothpick;
- - contour on glass with multi-colored sparkles;
- - hairpin;
- - iron.
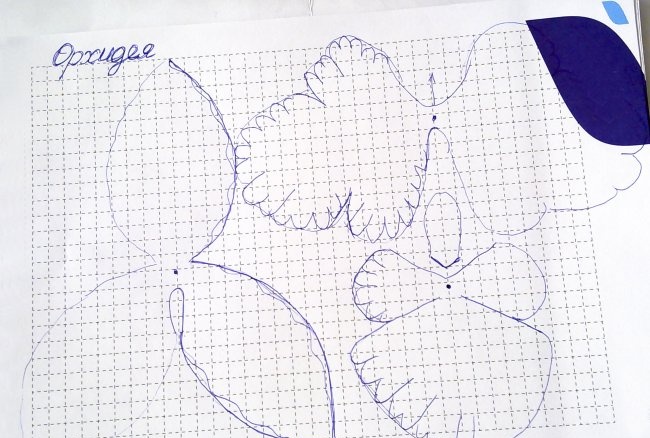
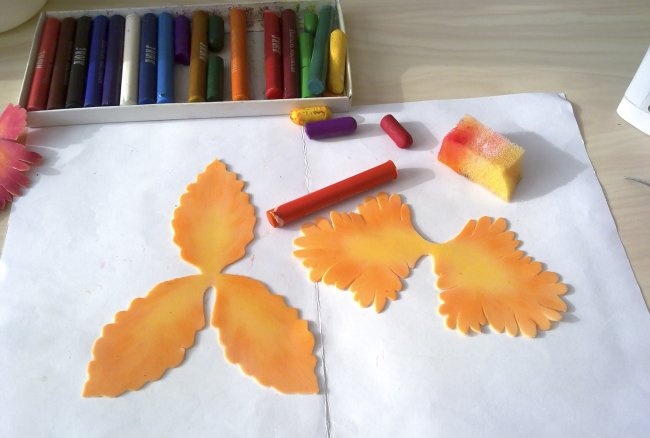
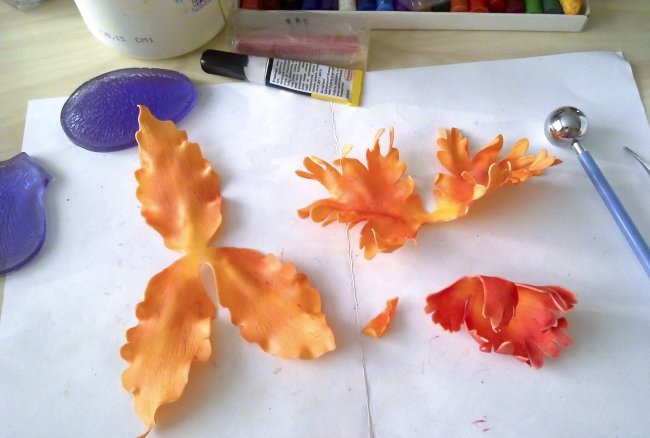
Looking at the orchid pattern, which is presented on paper in a box for size orientation, we make templates.
Tip: first cut out all the details of the orchid with smooth edges - this makes it easier to trace and cut out the foamiran. Then use nail scissors to create random lace and wavy edges.
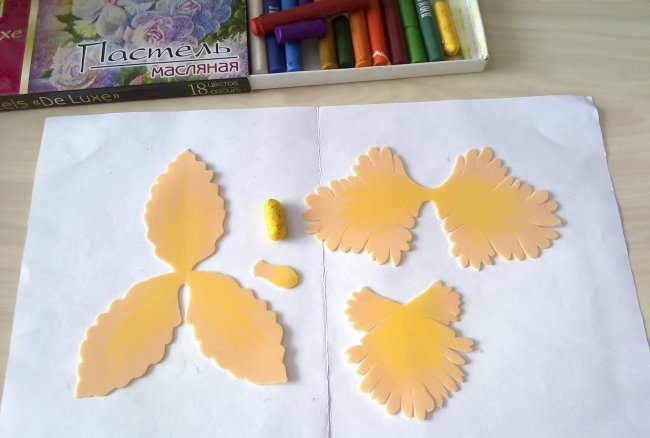
We tint all the details with yellow pastels (we draw with chalk on foamiran).
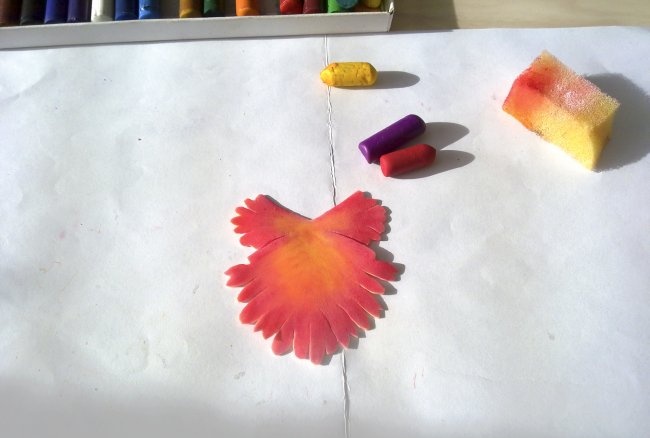
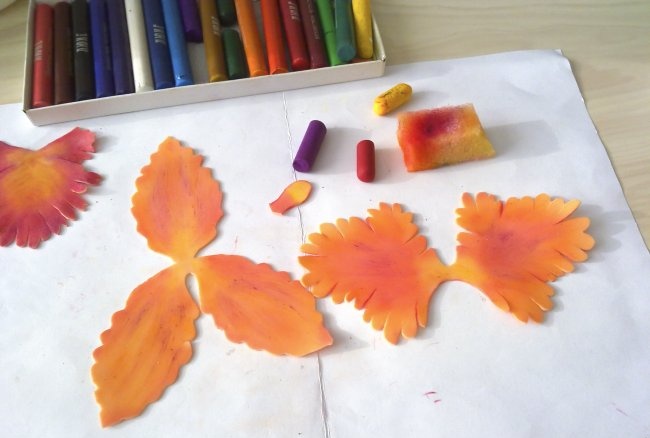
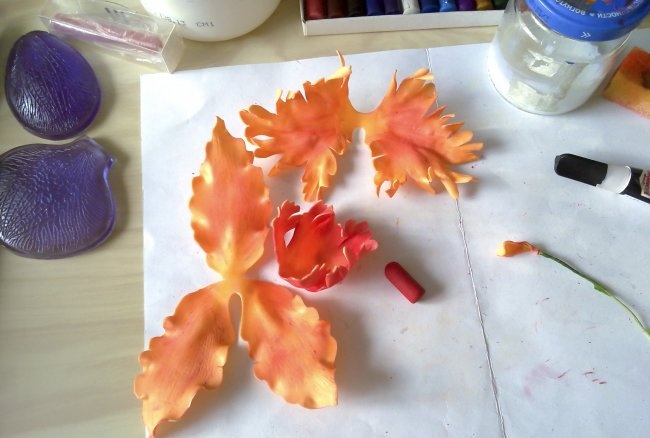
We add richness to the middle detail (the lip of the orchid) - we shade it, without going to the very middle, with red and purple pastels.
We paint the inside out completely, but not so brightly.
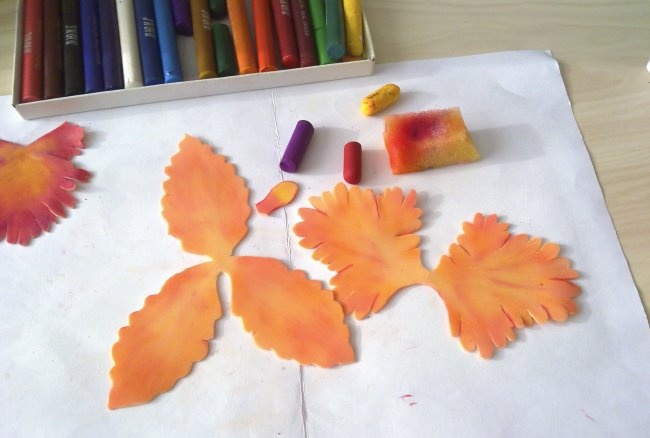
Large details (sepals and petals) are tinted with orange pastel. Apply the pastel with a sponge from the beginning of the yellow coloring to the edges using sharp movements.
Add a little red and purple.
We tint the inside.
We take any white or yellow stamen, a piece of wire and tape.
Glue and wrap with tape. If the stamen was white, paint it yellow.
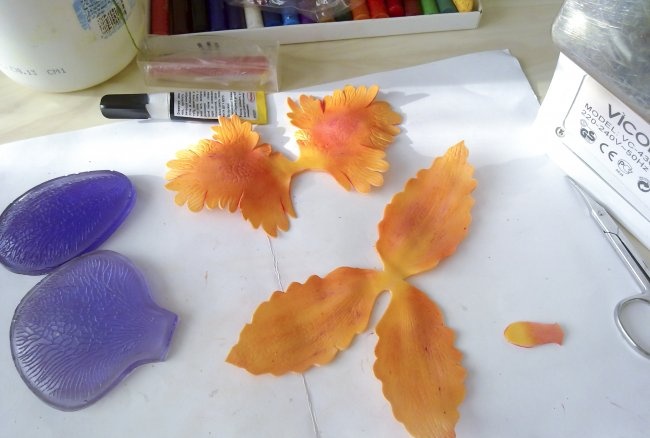
Using a mold and an iron, we print the details.
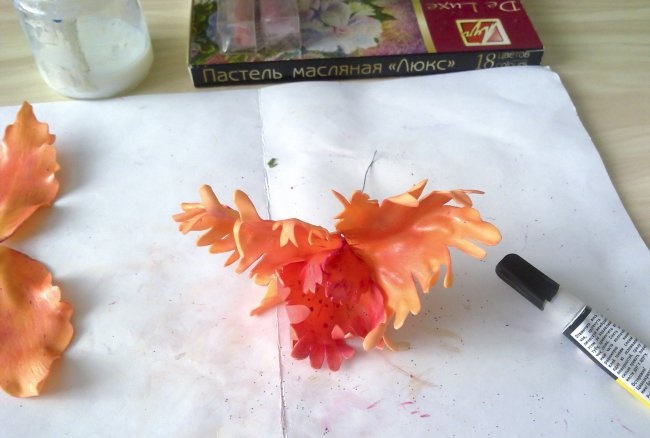
We heat a small section along the edge of the petal and stretch it to form a wave. We heat the middle part (lip) and press it with a boule. We heat the mini-part, flatten it and bend the tip.
Glue the stamen on the wire to the mini-part. We tint it a little more red.
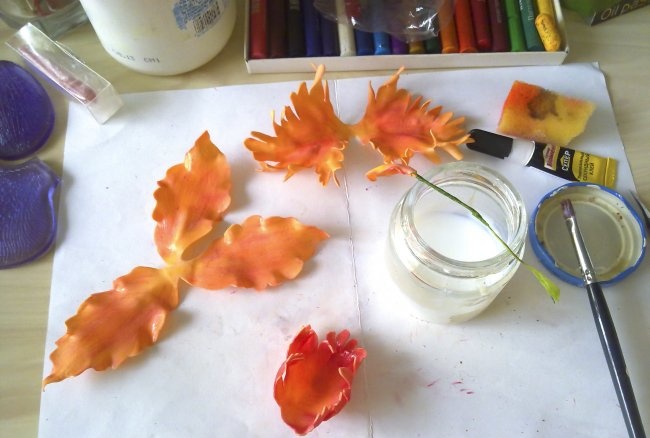
Cover with varnish and dry.
We tint the mini-detail on the bend with purple.
Rub it with gold. Dilute a drop of paint with water and apply it to the entire surface with a sponge.
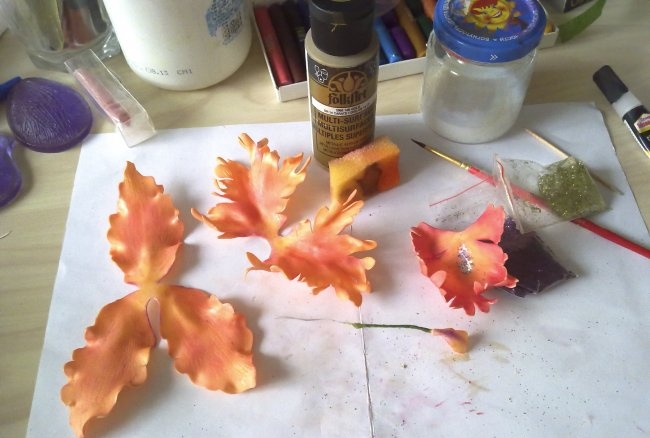
On the middle part in the middle we make a drop of gold and purple sparkles. Glue them onto the varnish.
If you wish, you can add glitter to the entire part, but in a very, very minimal amount. Let's dry it.
Glue in the mini part.
Use raspberry or hot pink acrylic paint to make polka dots using a toothpick. Lightly shade the other two details.
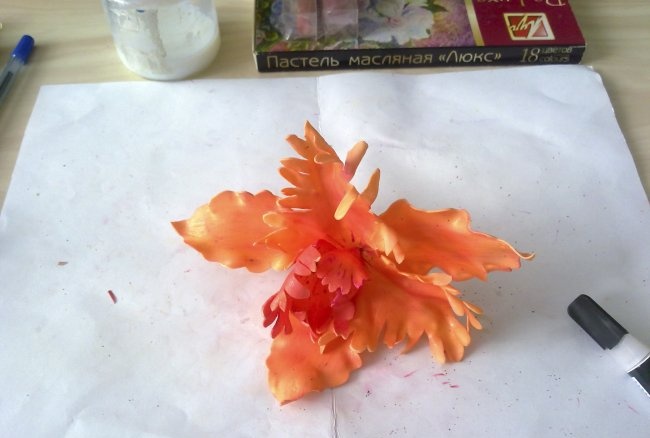
We plant the side petals. Glue one and the second part together.
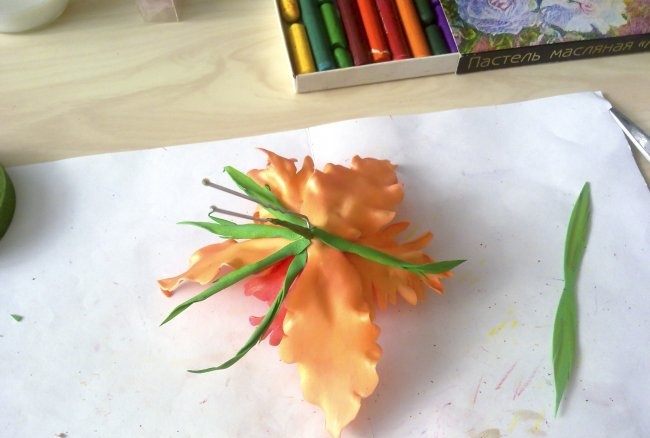
Add sepals. Glue it together.
Let's see if we need to raise the leaves somewhere. If yes, then drip glue and fasten it together.
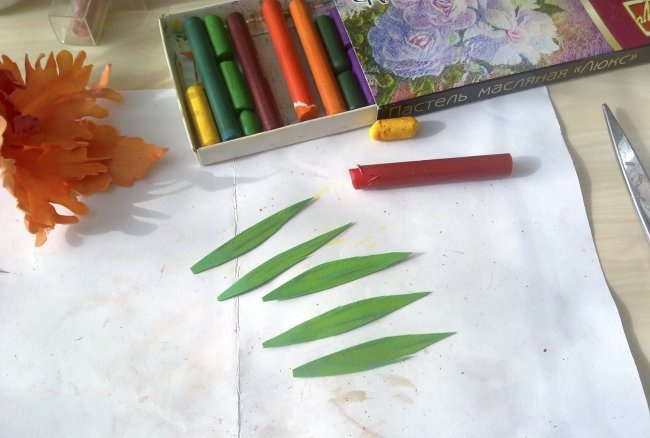
We cut out narrow leaves 7–8 cm long and make notches. On top of the leaves we draw longitudinal lines with yellow and red pastels.
Heat, twist and rub with fingers.
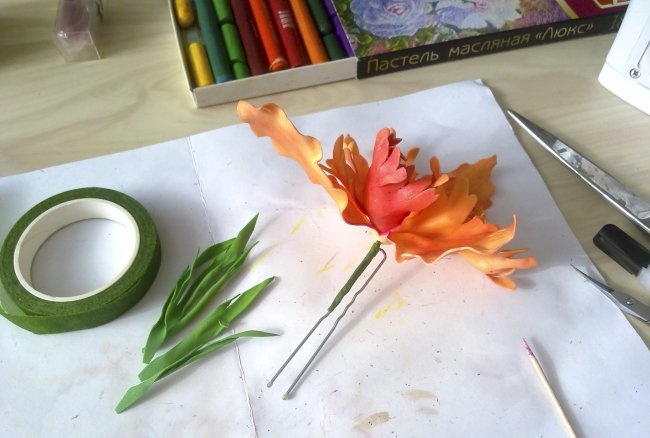
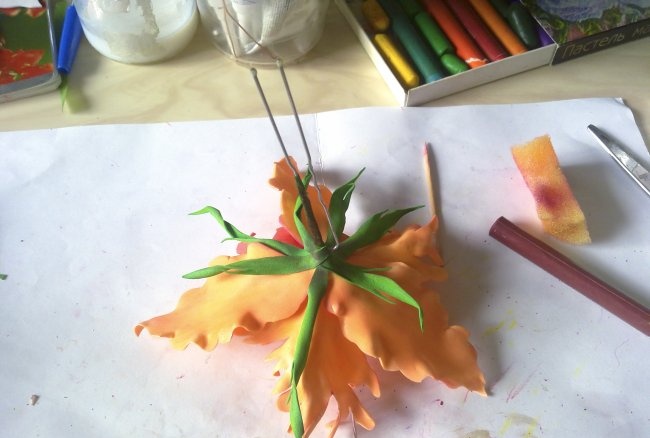
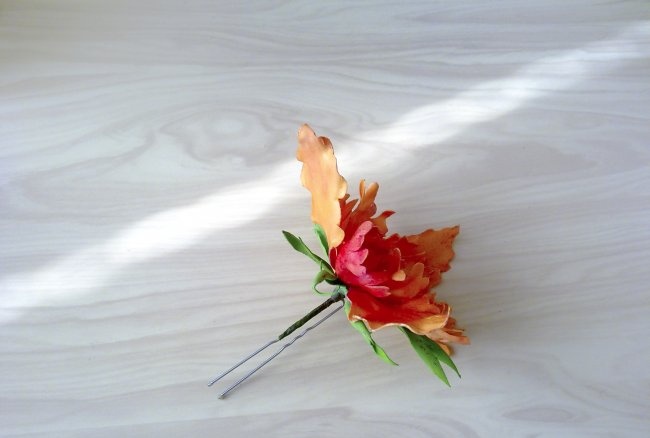
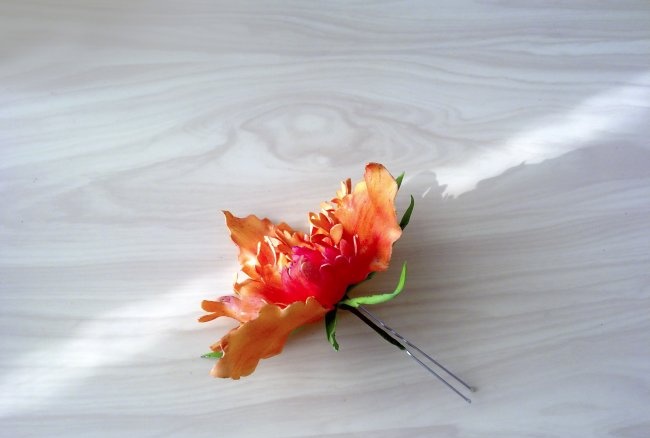
We fix the orchid to the hairpin. Wrap the wire and pin together with tape.
Glue the leaves. We cut out a double-sided sheet and tint it.
We shape the leaf and cover the base of the orchid with it, at the same time wrapping the hairpin. In this way we not only added leaves, but also made an additional attachment of the orchid to the hairpin.
We tint the base of the leaves and the ribbon with brown or red-brown pastel.
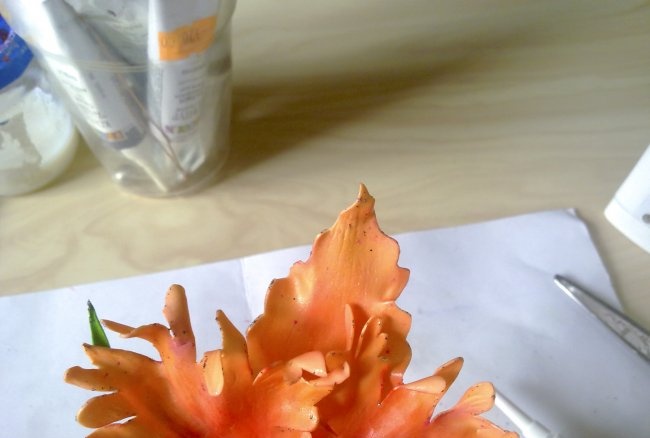
Since we will have a New Year’s orchid (and what’s a New Year without sparkles), we draw an outline with multi-colored sparkles along the edge of all the petals and leaves. We give it time to harden.
If there is not enough glitter (I want to insert a smile here), then glitter can be added to the ends.
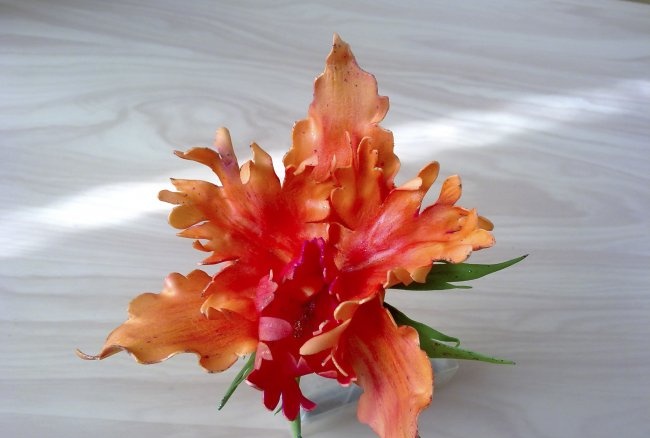
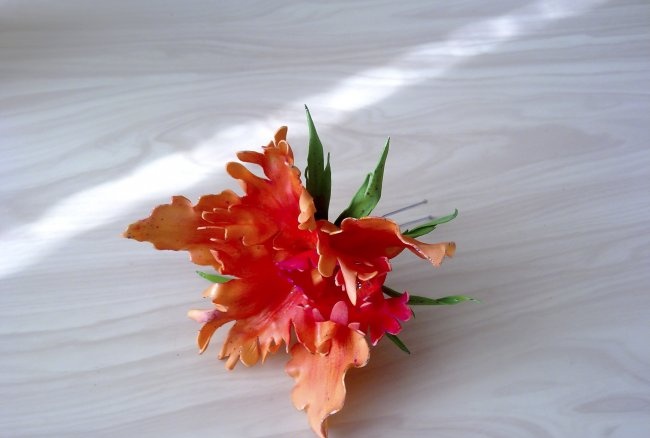
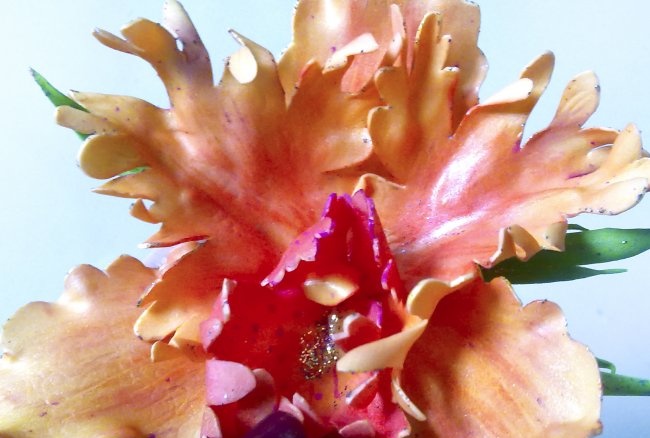
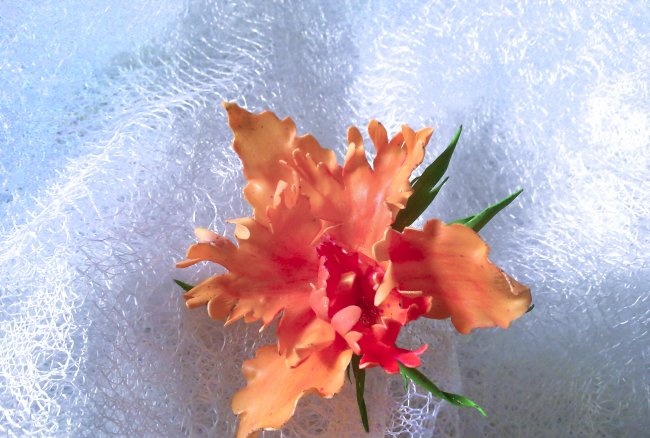
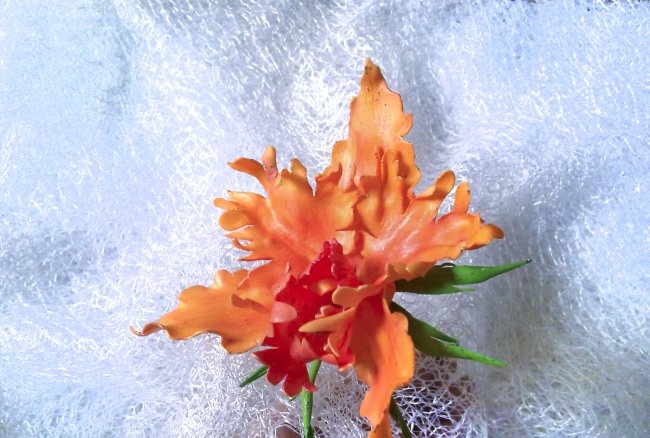
Gold coating and multi-colored glitter along the edges of the petals gives the orchid a festive mood. On the street and in daylight in the room, the orchid unobtrusively shimmers with golden rays, and changing the lighting to artificial gives it an incredible shine of small lights.
A hairpin with an exotic orchid and all kinds of gilding is ready to decorate any hairstyle.
Similar master classes
Particularly interesting
Comments (0)

