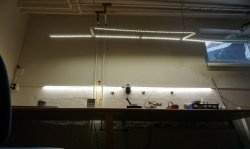
LED lighting for any ceiling
Typically, LED lighting is mounted in the ceiling when it is being repaired or updated.
I really liked this idea because it can be applied to an existing room without any renovation.
In order to install LED lighting around the entire perimeter of your room, you do not need to do any extra steps, and even touch the ceiling itself.
The first and main thing is the LED strip.
I recommend taking it here - LED strip aliexpress.com, at a very low price.
What shade your lighting will have is up to you. The choice is wide: white, cold, warm, color (RGB) LED strip.
Personally, I took a white glow tape, rated at 220 V. It does not require any special adapters or converters. Another advantage is that it has a transparent insulated casing, which is important for electrical and fire safety.
This tape, of course, will be more expensive than 12 V, but it does not require a power supply, in the end I thought that it would be more profitable.Also, the twelve-volt tape needs to be duplicated with power every 5 meters so that there is no noticeable drop in brightness at the end of the tape, which means additional wires and inconvenience. With a 220 strip, this is not needed, since the current in the circuit is very low, and when using at least 20 meters, everything will glow evenly.
The second necessary element of the entire structure is a ceiling plinth, which can be purchased at any hardware store. But there may not be a big problem here. Not every plinth is suitable for these purposes. You need to choose one that can be glued to only one surface. Since the market mainly sells skirting boards that are attached to two surfaces.
Special skirting boards for LED lighting are also available for sale - be sure to ask the seller.
After everything has been selected and purchased, we proceed directly to work.
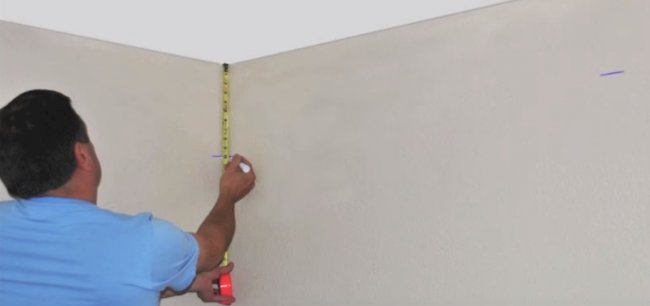
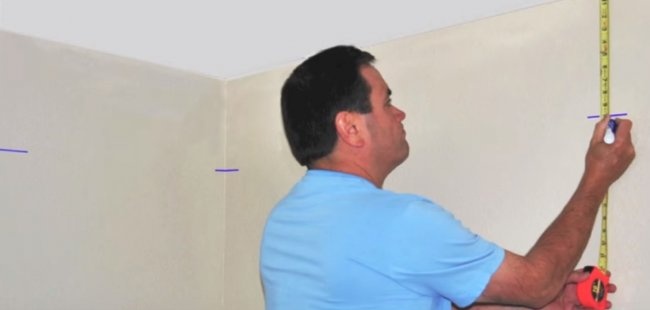
Let's draw the markings. Let's take a ruler or tape measure and step back from the ceiling some distance, it can be 15-40 cm. It all depends on the size of your baseboard.
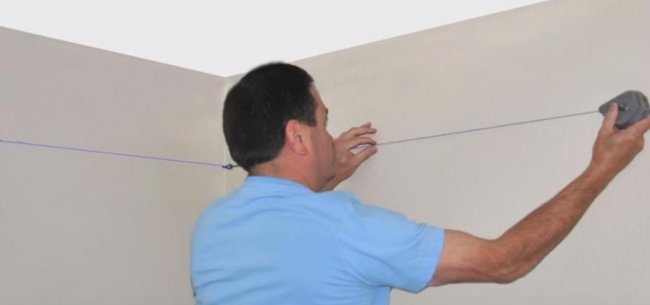
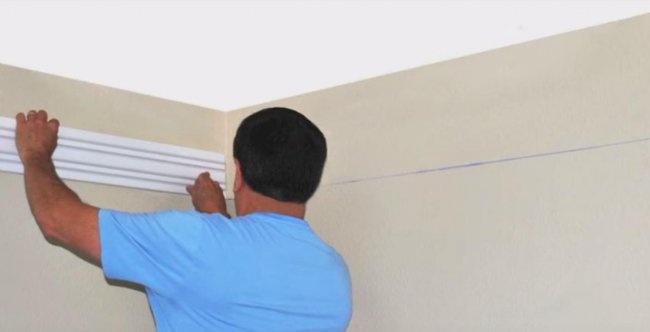
Then draw a line around the entire perimeter. This will be the boundary for gluing the plinth.
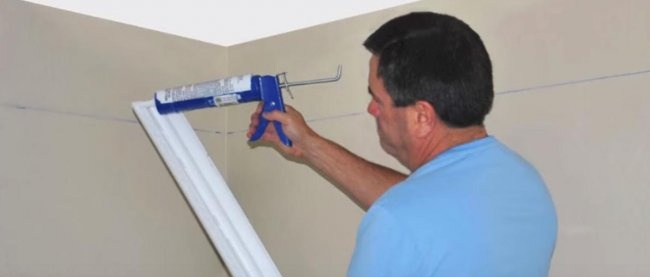
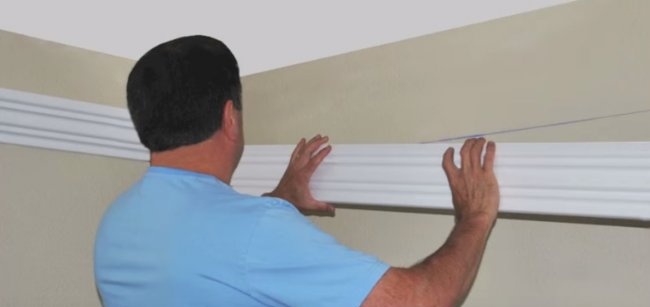
Using liquid nails or other glue, glue the baseboard around the perimeter, making cuts for the corners.
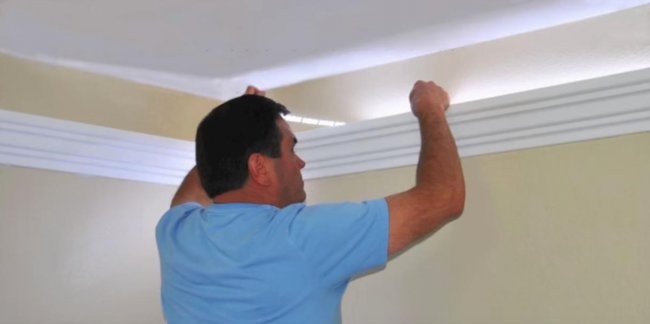
Let the glue dry.
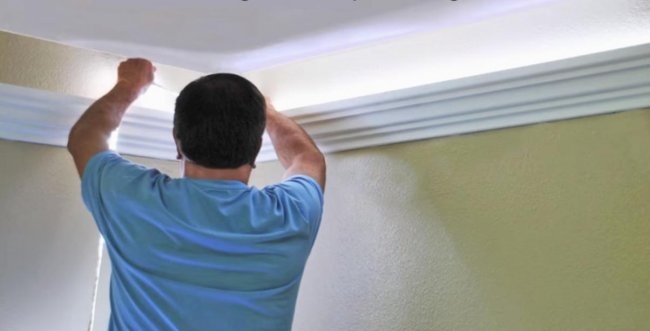
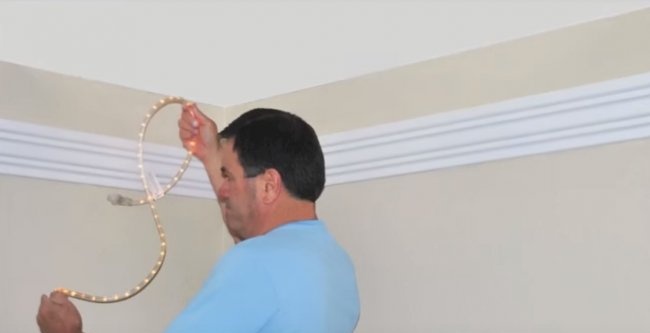
Next, we place the LED strip in the resulting gutter. I just put it on, but if you want, you can glue it for reliability.
The outlet for the power wires can be made discreetly behind the cabinet, or in the corner, hiding this wire with a cable duct.
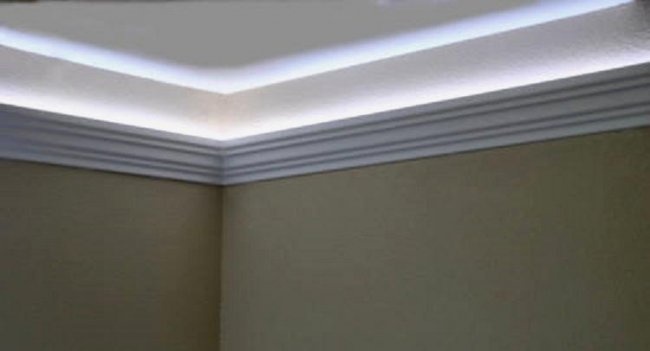
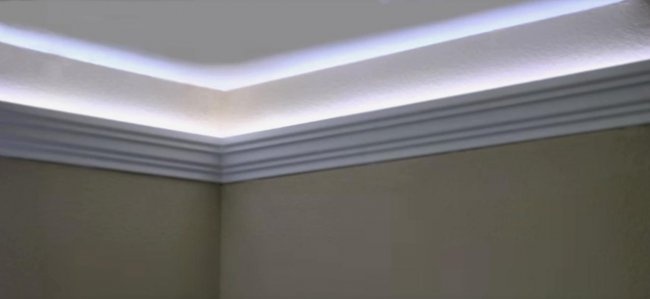
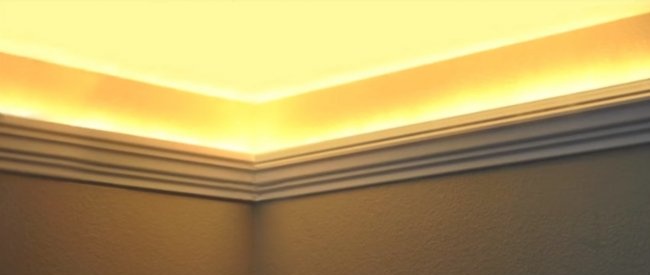
LED lighting is very economical, pleasing to the eye and creates a unique coziness in the room, especially if you use a warm shade of lighting.
I really liked this idea because it can be applied to an existing room without any renovation.
In order to install LED lighting around the entire perimeter of your room, you do not need to do any extra steps, and even touch the ceiling itself.
What do you need for LED lighting?
The first and main thing is the LED strip.
I recommend taking it here - LED strip aliexpress.com, at a very low price.
What shade your lighting will have is up to you. The choice is wide: white, cold, warm, color (RGB) LED strip.
Personally, I took a white glow tape, rated at 220 V. It does not require any special adapters or converters. Another advantage is that it has a transparent insulated casing, which is important for electrical and fire safety.
This tape, of course, will be more expensive than 12 V, but it does not require a power supply, in the end I thought that it would be more profitable.Also, the twelve-volt tape needs to be duplicated with power every 5 meters so that there is no noticeable drop in brightness at the end of the tape, which means additional wires and inconvenience. With a 220 strip, this is not needed, since the current in the circuit is very low, and when using at least 20 meters, everything will glow evenly.
The second necessary element of the entire structure is a ceiling plinth, which can be purchased at any hardware store. But there may not be a big problem here. Not every plinth is suitable for these purposes. You need to choose one that can be glued to only one surface. Since the market mainly sells skirting boards that are attached to two surfaces.
Special skirting boards for LED lighting are also available for sale - be sure to ask the seller.
After everything has been selected and purchased, we proceed directly to work.
Making your own ceiling lighting
Let's draw the markings. Let's take a ruler or tape measure and step back from the ceiling some distance, it can be 15-40 cm. It all depends on the size of your baseboard.
Then draw a line around the entire perimeter. This will be the boundary for gluing the plinth.
Using liquid nails or other glue, glue the baseboard around the perimeter, making cuts for the corners.
Let the glue dry.
Next, we place the LED strip in the resulting gutter. I just put it on, but if you want, you can glue it for reliability.
The outlet for the power wires can be made discreetly behind the cabinet, or in the corner, hiding this wire with a cable duct.
LED lighting is very economical, pleasing to the eye and creates a unique coziness in the room, especially if you use a warm shade of lighting.
Similar master classes
Particularly interesting
Comments (0)

