Unusual repair of a falling out socket
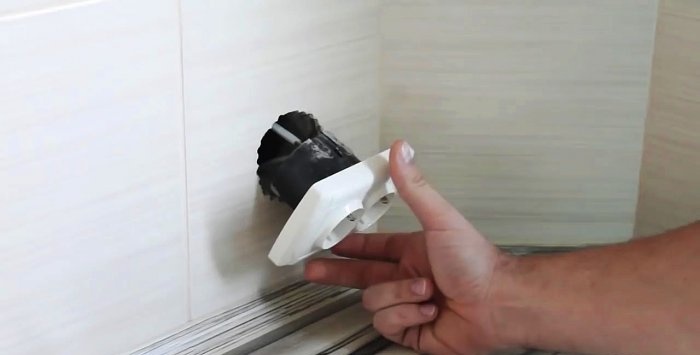
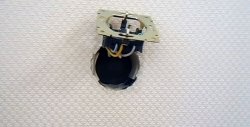
I think that most people have encountered such a problem as a socket falling out of the wall. This can happen either immediately after a poor-quality repair, or over time, when the socket becomes loose from repeated plugging. The matter is fixable, although it all depends on the specific case.
There are no universal methods that work 100%; each specific case uses its own technology, which may not work elsewhere. I say this because my method of fastening may not suit you, but it will definitely be useful for many to get acquainted with.
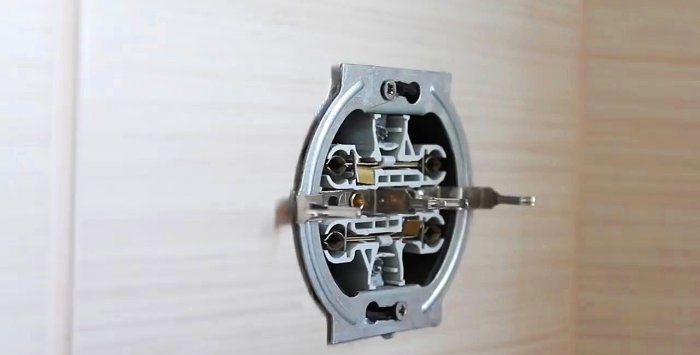
In this example, a plastic socket box is used that does not fit into the concrete wall. It is not possible to attach it with self-tapping screws through dowels. The socket itself is well and securely fixed in the socket box.
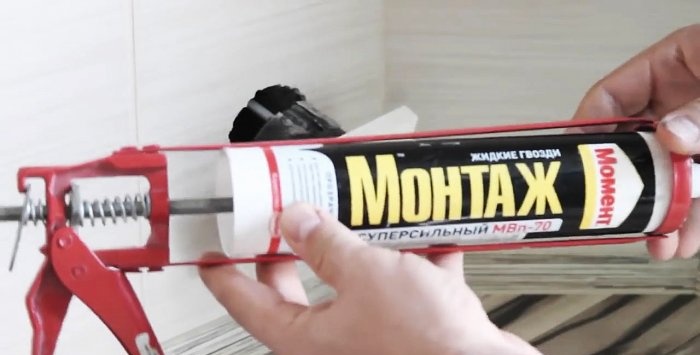
This method, which I want to show, is not entirely standard, but very reliable. We will use liquid nails.
I have already used liquid nails in my practice, so I know very well that this is a very excellent building material with excellent properties.
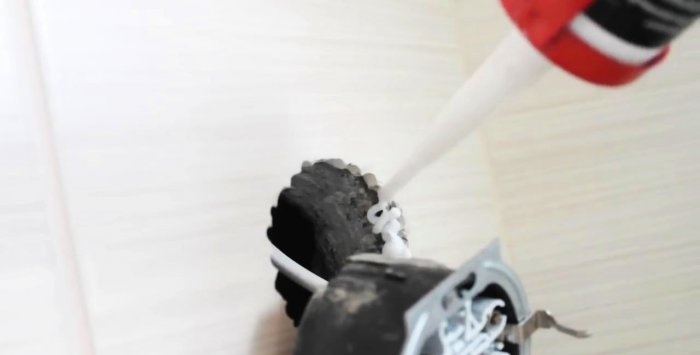
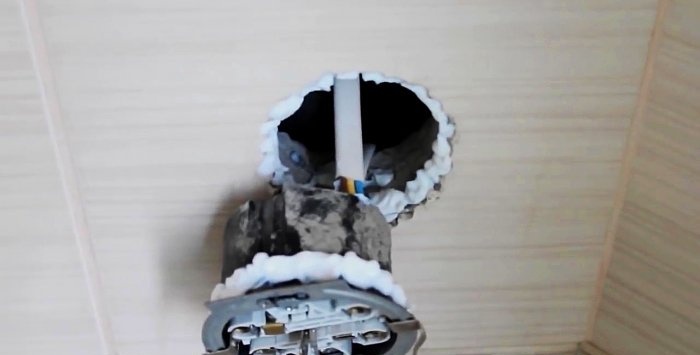
First of all, be sure to turn off the electricity so that the repair object is definitely de-energized and does not pose a threat. Using a gun, first apply glue to the hole in the wall in a circle. There is no need to squeeze it out far, just apply a thick strip along the edge.
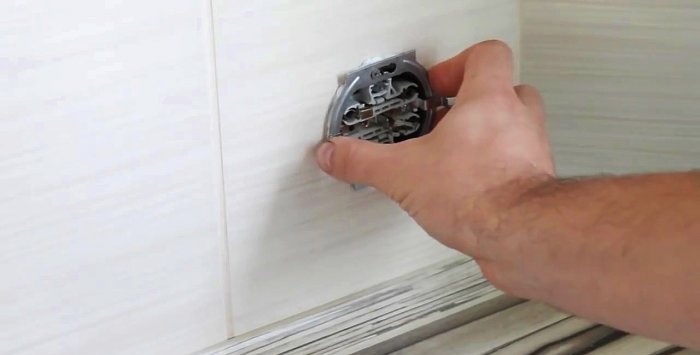
It is advisable to first remove the front panel from the socket; it is not necessary to remove the socket itself.
Apply the same strip of glue around the edge of the socket box.
Before starting work, be sure to read the instructions for using liquid nails and carry out all actions according to them.
We insert the socket into the wall and hold it tightly for a while.
Remove excess glue with a piece of cloth.
We wait for the initial hardening of the glue and assemble the socket completely.
We are waiting for the glue to dry completely and harden. Until this moment, I highly recommend not using the outlet for its intended purpose.
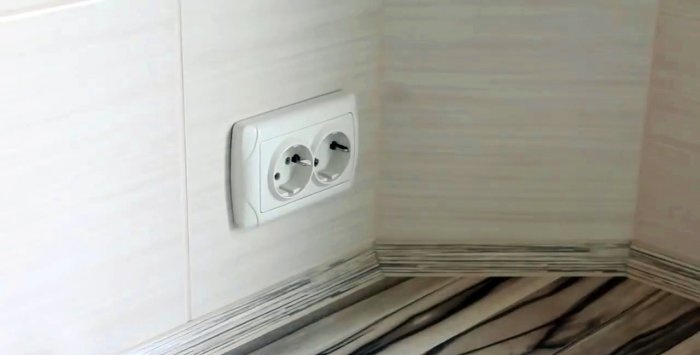
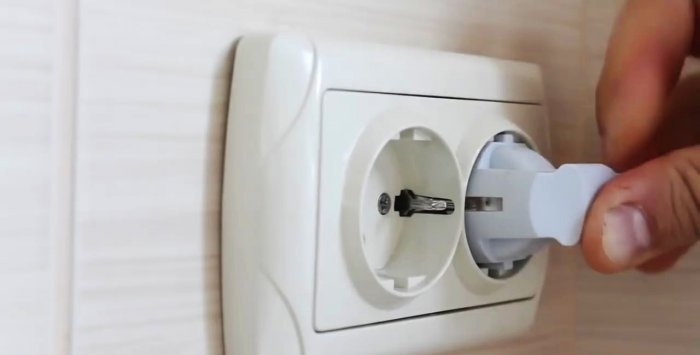
After the time specified in the instructions has passed, we check the installation. Everything holds up perfectly, securely, without any swaying.
There are no universal methods that work 100%; each specific case uses its own technology, which may not work elsewhere. I say this because my method of fastening may not suit you, but it will definitely be useful for many to get acquainted with.
We fix the falling out socket with liquid nails
In this example, a plastic socket box is used that does not fit into the concrete wall. It is not possible to attach it with self-tapping screws through dowels. The socket itself is well and securely fixed in the socket box.
This method, which I want to show, is not entirely standard, but very reliable. We will use liquid nails.
I have already used liquid nails in my practice, so I know very well that this is a very excellent building material with excellent properties.
First of all, be sure to turn off the electricity so that the repair object is definitely de-energized and does not pose a threat. Using a gun, first apply glue to the hole in the wall in a circle. There is no need to squeeze it out far, just apply a thick strip along the edge.
It is advisable to first remove the front panel from the socket; it is not necessary to remove the socket itself.
Apply the same strip of glue around the edge of the socket box.
Before starting work, be sure to read the instructions for using liquid nails and carry out all actions according to them.
We insert the socket into the wall and hold it tightly for a while.
Remove excess glue with a piece of cloth.
We wait for the initial hardening of the glue and assemble the socket completely.
We are waiting for the glue to dry completely and harden. Until this moment, I highly recommend not using the outlet for its intended purpose.
After the time specified in the instructions has passed, we check the installation. Everything holds up perfectly, securely, without any swaying.
Watch the video
Similar master classes
Particularly interesting
Comments (30)

