LED cube 3x3x3 non-programmable

I think many people wanted to assemble such a cube, but not everyone had the opportunity to purchase a microcontroller (MK), and not everyone knows how to program. So here's an alternative:

Does not require programming, the circuit is simple and all parts are accessible. And the CD4020 chip provides a variety of compositions that are not inferior to programmable cubes.
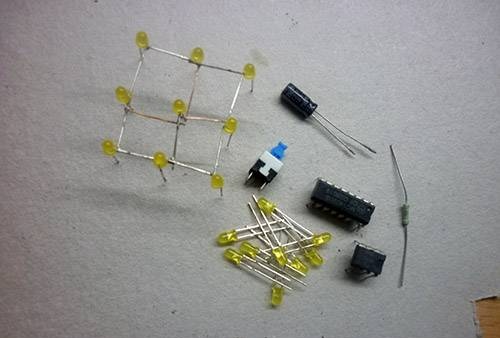
It's time to move from words to deeds)))
List of parts used with description:
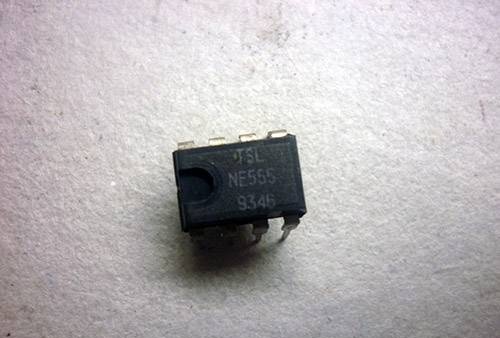
1)KR1006VI1 (NE555)
The microcircuit includes about 20 transistors, 15 resistors, 2 diodes. Output current is 200 mA, current consumption is approximately 3 mA more. Supply voltage from 4.5 to 18 volts. The accuracy of the timer does not depend on changes in supply voltage and is no more than 1% of the calculated value.
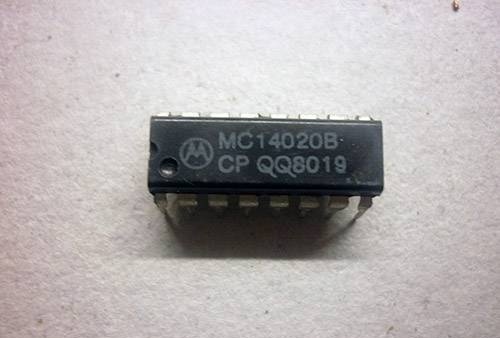
2) K561IE16 (CD4020, MC14020)
14-bit binary counter-divider.
3)LEDs to your taste 27pcs
4) Resistor 33K
5) Capacitor 10µ
6) Micro switch with latching (optional)
7) Krona 9V
8) Panels for chips (optional)
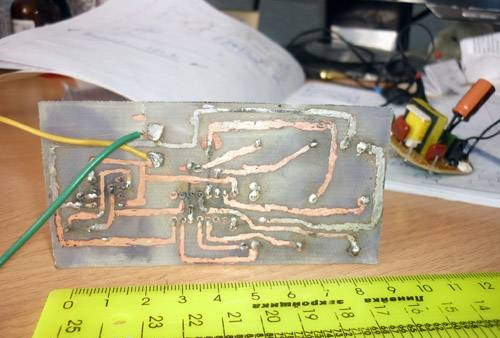
So, we draw the printed circuit board on fiberglass and lay it down to etch.
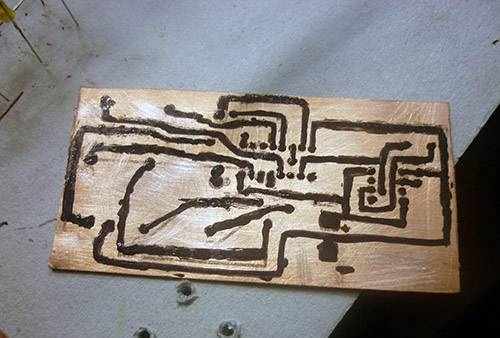
In the meantime, our board is etching, let's deal with the most difficult part - the cube itself.
Drill holes in plywood (thick cardboard) for LEDs and put them in there. Now we bend all the cathodes (cons) clockwise (or counterclockwise, whichever is more convenient for you) and solder them. We solder the wires to the middle LED ourselves.
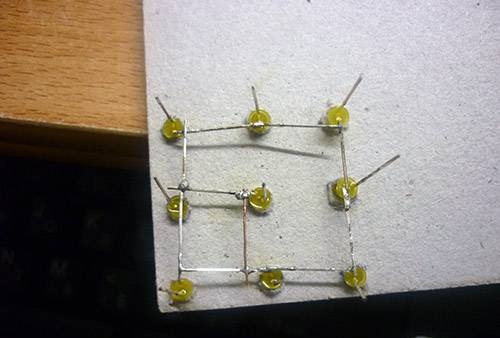
We also do the rest of the floors

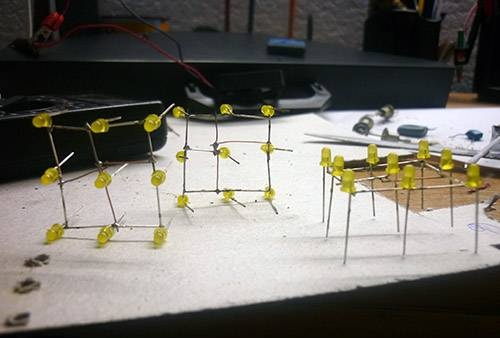
Now we need to solder them together. Only now we solder the anodes (pros)
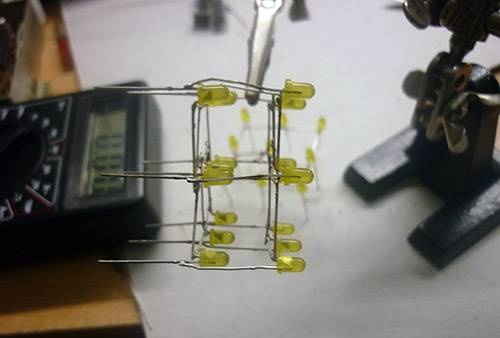
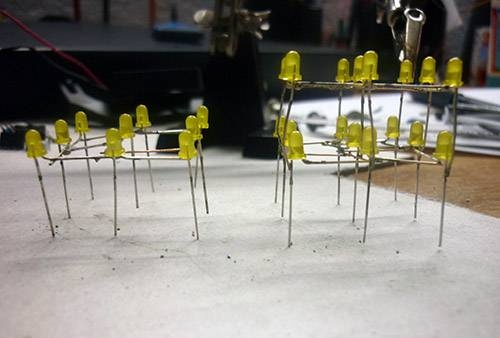
Now we also solder the third floor
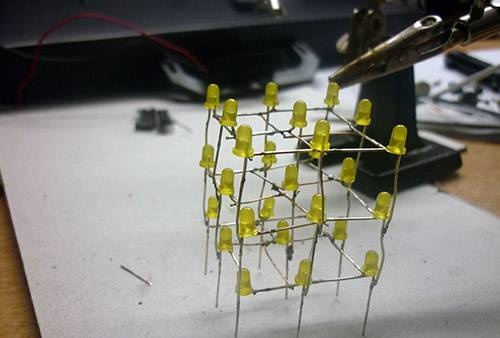
Ready!!)))
Now we take our already etched board and drill holes
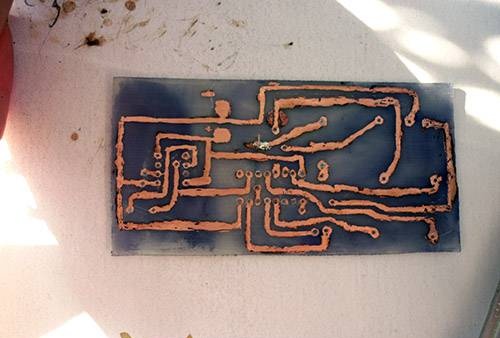
First we solder the jumpers, and then the parts.
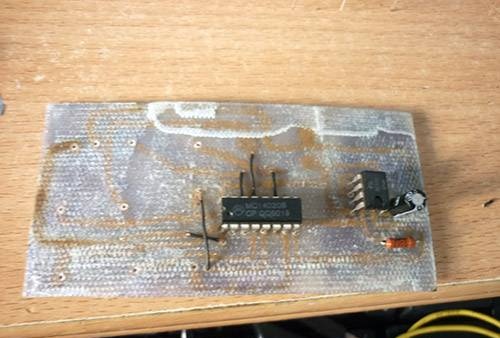
Now the final step is to solder the cube.
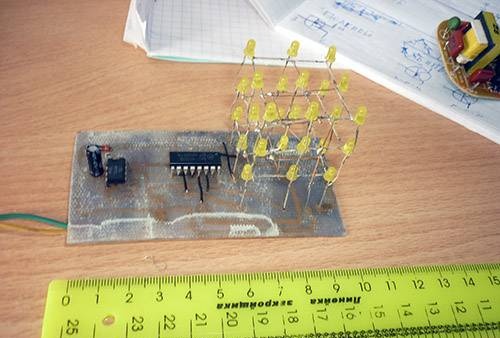
Now we connect 12V as written in the diagram. HURRAY works:
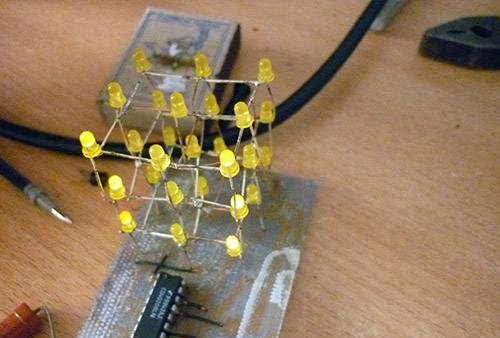

After a couple of minutes everything went out ((.
Correctly, the CD4020 microcircuit is not designed for such a voltage and it simply burned out. And you will have to change the microcircuit - desolder and solder in a new one. This is what panels for microcircuits were needed for. I didn’t put them on anything and paid ((
In the future, to avoid this, I installed a 9V crown. This has its advantages: you can carry the cube with you, it doesn’t need an outlet and the microcircuit won’t burn out. But there are also disadvantages - you will have to change the battery periodically.
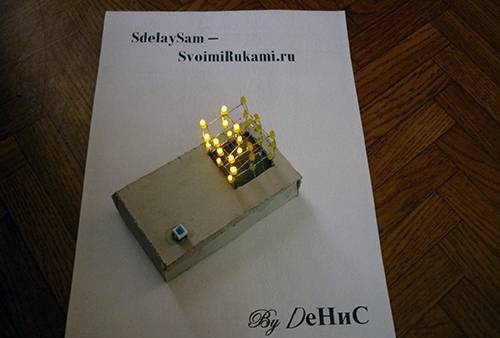
I made a cardboard box for my cube. Here's what I got:

Similar master classes
Particularly interesting

Cable antenna for digital TV in 5 minutes

A selection of simple and effective schemes.

Three-phase voltage from single-phase in 5 minutes

Starting a three-phase motor from a single-phase network without a capacitor

Eternal flashlight without batteries

How to make an inexpensive but very powerful LED lamp
Comments (22)

