The mixer is leaking - fixing the problem
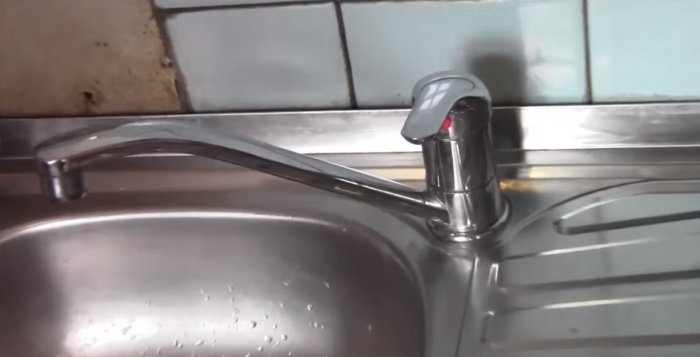
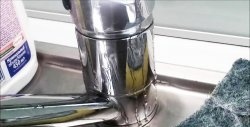
Cartridge or ball single-lever faucets are quite popular today. They are easy to use and are considered the most modern design of shut-off valves. Over time, however, they can also leak. What is the reason for this failure and how to fix it?
This phenomenon, unfortunately, is not uncommon. Since taps are the final devices in the wiring diagram, changes in water pressure have a detrimental effect on their moving parts. In ball valves and mixers, the cartridges most often affected are those responsible for preparing water at the desired temperature. We will now tell you how to replace them correctly without damaging the mixer.
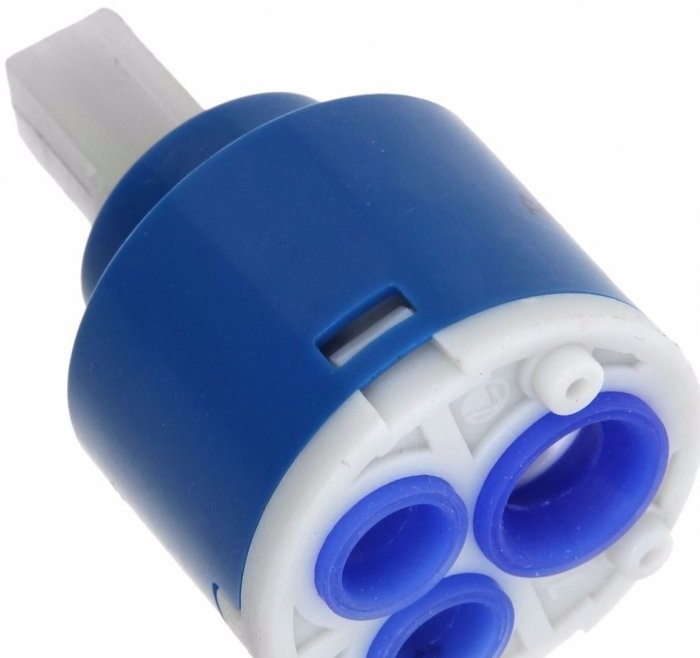
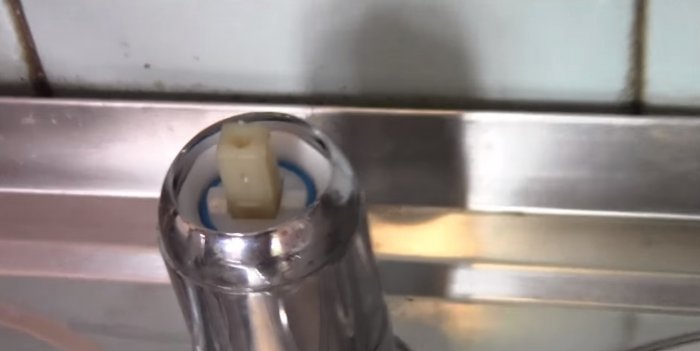
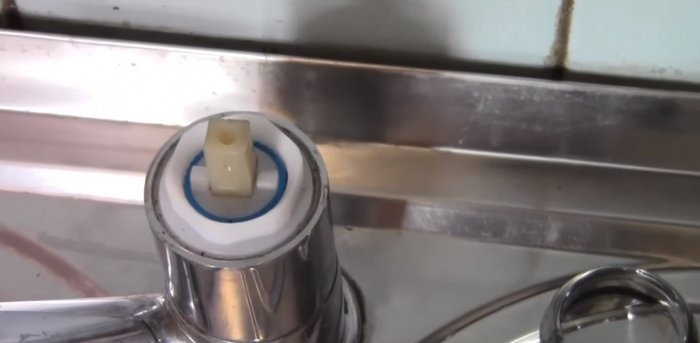
The cartridge is a small plastic cylinder with a square rod protruding upward. The rotating mechanism of the cartridge changes the position of two adjacent ceramic plates or disks. They are polished and lubricated with silicone grease. Each of them has three holes - for cold, hot water and a tap outlet. Combining them gives a certain proportion and pressure of water.At the outlet of the disk holes, seals are attached, which are responsible for sealing the cartridge in relation to the valve body.
Before starting any work related to repairing or replacing shut-off valves, it is necessary to shut off the water supply to the mains so as not to cause a flood. For most, in the intra-house and apartment wiring, the first ball valve in the assembly with a water meter, located on the riser or main pipe, is responsible for this.
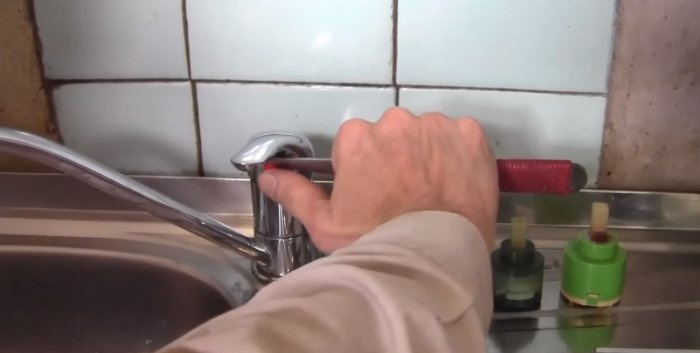
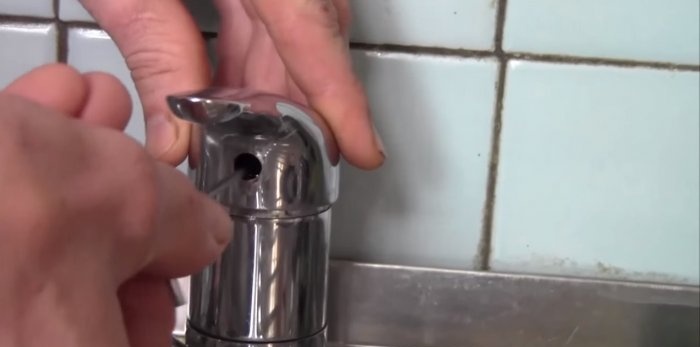
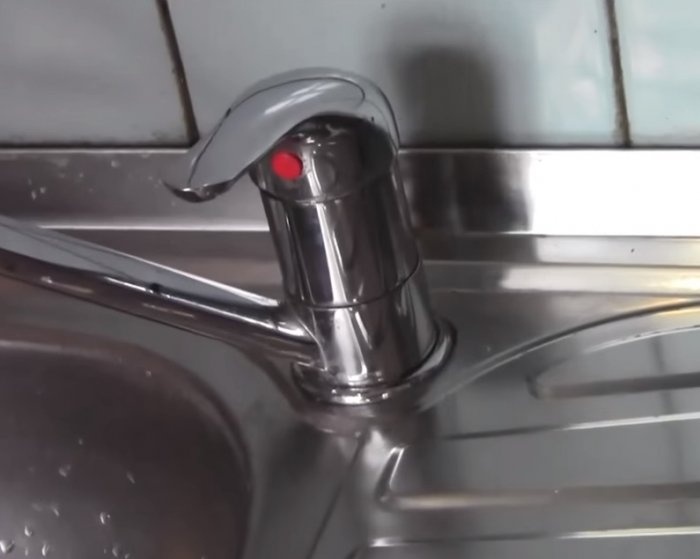
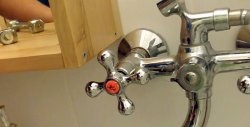
To get to the cartridge, you need to disassemble the inside of the mixer. We begin to do this by dismantling the rotary switch or tap foot. On its body there is a small plug indicating the type of water: blue - cold, red - hot. We pry it up with a sharp tool - a knife or a screwdriver - and unscrew the clamping bolt located on the rod bushing with a hexagon.
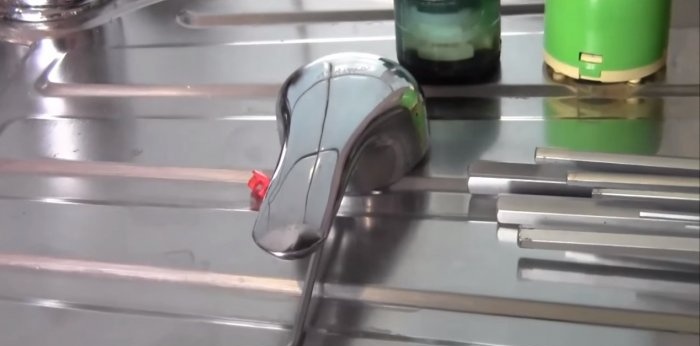
Loosen the clamp on the square bushing on the back of the presser foot and remove it manually. The next element will be a decorative hemispherical ring, repeating the internal shape of the foot. It can be inserted through a plastic spacer or held on by a thread. It is most often removed manually.
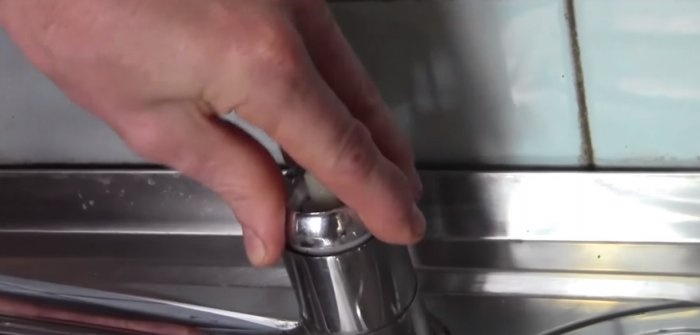
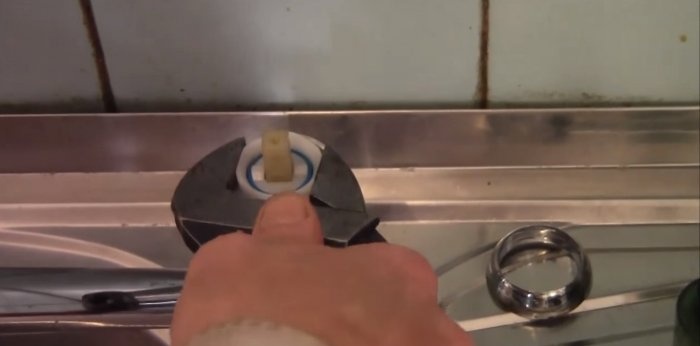
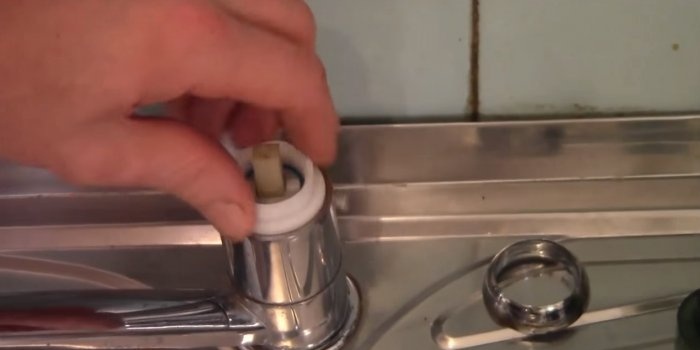
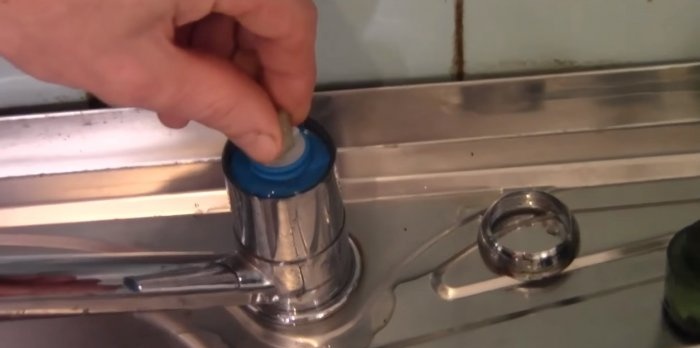
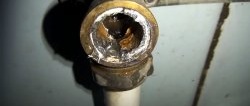
Using an adjustable wrench, unscrew the clamping nut that secures the cartridge in the tap. Over time, this faucet part becomes soured in limescale and scale, and it is not so easy to remove. To make it easier to remove the nut, you can use WD-40 spray or vinegar, pour it into the thread and leave it for a while. If such measures do not help, it is permissible to break the nut by tightening it with a gas wrench. These nuts can be easily found in specialized construction stores.When breaking the clamping nut, do not damage the mixer body!
Advice!
Sometimes the residual water pressure in the pipeline does not make it possible to unscrew the cartridge clamp nut made of plastic or brass. To reduce it, you need to fully open another tap or mixer in the system.
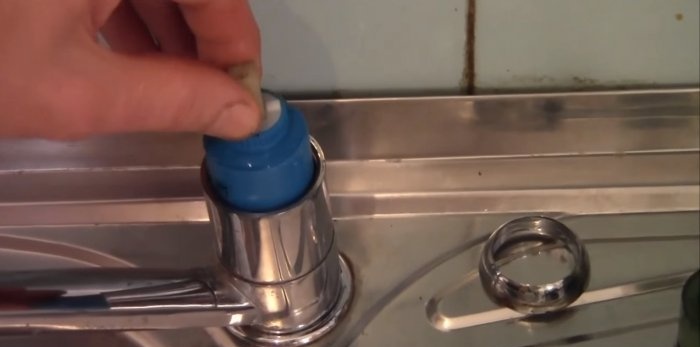
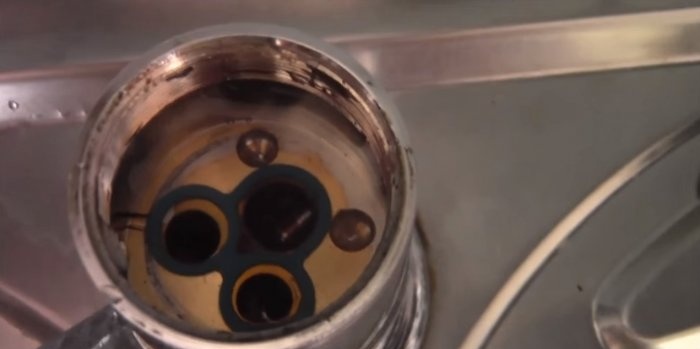
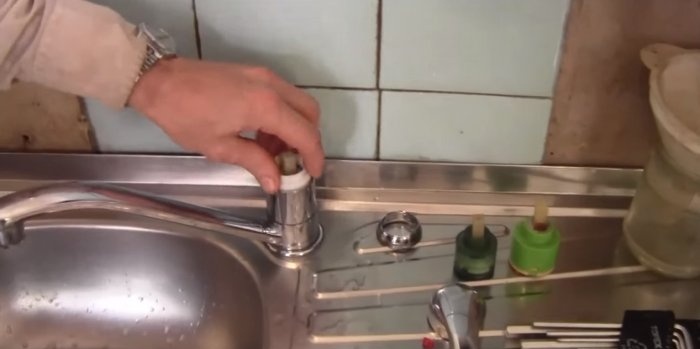
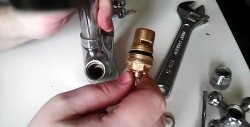
The cartridge inside the mixer is not secured. It can be easily removed by hand and replaced with a new one of the same size. Please note that there are landing grooves at the bottom of the valve cavity. The cartridge must be positioned so that the semicircular protrusions on its bottom coincide with these notches and fix its correct position.
When choosing a cartridge for your faucet, you shouldn’t guess about its size. The most practical thing is to take it with you to the store and buy an identical one.
We reassemble the mixer in reverse order and enjoy a working cartridge. After all, any plumber will say that it is happiness when nothing leaks in your house!
The wear of cartridges is affected by the quality of water, its hardness and the presence of hard impurities - debris, sand, rust, etc. Due to friction, they wear out the plates and seals, which can lead to leakage or “squeezing” in the system, when hot water with excess pressure displaces cold water through the formed cracks in the mixer.
Experienced professionals advise including a cleaning filter in the wiring diagram, having first determined the composition of the water and the impurities in it.
It is also worth paying attention to the quality of the purchased taps and mixers. The savings in this case may be worth repairing not only the cartridge, but also the premises, and not only your own.
This phenomenon, unfortunately, is not uncommon. Since taps are the final devices in the wiring diagram, changes in water pressure have a detrimental effect on their moving parts. In ball valves and mixers, the cartridges most often affected are those responsible for preparing water at the desired temperature. We will now tell you how to replace them correctly without damaging the mixer.
Ball mixer cartridge structure
The cartridge is a small plastic cylinder with a square rod protruding upward. The rotating mechanism of the cartridge changes the position of two adjacent ceramic plates or disks. They are polished and lubricated with silicone grease. Each of them has three holes - for cold, hot water and a tap outlet. Combining them gives a certain proportion and pressure of water.At the outlet of the disk holes, seals are attached, which are responsible for sealing the cartridge in relation to the valve body.
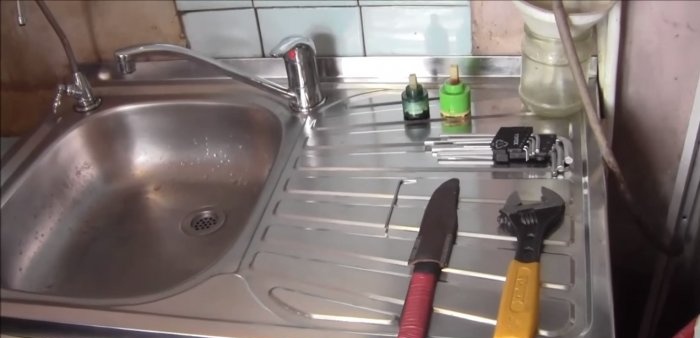
What you need for work
- New cartridge;
- Adjustable wrench;
- Knife or screwdriver;
- 2.5 mm hexagon (for the presser foot bolt).
Changing the cartridge in the mixer
Before starting any work related to repairing or replacing shut-off valves, it is necessary to shut off the water supply to the mains so as not to cause a flood. For most, in the intra-house and apartment wiring, the first ball valve in the assembly with a water meter, located on the riser or main pipe, is responsible for this.
To get to the cartridge, you need to disassemble the inside of the mixer. We begin to do this by dismantling the rotary switch or tap foot. On its body there is a small plug indicating the type of water: blue - cold, red - hot. We pry it up with a sharp tool - a knife or a screwdriver - and unscrew the clamping bolt located on the rod bushing with a hexagon.
Loosen the clamp on the square bushing on the back of the presser foot and remove it manually. The next element will be a decorative hemispherical ring, repeating the internal shape of the foot. It can be inserted through a plastic spacer or held on by a thread. It is most often removed manually.
Using an adjustable wrench, unscrew the clamping nut that secures the cartridge in the tap. Over time, this faucet part becomes soured in limescale and scale, and it is not so easy to remove. To make it easier to remove the nut, you can use WD-40 spray or vinegar, pour it into the thread and leave it for a while. If such measures do not help, it is permissible to break the nut by tightening it with a gas wrench. These nuts can be easily found in specialized construction stores.When breaking the clamping nut, do not damage the mixer body!
Advice!
Sometimes the residual water pressure in the pipeline does not make it possible to unscrew the cartridge clamp nut made of plastic or brass. To reduce it, you need to fully open another tap or mixer in the system.
The cartridge inside the mixer is not secured. It can be easily removed by hand and replaced with a new one of the same size. Please note that there are landing grooves at the bottom of the valve cavity. The cartridge must be positioned so that the semicircular protrusions on its bottom coincide with these notches and fix its correct position.
When choosing a cartridge for your faucet, you shouldn’t guess about its size. The most practical thing is to take it with you to the store and buy an identical one.
We reassemble the mixer in reverse order and enjoy a working cartridge. After all, any plumber will say that it is happiness when nothing leaks in your house!
Practical advice
The wear of cartridges is affected by the quality of water, its hardness and the presence of hard impurities - debris, sand, rust, etc. Due to friction, they wear out the plates and seals, which can lead to leakage or “squeezing” in the system, when hot water with excess pressure displaces cold water through the formed cracks in the mixer.
Experienced professionals advise including a cleaning filter in the wiring diagram, having first determined the composition of the water and the impurities in it.
It is also worth paying attention to the quality of the purchased taps and mixers. The savings in this case may be worth repairing not only the cartridge, but also the premises, and not only your own.
Watch the video
Similar master classes
Particularly interesting
Comments (8)

