Repair of plastic screw fastenings
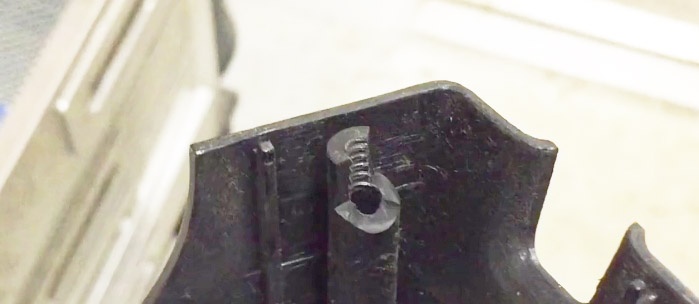
It is a very common occurrence for threaded bushings in plastic products to break. This can happen either from excessive twisting force, frequent disassembly of the unit, or from the aging of the material itself. After all, products made of plastic or resin do not last forever and over time they lose their original properties. It is possible to restore the screw fastening, and I will now show you one of the ways.
You will need the following materials
- Thin steel wire.
- Insulating tape.
- Tube for insulating wires.
- Adhesive for plastic.
I would like to know more about the glue. I used all-purpose Gorilla glue, which is sold in America. You can use any other glue, which must be designed for gluing plastic parts.
Restoring the mounting sleeve
Before the description, I want to say that I repaired two bushings: one was destroyed almost entirely, the second was less than half destroyed. I say this so that there are no questions about the photo, since they may have more than one bushing.
Let's start the renovation.The first thing you need to do is select a rod or tube that is close in diameter to the plastic sleeve. We wind the wire around the frame.
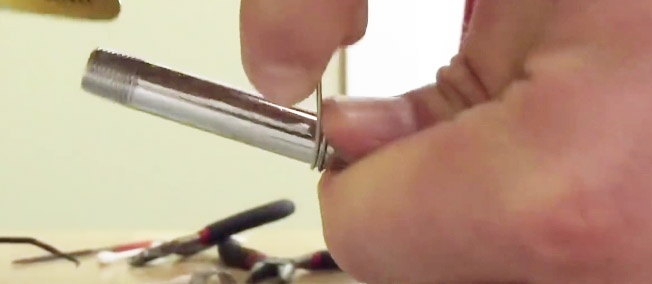
We bite off the extra turns.
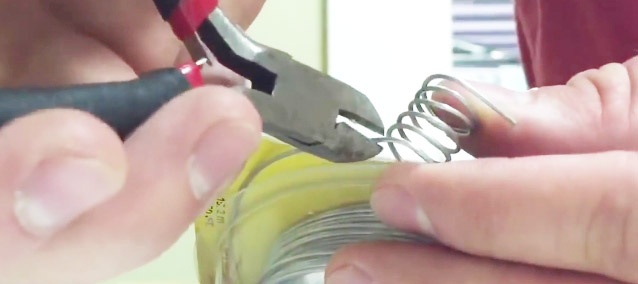
We adjust the size of the spring to the length of the sleeve.
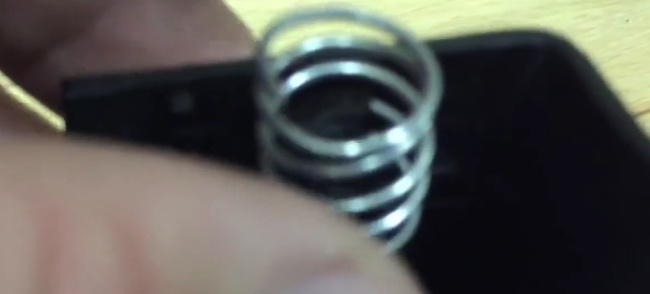
Having bitten off too much, we check. The spring does not protrude and sits tightly.
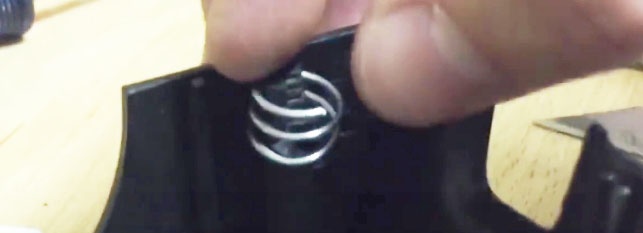
We wrap electrical tape over the spring. This must be done so that the glue that we will pour into the sleeve does not spill out.
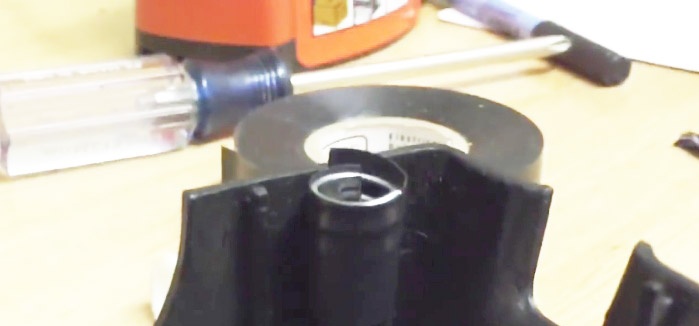
At this stage, glue could be poured in, but then it would have to be drilled for a screw. To avoid this, you need to insert a cambric or insulation tube into the hole in the sleeve. No glue will flow into it and the hole will remain intact.
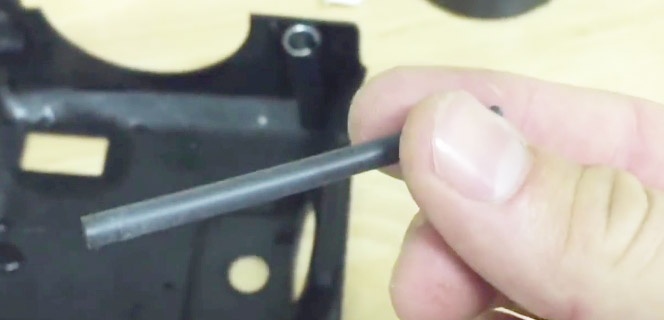
It is tedious to select a tube with a smaller diameter than the hole.
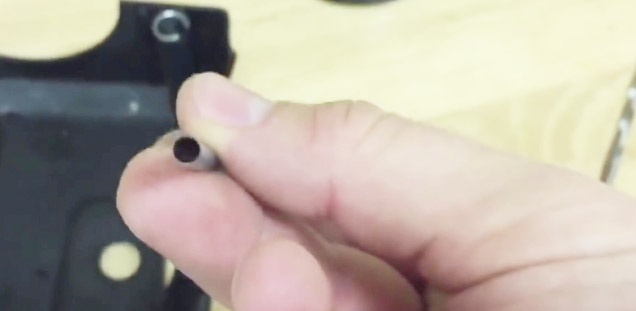
Insert the tube all the way into the threaded hole.
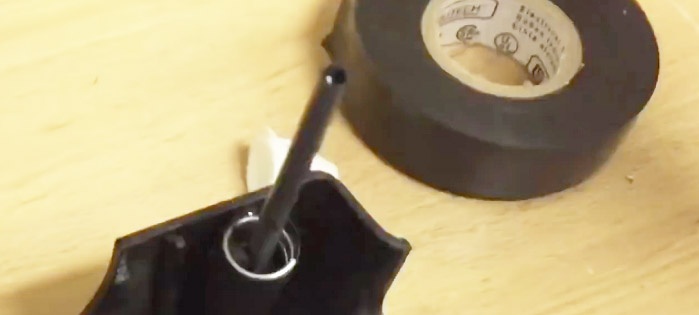
And now we’re pouring the glue.
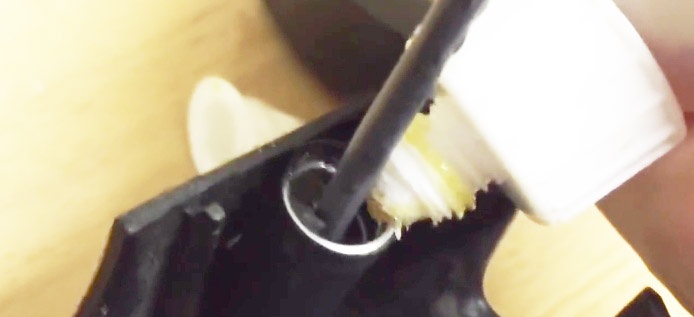
The glue penetrated well into all the cracks and cracks, this is clearly visible.
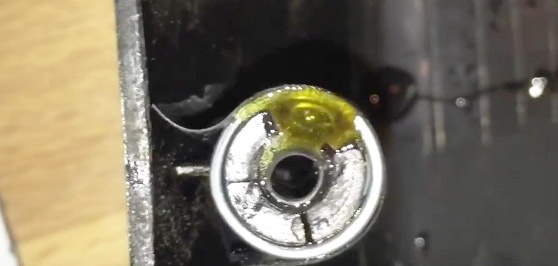
There are some small leaks at the bottom, but that's nothing to worry about.
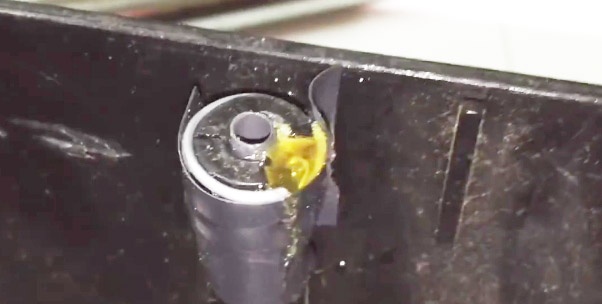
Before the glue hardens, tear off the electrical tape around the spring. It is not at all necessary to do this, but if you decide to do this, act until the glue has completely hardened.
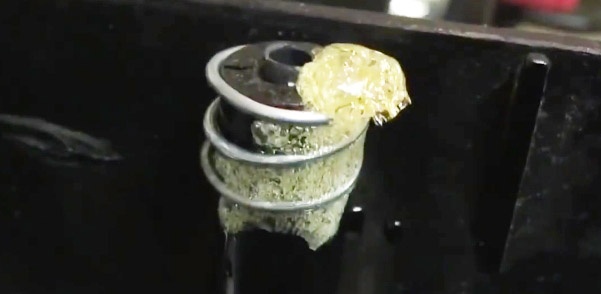
We cut off the bulge with a blade from a stationery knife behind the face. This also needs to be done before the glue has completely hardened.
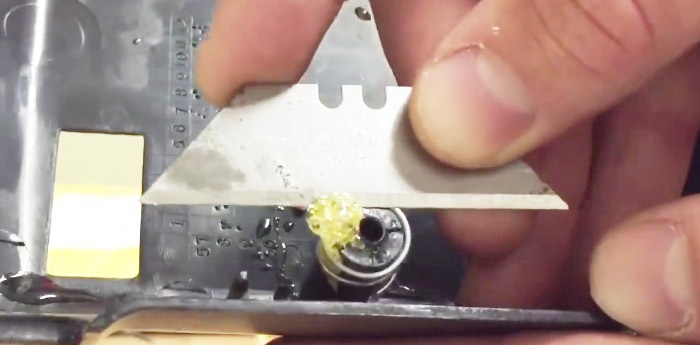
The restored bushing looks like this:
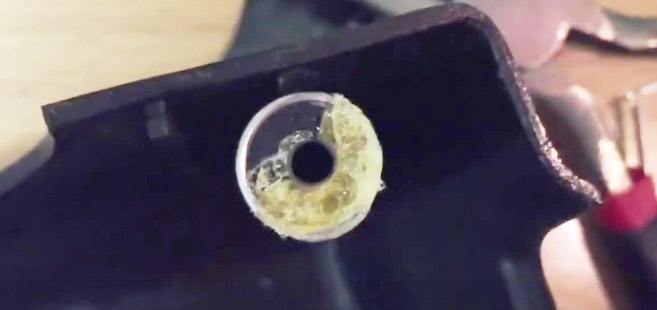
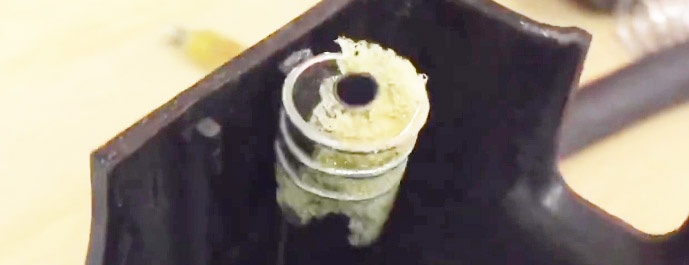
Of course, it looks terrible, but what difference does it make, it is located inside the case.
You can use the plastic fastener only after the glue has completely dried.
Once everything was dry, I assembled the dashboard panel. Experience has shown that such a restoration experience is quite viable.
Watch the video
Similar master classes
Particularly interesting
Comments (5)

