Flower pot with automatic watering
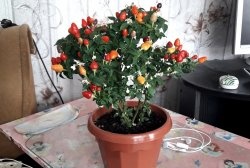
In the summer, on good, sunny weekends, many people go to their dachas or just to relax in nature. It happens that for the whole weekend, with an overnight stay. Many people probably have indoor plants that need daily watering. Like, for example, decorative peppers or decorative cherry tomatoes. I have several such plants and it happens that I do not have time to water them on time, due to current circumstances. Literally by evening, the leaves of the plants are already hanging limp, since it is too hot on the windowsill and the moisture from the ground evaporates quickly. Someone asks relatives or neighbors to water it. But recently, when buying fertilizers, I saw self-watering plastic pots for indoor plants in a store for summer residents. They are not expensive, at least not much more expensive than ordinary pots. But why not make one yourself? It’s doubly pleasant to use something that you yourself have successfully designed and assembled. The design is quite simple and uncomplicated. Having made one of these, and convinced of its effectiveness, I decided to modernize all my pots with indoor plants in a similar way, and at the same time share this useful advice.So let's get started!
Will need
- Any plastic pot.
- A piece of plastic pipe with an internal diameter of approximately 10 mm. You can use the body of a marker.
- A burner or hot glue gun.
- Stationery knife.
- A thick nylon wick that will fit into the prepared tube.
- Drill and drill bit equal to the outer diameter of the tube.
Making a flower pot with automatic watering
Now let's start manufacturing. First you need to drill a hole in the center of the pot.
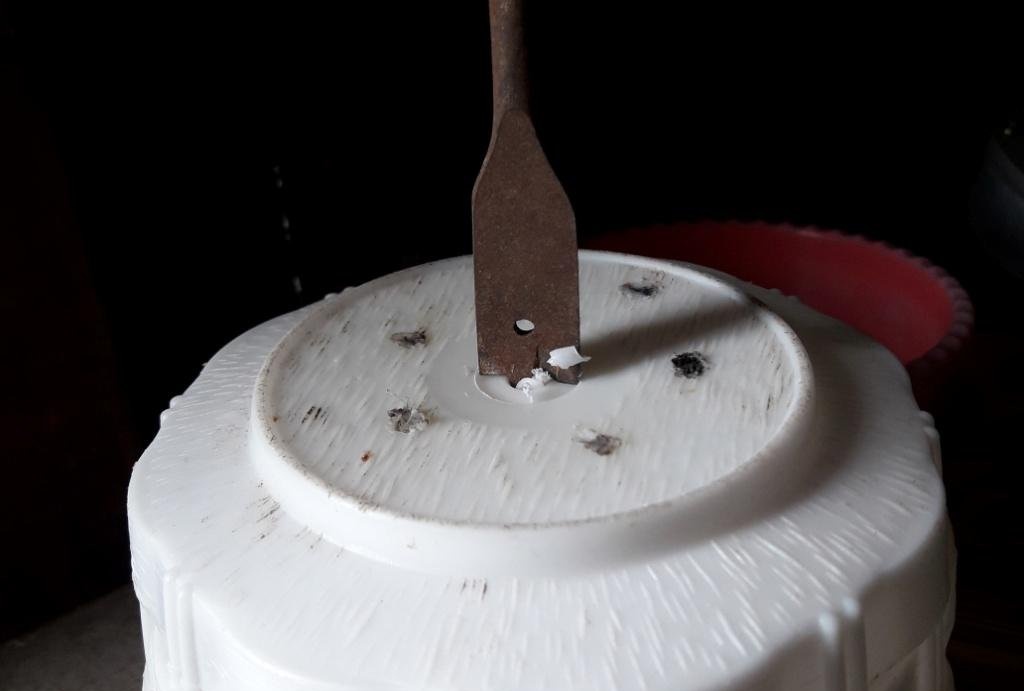
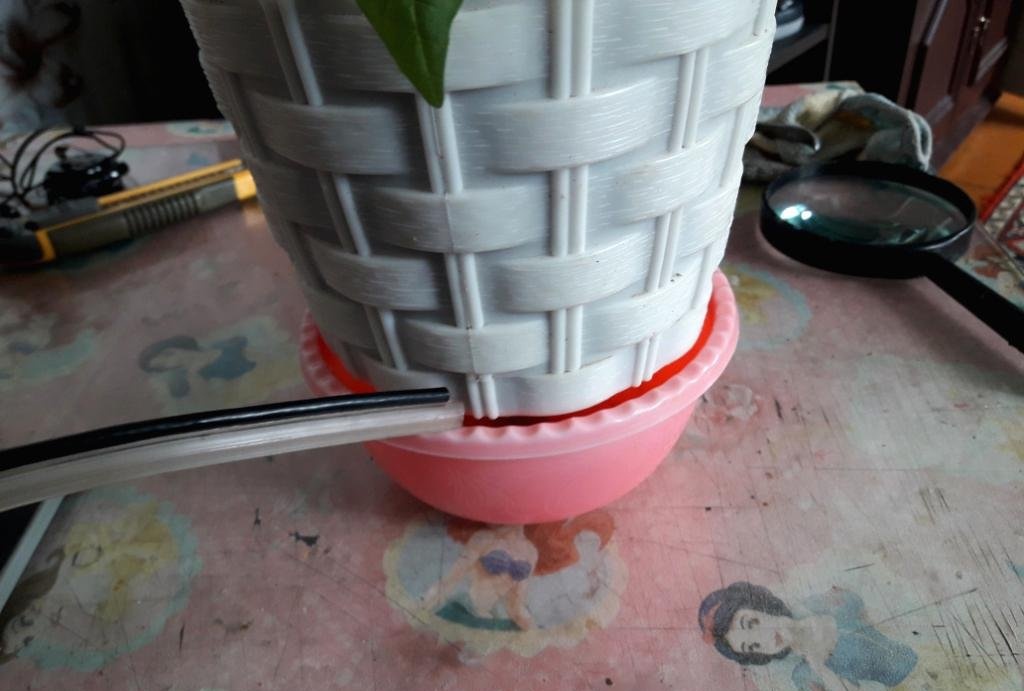
Next, we insert the tube into the hole so that it sticks out inside the pot by 8-10 mm, so that it is possible to glue (or solder) the tube to the pot not only from the outside, but also from the inside. I, in the absence of a hot glue gun, used a wood burner and simply soldered one to the other.
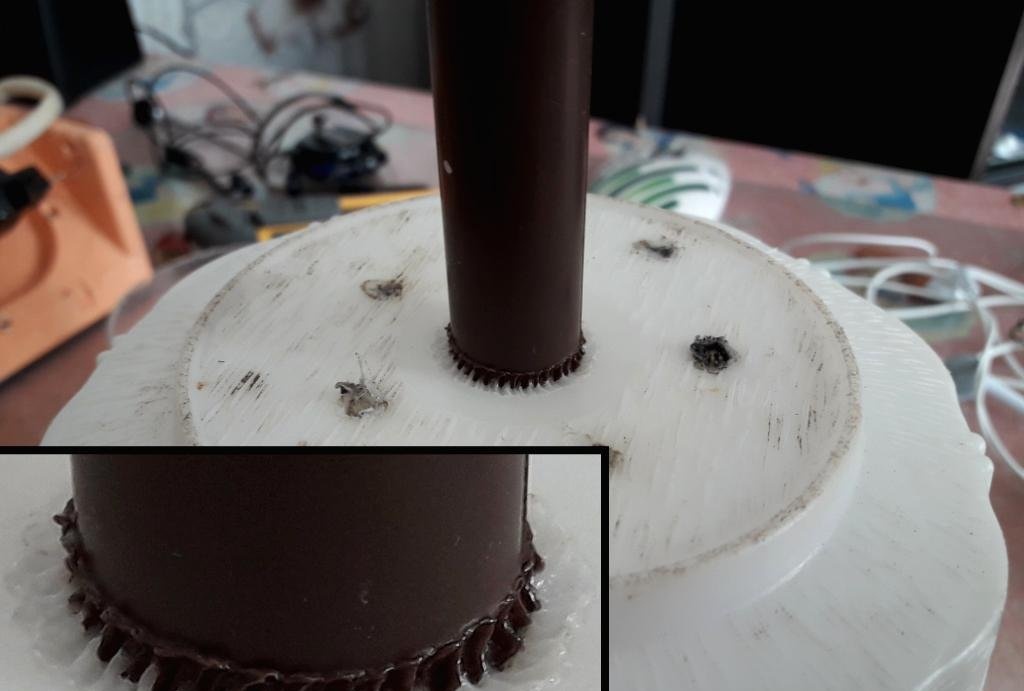
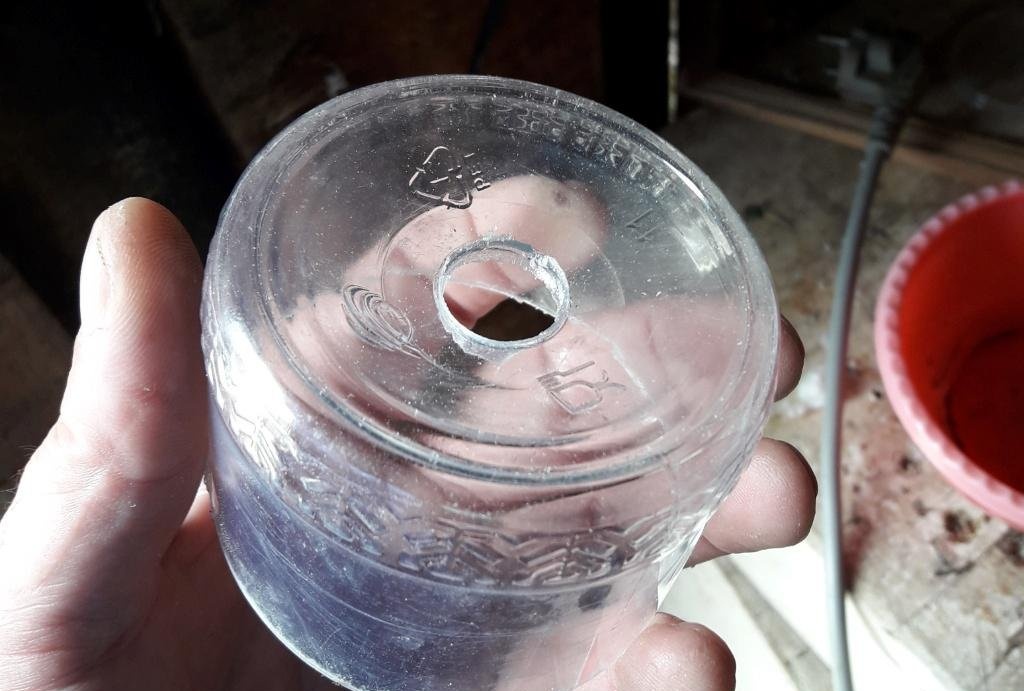
The length of the tube is calculated from the height of the dish into which you will pour water and place the pot with the plant there. Now let's attach the stand. The stand can be made from any plastic pipe, the main thing is that it (the stand) is strong and stable, and it should also be 5-7 mm thick. longer than the tube. I made it from a plastic jar, sawing off the neck and drilling the bottom.
We also attach the stand to hot glue or solder it.

We burn holes in it for free access of water.
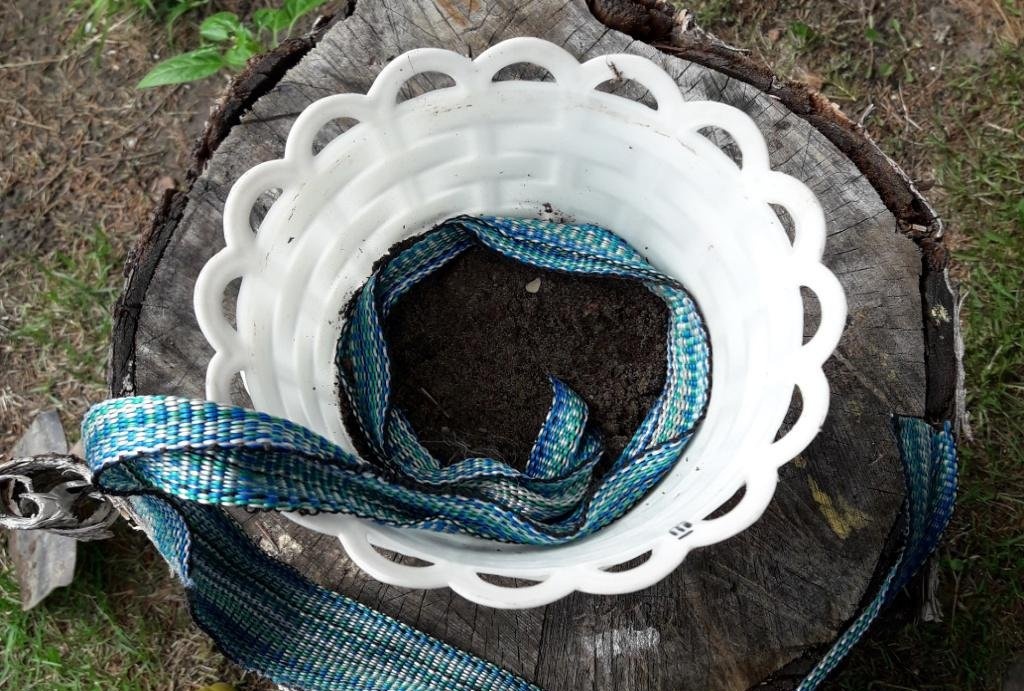
We take a nylon wick and thread it into the tube. From the outside we leave no more than one 5 mm, and from the inside you need about 3-4 times the height of the pot itself.
Next, we pour the earth in layers approximately 2-3 cm thick. We place one turn of the wick on each layer and continue this until the wick runs out.
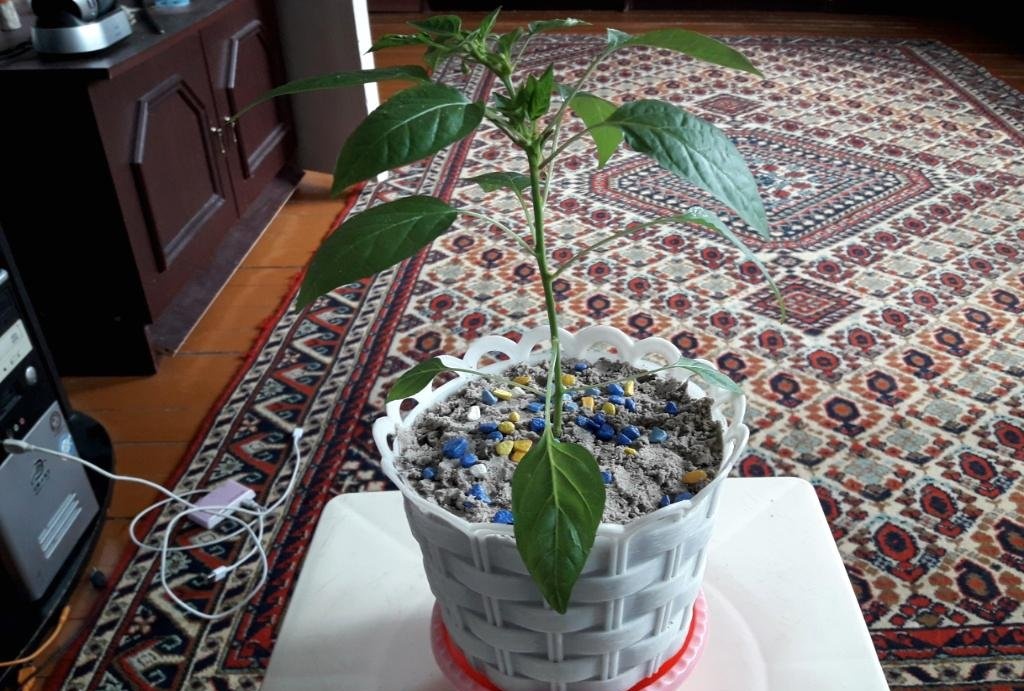
Now we take the plant and place its root system in the center.
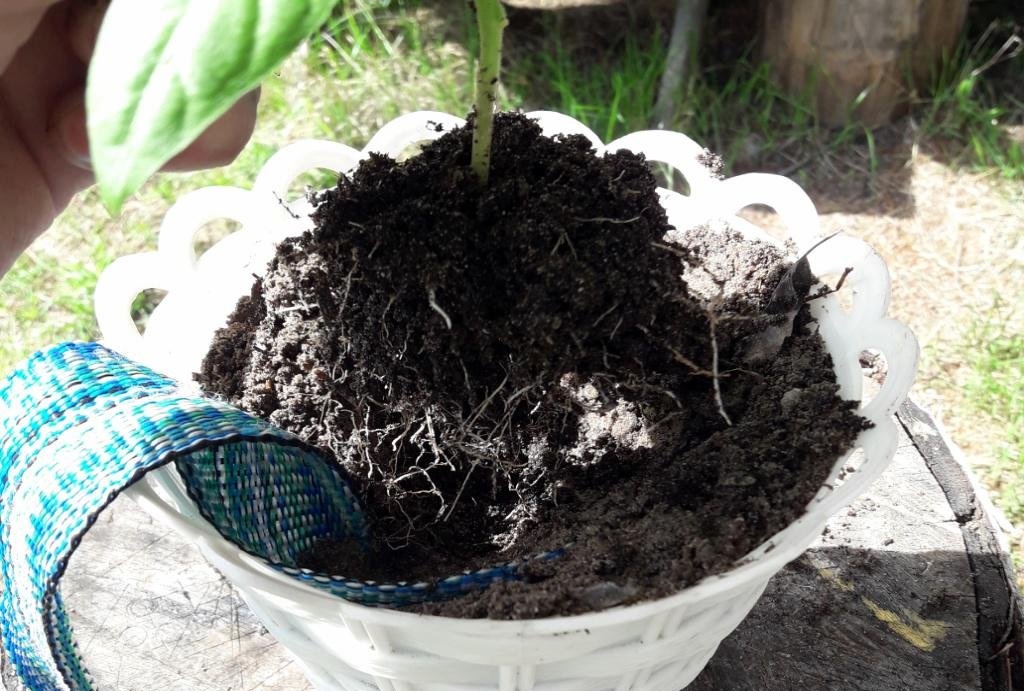
We cover it with earth.
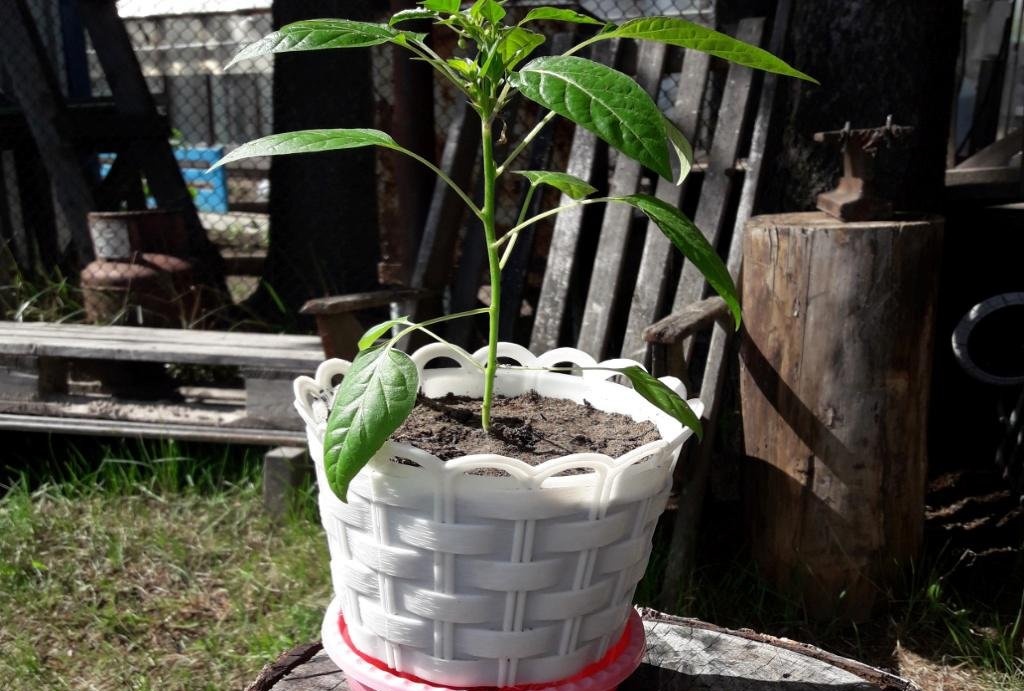
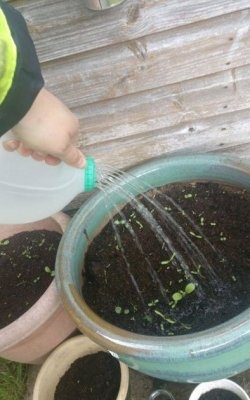
We fill the container of your choice with water, into which we lower the pot with the plant. You can water the plant directly into this lower container.
Now, when you know that you do not have time to water your plant during the day or evening, just before leaving, pour more water into the container and the plant will no longer suffer from dehydration, it will itself absorb water through the wick as the soil dries out. This pot will come in handy if you are away from home for a couple of days. For longer periods, you will still have to use outside help.
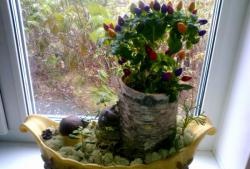
Well, you can also decorate the pot. More precisely, soil in a pot. Knowing that I no longer had to pour water directly onto the soil of the plant, I sprinkled white sand and pebbles on top.
Looks very impressive! White sand can be collected in any pine forest.
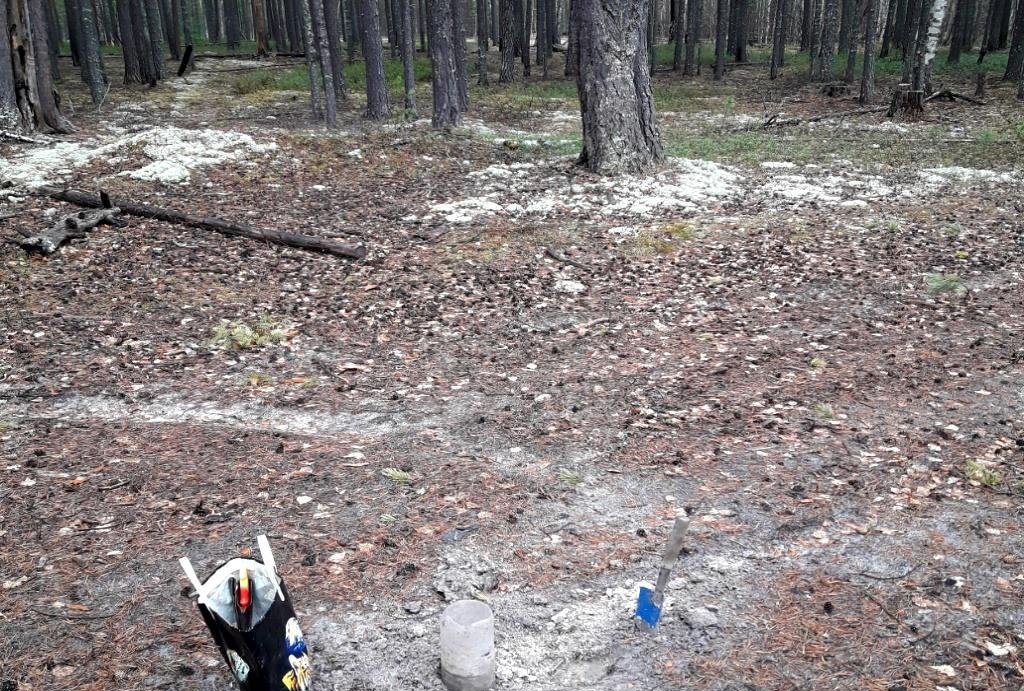
However, after the painful removal of domestic aphids, I no longer want to take risks, so I burned the sand and stones in an iron can over a fire, thereby destroying the parasites that might be present there.
Similar master classes


Particularly interesting


Comments (1)
