How to make a full-fledged garden watering can from a canister in 2 minutes
Indoor, garden and garden plants need regular watering. Ideally, the applied water during irrigation does not erode the soil, so for irrigation it is better to use a specialized watering can that divides the flow into several thin streams. Although this is an inexpensive piece of equipment, it is not necessary to buy it, but can be made for free in a couple of minutes from a canister that would have been thrown away anyway.
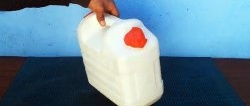
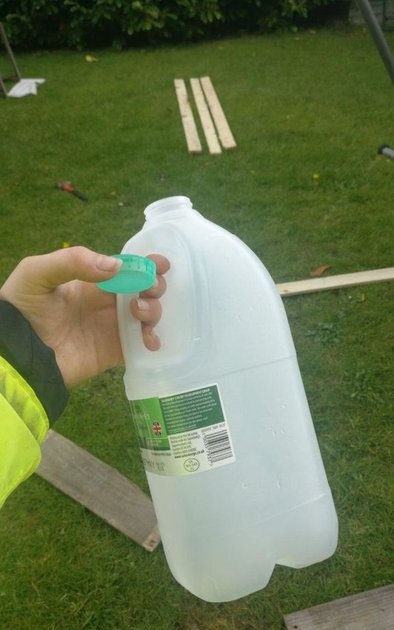
The watering can will be made from a plastic canister with a handle. Milk, liquid washing powder and various household chemicals are often sold in such containers. The volume of the canister should be selected depending on the number of plants that will need to be watered, so as not to have to refill frequently. Such containers come in different capacities from 1 liter. and more.
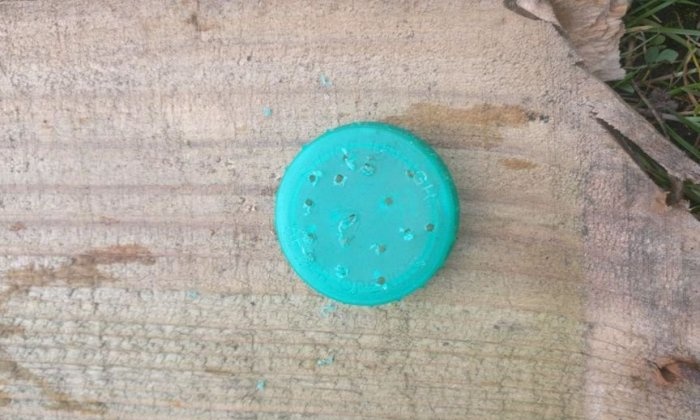
10-20 holes are made in the lid of the canister using a 2 mm drill. If you don't have a drill, you can burn them with a hot nail. To do this, it is heated over a gas stove or an ordinary candle. To avoid getting burned, the nail should be held with pliers.It is better to burn the lid in the open air, as smoke and the smell of burnt plastic are released.
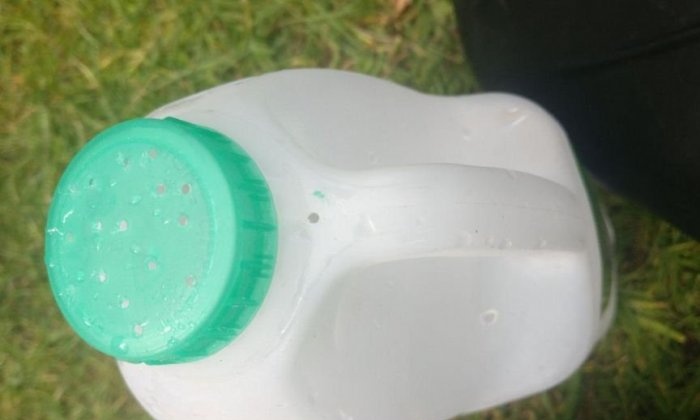
To prevent the canister from deforming when pouring water, and the liquid flows out quickly, air must enter the watering can to prevent a vacuum. To do this, you need to make one hole in the handle near the neck with the same drill or nail. After filling, the watering can is ready for use.
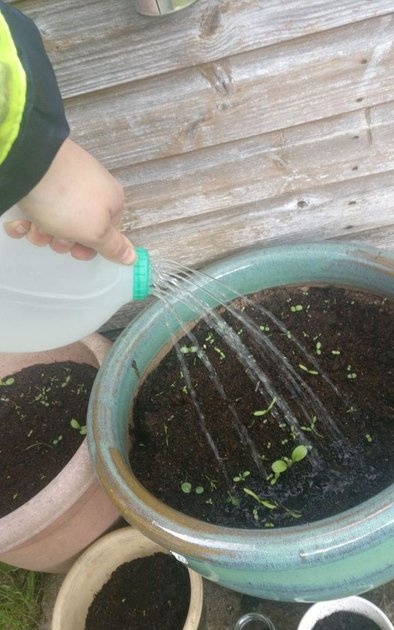
The advantages of using a homemade watering can made from a rigid canister with a handle over an ordinary PET soda container are undeniable. This homemade product is much more spacious, it does not shrink when pouring, thanks to the handle it fits more comfortably in the hand, and water flows out of it in even streams without jerking.


Materials and tools:
- canister with handle;
- drill;
- drill 2 mm.
The watering can will be made from a plastic canister with a handle. Milk, liquid washing powder and various household chemicals are often sold in such containers. The volume of the canister should be selected depending on the number of plants that will need to be watered, so as not to have to refill frequently. Such containers come in different capacities from 1 liter. and more.

Making a watering can from a canister
10-20 holes are made in the lid of the canister using a 2 mm drill. If you don't have a drill, you can burn them with a hot nail. To do this, it is heated over a gas stove or an ordinary candle. To avoid getting burned, the nail should be held with pliers.It is better to burn the lid in the open air, as smoke and the smell of burnt plastic are released.
To prevent the canister from deforming when pouring water, and the liquid flows out quickly, air must enter the watering can to prevent a vacuum. To do this, you need to make one hole in the handle near the neck with the same drill or nail. After filling, the watering can is ready for use.
The advantages of using a homemade watering can made from a rigid canister with a handle over an ordinary PET soda container are undeniable. This homemade product is much more spacious, it does not shrink when pouring, thanks to the handle it fits more comfortably in the hand, and water flows out of it in even streams without jerking.

Similar master classes
Particularly interesting
Comments (0)

