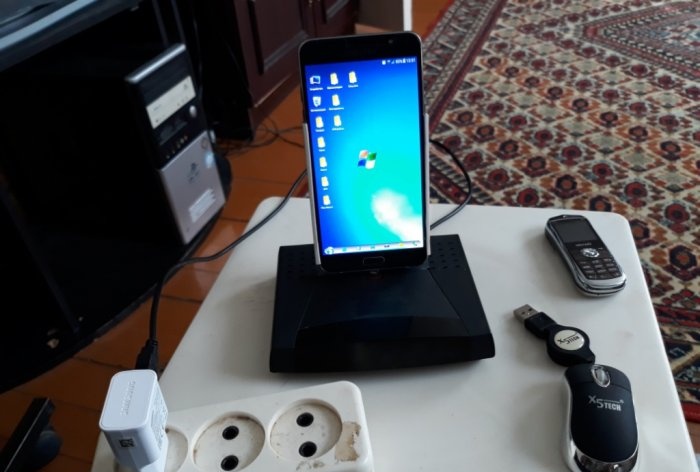
Phone docking station made from scrap materials
I don’t know how much a docking station for a smartphone costs in communication stores; I’ve never been interested, but making such a device yourself, in my opinion, is as easy as shelling pears! After all, in essence, this is an ordinary stand so that the phone does not lie anywhere and does not scratch its body and screen on the table or other surfaces. Of course, docking stations come with different functions. Some are intended only for recharging a mobile device, others have a keyboard and mouse, and others only play the role of a regular stand. One way or another, assembling a decent-looking stand with a recharging function from improvised and practically unnecessary junk will not require almost any difficulty and financial costs.
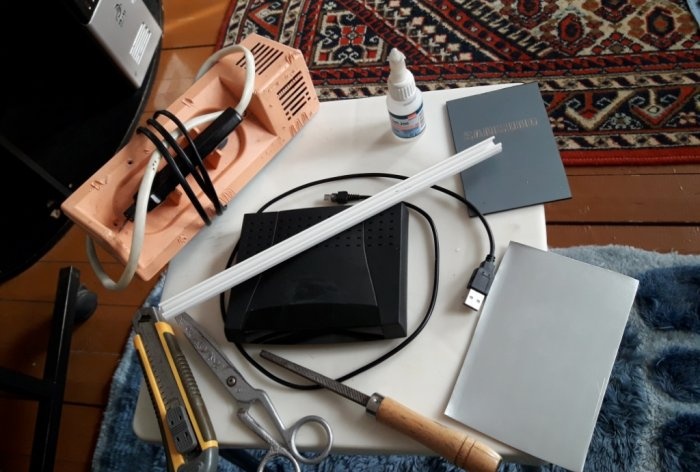
Will need
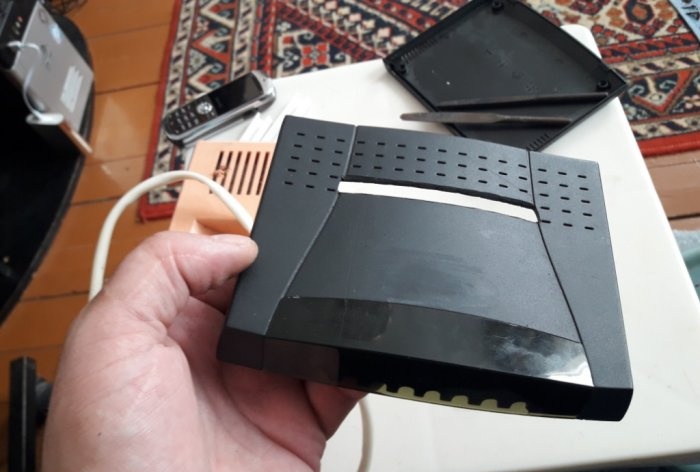
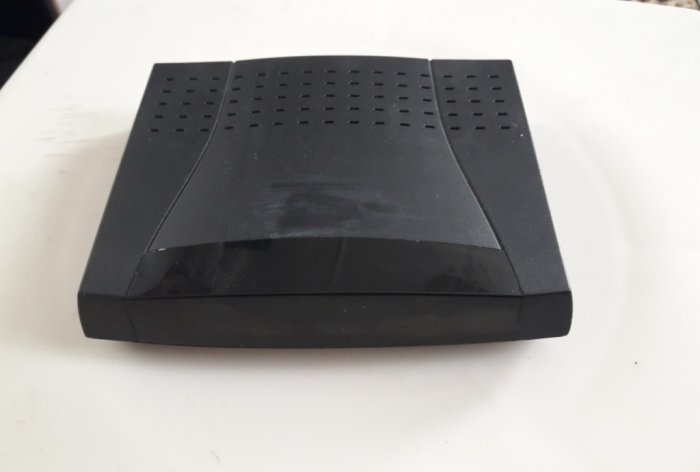
- As a basis, a plastic case from some small device (I took the case from an old wi-fi router).
- Secondary glue.
- Soda (regular, baking soda).
- Plastic for the back of the docking station, 2-3 millimeters thick.
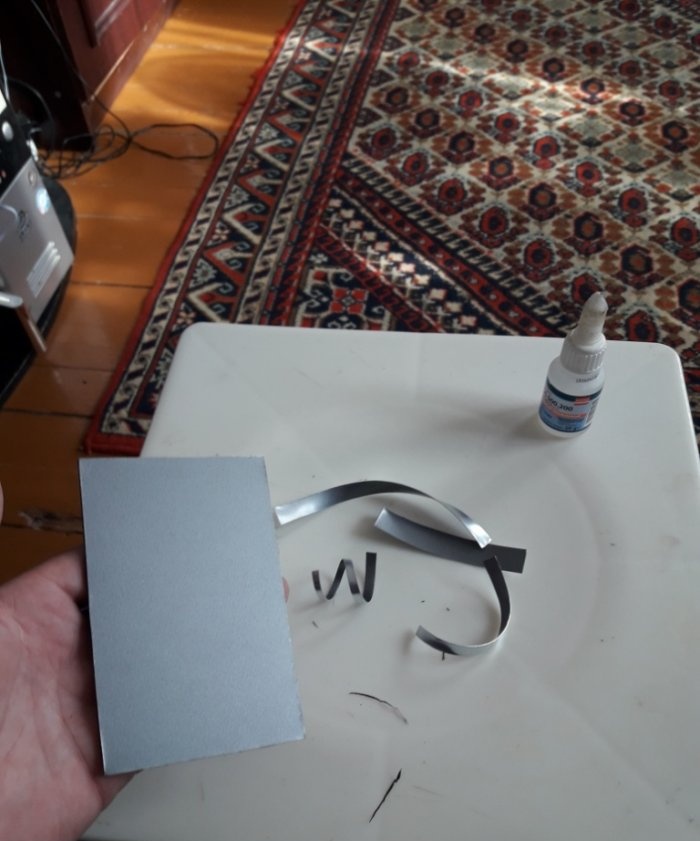
- Aluminum, 1 millimeter thick.
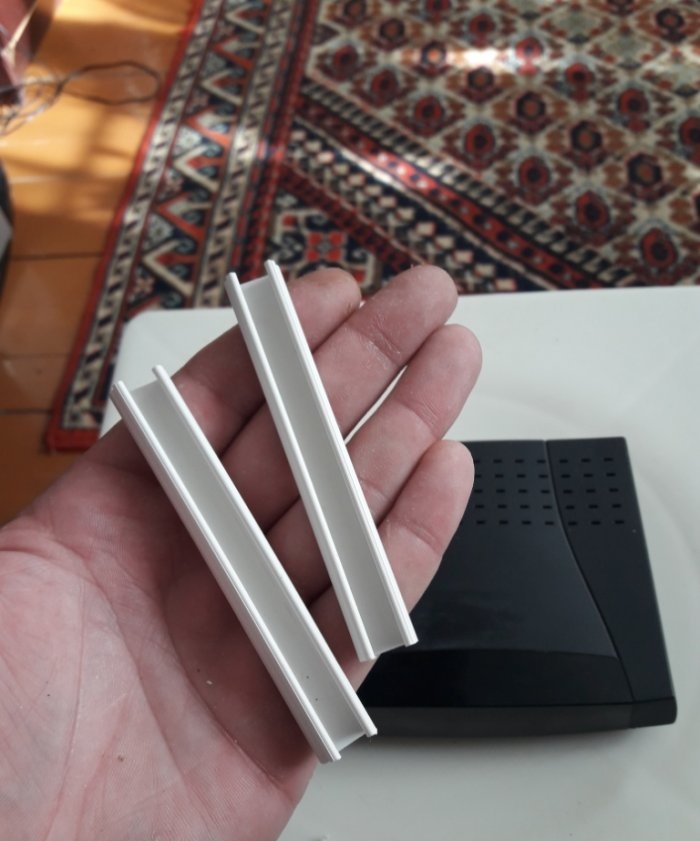
- Wiring box (lower part) 15-20 centimeters.
- Needle file (flat or square).
- USB to microUSB cable.
- Scissors.
- Burner or soldering iron.
First, let's prepare everything necessary for work and look at the phone's parameters in its operating instructions. There should be a column “Device Characteristics” where the parameters are written - length, width, thickness. If you don’t find it, just take measurements with a regular ruler, even if not with perfect accuracy; hundredths and tenths of a millimeter do not matter in this matter... We will adhere to these data in further work.
Making a charging station for a smartphone
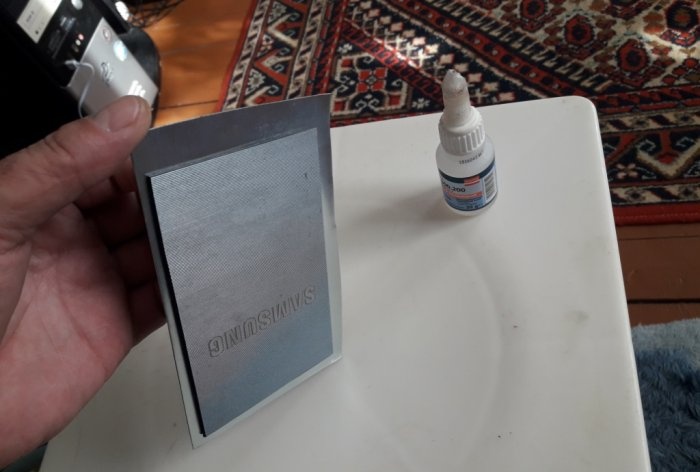
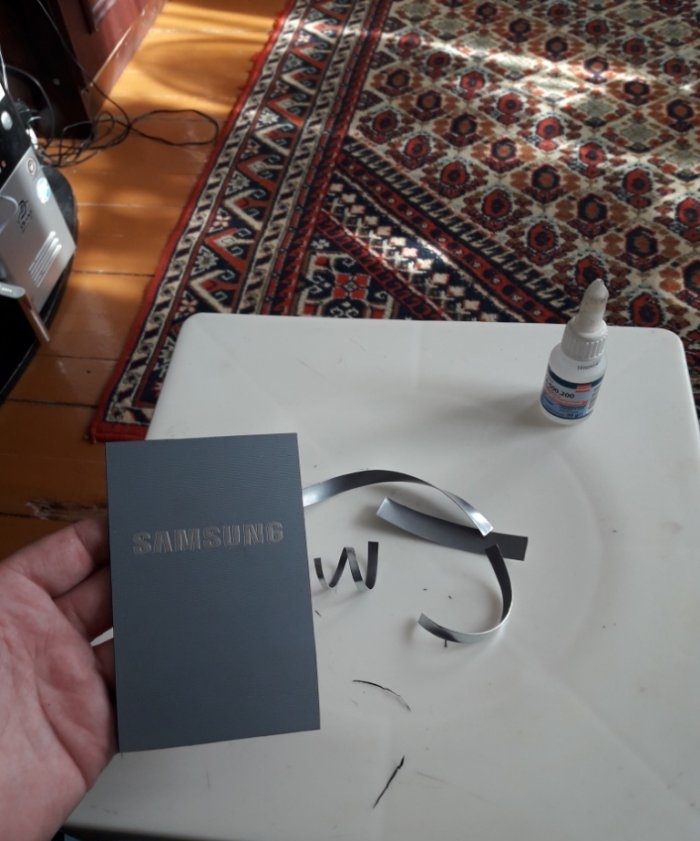
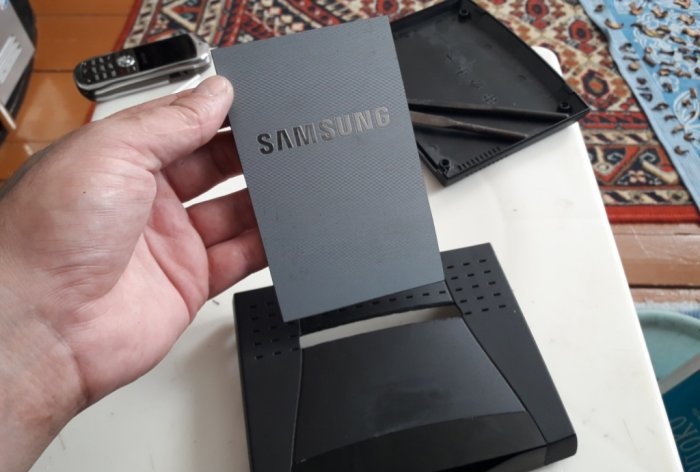
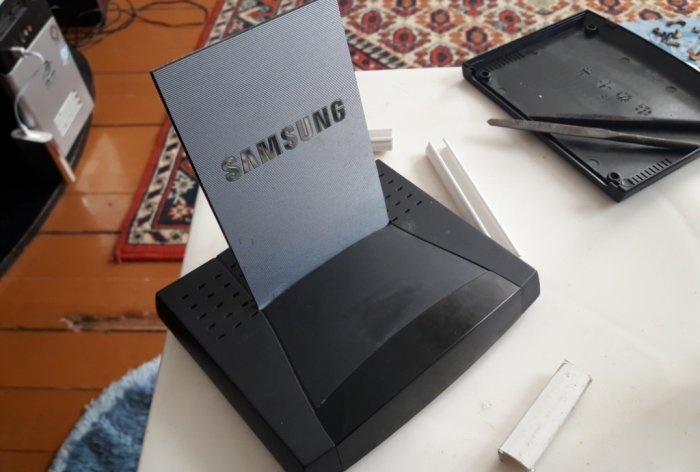
First of all, using a burner, you need to cut out a plastic plate for the back of the docking station, on which the charging phone will subsequently lie. For this purpose, I cut out a piece of plastic from the body of a non-working laptop, with the logo of the same company as my phone. We cut out the plate according to the parameters of the phone. There is a slight subtlety here; It is not necessary to cut the back along the entire length of the phone, you can make it shorter, but not less than half the length. The main thing at this point is width. It should be a couple of millimeters larger than the width of the phone. Now generously lubricate the back side of the cut out plate with second glue and apply it to a previously prepared aluminum sheet. Place under the press for ten minutes so that the planes stick to each other as close and tightly as possible.
After the specified time has passed, we take out the tightly glued blanks from under the press and cut off the excess protruding fields of the aluminum plate with scissors.
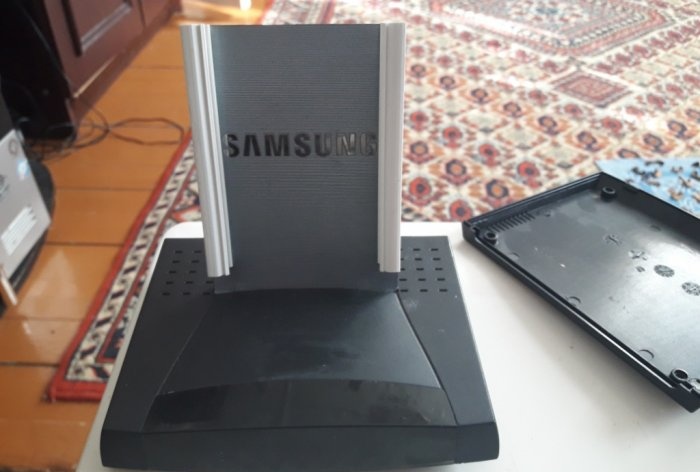
Now we’ll make phone holders that will hold it on the back in a certain position, preventing it from falling. The holders will be made from the bottom of the wiring box. They are ideal for this purpose. We cut off two pieces of 6-7 centimeters each from the bottom of the box.
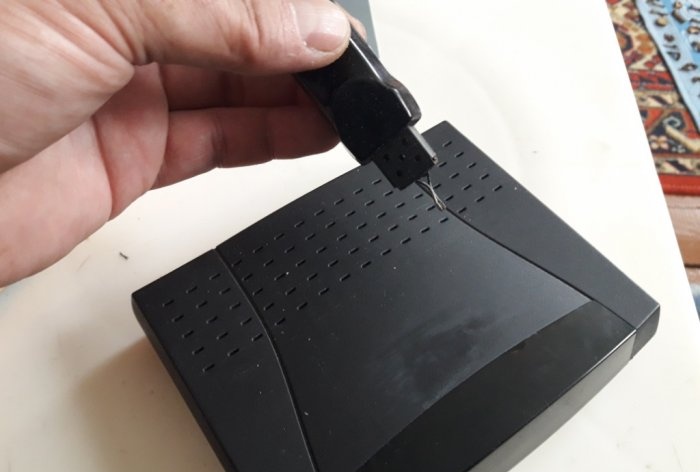
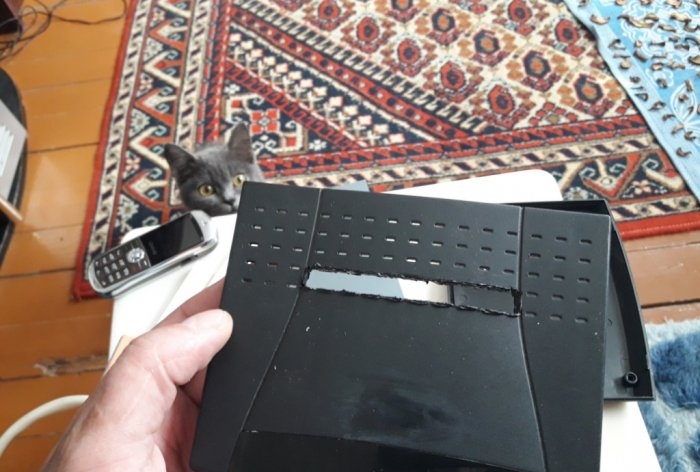
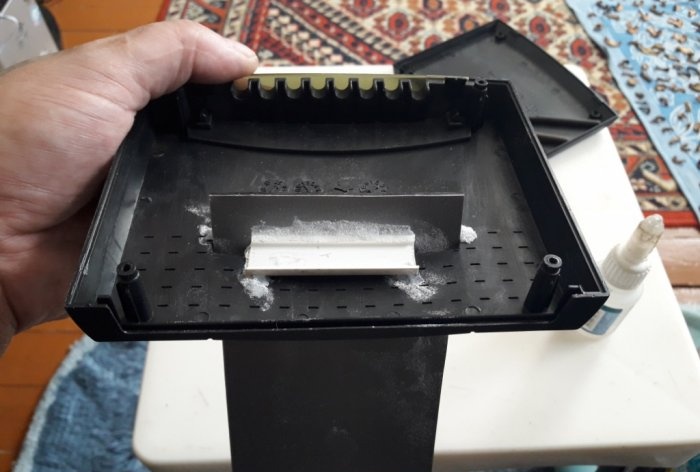
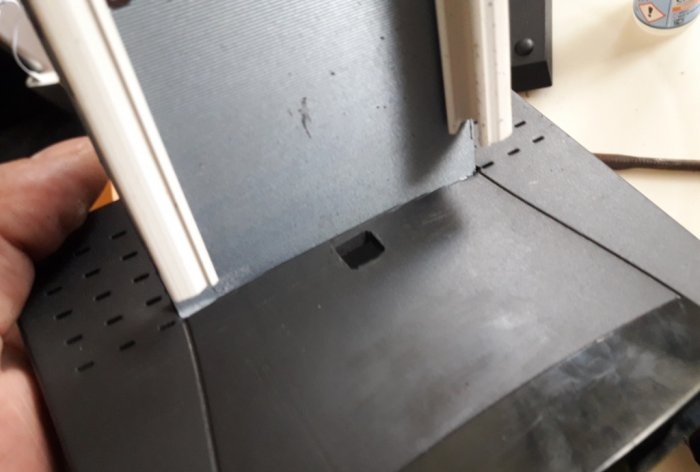
Let's leave these blanks for now.Next, we will cut out a rectangular hole in the base-stand, into which we will glue the backrest using superglue and soda.
We process the edges of the cut hole with a file so that they become even.
Now you need to fix the backrest at the base, in any corner you need, and attach it.
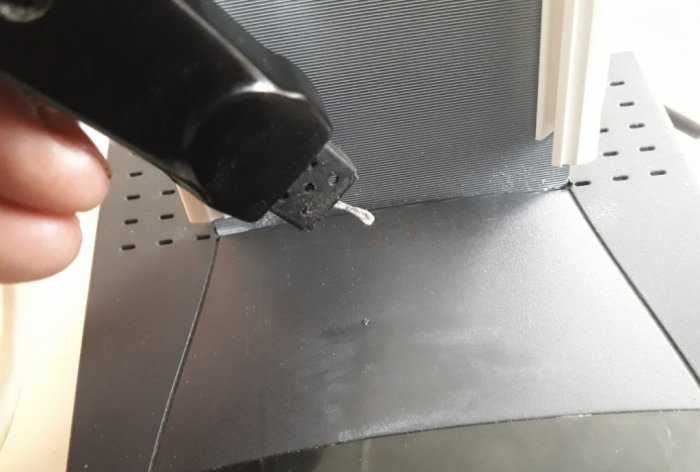
By dripping a second of glue onto the joints of the back and base and immediately sprinkling soda on this area, we can easily attach the blanks to each other. You just need to attach all this from the inside of the future docking station, so that glue and soda do not spoil its appearance. Now, using any pieces of plastic, glue and soda, thoroughly glue the back to the body.
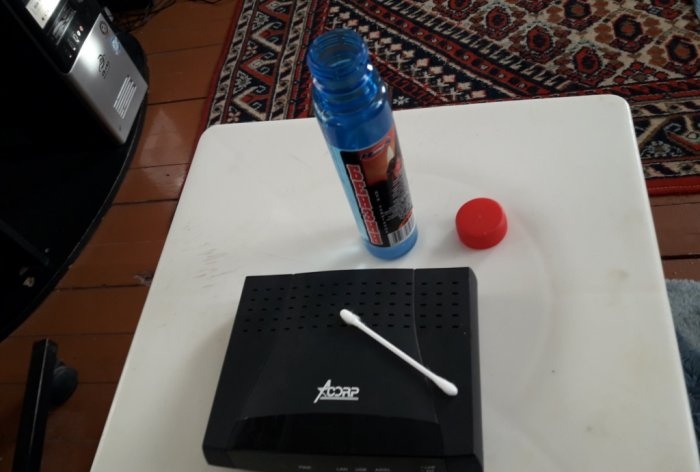
By the way, if there are any inscriptions or logos left on the body from its previous purpose, they can be easily removed using lighter gasoline and cotton swabs.
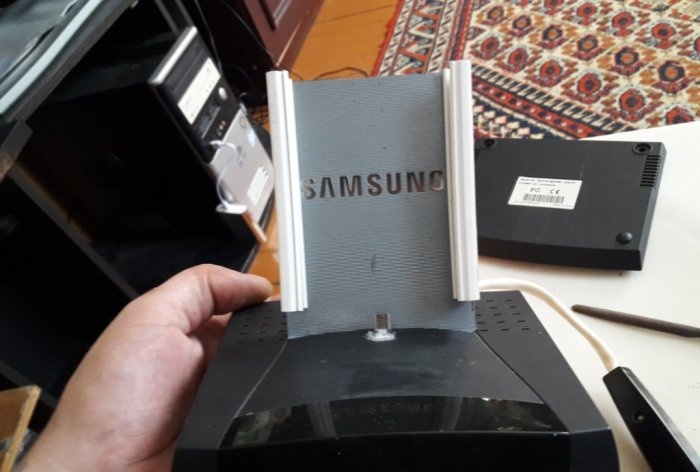
Now we will glue the finished blank holders from the boxes to the back. To do this, we put these holders on the sides of the phone, apply it all to the back, mark the location of the holders with a marker, remove them from the phone and glue them with second glue to the marked places on the back.
All that remains is to cut a hole for the microUSB plug.
To do this, we install the phone in an almost finished docking station, mark with a marker the place where the phone’s charging socket contacts the surface of the case, and cut out a hole for the microUSB plug there with a burner or soldering iron.
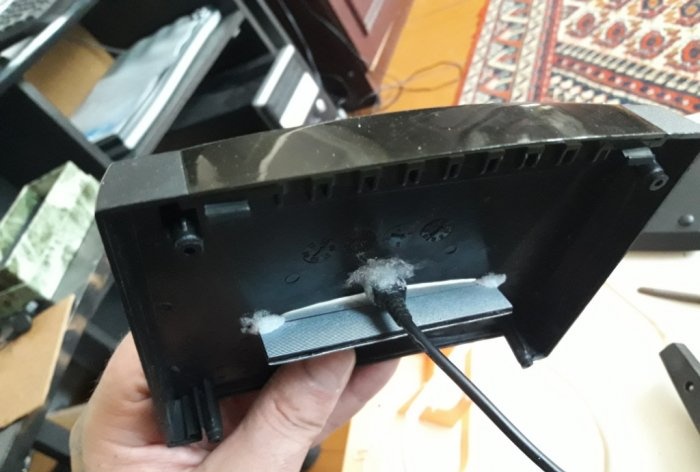
Now we thread the microUSB plug into the cut-out hole, plug it into the phone, fix the plug in the hole, and secure it there with superglue and soda.
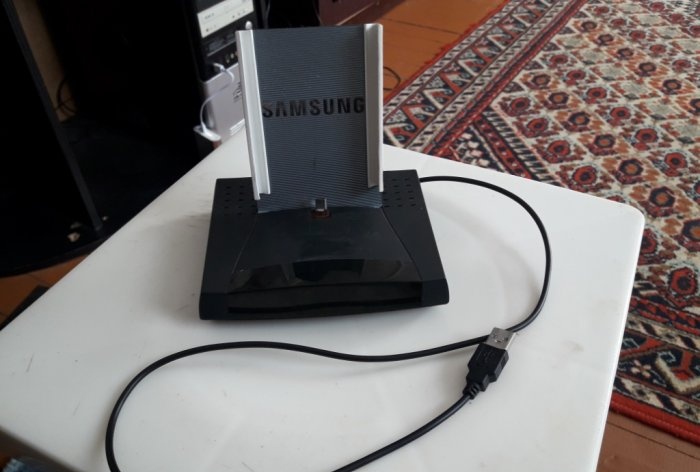
Well, all that remains is to assemble the case together and connect the USB cable to the charger or to the USB port of the computer.
By the way, you can also connect a mouse and keyboard to this docking station, provided you have the appropriate adapter, of course.
Watch the video
Similar master classes
Particularly interesting
Comments (2)

