Simple soldering station

Modern imported soldering irons often have an overheating problem. And domestic ones sometimes experience underheating, and it is also observed when the voltage drops. In this article I will tell you how to solve these problems and also make soldering more comfortable. With the help of a soldering station, you can work with large voltage drops, quickly heat up the soldering iron and set any temperature you need. So, let's transgress. I spent a long time searching on the Internet for the simplest diagram of the station. In the end, they all turned out to be rather difficult to implement. It ended up that I came up with my own.
Soldering station diagram:
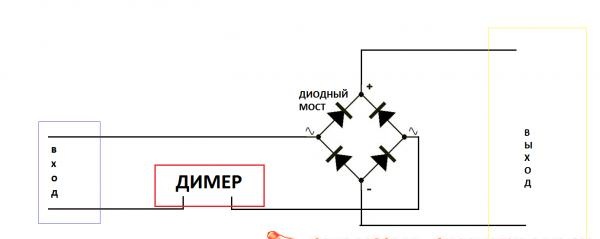
Simple soldering station

We will need:
1. Dimer. (any one will do). It is also called a dimmer.
2. Diode bridge.
3. Body. (wooden or plastic box). It is best to buy a ready-made housing from an electrician.
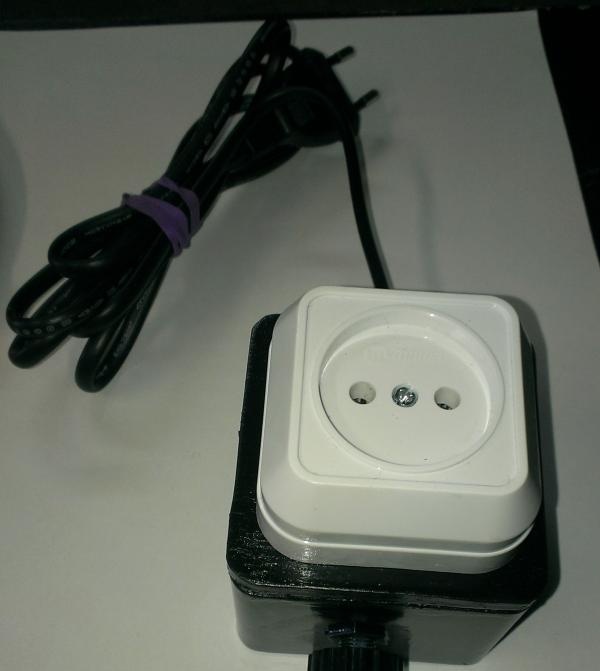
4. Socket.
5. Plug with wire.

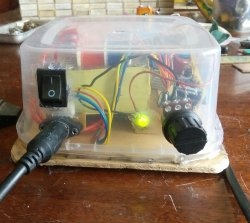
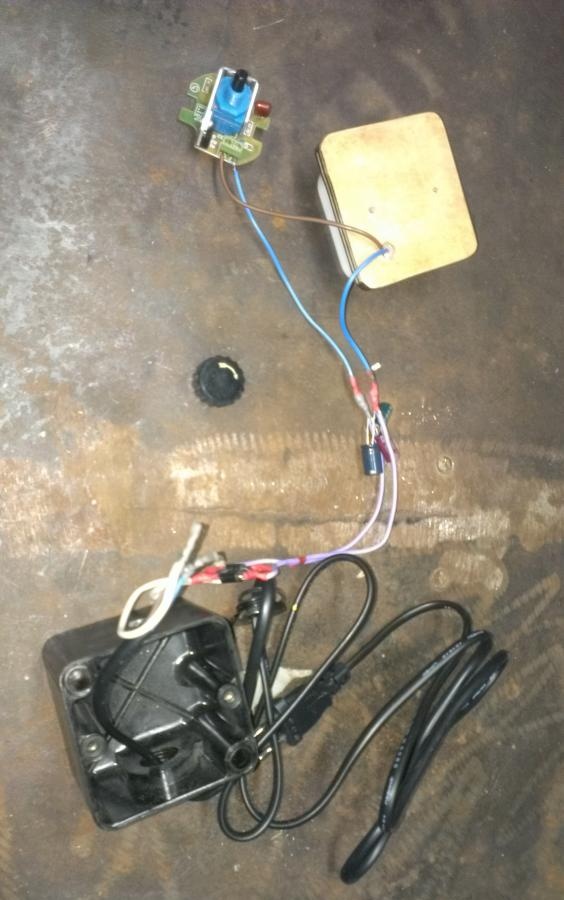
Let's start with the dimer. Since the dimer body is very large, I recommend disassembling it, leaving only the circuit itself. The handle can be replaced, as in my case, you can leave the original one.
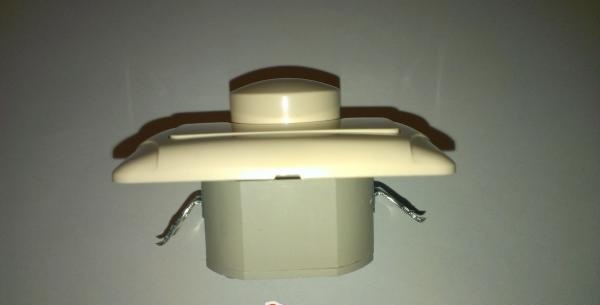
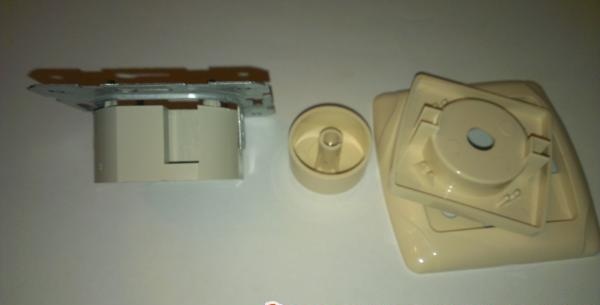
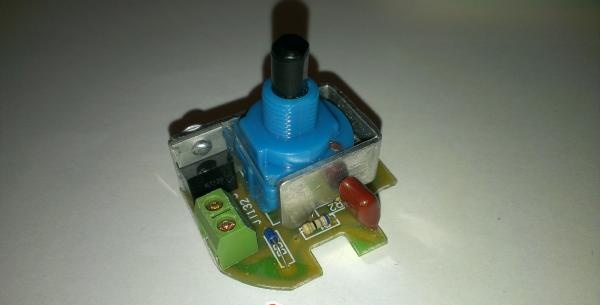
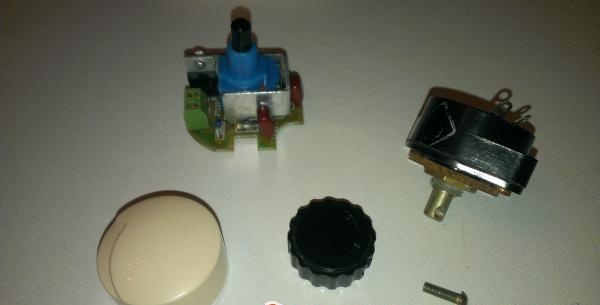


As a case, I decided to take a box from a Soviet switch.Since there was no lid, I made my own from plywood.
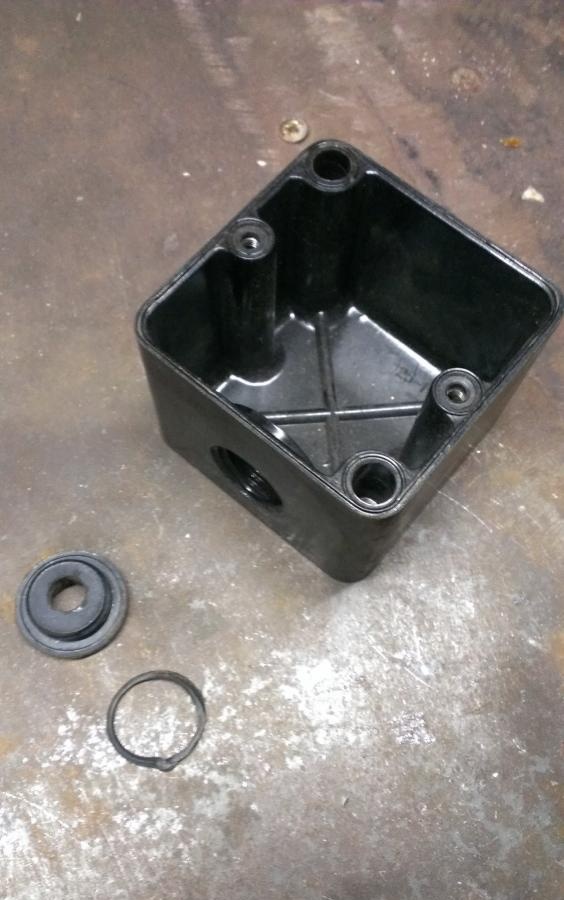


Now you need to assemble everything according to the diagram. Install the socket and plug.


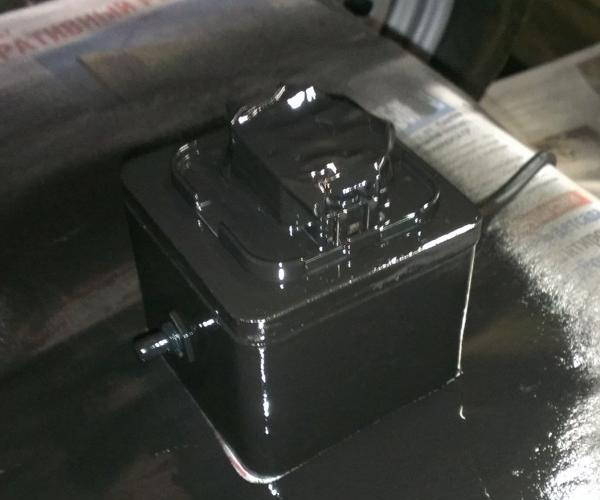
For beauty, I recommend painting the product.


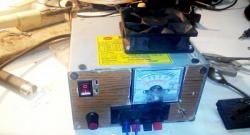
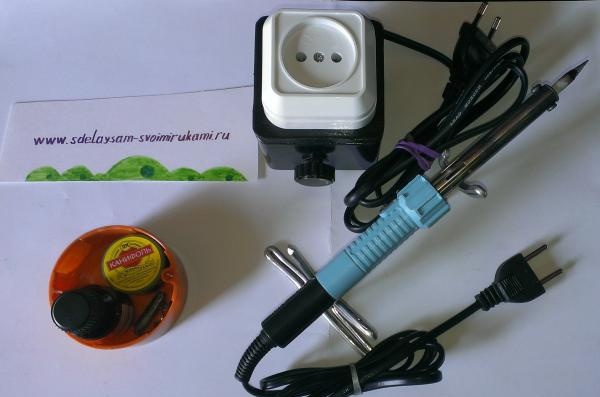
Here's the final result.


I WISH YOU SUCCESS!!!
come back
Comment
  • bowtiesmilelaughingblushsmileyrelaxed relaxedsmirk
    heart_eyeskissing_heartkissing_closed_eyesflushedrelievedsatisfiedgrin
    winkstuck_out_tongue_winking_eyestuck_out_tongue_closed_eyesgrinningkissingstuck_out_tonguesleeping
    worriedfrowninganguishedopen_mouthgrimacingconfusedhushed
    expressionlessunamusedsweat_smilesweatdisappointed_relievedwearypassive
    disappointedconfoundedfearfulcold_sweatperseverecrysob
    joyastonishedscreamtired_faceangryragetriumph
    sleepyyummasksunglassesdizzy_faceimpsmiling_imp
    neutral_faceno_mouthinnocent
5+two=
Comments (12)
  1. Dmitriy
    #1 Dmitriy Guests 11 June 2013 17:34
    0
    Sorry, I saw in your photos there seem to be Conders and something else, but they are not in the diagram you provided. Can anyone tell me what goes where and why?
  2. TO
    #2 TO Guests 18 June 2013 23:31
    0
    Yes, something is not clear, everything is stated. Does your soldering iron work on constant voltage??? (“OUTPUT” in the diagram). To Dmitry: there are no condensers in the circuit, they are located in the dimmer itself. and the dimmer assembly is included in the gap in the author’s circuit. Only the author did not indicate, again, where the connection points of the DISASSEMBLED dimmer are. P.S.: the simplest solution to prevent overheating is a ready-made power cord with a plug and a “twist” at the break in the cord. These are sold in radio stores and hardware stores (they are mainly used to work in conjunction with sconces, floor lamps, etc., to adjust the lamp intensity)
  3. mechanic
    #3 mechanic Guests 6 November 2013 17:55
    0
    Is it possible to assemble it without a diode bridge or what kind of diode bridge is it?
  4. Dmitriy
    #4 Dmitriy Guests December 17, 2013 20:13
    0
    Answer why in the photo there are capacitors instead of a diode bridge. And how the soldering iron will work from a constant voltage. There was nothing for you to do...
  5. Vladimir
    #5 Vladimir Guests 19 December 2013 15:18
    1
    Commentators, please learn “electrical engineering”!
  6. Graw
    #6 Graw Guests January 2, 2014 04:09
    0
    diodes on the power cable, capacitors to dampen fluctuations and equalize one wave, and yes, a soldering iron, like any other heating element, can operate on constant voltage)

    I'll take note, I want to build a similar one but for low-power soldering irons, because... they cost us 50-60 rubles, and network ones cost 350-2200
  7. Yaroslav
    #7 Yaroslav Guests February 8, 2014 01:32
    0
    Tell me, what power dimer did you use? And how many amperes is the diode bridge? Did you buy a ready-made diode bridge or did you solder it yourself?
  8. gene
    #8 gene Guests April 1, 2014 00:03
    0
    Why diodes? Can't you do without them?
  9. Sergey
    #9 Sergey Guests April 28, 2014 00:42
    0
    I’ve had a similar device working for about 5 years now, I made it from a regulator from a vacuum cleaner (2500W) and placed it all in the body of a socket for bathtubs 5 cm high, with a lid. You can connect a lot of things. And for a soldering iron I bought a dimmer (100W) for sconce, issue price 60 rubles. I crashed into the cut of the wire, everything is neat and beautiful. I don’t even need the stations, should I buy them just for the sake of the indicator?
  10. Ivan
    #10 Ivan Guests 9 November 2014 23:18
    1
    Quote: Sergey
    I’ve had a similar device working for about 5 years now, I made it from a regulator from a vacuum cleaner (2500W) and placed it all in the body of a socket for bathtubs 5 cm high, with a lid. You can connect a lot of things. And for a soldering iron I bought a dimmer (100W) for sconce, issue price 60 rubles. I crashed into the cut of the wire, everything is neat and beautiful. I don’t even need the stations, should I buy them just for the sake of the indicator?
    If you are wondering why stations are bought, then Google can help.The point is not only in the display, but also in the fact that at the station you set the temperature (provided that this is not the leftmost China).