How to clean a washing machine from scale and dirt using soda and vinegar
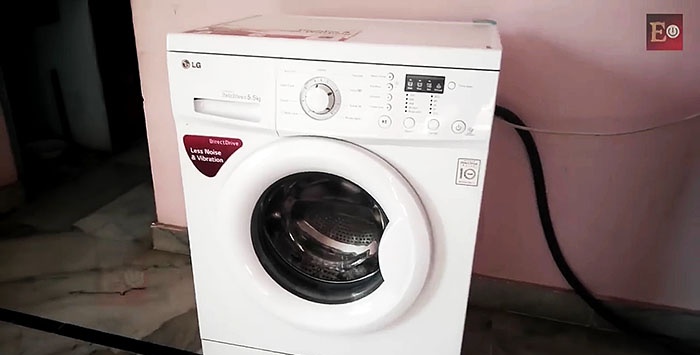
During operation, a household automatic washing machine may become contaminated, both from the outside (body, front control panel, transparent surface of the door) and from the inside (drum, tray for loading detergent ingredients, the place under the sealing rubber on the door, filter compartment and mesh at the inlet hose for supplying cold water from the water supply network, heating element).
Moreover, the machine not only gets dirty, but in some of these places bacteria begin to multiply, fungal spores and mold appear, since extremely favorable conditions are created there for this: a humid environment and positive temperature, residues of detergents, air conditioner, organic contaminants from washed items, lint, threads, sand, etc.
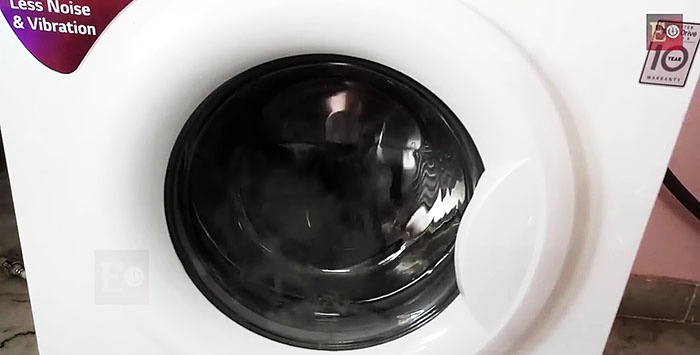
All these unwanted new growths in the car emit unpleasant odors, which can spoil the mood and even the well-being of all family members for a long time, and pose a real danger to people’s health.
Therefore, it is necessary to regularly clean up the car at certain intervals, without much effort and with the help of simple cleaning products such as baking soda and vinegar. We may also need a sponge, toothbrush, cloth and paper napkins.
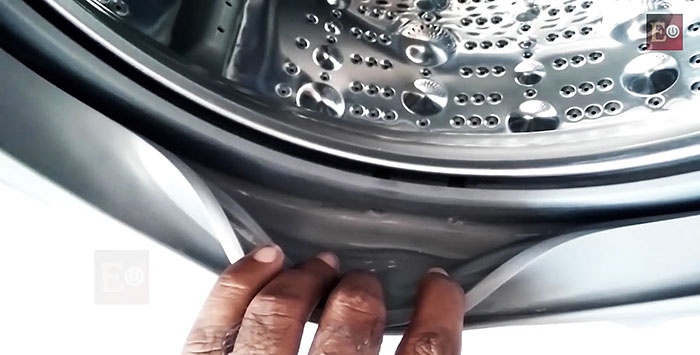
It is more logical to start cleaning this household appliance from the most contaminated place, which is the space under the sealing collar on the door of the washing unit.
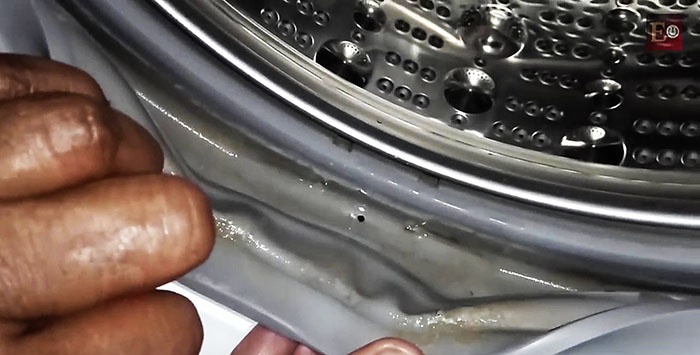
If you twist it slightly, you can see mold, dirt deposits and even hard objects in the form of buttons, cufflinks, paper clips and other small items that may end up in the pockets of clothes that have been washed. Any solid objects found should be removed to prevent them from damaging the sealing collar.
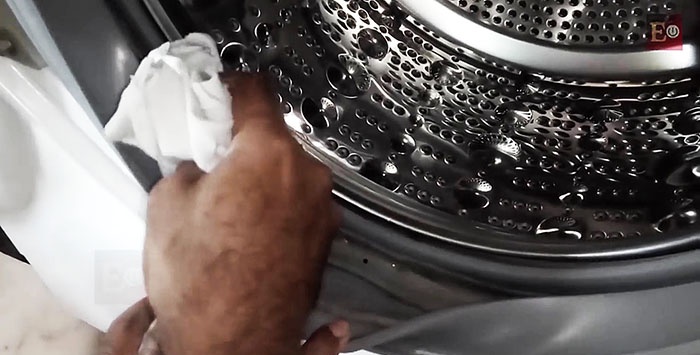
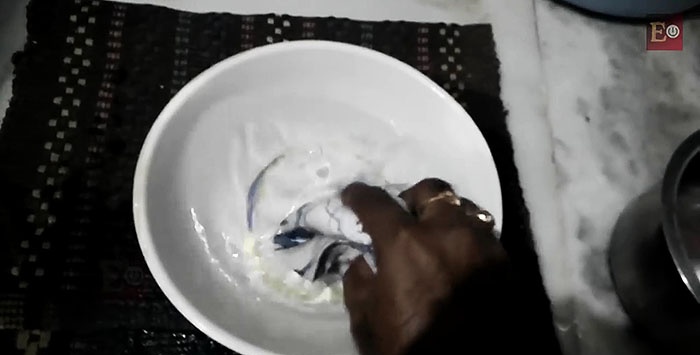
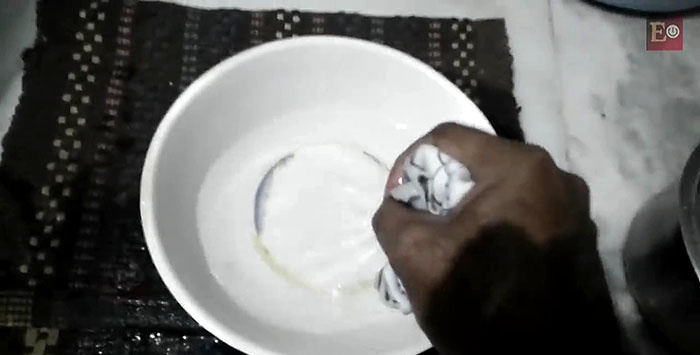
Then you need to wet a soft cloth in a bowl with a weakly concentrated solution poured into it (50 ml of 9% vinegar with 1 liter of water), and thoroughly clean the space under the cuff, repeating this cleaning operation several times. At the end, the treated areas should be wiped with a dry cloth.
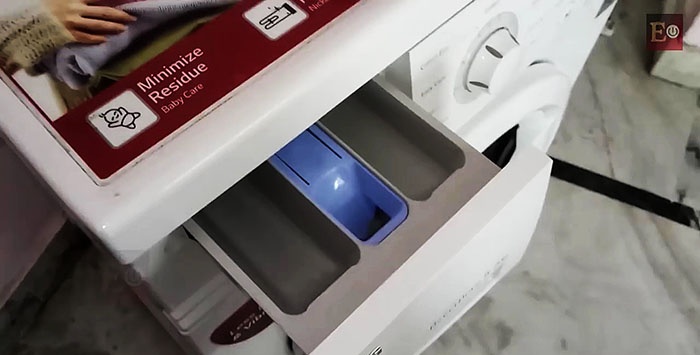
Next comes the loading tray for washing powder and rinse aid, as well as the niche into which it is inserted.
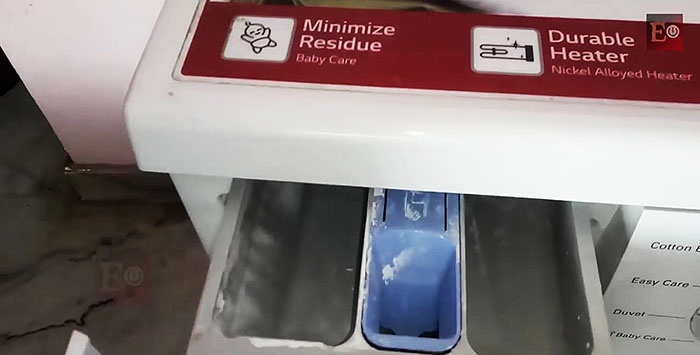
On most washing machines, this unit is located in the upper left corner of the machine.
After each wash, traces of settled washing powder and conditioner are visible on the tray and in the niche, and if you do not wipe them off for a long time, yellow and dark stains will be visible, which cannot be removed with water alone.
We pull out the tray by pressing the special button.
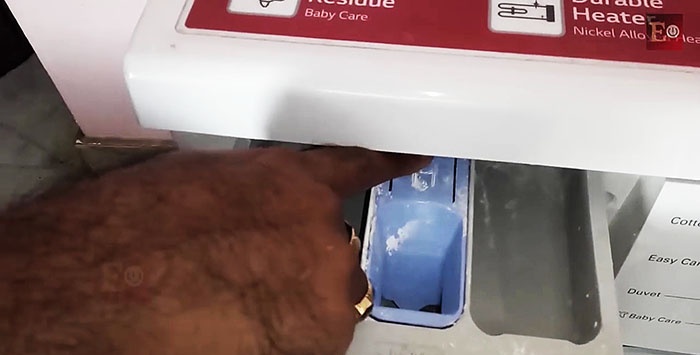
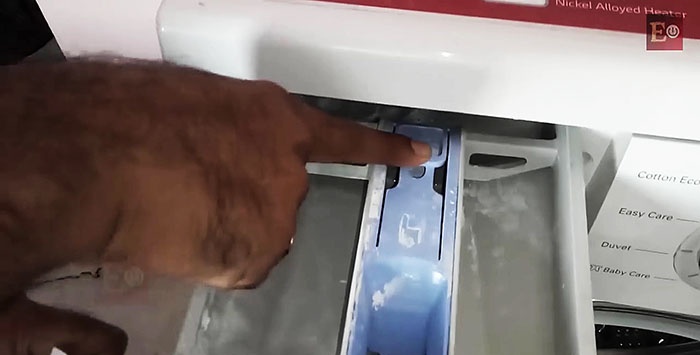
We disassemble it and clean it with a toothbrush dipped in table vinegar or soda solution, then with a rag soaked in some detergent.
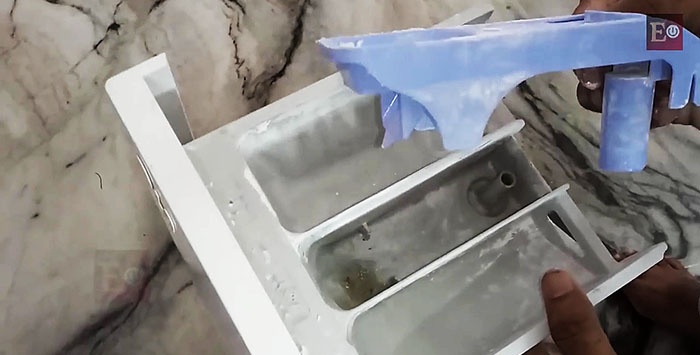
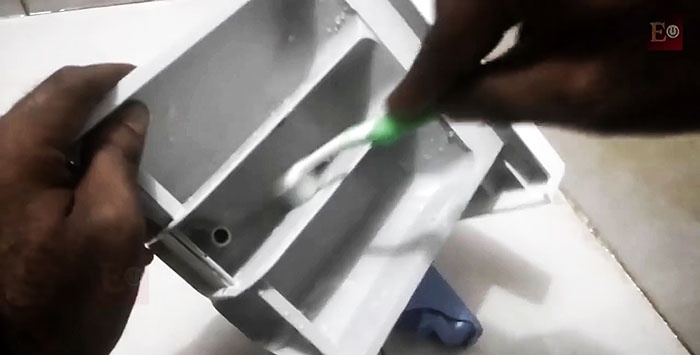
We finish the procedure by rinsing the tray and its components under running water and wiping it dry.
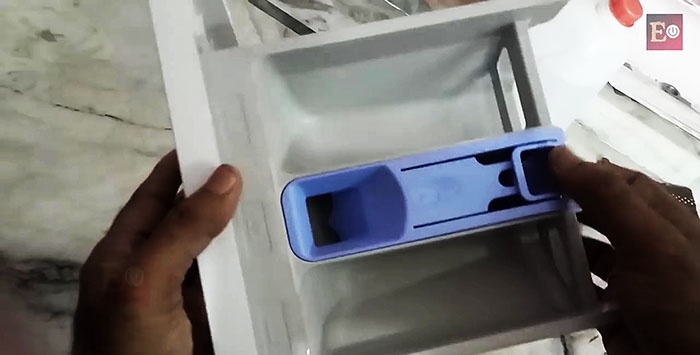
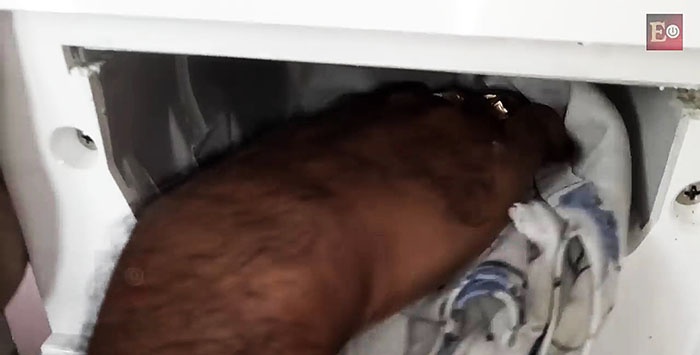
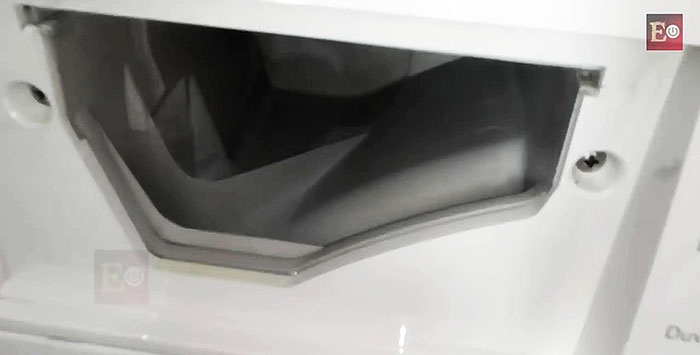
We carry out the same procedure for the niche, using a cloth napkin.
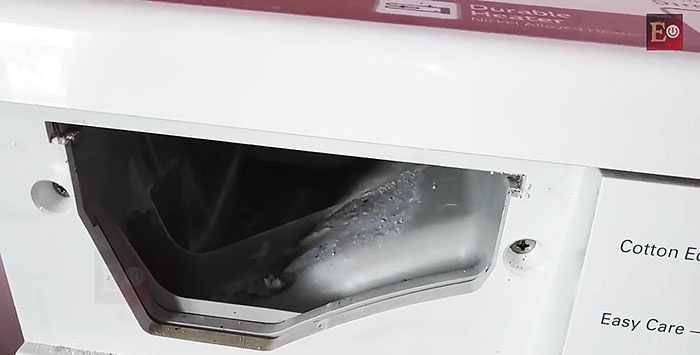
All that remains is to install the tray in place.
Now we get down to cleaning the filter, the door of which on almost all washing machines is located at the bottom right.
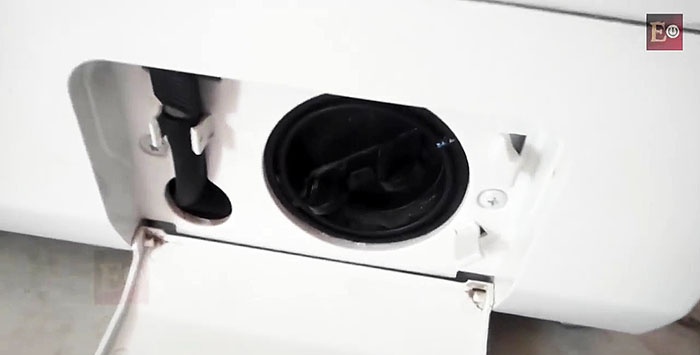
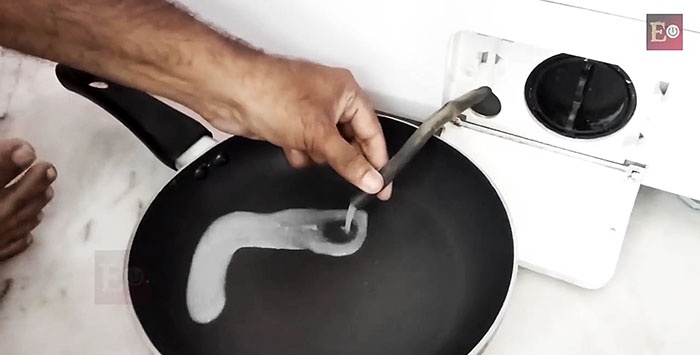
We open the door, prepare dishes with low sides, for example, a frying pan, remove the plug from the drain tube, and drain the water from it. Then we put the plug in place and secure the tube into the standard clamp.
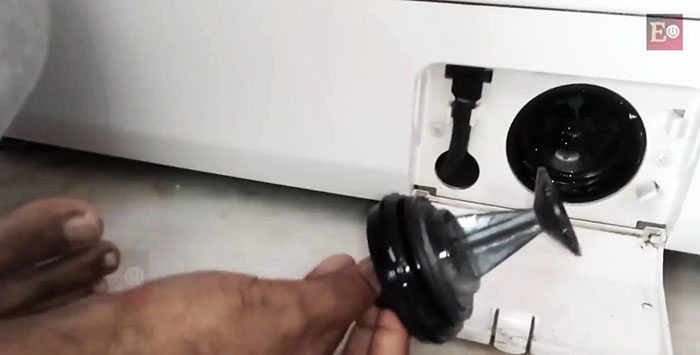
We unscrew the filter by rotating it counterclockwise, after placing a large rag under the filter. Small hard objects – buttons, pebbles, paper clips, etc. – may accumulate in the place where the filter is installed.
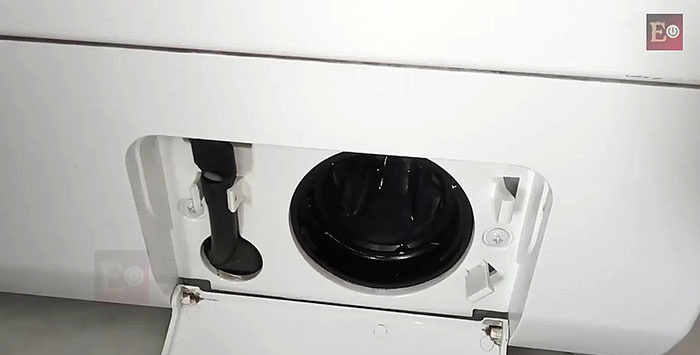
Wash the place where the filter is installed with a soft cloth soaked in vinegar or an aqueous solution of soda. Then wipe dry. The filter must also be washed with detergent and reinstalled.
Now unscrew the nut connecting the cold water supply hose located on the back panel of the washing machine.
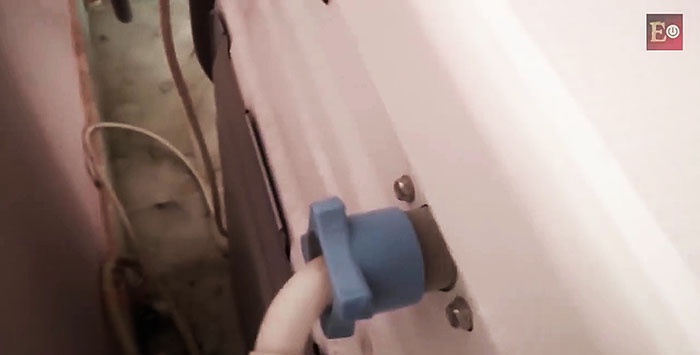
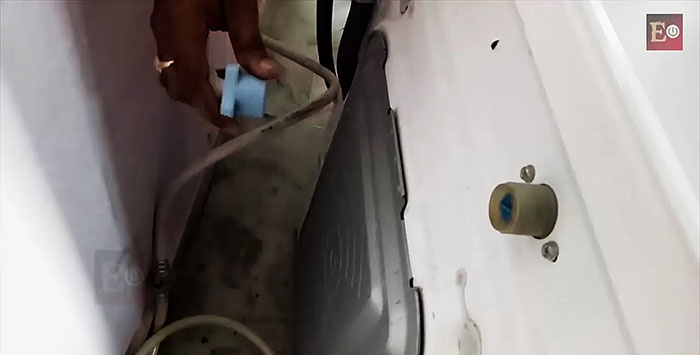
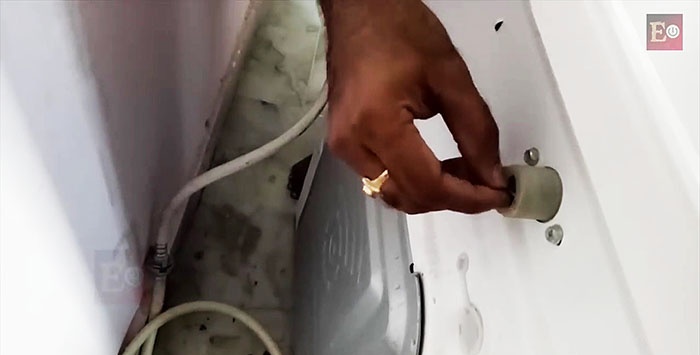
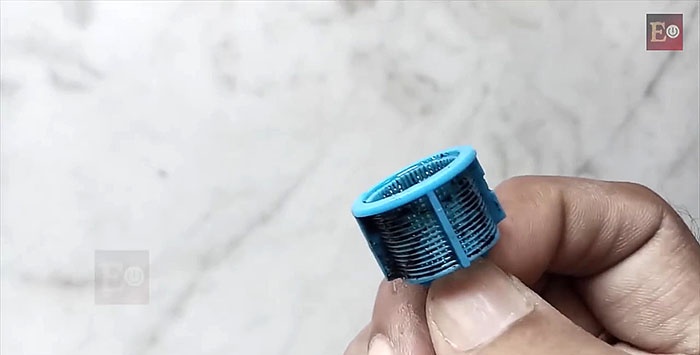
Then we pull out the plastic mesh at the bottom, shake out the debris from it, wash it, wipe the fitting and install everything back in the reverse order.
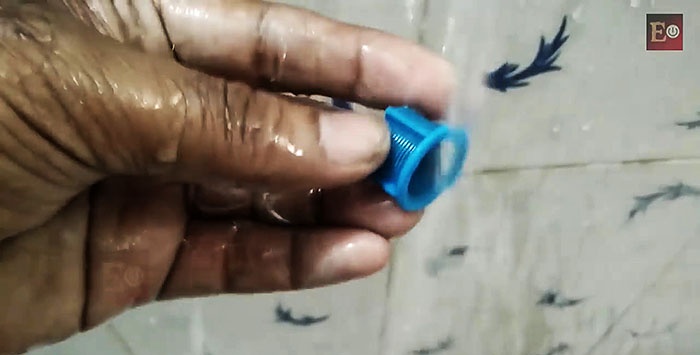
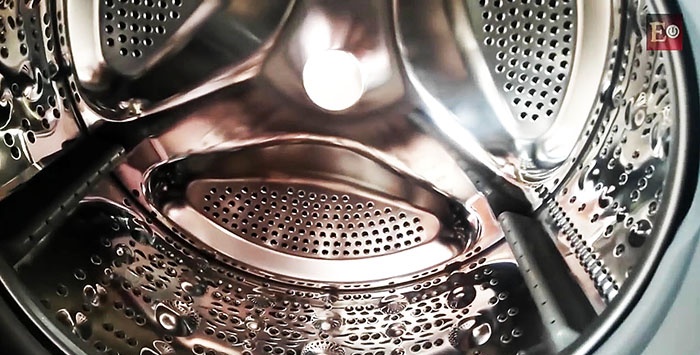
All that remains is to wash the drum and the “insides” of the machine, including the heating element. To do this, pour two measuring containers of table vinegar into the drum, and one portion of baking soda and a little water into the loading tray compartment.
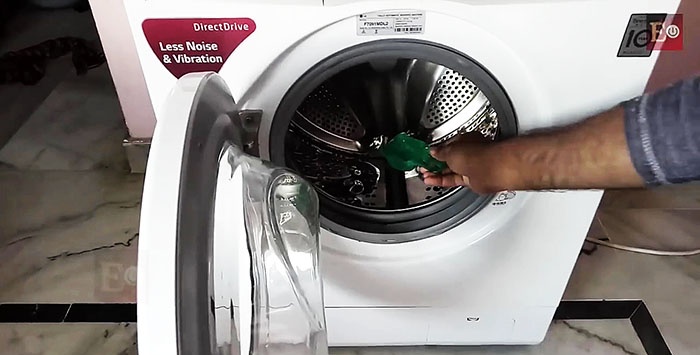
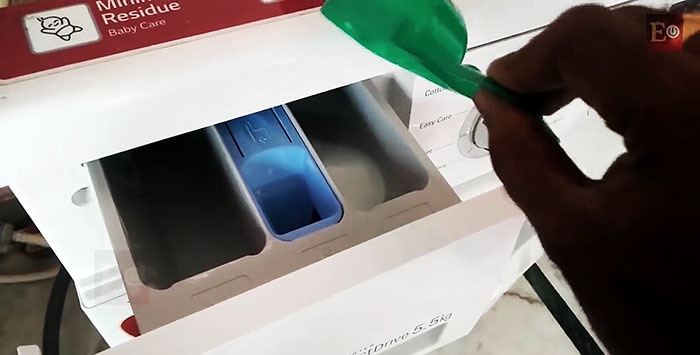
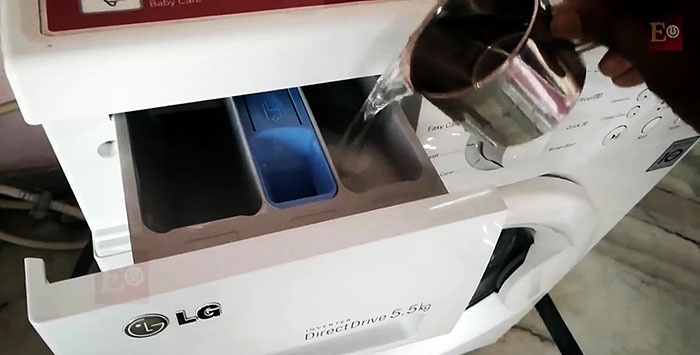
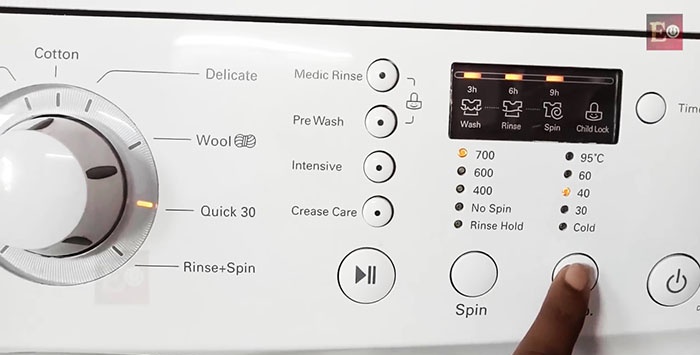
We set the Quik 30 mode (express wash), speed 700 and temperature 40.We start the machine and after the end of the cycle, wipe all parts with a dry cloth or paper napkin.
After such care, the washing machine will work better, more economically, and its service life will increase significantly, especially if the cleaning procedure is carried out regularly and efficiently.
Since even weakly concentrated vinegar or baking soda can damage the skin of your fingers, it is advisable to wear rubber gloves on your hands when cleaning the washing machine.
After finishing cleaning the machine, it is necessary to wipe all rubber, plastic and metal parts dry so that the remaining vinegar or soda does not damage the surface of the metal and plastic, and also does not damage the structure of the rubber parts.
The control panel should not be wiped with a wet cloth, but only with a slightly damp one, so as not to damage the electronics for controlling and monitoring the operation of the machine.
Moreover, the machine not only gets dirty, but in some of these places bacteria begin to multiply, fungal spores and mold appear, since extremely favorable conditions are created there for this: a humid environment and positive temperature, residues of detergents, air conditioner, organic contaminants from washed items, lint, threads, sand, etc.

All these unwanted new growths in the car emit unpleasant odors, which can spoil the mood and even the well-being of all family members for a long time, and pose a real danger to people’s health.
Therefore, it is necessary to regularly clean up the car at certain intervals, without much effort and with the help of simple cleaning products such as baking soda and vinegar. We may also need a sponge, toothbrush, cloth and paper napkins.
How to clean the washing machine
It is more logical to start cleaning this household appliance from the most contaminated place, which is the space under the sealing collar on the door of the washing unit.

If you twist it slightly, you can see mold, dirt deposits and even hard objects in the form of buttons, cufflinks, paper clips and other small items that may end up in the pockets of clothes that have been washed. Any solid objects found should be removed to prevent them from damaging the sealing collar.

Then you need to wet a soft cloth in a bowl with a weakly concentrated solution poured into it (50 ml of 9% vinegar with 1 liter of water), and thoroughly clean the space under the cuff, repeating this cleaning operation several times. At the end, the treated areas should be wiped with a dry cloth.


Next comes the loading tray for washing powder and rinse aid, as well as the niche into which it is inserted.

On most washing machines, this unit is located in the upper left corner of the machine.
After each wash, traces of settled washing powder and conditioner are visible on the tray and in the niche, and if you do not wipe them off for a long time, yellow and dark stains will be visible, which cannot be removed with water alone.
We pull out the tray by pressing the special button.


We disassemble it and clean it with a toothbrush dipped in table vinegar or soda solution, then with a rag soaked in some detergent.


We finish the procedure by rinsing the tray and its components under running water and wiping it dry.

We carry out the same procedure for the niche, using a cloth napkin.


All that remains is to install the tray in place.

Now we get down to cleaning the filter, the door of which on almost all washing machines is located at the bottom right.

We open the door, prepare dishes with low sides, for example, a frying pan, remove the plug from the drain tube, and drain the water from it. Then we put the plug in place and secure the tube into the standard clamp.

We unscrew the filter by rotating it counterclockwise, after placing a large rag under the filter. Small hard objects – buttons, pebbles, paper clips, etc. – may accumulate in the place where the filter is installed.

Wash the place where the filter is installed with a soft cloth soaked in vinegar or an aqueous solution of soda. Then wipe dry. The filter must also be washed with detergent and reinstalled.

Now unscrew the nut connecting the cold water supply hose located on the back panel of the washing machine.


Then we pull out the plastic mesh at the bottom, shake out the debris from it, wash it, wipe the fitting and install everything back in the reverse order.


All that remains is to wash the drum and the “insides” of the machine, including the heating element. To do this, pour two measuring containers of table vinegar into the drum, and one portion of baking soda and a little water into the loading tray compartment.


We set the Quik 30 mode (express wash), speed 700 and temperature 40.We start the machine and after the end of the cycle, wipe all parts with a dry cloth or paper napkin.

After such care, the washing machine will work better, more economically, and its service life will increase significantly, especially if the cleaning procedure is carried out regularly and efficiently.

Tips and notes
Since even weakly concentrated vinegar or baking soda can damage the skin of your fingers, it is advisable to wear rubber gloves on your hands when cleaning the washing machine.
After finishing cleaning the machine, it is necessary to wipe all rubber, plastic and metal parts dry so that the remaining vinegar or soda does not damage the surface of the metal and plastic, and also does not damage the structure of the rubber parts.
The control panel should not be wiped with a wet cloth, but only with a slightly damp one, so as not to damage the electronics for controlling and monitoring the operation of the machine.

Watch the video
Similar master classes
How to fix problems with powder flushing from a washing machine

How to permanently remove mold and mildew between tile joints
How to Clean the Oven Using Baking Soda and Vinegar
How to clean a car engine yourself
How to easily and affordably descale an electric kettle
Low water pressure? The coarse filter is clogged
Particularly interesting
Comments (5)


