Homemade engraver attachments
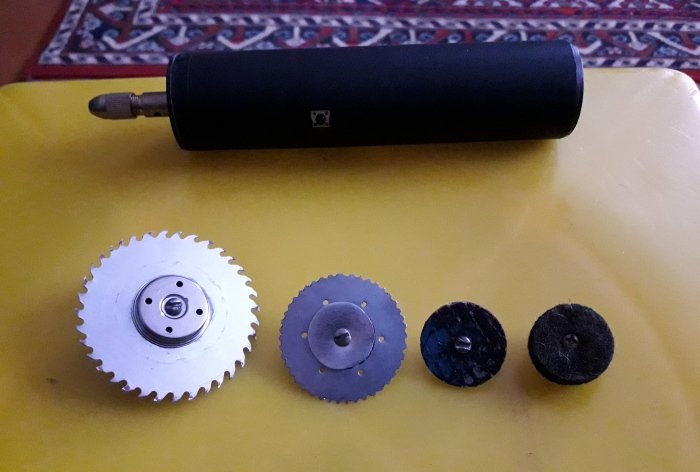
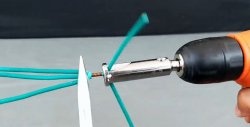
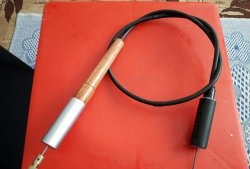
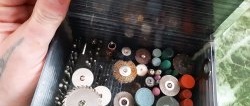
An engraver, or bur machine, is a very necessary and useful thing for those who like to carve wood, stone, metal, and so on. But the engraver is good for more than just carving. It can also be very helpful when assembling or repairing something miniature, in order to cut out the necessary part from metal or plastic that cannot be cut with scissors. You can also use it to polish minerals or just beautiful stones. There are a huge variety of attachments for an engraver: saw blades, grinding discs, stones of various grain sizes, brushes (both simple and metal), felt discs, various cutters for wood and glass, and also, of course, drills.
Buying such an expensive thing as an engraver is only half the battle (however, making it yourself is also not a tricky matter). During the entire period of use, it is also advisable to update and replenish existing stocks of drills, cutters and other attachments, which are also not cheap. In any case, they (for some reason!) cost more than consumables and attachments for the same standard-sized tool. But you don’t have to buy them all - some attachments can be made quite easily yourself.Of course, it is unlikely to be possible to make such complex tools as a wood cutter, drill or diamond gimlet for engraving on glass, but, for example, small saws for cutting wood and plastic, grinding and felt discs can be easily made with your own hands.
Even if you have no skills. I think that anyone can cut out the correct circle drawn with a compass on a workpiece with scissors. In addition, some consumables cannot be found in regular stores selling similar products. You have to order and wait a long time for them to arrive, and whether they will come at all... And even if they do come, it is not a fact that they will be of high quality and reliable. The sanding discs I recently received in the mail were so fragile that one of them broke with a little pressure... In general, if you want something done well, do it yourself! Today we will look at several options for making a more durable tool yourself.
You will need:
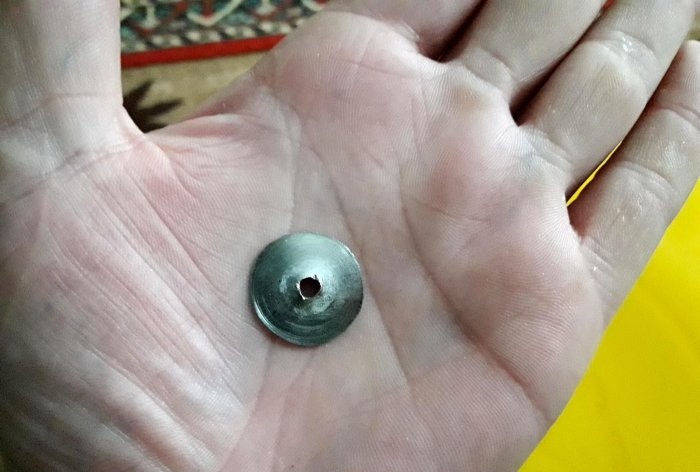
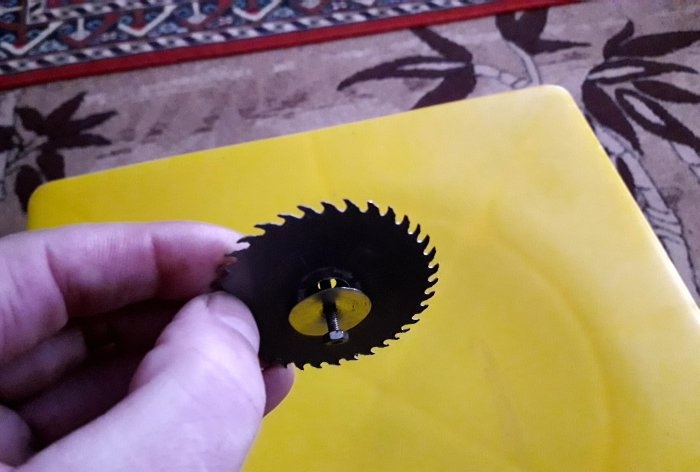
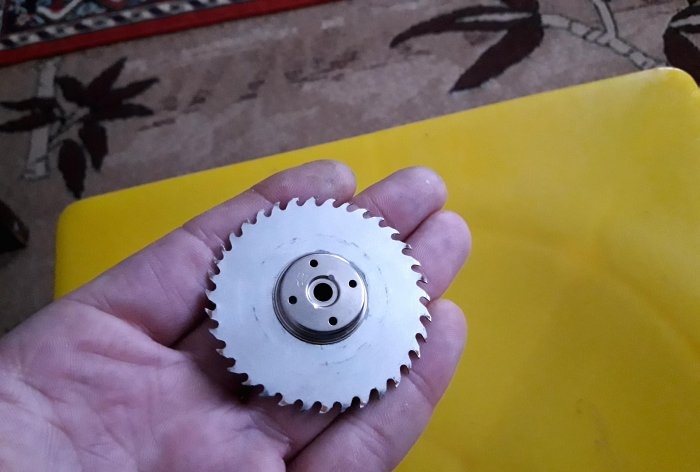
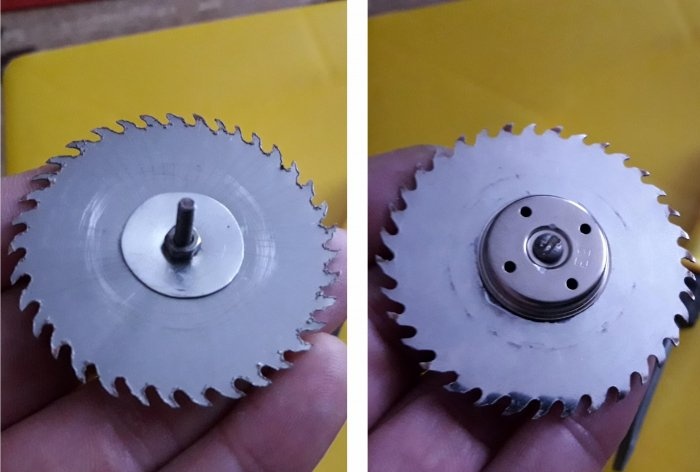
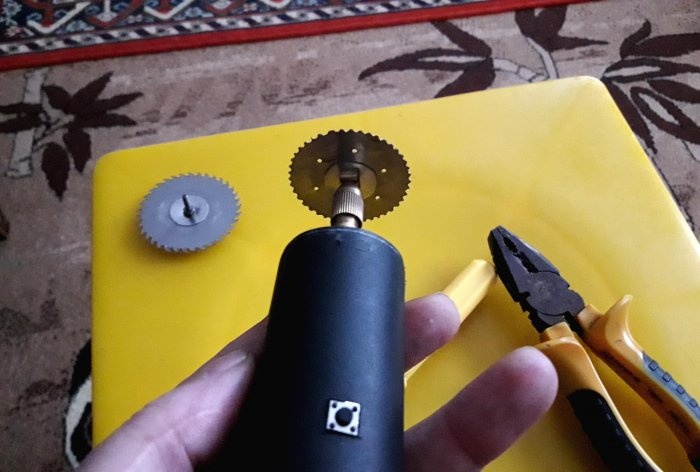
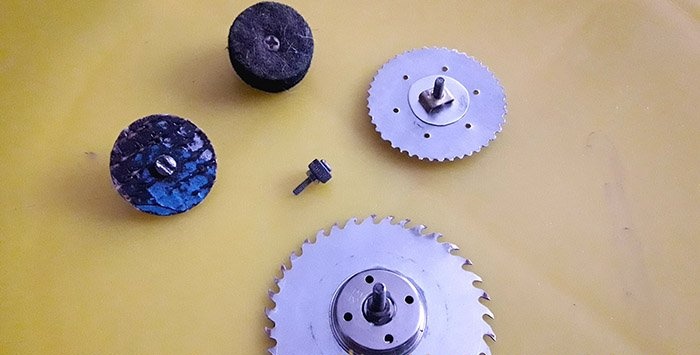
First you need to draw a circle on a sheet of metal with a diameter of 3-5 cm using a compass and a pencil. I had ready-made metal circles from a chandelier, only with a large hole in the center. In order to fit the hole under a small bolt, we cut out (or take ready-made ones, if available) two washers so that they cover the hole on the future saw blade.We make a hole in the center of each washer for a bolt, squeeze the disk hole on both sides with washers, align it in the center, and tighten it with a bolt and nut.
Next, you need to cut the teeth of the disk.
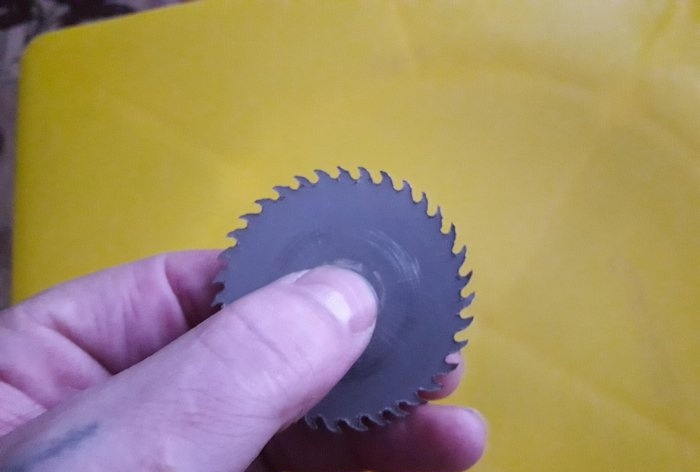
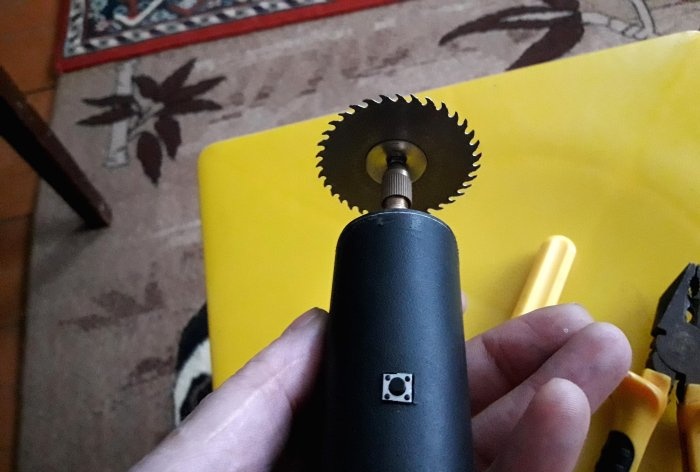
We make oblique cuts along the entire edge of the disk, 3-4 mm deep, and in increments of 2 mm. You can use it.
We do the disk for cutting plastic in exactly the same way, repeating the procedures described above, with the exception of sharpening the teeth. Here the cuts should be made at right angles, two mm deep, and also in increments of two mm.
The teeth should be short and wide. This disc can cut plastics of different densities, as well as plexiglass and textolites.
You will need:
Here, too, the production is not much different from the first two options. We also draw a circle of 3-5 cm using a compass.
But it’s probably better to cut the felt with a sharp knife, since it’s quite thick, and I crushed all my fingers with scissors. It is better to cut the grinding wheel either with metal scissors or on an emery machine with the same cutting wheel. Next, we make holes in the centers of the circles, and tighten them on both sides with bolts and nuts.
You will need:
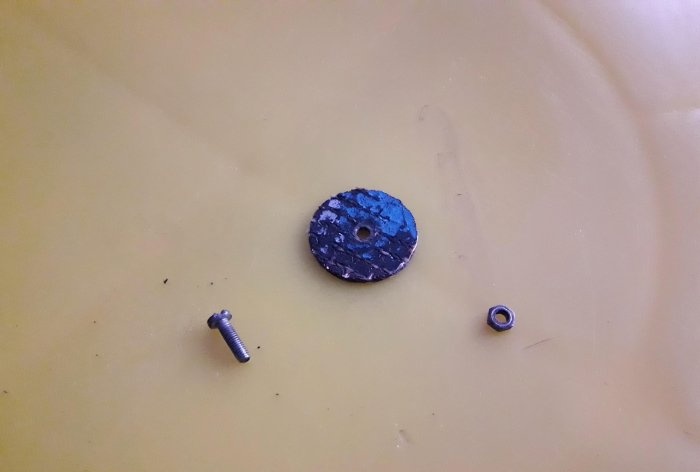
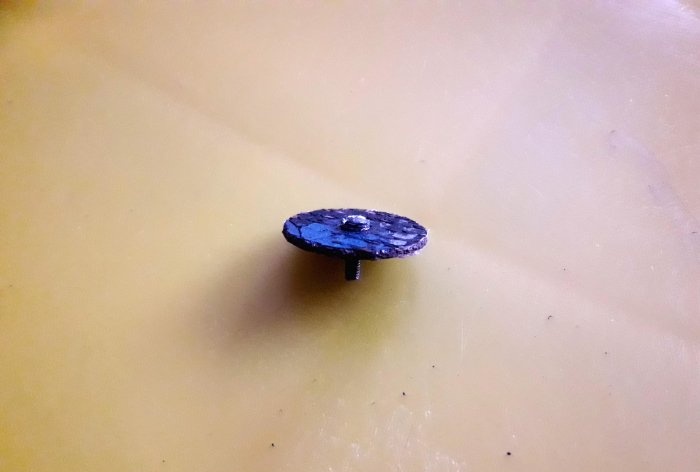
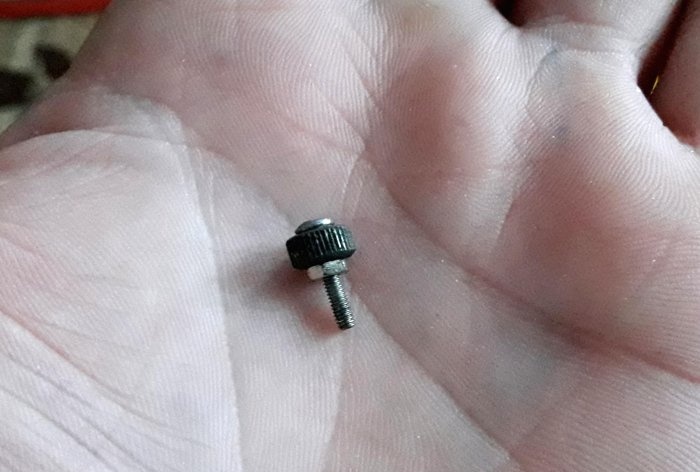
In this design, almost nothing needs to be done at all. Just thread the bolt through the wheel and tighten it with the nut on the other side. The simplest cutter is ready.It can make inscriptions and drawings on wood, plastic, and even aluminum and brass.
In general, there are many options, you just need to use your imagination and a little patience.

Buying such an expensive thing as an engraver is only half the battle (however, making it yourself is also not a tricky matter). During the entire period of use, it is also advisable to update and replenish existing stocks of drills, cutters and other attachments, which are also not cheap. In any case, they (for some reason!) cost more than consumables and attachments for the same standard-sized tool. But you don’t have to buy them all - some attachments can be made quite easily yourself.Of course, it is unlikely to be possible to make such complex tools as a wood cutter, drill or diamond gimlet for engraving on glass, but, for example, small saws for cutting wood and plastic, grinding and felt discs can be easily made with your own hands.
Even if you have no skills. I think that anyone can cut out the correct circle drawn with a compass on a workpiece with scissors. In addition, some consumables cannot be found in regular stores selling similar products. You have to order and wait a long time for them to arrive, and whether they will come at all... And even if they do come, it is not a fact that they will be of high quality and reliable. The sanding discs I recently received in the mail were so fragile that one of them broke with a little pressure... In general, if you want something done well, do it yourself! Today we will look at several options for making a more durable tool yourself.
Saw blades for wood and plastic
You will need:
- A metal circle, or piece of sheet metal, no more than a millimeter thick.
- Compass and pencil.
- Scissors.
- Drill and drill bits.
- Emery machine with cutting disc.
- A metal bolt and nut from a children's construction set, or from a prefabricated electrical plug.
First you need to draw a circle on a sheet of metal with a diameter of 3-5 cm using a compass and a pencil. I had ready-made metal circles from a chandelier, only with a large hole in the center. In order to fit the hole under a small bolt, we cut out (or take ready-made ones, if available) two washers so that they cover the hole on the future saw blade.We make a hole in the center of each washer for a bolt, squeeze the disk hole on both sides with washers, align it in the center, and tighten it with a bolt and nut.
Next, you need to cut the teeth of the disk.
We make oblique cuts along the entire edge of the disk, 3-4 mm deep, and in increments of 2 mm. You can use it.
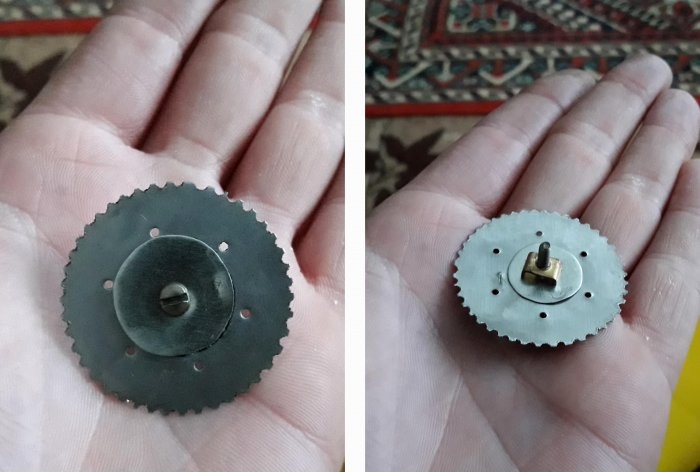
We do the disk for cutting plastic in exactly the same way, repeating the procedures described above, with the exception of sharpening the teeth. Here the cuts should be made at right angles, two mm deep, and also in increments of two mm.
The teeth should be short and wide. This disc can cut plastics of different densities, as well as plexiglass and textolites.
Sanding and felt discs
You will need:
- A thin grinding disc (can be used, or even a piece of debris, but not thicker than a millimeter).
- A piece of felt, 7-10 mm thick (from a felt boot - just right).
- Compass and pencil
- Knife.
- Metal scissors.
- Emery machine.
- Thin bolt with nut.
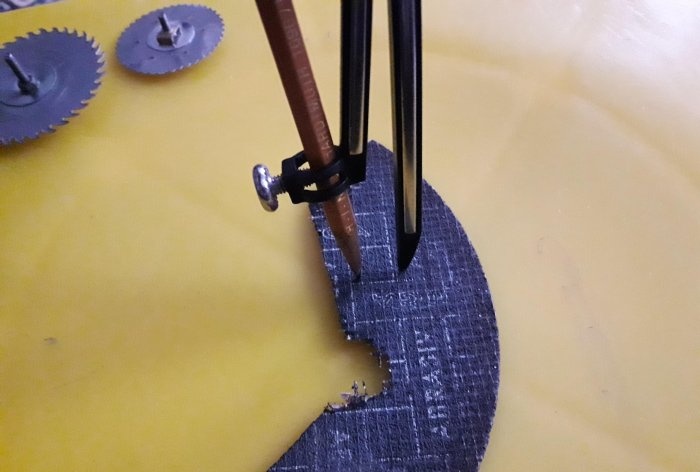
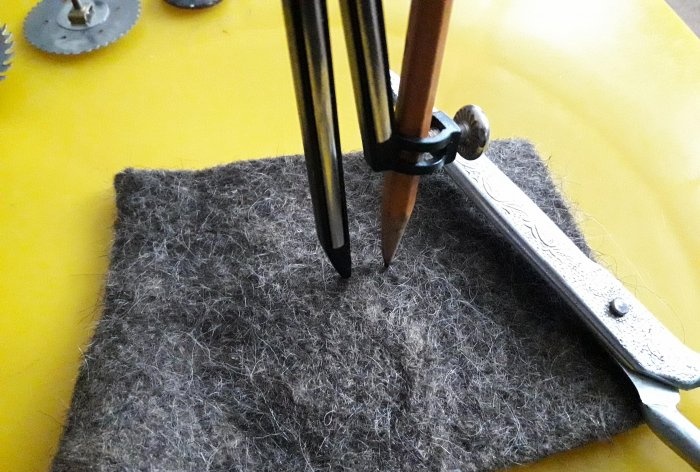
Here, too, the production is not much different from the first two options. We also draw a circle of 3-5 cm using a compass.
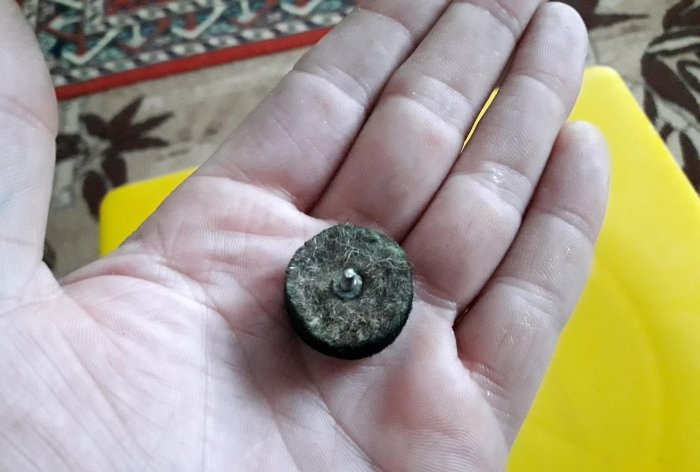
But it’s probably better to cut the felt with a sharp knife, since it’s quite thick, and I crushed all my fingers with scissors. It is better to cut the grinding wheel either with metal scissors or on an emery machine with the same cutting wheel. Next, we make holes in the centers of the circles, and tighten them on both sides with bolts and nuts.
Miniature engraving cutter
You will need:
- A lighter wheel that strikes a spark from a flint.
- A bolt that will fit into the wheel hole, and a nut for this bolt.
In this design, almost nothing needs to be done at all. Just thread the bolt through the wheel and tighten it with the nut on the other side. The simplest cutter is ready.It can make inscriptions and drawings on wood, plastic, and even aluminum and brass.
In general, there are many options, you just need to use your imagination and a little patience.
Watch the video
Similar master classes
Particularly interesting
Comments (3)

