How to easily make a precise cut in a pipe
When making various homemade products, sometimes it becomes necessary to drill round pipes. It is quite difficult to perform such an operation using conventional twist drills, since this will require painstaking preliminary preparation. How to get out of this situation?
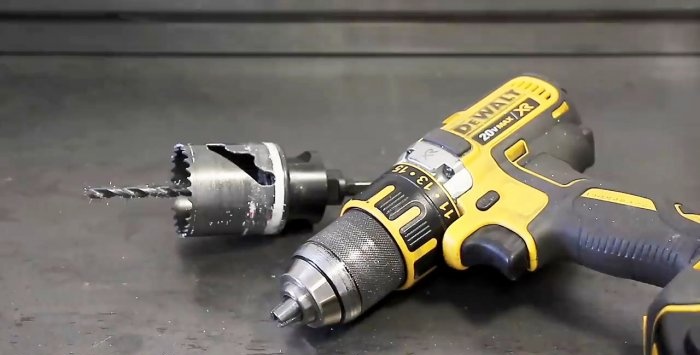
If you have an annular cutter of suitable diameter (another name for a core, hollow or annular drill), then working with curved surfaces, in particular cylindrical ones, becomes much easier and more productive.
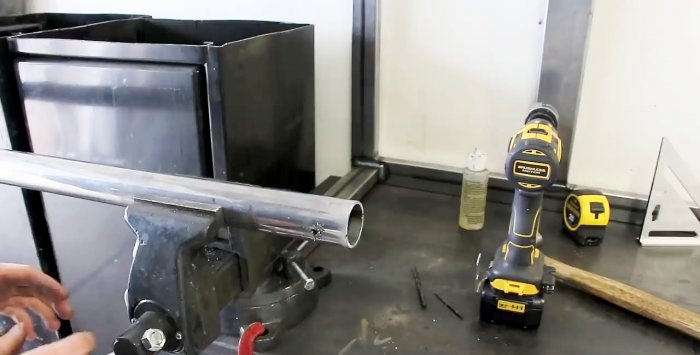
We will also need a tool drive, such as a drill, several regular twist drills of different diameters, and a means to cool the bit while working. This could be a special cutting fluid, suitable machine oil, or, say, WD-40 universal lubricant.
Drilling the pipe surface must be directed strictly along the diameter, otherwise it will be impossible to achieve a positive final result.
1.Using a marker, we mark at the end of the pipe where the diameter intersects with the walls of the product (there are many methods and devices for this).
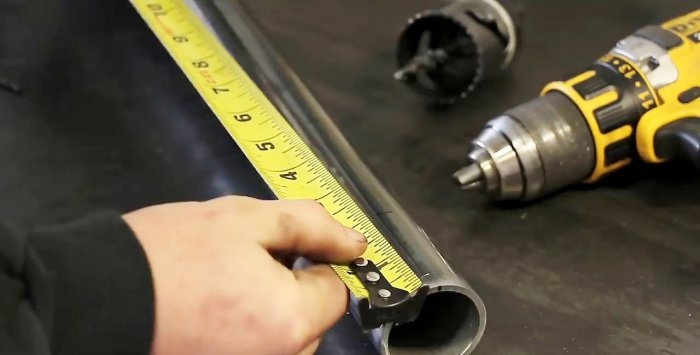
2. Install the pipe so that one of the marks is strictly on top. Using a tape measure, measure the required distance from it along the generatrix and mark it with a marker.
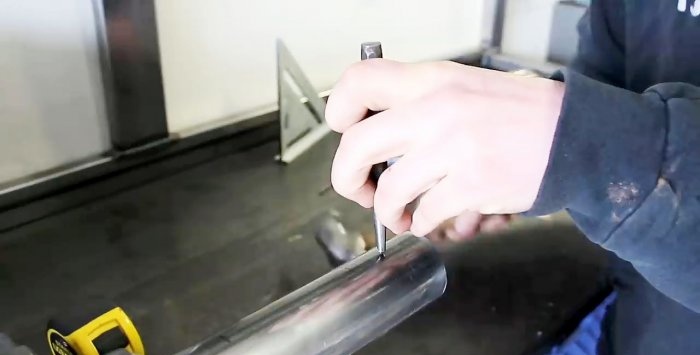
3. We clamp the pipe in a bench vice and hammer the marked point using a core and a hammer.
4. Turn the pipe over in the vice to the reverse side, mark the point opposite to the first, and also mark it.
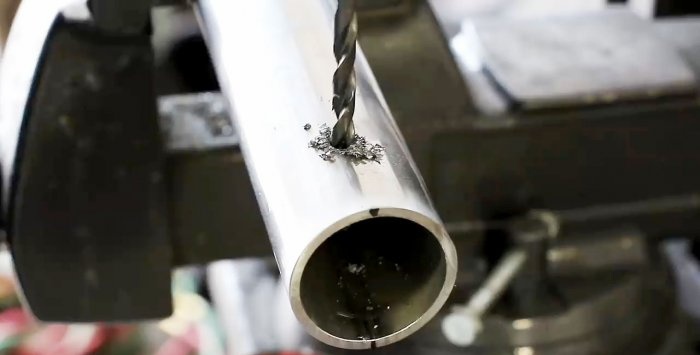
5. Using a thin drill and a drill, drill holes at the two designated points of the pipe.
6. Next, we drill them through with a drill of a larger diameter in one pass, since there is an upper guide and a lower centering hole.
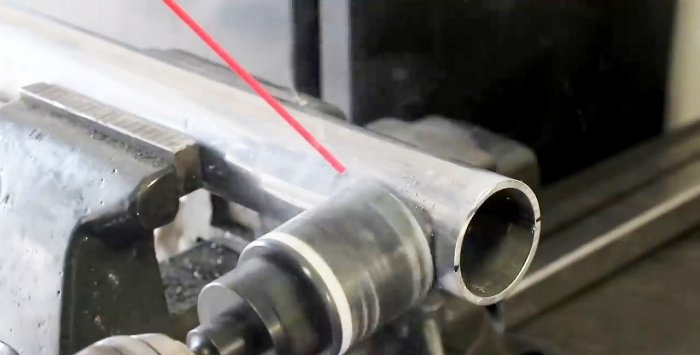
7. Having replaced the twist drill in the drill chuck with a crown with a centering drill, turn the pipe in a vice 90 degrees so that the guide holes are horizontal. This will allow you to apply more force when working with the crown.
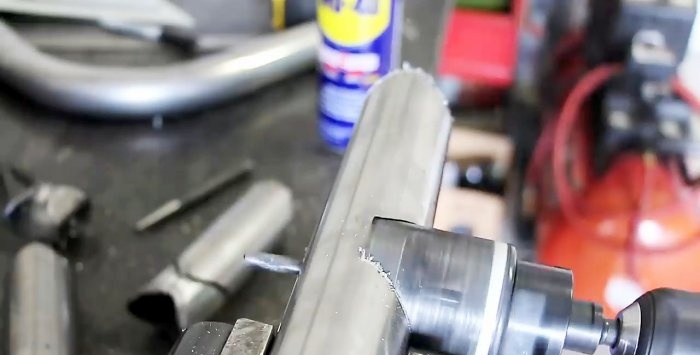
8. Since the annular drill gets very hot during operation, to cool it and facilitate the process, generously lubricate the working teeth and the adjacent cup belt in a circle with universal lubricant WD-40.
9. We insert the centering drill of the crown into the hole prepared in advance in the pipe and begin the process, adding grease to the crown from time to time.
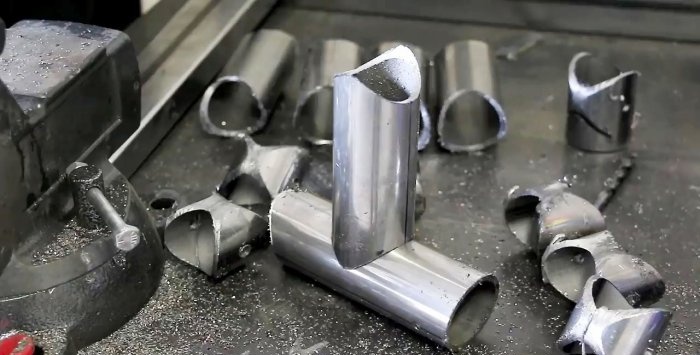
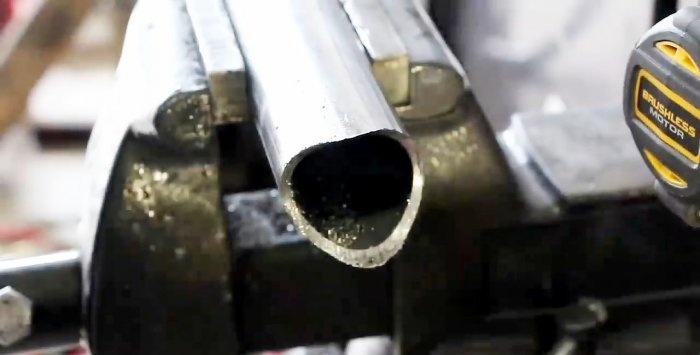
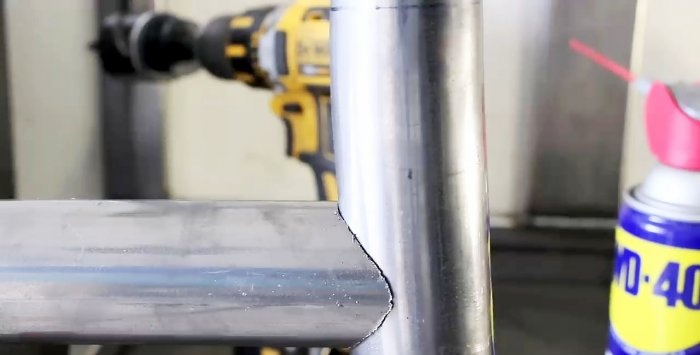
10. After the crown comes out from the opposite side of the pipe, we get a cutout, which in configuration must exactly match the pipe of the same diameter, which is confirmed by the corresponding check.
eleven.If several pipes of equal length with shaped cutouts at the ends are required, then we drill centering holes in the pipe blank at an equal distance from each other, and one by one, using a core drill, we obtain the required blanks.
We remind you that the outer diameter of the annular drill and the pipe being processed must be strictly the same.
Will need
If you have an annular cutter of suitable diameter (another name for a core, hollow or annular drill), then working with curved surfaces, in particular cylindrical ones, becomes much easier and more productive.
We will also need a tool drive, such as a drill, several regular twist drills of different diameters, and a means to cool the bit while working. This could be a special cutting fluid, suitable machine oil, or, say, WD-40 universal lubricant.
Algorithm for the drilling process using a crown
Drilling the pipe surface must be directed strictly along the diameter, otherwise it will be impossible to achieve a positive final result.
1.Using a marker, we mark at the end of the pipe where the diameter intersects with the walls of the product (there are many methods and devices for this).
2. Install the pipe so that one of the marks is strictly on top. Using a tape measure, measure the required distance from it along the generatrix and mark it with a marker.
3. We clamp the pipe in a bench vice and hammer the marked point using a core and a hammer.
4. Turn the pipe over in the vice to the reverse side, mark the point opposite to the first, and also mark it.
5. Using a thin drill and a drill, drill holes at the two designated points of the pipe.
6. Next, we drill them through with a drill of a larger diameter in one pass, since there is an upper guide and a lower centering hole.
7. Having replaced the twist drill in the drill chuck with a crown with a centering drill, turn the pipe in a vice 90 degrees so that the guide holes are horizontal. This will allow you to apply more force when working with the crown.
8. Since the annular drill gets very hot during operation, to cool it and facilitate the process, generously lubricate the working teeth and the adjacent cup belt in a circle with universal lubricant WD-40.
9. We insert the centering drill of the crown into the hole prepared in advance in the pipe and begin the process, adding grease to the crown from time to time.
10. After the crown comes out from the opposite side of the pipe, we get a cutout, which in configuration must exactly match the pipe of the same diameter, which is confirmed by the corresponding check.
eleven.If several pipes of equal length with shaped cutouts at the ends are required, then we drill centering holes in the pipe blank at an equal distance from each other, and one by one, using a core drill, we obtain the required blanks.
For reference
We remind you that the outer diameter of the annular drill and the pipe being processed must be strictly the same.
Watch the video
Similar master classes
Particularly interesting
Comments (2)

