A quick and 100% way to eliminate a leaking toilet cistern
Each of us has encountered an unpleasant situation - the tank is filled with water, the float is raised to the top position, and the water is constantly leaking a little. There is a radical option - to completely replace the entire mechanism, but this is expensive and time-consuming. In addition, it is very difficult to find suitable elements for old models of tanks. You can do the repairs yourself and you don’t have to buy any spare parts.
Required Tools
For repairs you only need a utility knife and a small screwdriver.
Leak repair technology
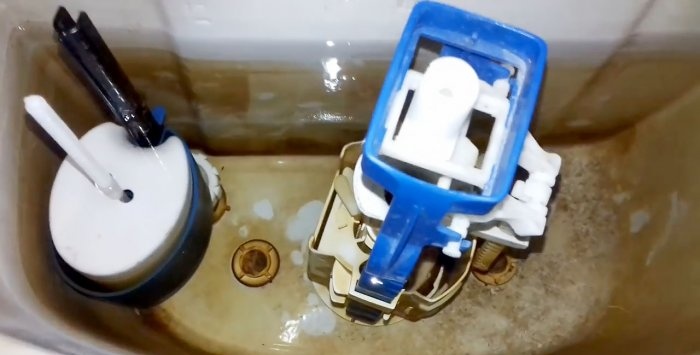
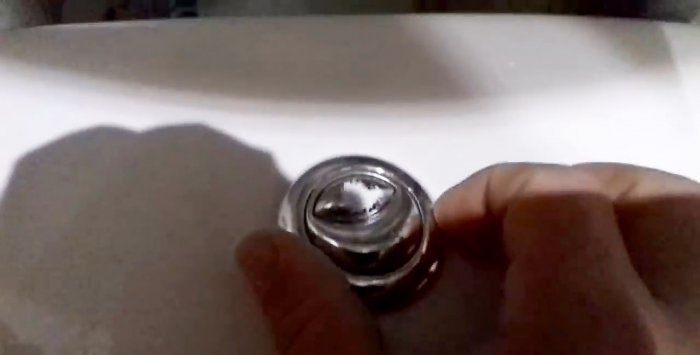
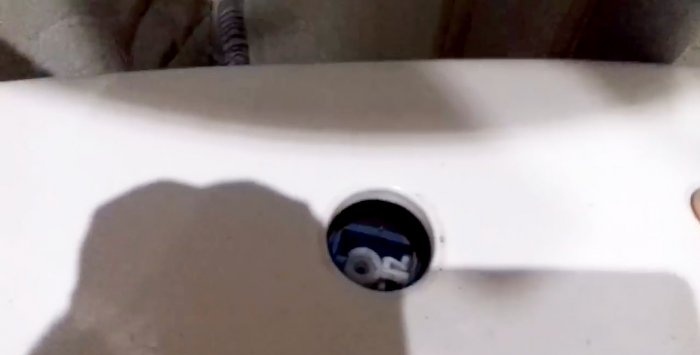
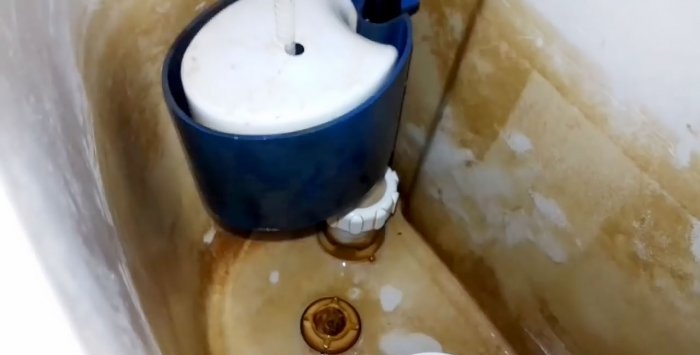
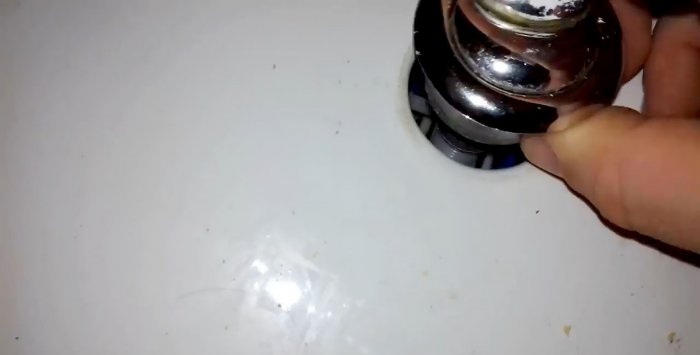
First you need to find out the reason for the water leak. Unscrew the drain button and remove the lid.
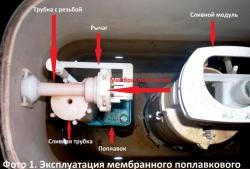
The button is easily unscrewed by hand, the thread is an ordinary right-hand one. There are two mechanisms inside: water drainage and a shut-off valve with an adjustable float.
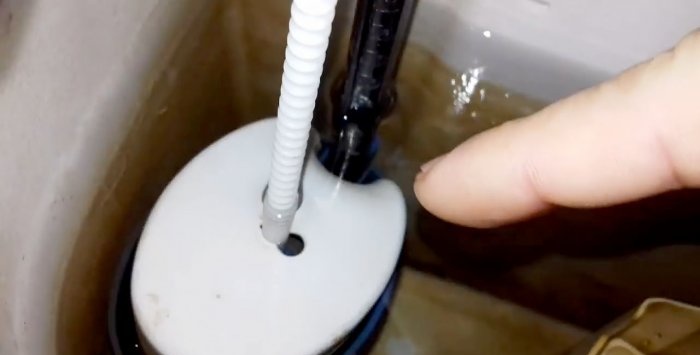
If the water level is slightly above the overflow tube, and the water is above the top surface of the float, then this indicates a malfunction of the inlet (shut-off) valve. If it is lower, then the leak is due to problems with the drain valve.
How to eliminate both causes of leakage?
Drain valve repair
It fails for two reasons: critical deformation of the rubber cuff or solid dirt particles getting between the rubber and the saddle.
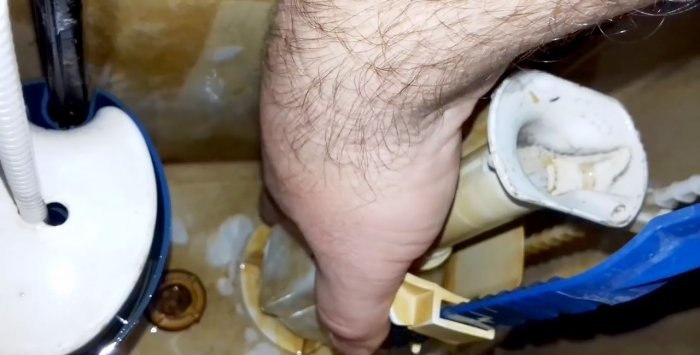
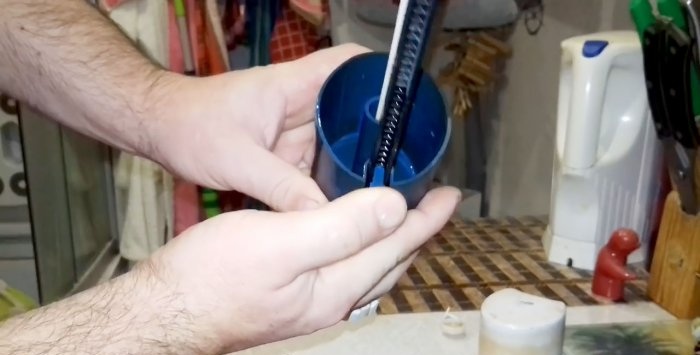
Drain the water and close the water supply valve to the tank. Remove the drainage device; it is housed in a plastic case and can be removed as an assembly by turning it counterclockwise. The release of the clamp is accompanied by a characteristic click, after which remove the mechanism.
Inspect the condition of the rubber O-ring. Most often, due to prolonged loads, the cuff becomes deformed and does not fit tightly to the valve seat. There is also a coating on the surface from water, adhesion of solid particles.
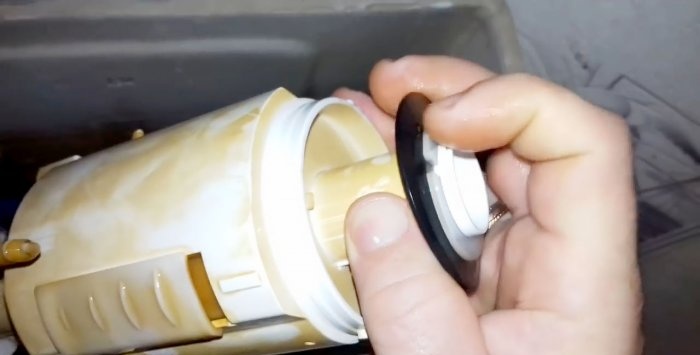
Remove the plastic lock washer, it has a technological slot, unclench it, the diameter will increase and the part will be removed from the tube.
Take out the rubber ring, rinse it well, turn it 180 degrees and put it back in place. Be sure to clean the valve seat as well. Work carefully, the parts are delicate and may be scratched or otherwise subject to mechanical damage. Secure the drainage device; insert the antennae into the recesses and turn the housing clockwise until it clicks. The tank is ready for use.
Inlet valve repair
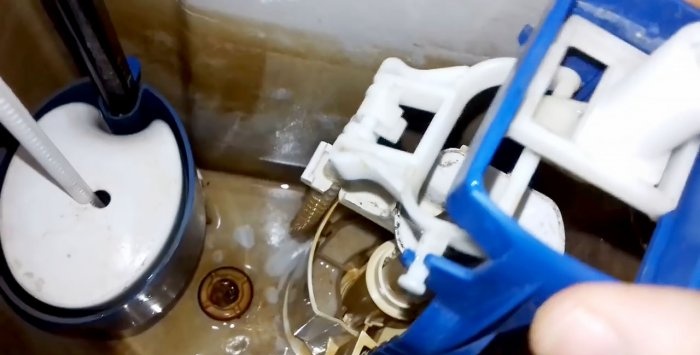
The technology is a little more complicated due to the need to completely disassemble the mechanism. The water supply can be top or bottom; this does not have a big impact on the repair process - the principle of operation of the mechanisms is no different. Most often, a specific protrusion appears on the elastic band at the point of contact with the water inlet hole. It clings to the edges and does not allow hermetically shutting off the water supply when the tank is full.
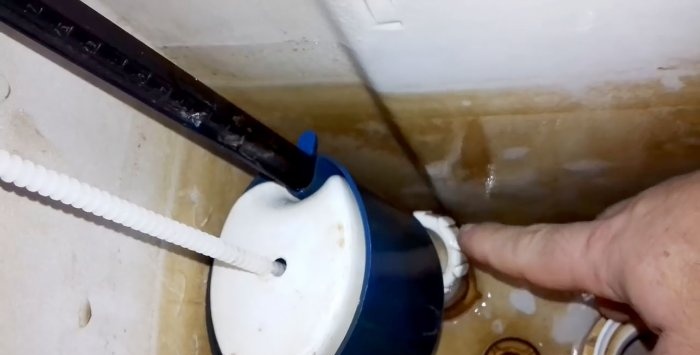
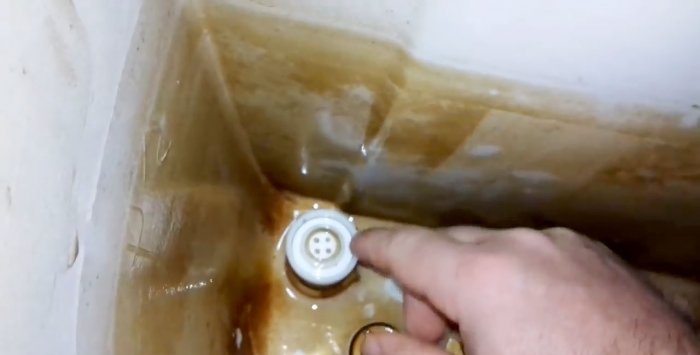
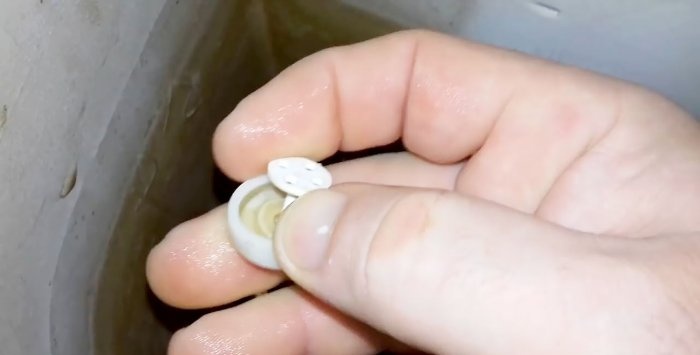
Unscrew the lower fixing nut and remove the device.A silicone membrane is installed under it; a plastic valve with holes lies on it; it cuts the stream of water and distributes it evenly along the inner diameter.
The mechanism is used to improve the reliable functioning of the shut-off valve, but it is not the cause of leakage. To ensure this, it is recommended to rinse the membrane from contamination.
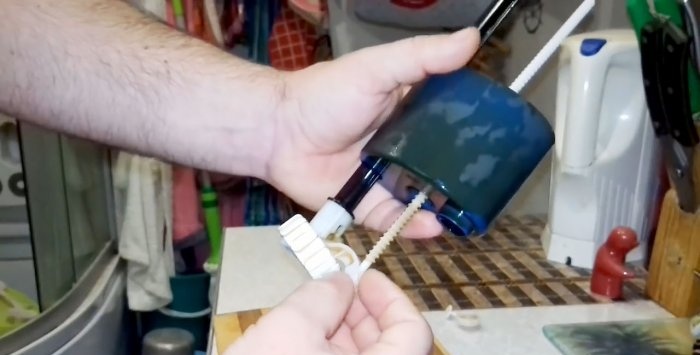
Begin to disassemble the shut-off valve device. Unclip and remove the float from the housing.
Remove the float body - move the fixing tab and remove the element up along the gear axis.
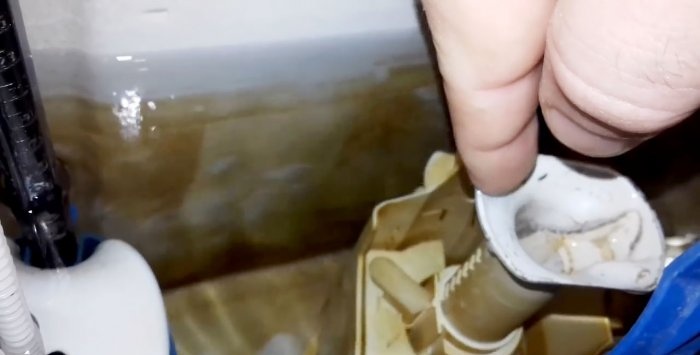
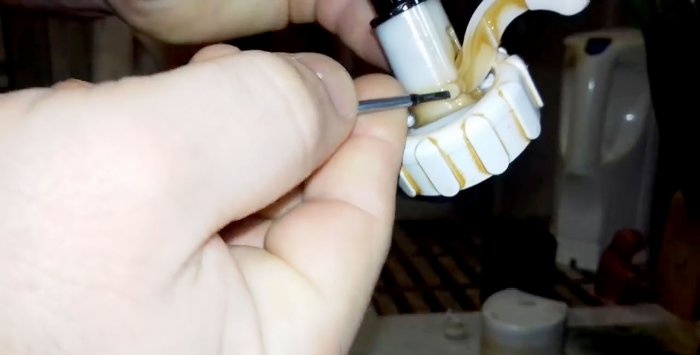
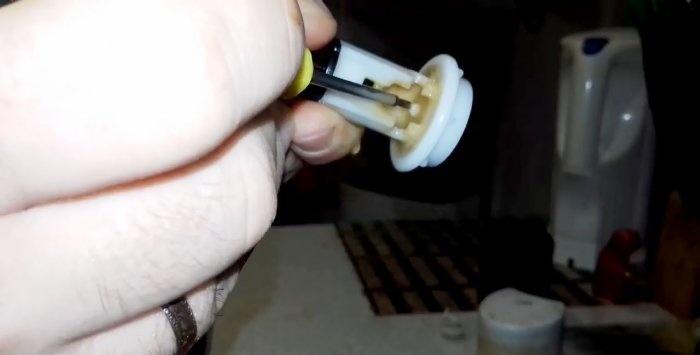
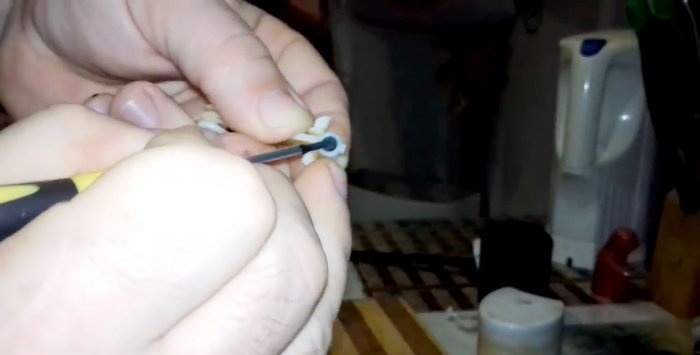
Disassemble the installation location of the water shut-off valve. To do this, use a small screwdriver to press the fixation axis first on one side, then on the other, it should come out of the holes. Remove the valve drive lever.
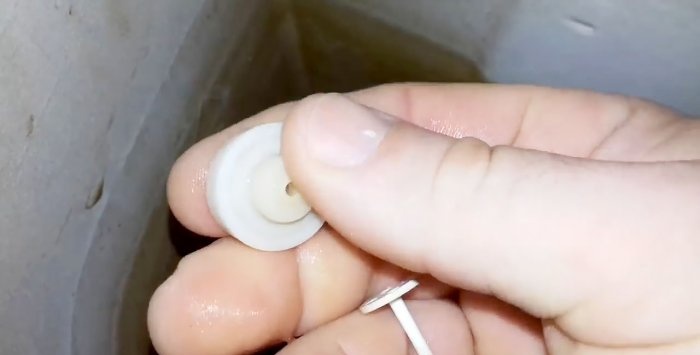
The lever has a rubber gasket that covers the inlet hole. Pay attention to her standing. As mentioned above, during operation the valve sags and is squeezed into the hole.
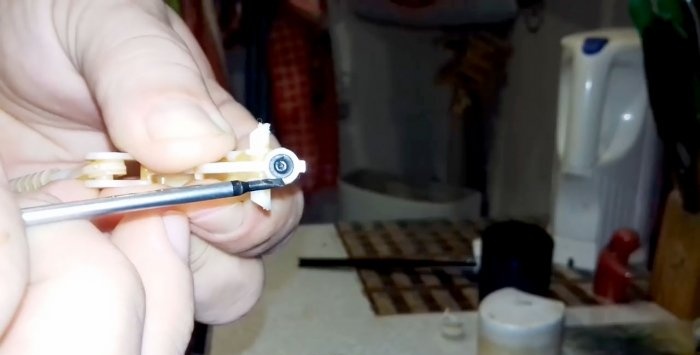
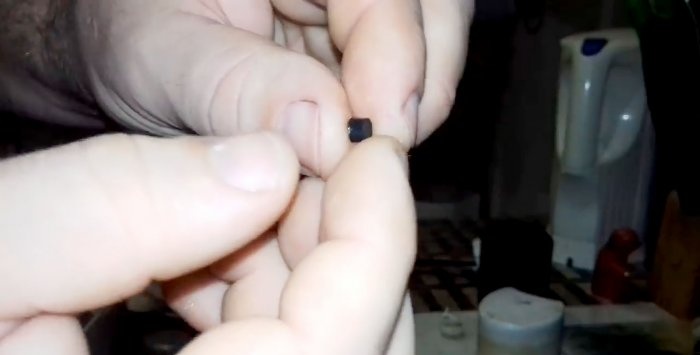
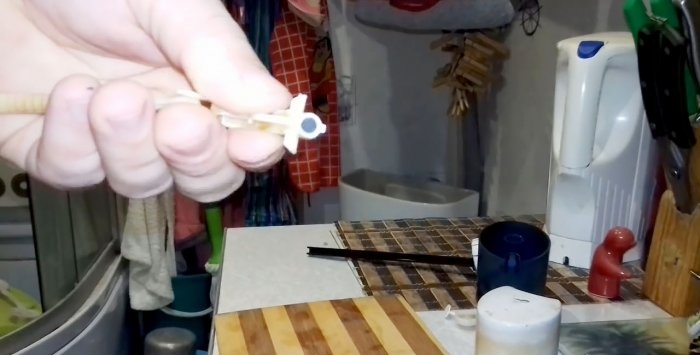
Using a screwdriver, needle or the tip of a knife, carefully remove the rubber band from the socket. If the mechanism is being repaired for the first time, then it is enough to turn it the other way and insert it into place.
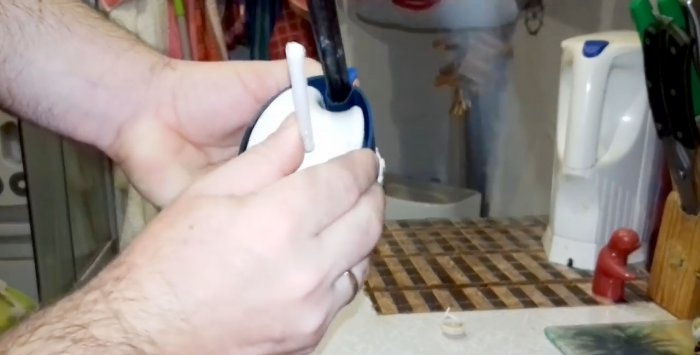
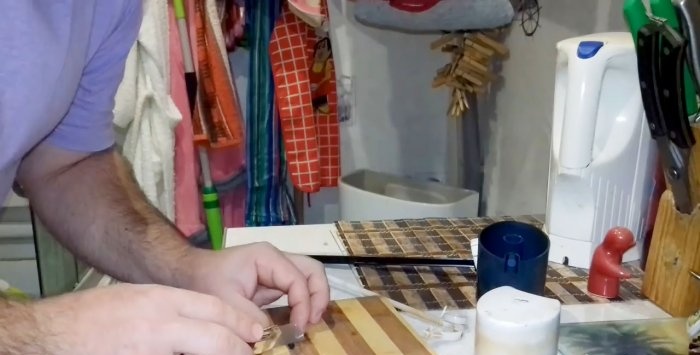
If this method has already been used, then you need to cut it in half. This must be done using a stationery knife. Place the valve on a flat piece of wood and cut it into two even pieces. It is very important to keep the knife blade strictly perpendicular to the axis; the tightness of the closure depends on the fulfillment of this condition.
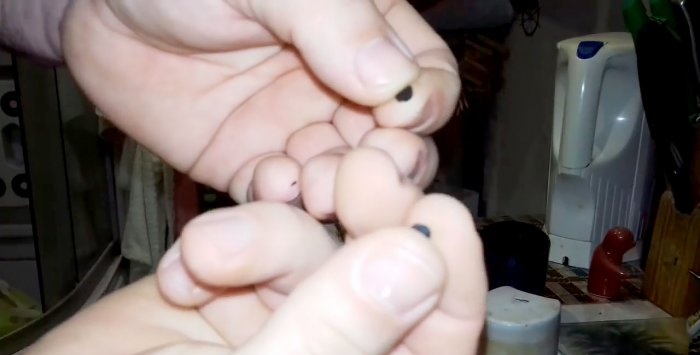
Place both halves in the nest, the second should be facing up with an even cut, it will close the water supply.
Reassemble the valve in reverse order and check the lever travel. Put on the adjusting body and insert the float into it.
Adjust the filling level of the tank; when closing, the valve should rise above the body by about one centimeter; in this position, latch the locking mechanism.
Screw the device into the tank, check again and, if necessary, adjust the stroke more precisely; the water level depends on it.
Replace the drain valve body. Turn on the water supply and check the functionality of the tank. Everything is normal - close the lid and tighten the drain button.
Flush the water several times and make sure there are no more leaks.
Conclusion
At first there may be a slight leak, but it will soon stop and the valve will find its place. If you were unable to cut the elastic evenly, then the surfaces can be adjusted using fine sandpaper. At the first opportunity, it is recommended to buy a repair kit for the drain tank of your model in a specialized store; you already know what it looks like.
Watch the video
Similar master classes
Particularly interesting

How to install a socket if there are short wires left

How to eliminate gaps between the chimney and slate

How to mix an ultra-reliable solution for the oven that does not give

There will be no more cracks: What to add to concrete to make it

Never buy ball valves without checking with me

New technology for floor insulation with penoplex
Comments (3)

