How to restore a car wheel if damaged by a curb
Curbs pose a serious danger to car rims. Light alloy products suffer especially badly from them. If a crack or crease occurs, you must contact a specialist.
Defects in the form of scratches, abrasions and shallow local dents can be removed independently, without even removing the wheels from the car and at the same time significantly saving the family budget.
For work you need the following materials, devices and tools:
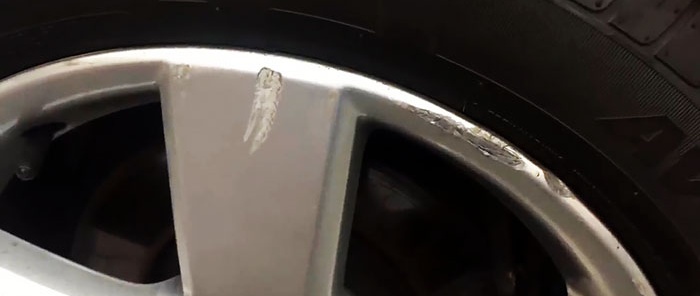
Inspection of the cleaned disc shows that two spokes and the rim between them are damaged. They spoil the appearance, but what’s even worse is that the disk will quickly begin to deteriorate and may become unfit for further use.
We start by sanding the damaged areas with coarse-grained P80 sandpaper.We grind vigorously to smooth out sharp edges, but carefully to avoid noticeable disruption of the three-dimensional shape of the processing areas.
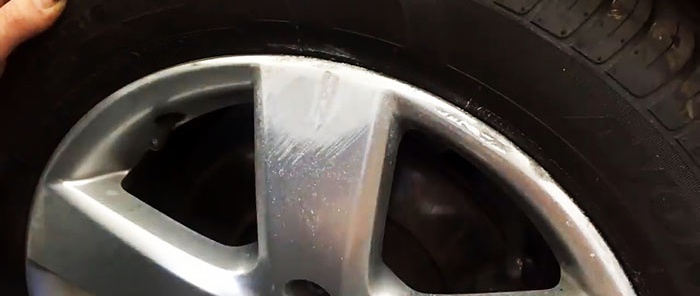
After sanding, you can see that there are recesses that need to be hidden. To do this, we use finishing putty, for example, the “U-Pol Top-Stop” type, which we apply with a plastic spatula. Let the putty dry for 30 minutes.
We check the degree of hardening of the putty by trying to leave a mark on it with a fingernail. If this cannot be done, then it is ready for further processing.
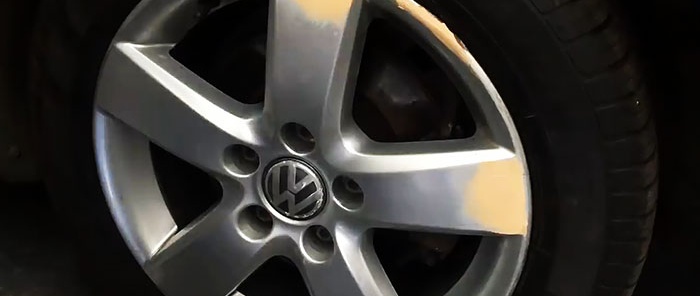
First, we sand the putty with P80 sandpaper, and finish with P180 sandpaper. After this operation, there should be no protrusions or depressions in the damaged areas, and the putty layer should follow the three-dimensional shape of the disc and smoothly move to the undamaged areas.
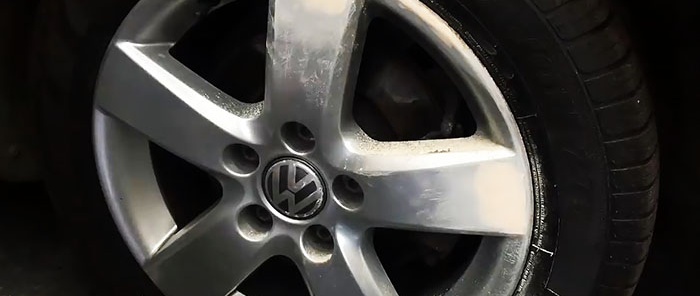
Before painting, remove shine from the disc using Scotch-Brite, which is a non-woven abrasive material. We complete this operation by wiping the disk with paper napkins.
To prevent the paint from getting where it is not needed, remove the cap with the emblem of the car brand from the hole in the hub by prying it off with a thin screwdriver. We seal the sockets of the bolts securing the wheel to the hub and the chamber valve with pieces of tape. Cover the brake disc with pads with plastic wrap. We protect the tire with pieces of cardboard, inserting them into the gap between the tire and the disk.
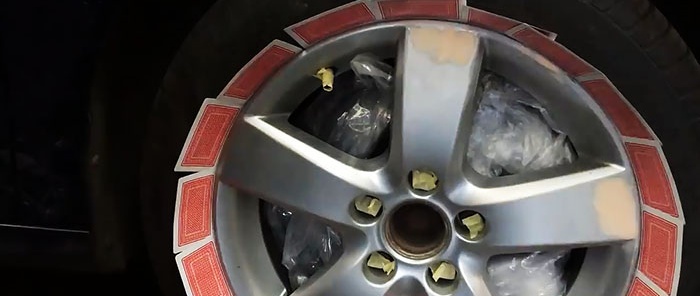
To paint, we use a can of aerosol paint, which we apply evenly over the entire surface of the disc. Give 10 minutes for the paint to dry. Then apply a second coat of paint. Let stand for 30 minutes.
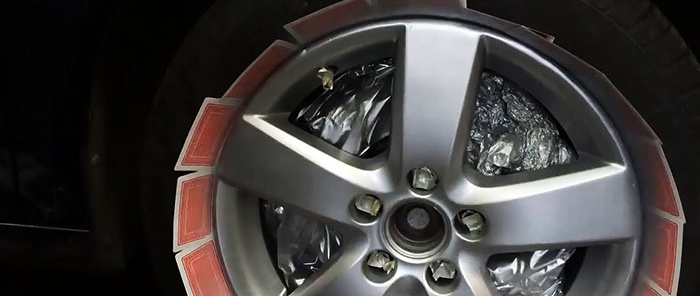
If after this, any defects are noticeable on the disc, then we treat the surface with fine-grained sandpaper and apply a layer of paint again.After it has dried, cover the disc with colorless varnish and also wait for it to dry.
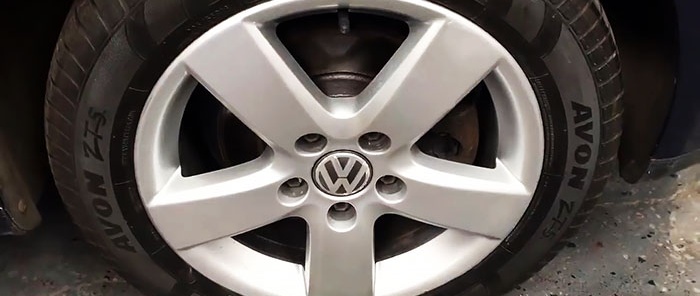
After this, you can remove all protective materials, replace the hub cap and make sure that the disc is as good as new.
Defects in the form of scratches, abrasions and shallow local dents can be removed independently, without even removing the wheels from the car and at the same time significantly saving the family budget.

Will need
For work you need the following materials, devices and tools:
- finishing putty;
- a can of aerosol paint;
- plastic spatula;
- sandpaper P80 and P180;
- non-woven abrasive material (Scotch-Brite);
- paper napkins;
- thin screwdriver;
- construction tape and plastic film;
- pieces of cardboard.
The process of repairing a disk damaged by a curb
Inspection of the cleaned disc shows that two spokes and the rim between them are damaged. They spoil the appearance, but what’s even worse is that the disk will quickly begin to deteriorate and may become unfit for further use.
We start by sanding the damaged areas with coarse-grained P80 sandpaper.We grind vigorously to smooth out sharp edges, but carefully to avoid noticeable disruption of the three-dimensional shape of the processing areas.

After sanding, you can see that there are recesses that need to be hidden. To do this, we use finishing putty, for example, the “U-Pol Top-Stop” type, which we apply with a plastic spatula. Let the putty dry for 30 minutes.
We check the degree of hardening of the putty by trying to leave a mark on it with a fingernail. If this cannot be done, then it is ready for further processing.

First, we sand the putty with P80 sandpaper, and finish with P180 sandpaper. After this operation, there should be no protrusions or depressions in the damaged areas, and the putty layer should follow the three-dimensional shape of the disc and smoothly move to the undamaged areas.

Before painting, remove shine from the disc using Scotch-Brite, which is a non-woven abrasive material. We complete this operation by wiping the disk with paper napkins.
To prevent the paint from getting where it is not needed, remove the cap with the emblem of the car brand from the hole in the hub by prying it off with a thin screwdriver. We seal the sockets of the bolts securing the wheel to the hub and the chamber valve with pieces of tape. Cover the brake disc with pads with plastic wrap. We protect the tire with pieces of cardboard, inserting them into the gap between the tire and the disk.

To paint, we use a can of aerosol paint, which we apply evenly over the entire surface of the disc. Give 10 minutes for the paint to dry. Then apply a second coat of paint. Let stand for 30 minutes.

If after this, any defects are noticeable on the disc, then we treat the surface with fine-grained sandpaper and apply a layer of paint again.After it has dried, cover the disc with colorless varnish and also wait for it to dry.
After this, you can remove all protective materials, replace the hub cap and make sure that the disc is as good as new.

Watch the video
Similar master classes
How to make a self-ejector for a car from a regular disk
How to permanently remove mold and mildew between tile joints

Nut to protect the disc from jamming in an angle grinder
DIY garden hose reel from a car wheel
How to easily unscrew the nut of an angle grinder if the disc is jammed
Mosaic picture from disks "Pigeons"
Particularly interesting
Comments (0)


