How to make a snow shovel from PVC pipe that will be stronger than a store-bought one
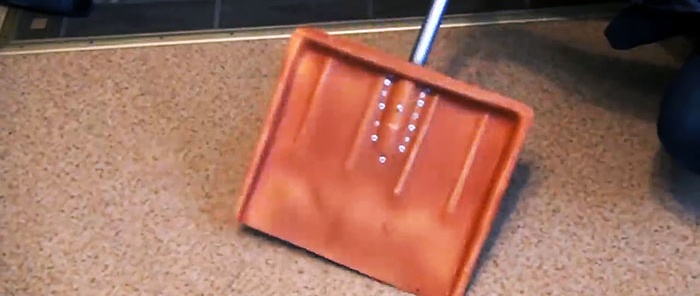
It is very convenient to use a plastic shovel to remove snow because it is lightweight and the snow does not stick to it. However, it is almost impossible to find a high-quality tool in a store that would serve well for at least a couple of seasons. But there is a way out, if you have the desire, it is quite possible to make a light, hard and durable shovel with your own hands, which will not wear out and sag under load.
To hot mold a shovel, you need to make a wooden mold. This is the most labor-intensive process. A furniture panel measuring 46x46 cm is twisted or glued from the slats. In the front part it needs to be sharpened, making it look like the nose of a shovel.
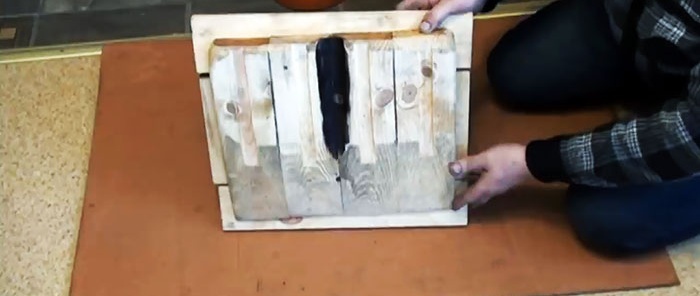
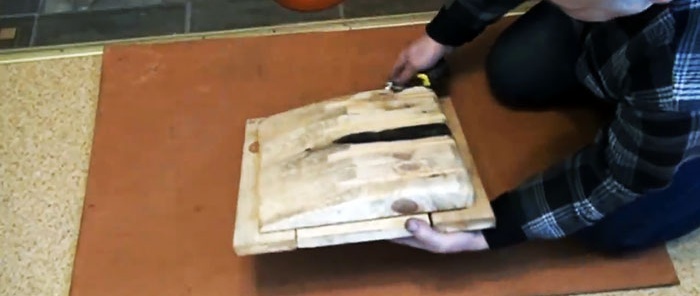
In the absence of a specialized tool, you can cut the slats obliquely separately at the stage of gluing the shield, and then straighten the slats with a plane already in the shield. The ends of the mold are chamfered.You also need to cut 4 longitudinal spikes on it, which will form stiffening ribs. Instead of cutting tenons, you can simply stuff 4 thin slats on top. A rounded groove is made in the center of the form to tightly fix the handle. To round it, you can heat a steel blank red-hot and burn out the wood, having previously made a selection in place with a chisel. A board edging is placed around the perimeter of the form.
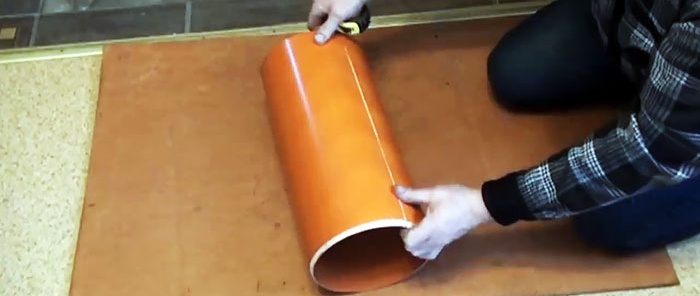
A 40 cm piece is cut from the sewer pipe. A longitudinal cut is made along it. The material is perfectly cut with a grinder, and it does not melt, of course, if a good pipe with a wall thickness of 4 mm is used.
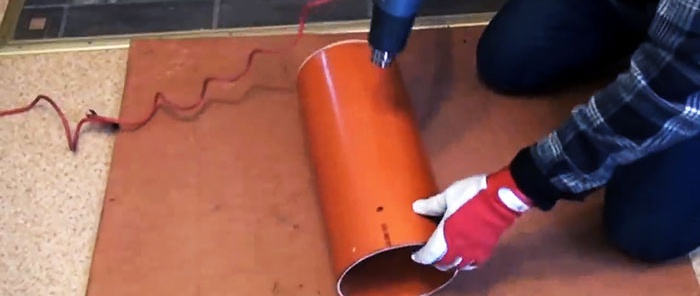
Next, you need to turn on the hair dryer to maximum and evenly heat the workpiece from the inside. To avoid getting burned, it is better to work in two pairs of thick gloves.
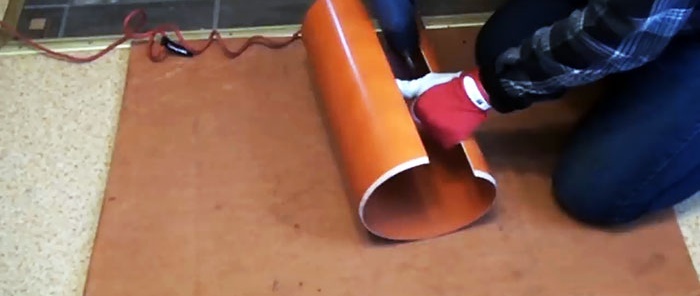
As the pipe warms up, it will begin to straighten. You need to give it a flat shape.
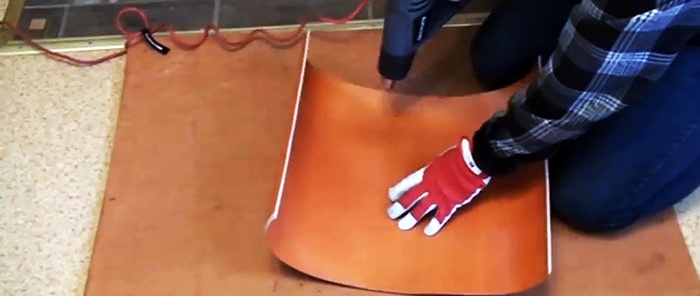
To do this, the softened material can be pressed down on top until it cools with a piece of plywood, a door or a shelf from an old furniture. When blowing with a hairdryer, you should not linger in one place, as bubbles and burnt areas will appear on the overheated plastic.
Then the flat blank is screwed with several self-tapping screws to the edging of the front part of the mold.
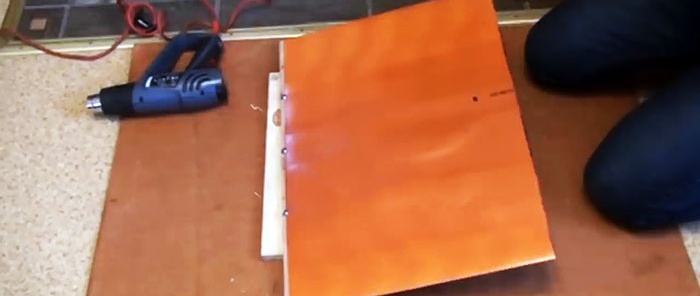
Next, the plastic is heated around the entire perimeter. The softened areas must be pressed onto the mold until they cool.
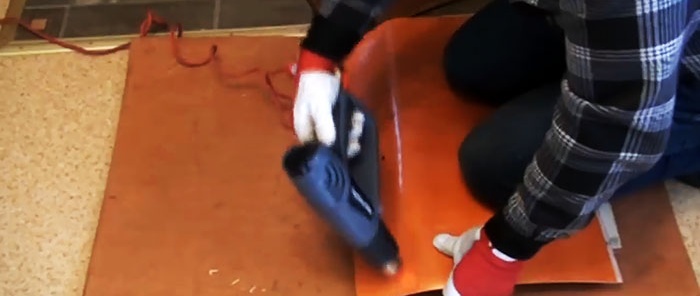
To prevent them from straightening back out, their edges should be screwed to the edging.
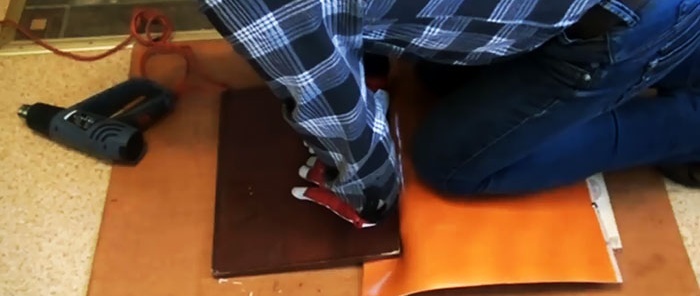
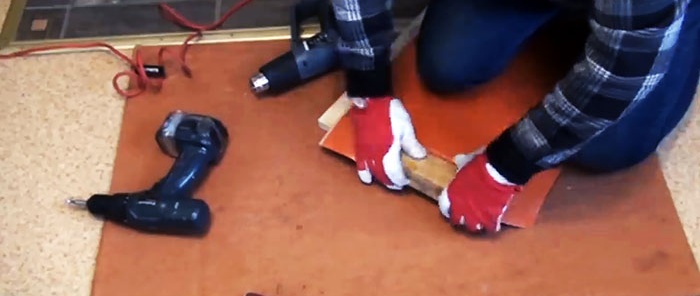
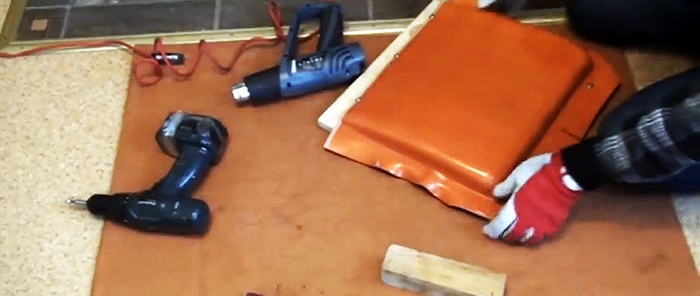
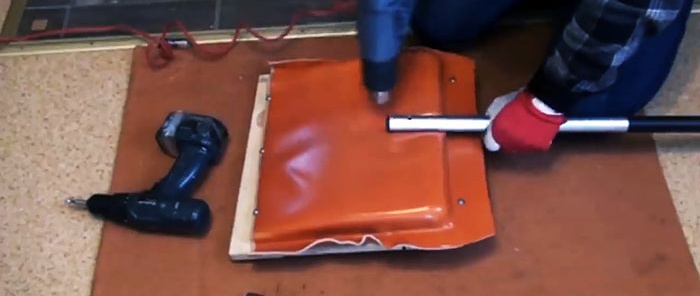
Having given the workpiece the outline of its shape, you need to squeeze out the stiffening ribs and rounding for installing the handle. To do this, the plastic is heated in place and pressed with a block on the ribs and a handle in the center.
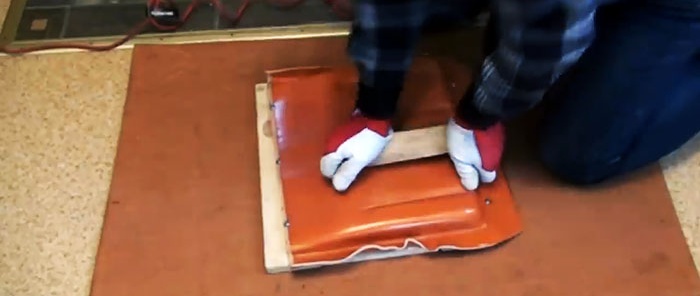
A stiffening plate is cut out and bent from a small piece of PVC pipe to strengthen the place for fixing the shovel handle.
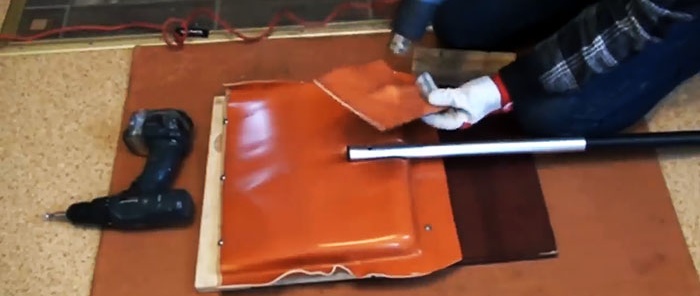
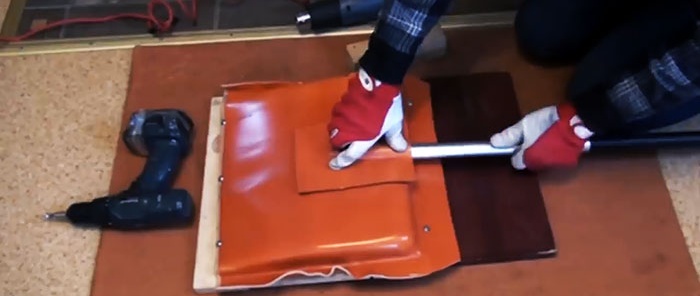
To fasten the plate to the shovel, you need to drill holes around their perimeter and put rivets in them. The workpiece is removed from the mold. Excess plastic around the edges is trimmed with a grinder.
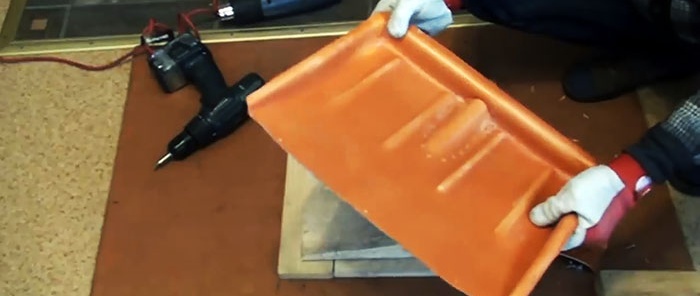
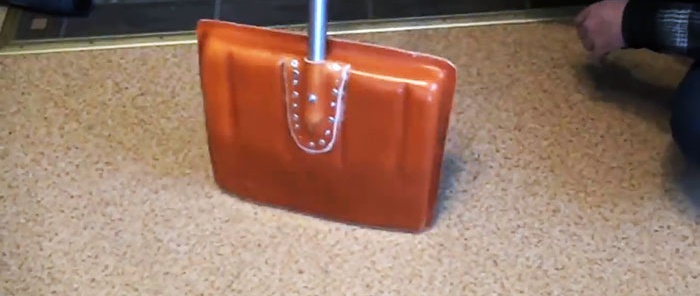
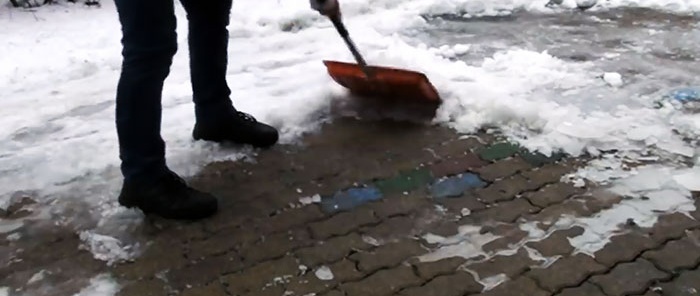
Next, all that remains is to insert the handle and drill a through hole in the shovel to secure the handle with a bolt. The result is a strong, rigid tool that can be used to throw wet snow and even scrape off melted ice. Of course, it will take several hours to make it, but such a shovel really won’t break when clearing snow.


Materials:
- A section of PVC sewer pipe, diameter 200 mm;
- aluminum or wooden handle;
- rivets;
- short screws;
- lath minimum 50x50 mm;
- any board with a width of 10 cm.
Making a shovel
To hot mold a shovel, you need to make a wooden mold. This is the most labor-intensive process. A furniture panel measuring 46x46 cm is twisted or glued from the slats. In the front part it needs to be sharpened, making it look like the nose of a shovel.

In the absence of a specialized tool, you can cut the slats obliquely separately at the stage of gluing the shield, and then straighten the slats with a plane already in the shield. The ends of the mold are chamfered.You also need to cut 4 longitudinal spikes on it, which will form stiffening ribs. Instead of cutting tenons, you can simply stuff 4 thin slats on top. A rounded groove is made in the center of the form to tightly fix the handle. To round it, you can heat a steel blank red-hot and burn out the wood, having previously made a selection in place with a chisel. A board edging is placed around the perimeter of the form.

A 40 cm piece is cut from the sewer pipe. A longitudinal cut is made along it. The material is perfectly cut with a grinder, and it does not melt, of course, if a good pipe with a wall thickness of 4 mm is used.

Next, you need to turn on the hair dryer to maximum and evenly heat the workpiece from the inside. To avoid getting burned, it is better to work in two pairs of thick gloves.

As the pipe warms up, it will begin to straighten. You need to give it a flat shape.


To do this, the softened material can be pressed down on top until it cools with a piece of plywood, a door or a shelf from an old furniture. When blowing with a hairdryer, you should not linger in one place, as bubbles and burnt areas will appear on the overheated plastic.
Then the flat blank is screwed with several self-tapping screws to the edging of the front part of the mold.

Next, the plastic is heated around the entire perimeter. The softened areas must be pressed onto the mold until they cool.

To prevent them from straightening back out, their edges should be screwed to the edging.


Having given the workpiece the outline of its shape, you need to squeeze out the stiffening ribs and rounding for installing the handle. To do this, the plastic is heated in place and pressed with a block on the ribs and a handle in the center.


A stiffening plate is cut out and bent from a small piece of PVC pipe to strengthen the place for fixing the shovel handle.


To fasten the plate to the shovel, you need to drill holes around their perimeter and put rivets in them. The workpiece is removed from the mold. Excess plastic around the edges is trimmed with a grinder.


Next, all that remains is to insert the handle and drill a through hole in the shovel to secure the handle with a bolt. The result is a strong, rigid tool that can be used to throw wet snow and even scrape off melted ice. Of course, it will take several hours to make it, but such a shovel really won’t break when clearing snow.


Watch the video
Similar master classes
Particularly interesting
Comments (6)


