How to make a device for removing snow from a roof
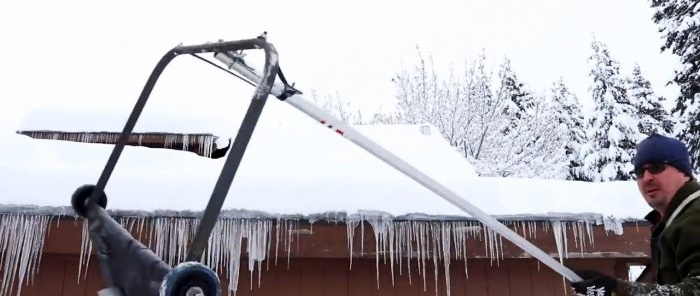
Shoveling snow off your roof is difficult, slow and unsafe. But you can make a device for removing snow from the roof with your own hands. It is very simple, quite effective and completely safe. If it is available, you do not need to climb onto the roof - the device can be controlled from the ground. It also does not require any special costs.
To make a snow blower we will need the following materials and products:
When working on a roof snow blower we will use: drill with attachments, jigsaw, hammer and core, drilling machine, vice, wrenches, scissors, etc.
We disassemble the caster wheels from the cart and leave only the rolling part. Using a jigsaw, we separate the required length from the metal strip.
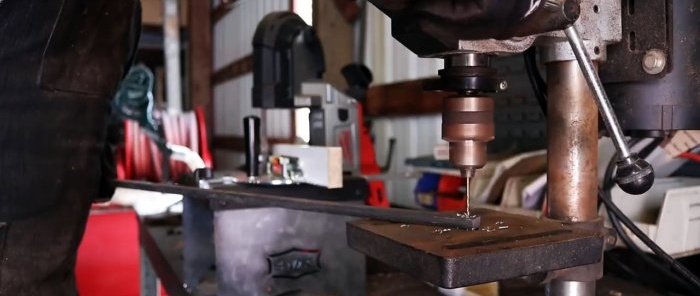
On the cut strip along the edges, we mark with a core the places for drilling holes. Using a drilling machine, we first make preliminary and then final holes.
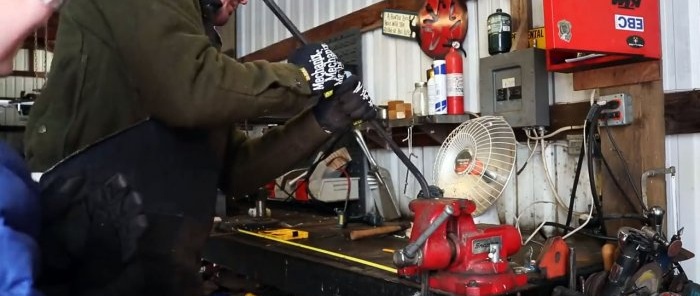
In a vice, bend the strip in the shape of the letter P.
We insert an anchor bolt into the holes at its ends.
We try on the wheel at one end and cut it off with a margin on the other side. We stop the rod from longitudinal displacement using two nuts on each side.
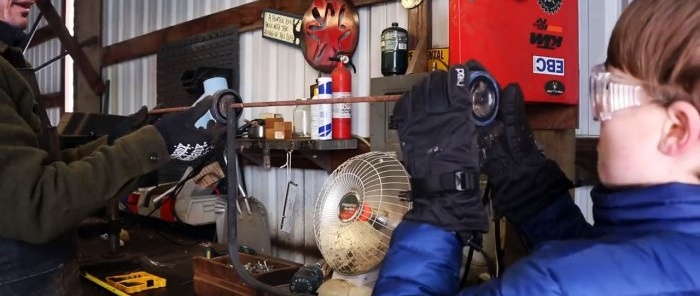
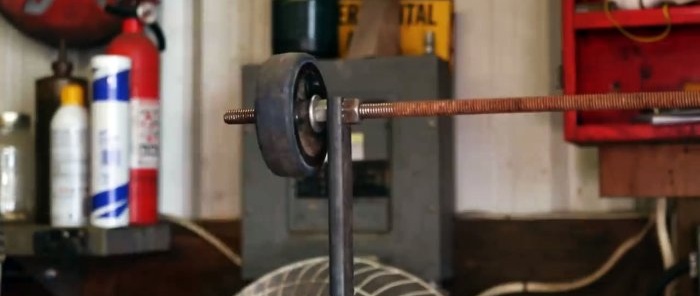
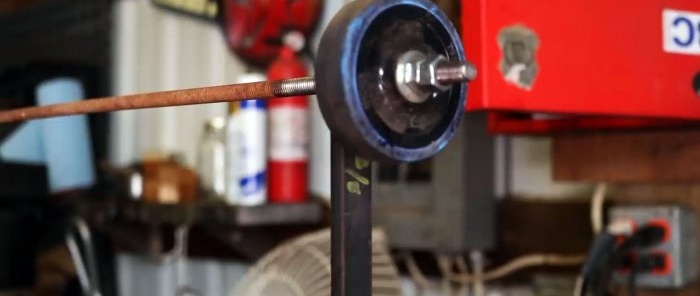
We put a wide ring on the rod, then a wheel, install another ring and tighten it with two nuts, regulating the free rotation of the wheels with the inner nut and locking it with the outer one.
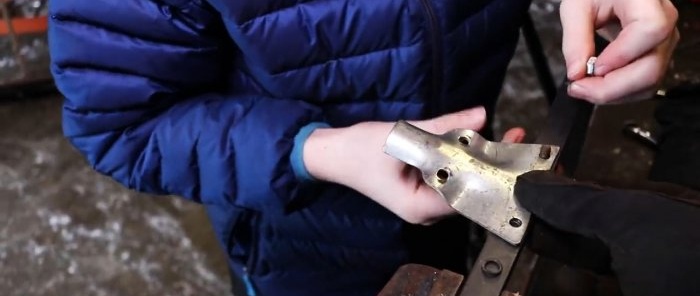
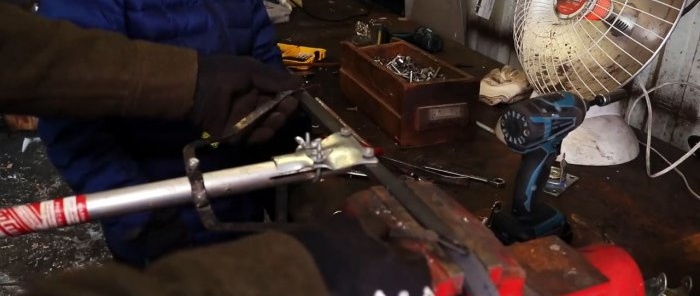
On the horizontal part of the frame, drill two holes in the center and secure the bracket for the handle in them using bolts, washers and nuts. Using a clamp with wing nuts, secure the long cylindrical handle to the bracket.
We also bolt the ends of the braces on the handle to the horizontal part of the frame, drilling holes in the appropriate places. This will add rigidity to the structure and remove some of the load from the bracket.
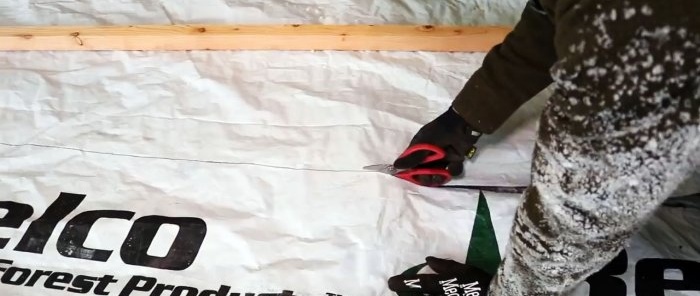
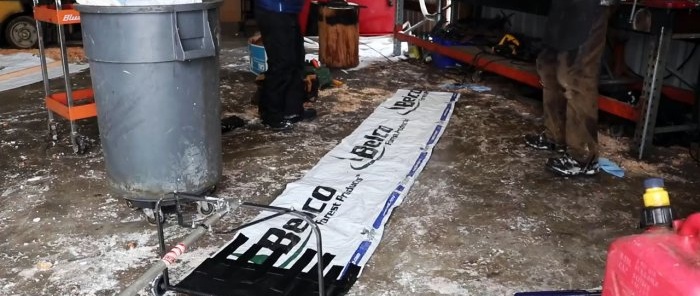
We mark and cut out a strip of the required width and length from the plastic sheet.
We secure it with tape or adhesive tape on the axis between the frame posts. In principle, our homemade roof snow remover is ready to work.
Let's check it in practice.
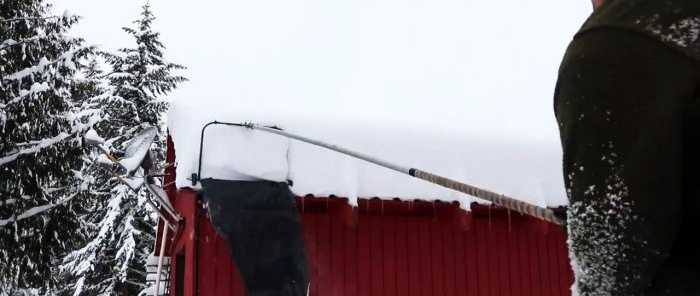
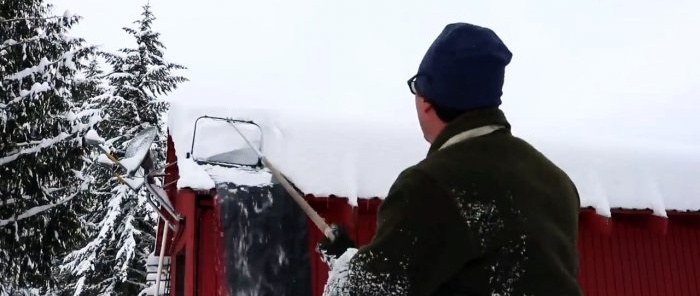
To do this, standing on the ground, use a handle to press the frame into the snow and move it higher along the roof. Then, by moving the frame with the handle and pulling it towards you, we lower the cut-off volume of snow down the film. By all indicators, the homemade product copes with its function perfectly.
Will need
To make a snow blower we will need the following materials and products:
- two rubberized wheels from a trolley;
- external threaded anchor rod;
- bolts, nuts and washers;
- steel strip;
- cylindrical handle with extensions at the end;
- handle extension;
- a strip of slippery plastic film;
- tape or adhesive tape.
When working on a roof snow blower we will use: drill with attachments, jigsaw, hammer and core, drilling machine, vice, wrenches, scissors, etc.
Manufacturing process of a roof snow blower
We disassemble the caster wheels from the cart and leave only the rolling part. Using a jigsaw, we separate the required length from the metal strip.
On the cut strip along the edges, we mark with a core the places for drilling holes. Using a drilling machine, we first make preliminary and then final holes.
In a vice, bend the strip in the shape of the letter P.
We insert an anchor bolt into the holes at its ends.
We try on the wheel at one end and cut it off with a margin on the other side. We stop the rod from longitudinal displacement using two nuts on each side.
We put a wide ring on the rod, then a wheel, install another ring and tighten it with two nuts, regulating the free rotation of the wheels with the inner nut and locking it with the outer one.
On the horizontal part of the frame, drill two holes in the center and secure the bracket for the handle in them using bolts, washers and nuts. Using a clamp with wing nuts, secure the long cylindrical handle to the bracket.
We also bolt the ends of the braces on the handle to the horizontal part of the frame, drilling holes in the appropriate places. This will add rigidity to the structure and remove some of the load from the bracket.
We mark and cut out a strip of the required width and length from the plastic sheet.
We secure it with tape or adhesive tape on the axis between the frame posts. In principle, our homemade roof snow remover is ready to work.
Let's check it in practice.
To do this, standing on the ground, use a handle to press the frame into the snow and move it higher along the roof. Then, by moving the frame with the handle and pulling it towards you, we lower the cut-off volume of snow down the film. By all indicators, the homemade product copes with its function perfectly.
Watch the video
Similar master classes
Particularly interesting
Comments (0)

