How to make silicone gaskets of any shape for any need
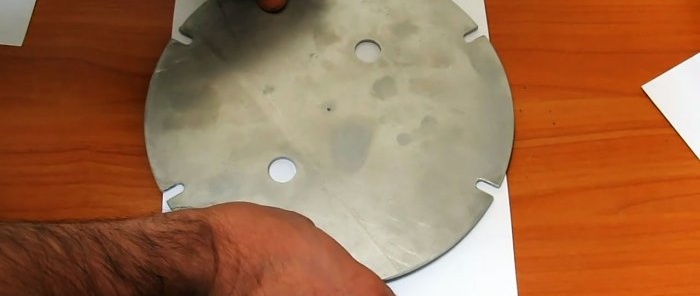
When sealing non-standard containers or rare mechanisms, it becomes difficult to select gaskets for them that are simply not sold. In this case, sealants are usually used, but if the structure must be easily dismountable, then they will not be suitable. You can solve the problem by making the gasket yourself.
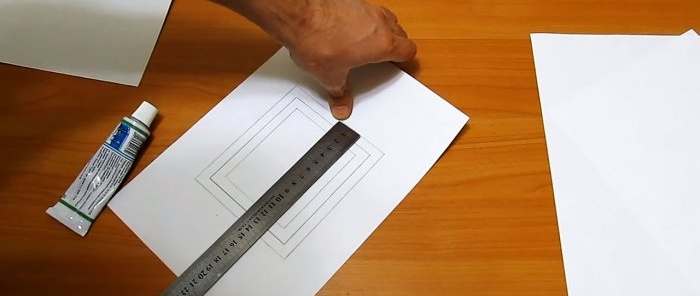
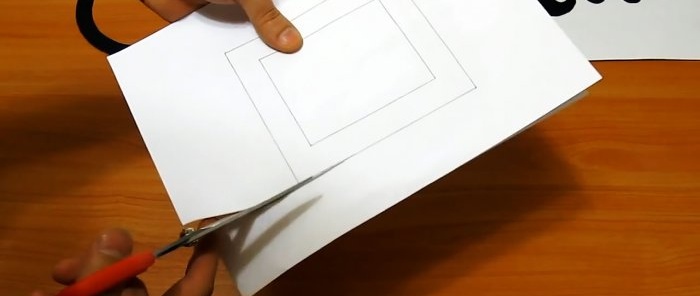
To make a gasket, you must first draw its outline in real scale on a clean, uncrumpled sheet of paper. If it is large, then you will have to use whatman paper. The inner and outer boundaries of the gasket are drawn, as well as the center line between them.
After this, the paper is turned over, and on the back, exactly opposite the applied lines, the same contours are drawn. It is important not to deviate to the side, so you can make several through punctures in the sheet with a pin for orientation, so as not to miss when drawing.If the paper is thin, then due to its transparency to light, the outline on the back will be noticeable.
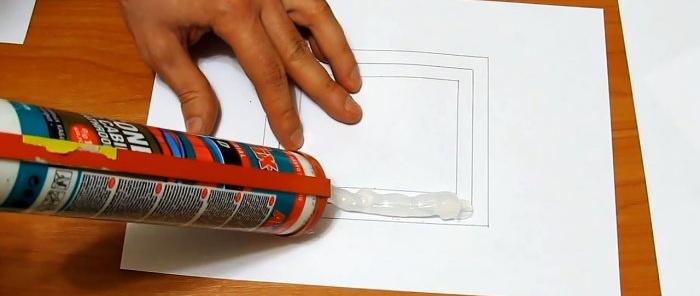
Next, silicone is applied to the main side of the sheet with the center line in the drawing.
The paper should lie on a flat, smooth tabletop. If the gasket is needed for a food container, then aquarium sealant is used; for ordinary needs, standard construction silicone is used. It is applied in a thick layer directly along the central drawn line, slightly in excess. In this case, there is no need to try to smear it along the entire contour of the gasket.
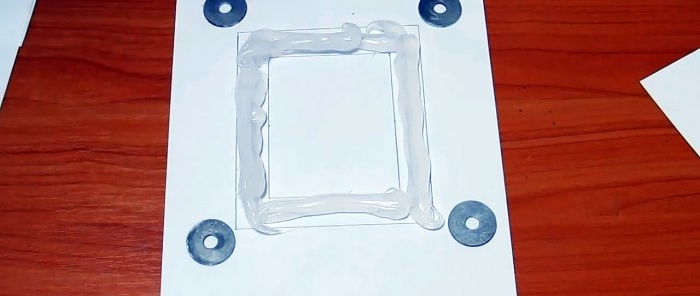
After applying the silicone, spacers are placed at the corners of the sheet corresponding to the thickness of the desired gasket. These could be washers, coins, etc.
A second sheet of paper is placed on top of the silicone and spacers; it is pressed down on top with glass, a flat, rigid sheet of steel, a piece of chipboard, or whatever is at hand. You need to press the weight so that it distributes the silicone and falls onto the spacers. In this position, the workpiece is left for a day to dry.
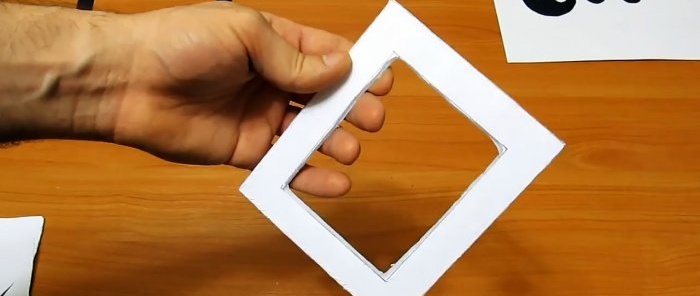
After drying, the weight is removed and the spacers are removed. Using scissors, you need to cut out the gasket along the outline drawn on the back of the bottom sheet.
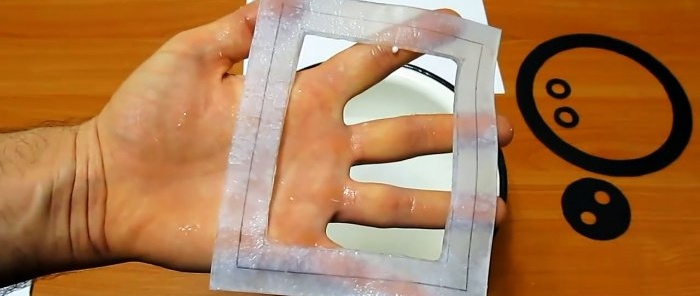
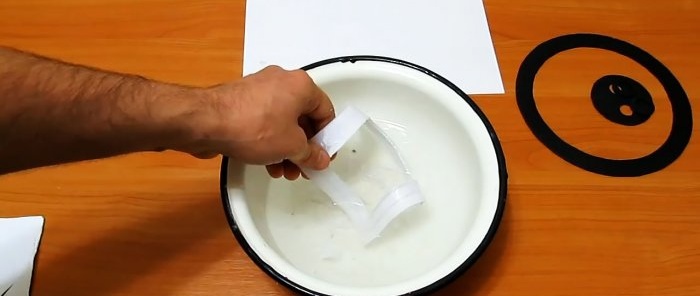
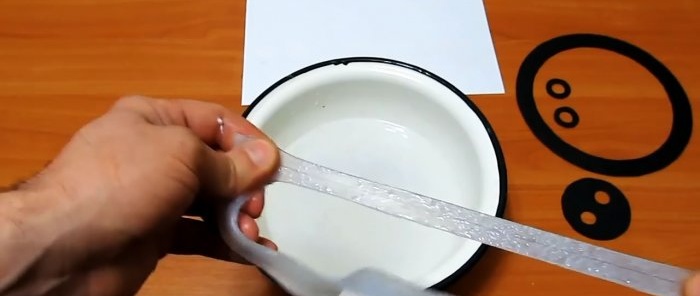
To remove the remaining paper, you need to immerse the gasket in water, and when the cellulose gets wet, just wash it.
Wet paper will roll up when rubbed with your fingers, separating from the silicone. After washing, the clean gasket can be used for its intended purpose.
What you will need:
- silicone;
- 2 sheets of paper (not parchment);
- glass or any rigid sheet material with a flat plane;
- washers or moments corresponding to the thickness of the gasket that needs to be made.
Making a gasket
To make a gasket, you must first draw its outline in real scale on a clean, uncrumpled sheet of paper. If it is large, then you will have to use whatman paper. The inner and outer boundaries of the gasket are drawn, as well as the center line between them.
After this, the paper is turned over, and on the back, exactly opposite the applied lines, the same contours are drawn. It is important not to deviate to the side, so you can make several through punctures in the sheet with a pin for orientation, so as not to miss when drawing.If the paper is thin, then due to its transparency to light, the outline on the back will be noticeable.
Next, silicone is applied to the main side of the sheet with the center line in the drawing.
The paper should lie on a flat, smooth tabletop. If the gasket is needed for a food container, then aquarium sealant is used; for ordinary needs, standard construction silicone is used. It is applied in a thick layer directly along the central drawn line, slightly in excess. In this case, there is no need to try to smear it along the entire contour of the gasket.
After applying the silicone, spacers are placed at the corners of the sheet corresponding to the thickness of the desired gasket. These could be washers, coins, etc.
A second sheet of paper is placed on top of the silicone and spacers; it is pressed down on top with glass, a flat, rigid sheet of steel, a piece of chipboard, or whatever is at hand. You need to press the weight so that it distributes the silicone and falls onto the spacers. In this position, the workpiece is left for a day to dry.
After drying, the weight is removed and the spacers are removed. Using scissors, you need to cut out the gasket along the outline drawn on the back of the bottom sheet.
To remove the remaining paper, you need to immerse the gasket in water, and when the cellulose gets wet, just wash it.
Wet paper will roll up when rubbed with your fingers, separating from the silicone. After washing, the clean gasket can be used for its intended purpose.
Watch the video
Similar master classes
Particularly interesting
Comments (2)

