Homemade gasoline car with amazing and simple controls
A useful crane and wheelbarrow with a lifting capacity of up to 200 kg is an indispensable item for transporting construction and other materials over short distances. Small-sized, maneuverable and easy to control - you definitely can’t buy one like this on our market. Having such a wheelbarrow on your farm is simply invaluable: you can carry snow, garbage or fertilizer, an incredibly necessary piece of equipment.
We will prepare the following materials and components (can be used):
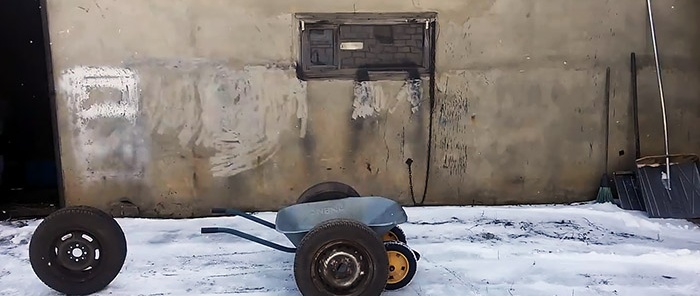
To work you will need: grinder, welding, wrenches, spray gun, etc.
We remove the axle shafts with hubs and brake drums from the rear axle of the passenger car. We shorten the beams in the area of the brackets for fastening the suspension parts.We weld flanges to the truncated beams and close them with lids through gaskets. We attach hubs to the shortened axle shafts to install the wheels.
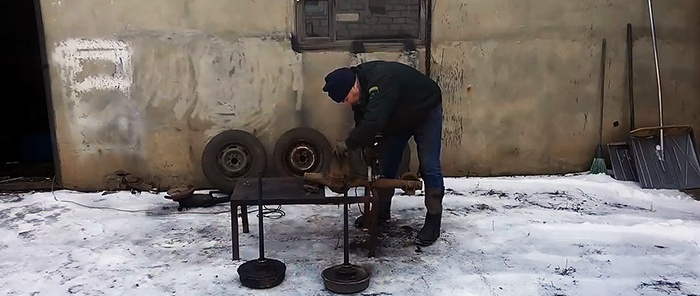
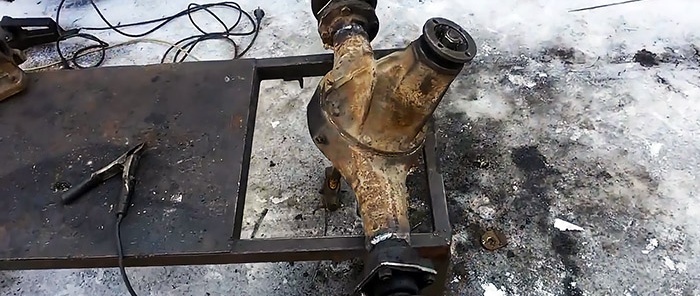
We weld a U-shaped frame made of a rectangular pipe, reinforced in the middle with two cross members, to the bridge at its ends symmetrically relative to the wheels.
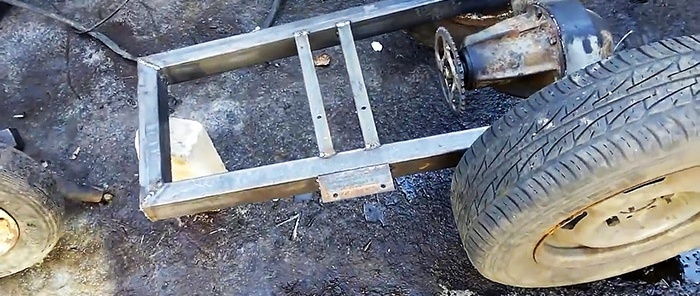
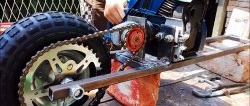
We attach a sprocket with the required number of teeth to the axle shaft of the differential drive gear. We will install the engine on the frame cross members and a corner welded to the left in the direction of travel outside the spar opposite the cross members.
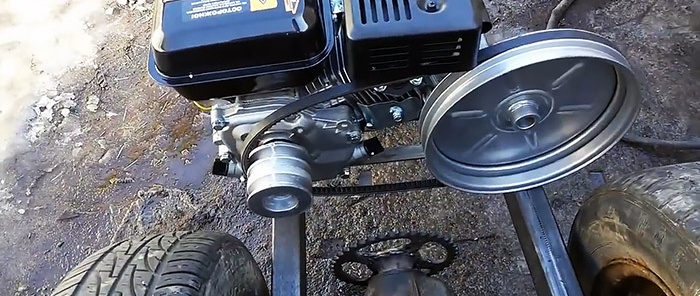
In the plane of the engine pulley we place a large pulley with the required gear ratio. We attach it to the shaft on two bearings in a housing (a piece of pipe) welded to a stand mounted on the spar.
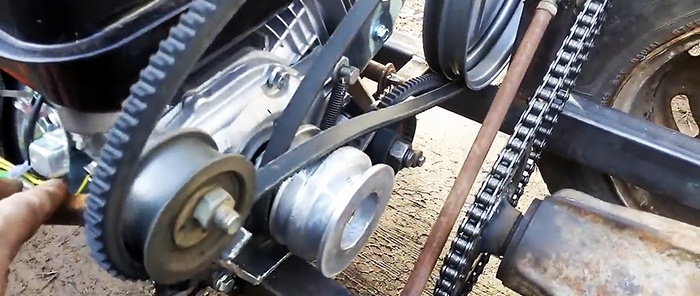
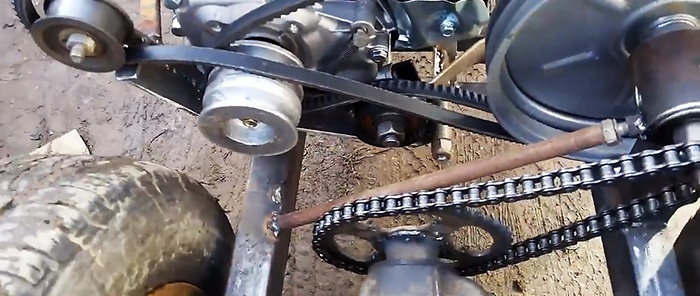
On the other side of the shaft we place a small sprocket, which we connect with a chain to the large sprocket on the axle shaft of the differential drive gear to ensure the desired gear ratio.
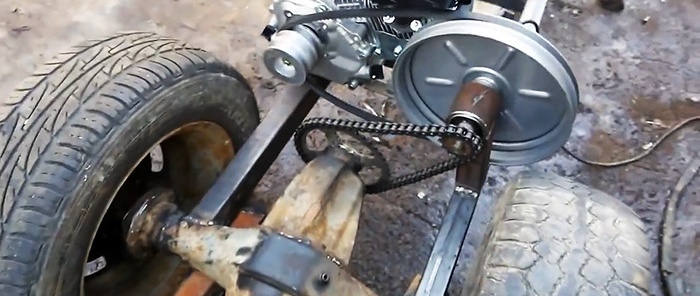
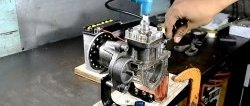
Having lifted one wheel, we start the engine and, pressing the belt against the pulleys with a piece of pipe, we make sure that the torque from the engine is transmitted to the wheels.
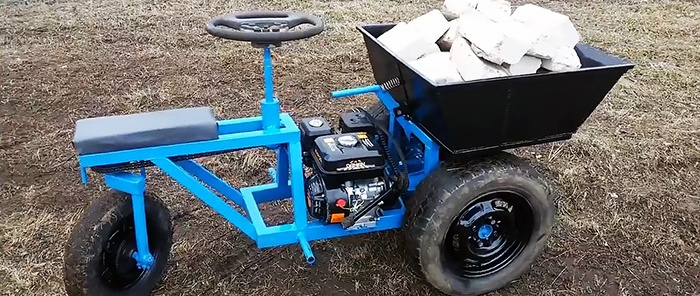
To install the steered wheel, we assemble a narrow frame from a profile pipe and attach it to the side members of the main frame using two inclined struts and two jibs welded to the near cross member.
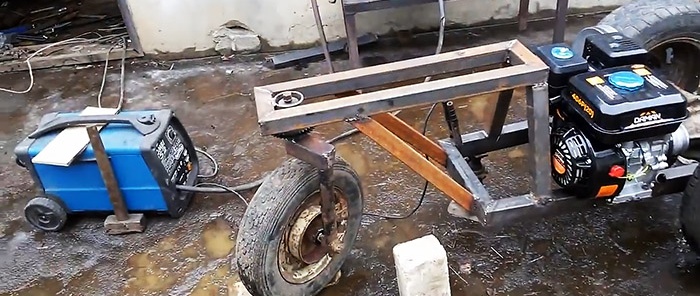
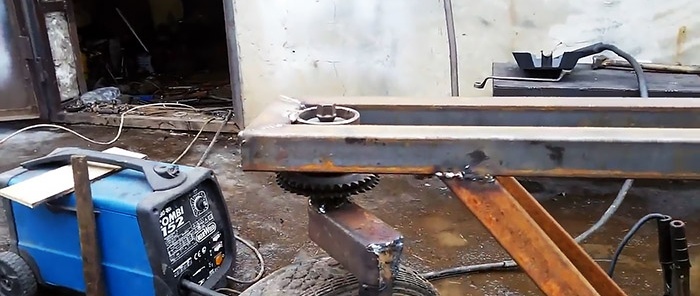
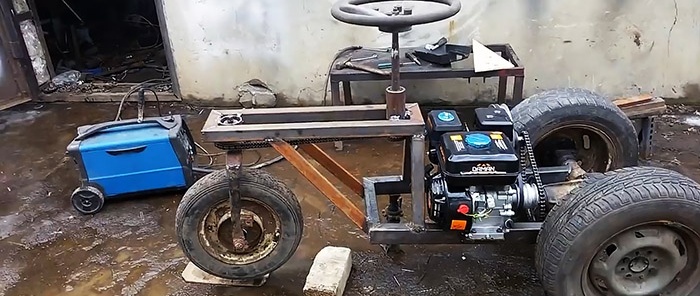
At the end of the narrow frame, from the inside we attach a wheel rotation unit, consisting of an axle, bearings, a housing and a paired sprocket. We weld a cross member with a stand to the lower end of the axle, at the bottom of which we attach the wheel axle.
On the other side of the narrow frame, we mount a roller from below and connect it to the sprocket on the wheel axle with a chain. On top of the frame in the center we weld a steering wheel shaft rotation unit, at the lower end of which we attach a paired sprocket that presses the chain from the outside.
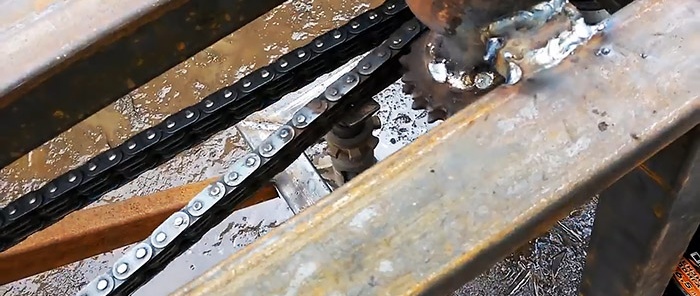
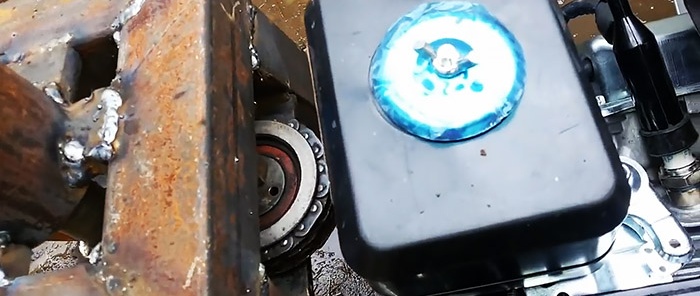
Above the control wheel on the frame we fix the base of the seat made of multi-layer plywood, put a piece of thick and dense foam rubber on top, cover it with leatherette, stretch it and sew it around the perimeter.
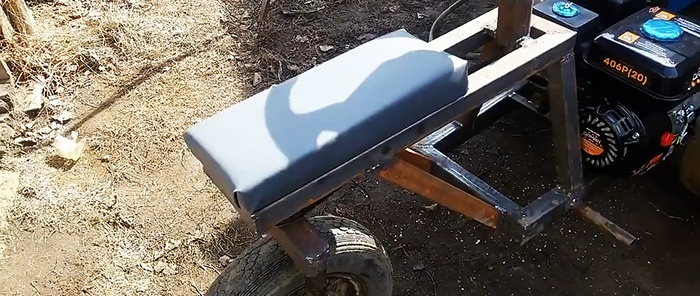
Under the lower branch of the belt, located closer to the wheelbarrow, we attach the tension roller to a bracket, which we weld to the axle and secure with two supports to the narrow frame. On the other side of the axle we attach the pedal, placing it on the left in the direction of travel. If you press it, the roller, rising, presses the belt against the pulleys and engages direct transmission.
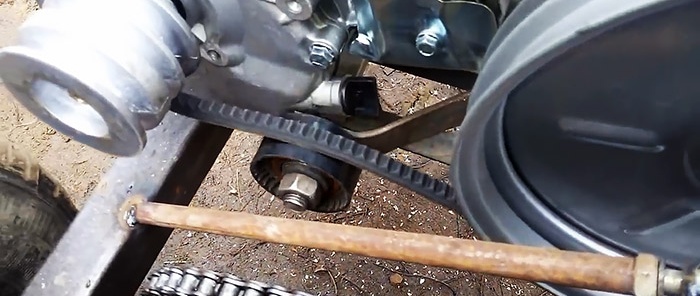
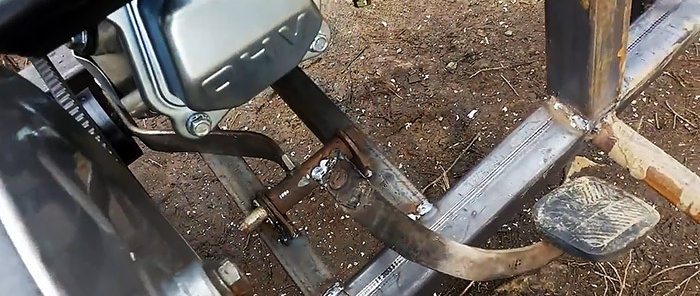
To ensure reverse transmission, we use a bracket to attach another tension roller, onto which we put a second drive belt and the free pulley streams. Moreover, it comes into contact with the driving pulley from above, thereby ensuring reverse rotation of the driven pulley.
We move the reverse pedal to the right in the direction of travel. With the help of an extension spring, the gearshift system is in a position where both belts are loose. To make the car move forward, press the left pedal. Reverse is achieved using the right pedal.
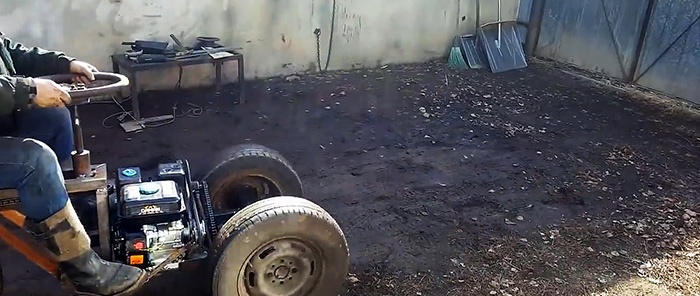
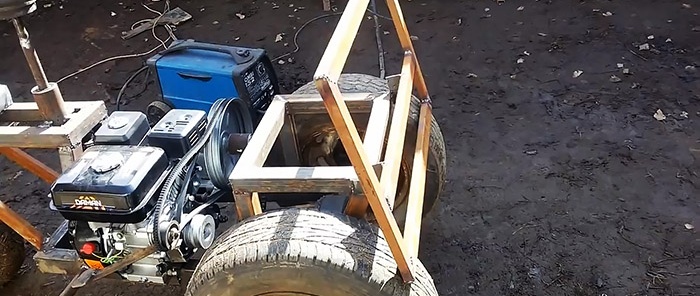
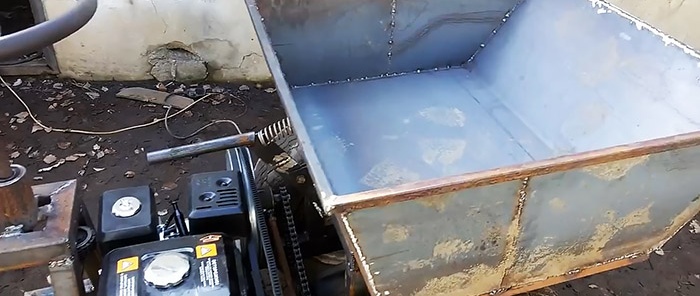
Between the wheels we create a support for a rotating frame from a profile pipe, which can tilt forward. We attach to it a container made of sheet metal and thin profile pipes with three vertical and one inclined side at the front.
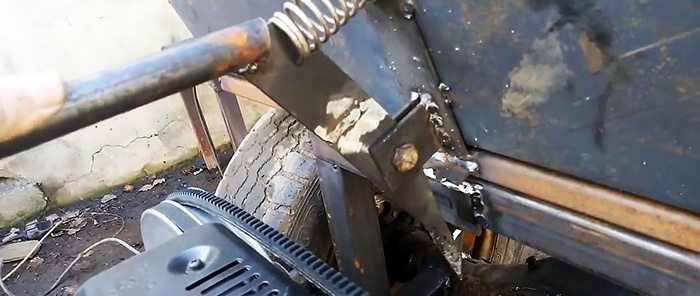
On the other side of the container we mount a spring-loaded handle with a latch to hold it in a horizontal position. To unload the cargo, use the handle to release the latch and tip the box forward.
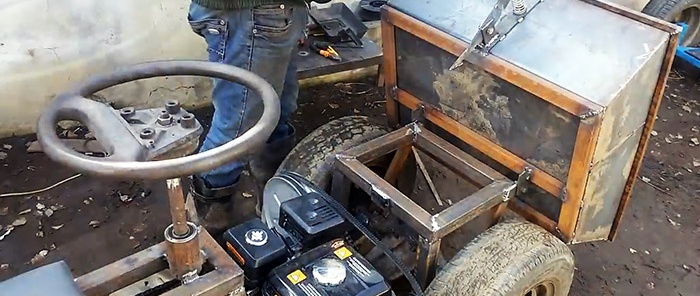
After painting the wheelbarrow in two colors, taking into account the functionality of the components and aesthetic requirements, our homemade product is ready for work, in particular, for transporting goods.
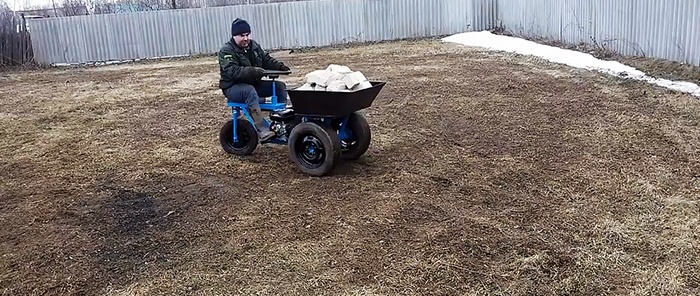
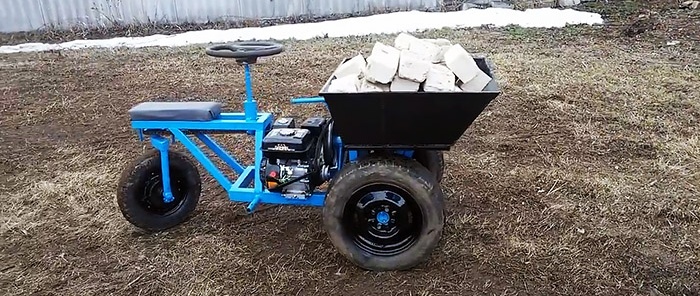
For more detailed instructions on how to make a wheelbarrow, watch the video.Also note how easy this model is to operate.

Will need
We will prepare the following materials and components (can be used):
- two wheels from a passenger car and one from agricultural machinery;
- petrol engine DAMAN 406P (6.5 hp);
- rear axle from a passenger car;
- profile pipe;
- various sprockets and chains;
- steering wheel;
- multilayer plywood, foam rubber and leatherette;
- tension rollers and belts;
- nuts, bolts and springs;
- sheet iron;
- paint of two colors, etc.

To work you will need: grinder, welding, wrenches, spray gun, etc.
The process of making a wheelbarrow
We remove the axle shafts with hubs and brake drums from the rear axle of the passenger car. We shorten the beams in the area of the brackets for fastening the suspension parts.We weld flanges to the truncated beams and close them with lids through gaskets. We attach hubs to the shortened axle shafts to install the wheels.


We weld a U-shaped frame made of a rectangular pipe, reinforced in the middle with two cross members, to the bridge at its ends symmetrically relative to the wheels.

We attach a sprocket with the required number of teeth to the axle shaft of the differential drive gear. We will install the engine on the frame cross members and a corner welded to the left in the direction of travel outside the spar opposite the cross members.

In the plane of the engine pulley we place a large pulley with the required gear ratio. We attach it to the shaft on two bearings in a housing (a piece of pipe) welded to a stand mounted on the spar.
On the other side of the shaft we place a small sprocket, which we connect with a chain to the large sprocket on the axle shaft of the differential drive gear to ensure the desired gear ratio.

Having lifted one wheel, we start the engine and, pressing the belt against the pulleys with a piece of pipe, we make sure that the torque from the engine is transmitted to the wheels.
To install the steered wheel, we assemble a narrow frame from a profile pipe and attach it to the side members of the main frame using two inclined struts and two jibs welded to the near cross member.


At the end of the narrow frame, from the inside we attach a wheel rotation unit, consisting of an axle, bearings, a housing and a paired sprocket. We weld a cross member with a stand to the lower end of the axle, at the bottom of which we attach the wheel axle.
On the other side of the narrow frame, we mount a roller from below and connect it to the sprocket on the wheel axle with a chain. On top of the frame in the center we weld a steering wheel shaft rotation unit, at the lower end of which we attach a paired sprocket that presses the chain from the outside.


Above the control wheel on the frame we fix the base of the seat made of multi-layer plywood, put a piece of thick and dense foam rubber on top, cover it with leatherette, stretch it and sew it around the perimeter.

Under the lower branch of the belt, located closer to the wheelbarrow, we attach the tension roller to a bracket, which we weld to the axle and secure with two supports to the narrow frame. On the other side of the axle we attach the pedal, placing it on the left in the direction of travel. If you press it, the roller, rising, presses the belt against the pulleys and engages direct transmission.


To ensure reverse transmission, we use a bracket to attach another tension roller, onto which we put a second drive belt and the free pulley streams. Moreover, it comes into contact with the driving pulley from above, thereby ensuring reverse rotation of the driven pulley.
We move the reverse pedal to the right in the direction of travel. With the help of an extension spring, the gearshift system is in a position where both belts are loose. To make the car move forward, press the left pedal. Reverse is achieved using the right pedal.


Between the wheels we create a support for a rotating frame from a profile pipe, which can tilt forward. We attach to it a container made of sheet metal and thin profile pipes with three vertical and one inclined side at the front.

On the other side of the container we mount a spring-loaded handle with a latch to hold it in a horizontal position. To unload the cargo, use the handle to release the latch and tip the box forward.


After painting the wheelbarrow in two colors, taking into account the functionality of the components and aesthetic requirements, our homemade product is ready for work, in particular, for transporting goods.


Watch the video
For more detailed instructions on how to make a wheelbarrow, watch the video.Also note how easy this model is to operate.
Similar master classes
Particularly interesting
Comments (1)


