How to make a powerful 4-piston mini compressor from disposable syringes
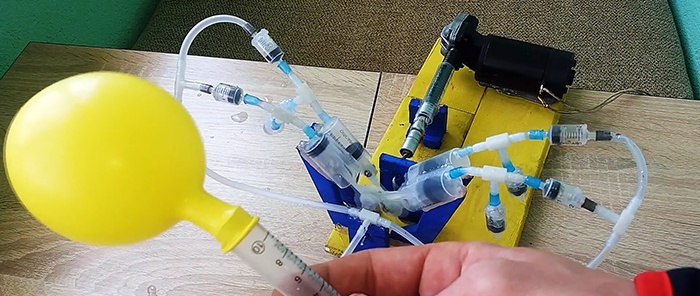
From used disposable syringes and other waste, you can assemble a mini piston compressor with sufficient performance for inflating bicycle tires. The value of such equipment lies both in practical benefits and in the aesthetic pleasure of watching its work.
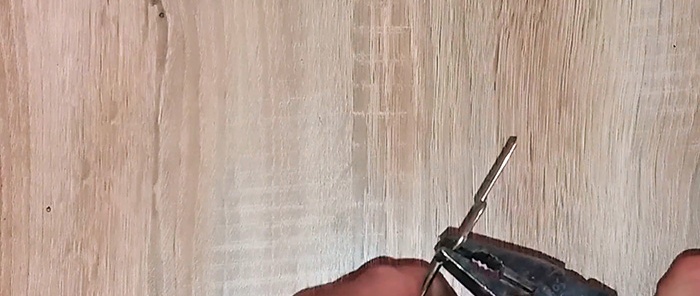
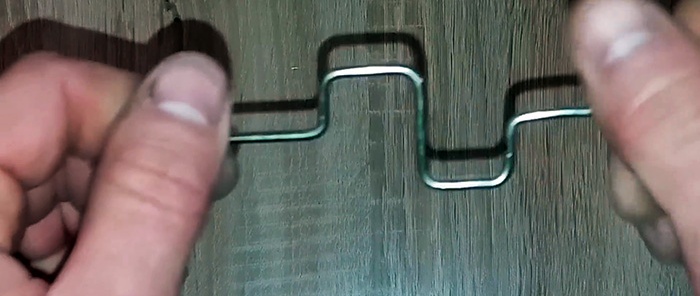
From a bicycle spoke or strong wire you need to bend something like a crankshaft into 2 necks.
Then the compressor frame is made from the trim of the lining.
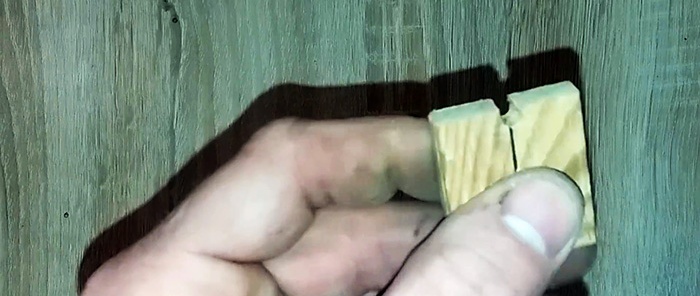
To attach the crankshaft using hot glue, 2 pieces of lining with slots are glued to it while standing.
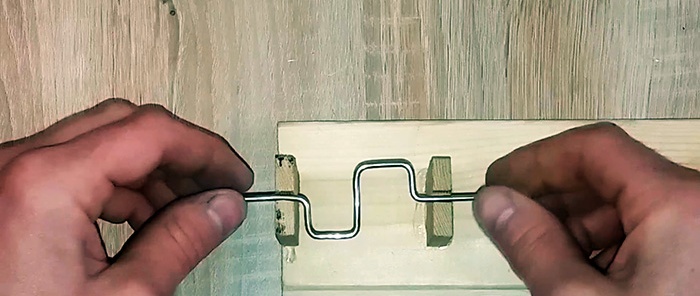
Also, 4 posts are glued in a checkerboard pattern to secure the pistons. They should be located in pairs opposite each neck.
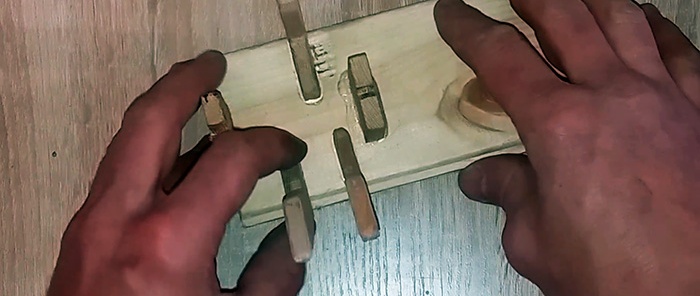
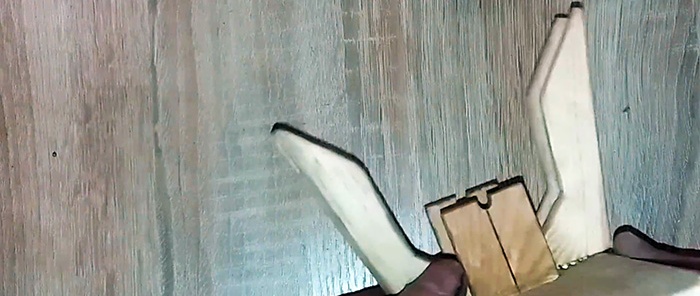
4 cylinders are made from 20 cc syringes.To do this, they are cut in half.
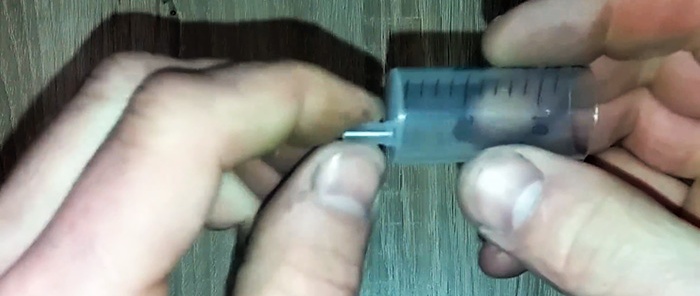
Their stems are also cut.
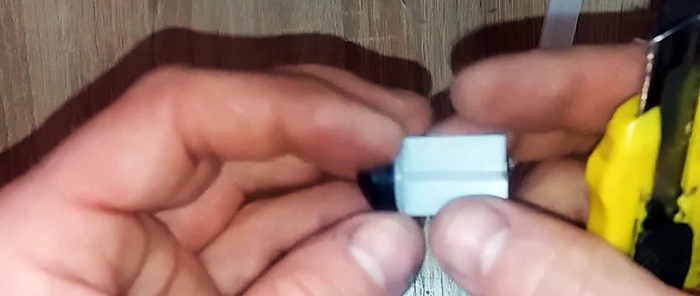
On the cut side of the halves with pistons, they are trimmed and drilled, as in the photo.
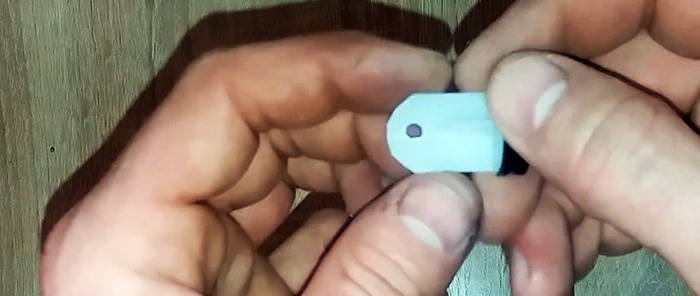
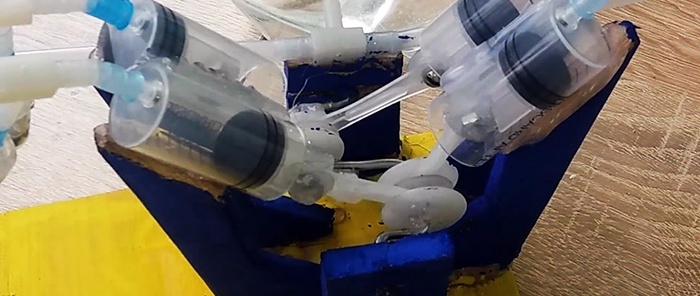
The stops are cut off from the remaining halves of the rod. Then connecting rods with holes along the edges are made from them.
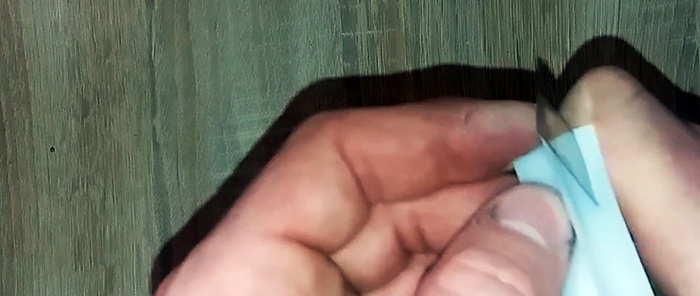
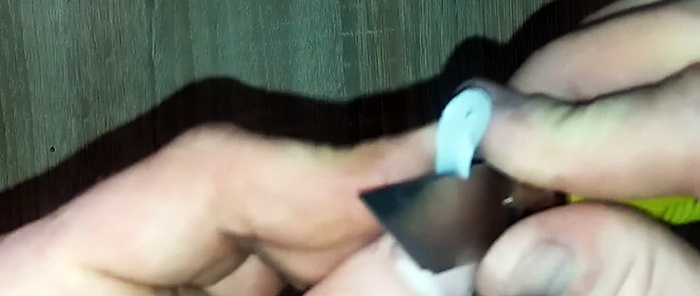
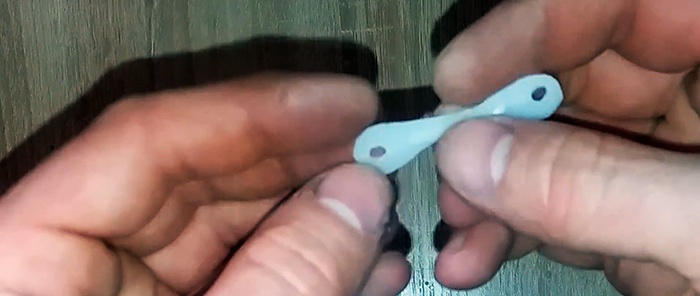
Next, you need to put 2 connecting rods on each crankshaft journal. To prevent them from moving, stops are made from previously cut syringe stops. The stops are glued with hot glue.
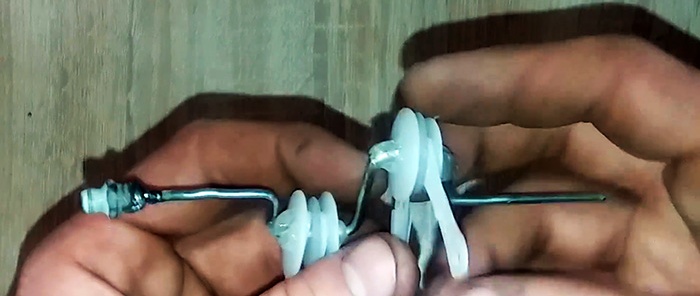
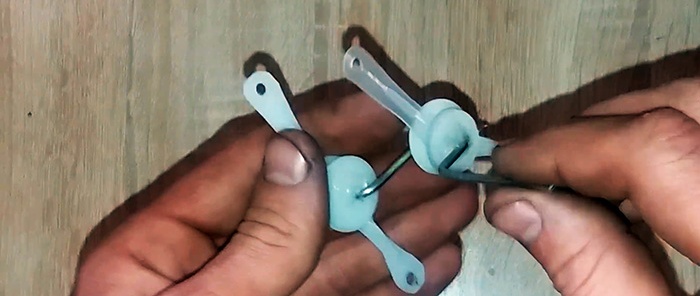
Now you need to connect the connecting rods to the pistons. For this purpose, you can use short screws with nuts as fingers. To prevent unwinding, it is better to fix the threads with superglue. The pistons are then inserted into the cylinders. After this, the cylinders are glued with hot glue to the racks on the frame. Everything must be adjusted so that when the shaft rotates, the pistons move freely in the cylinders almost all the way. You also need to fix the crankshaft from above, gluing it to its racks along the strip.
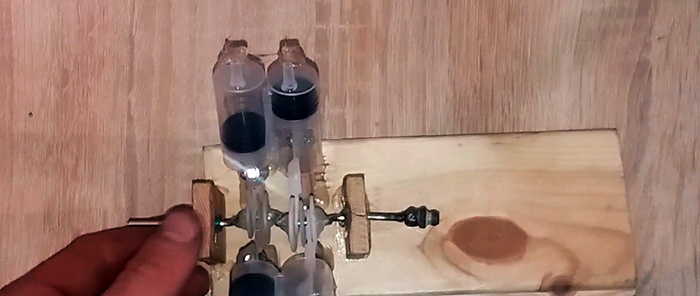
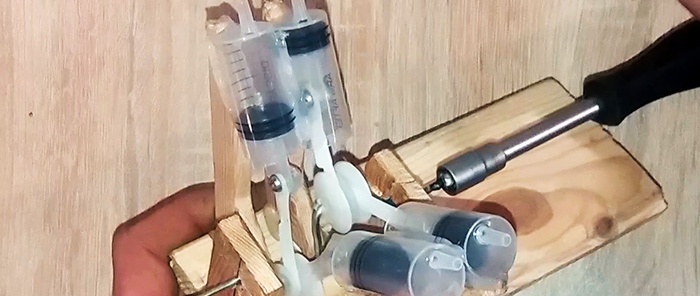
The next step is to attach the electric motor to the crankshaft. You can use a drill or screwdriver instead.
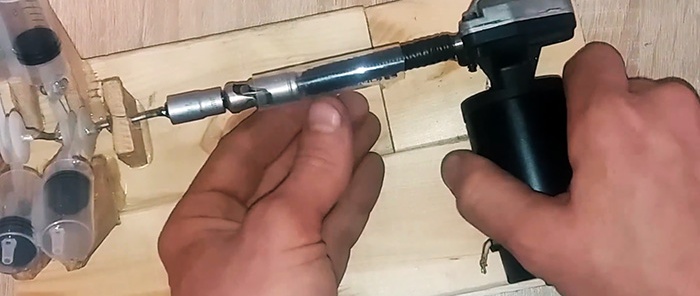
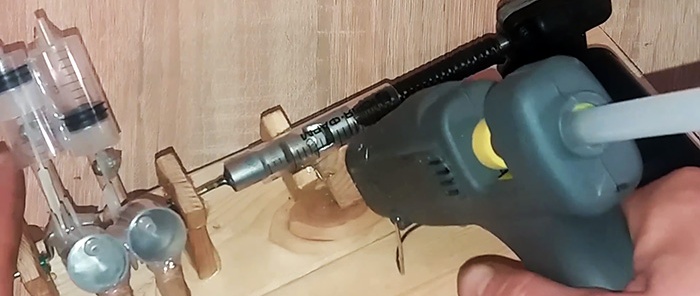
Next you need to make 8 check valves. To assemble the body of each of them, you need a syringe of 2 and 5 cubic meters. They are cut closer to the nose.
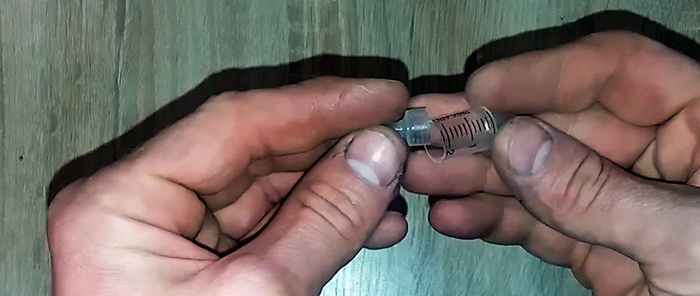
Then you need to narrow the diameter of the piston of the larger syringe by cutting it in a circle.
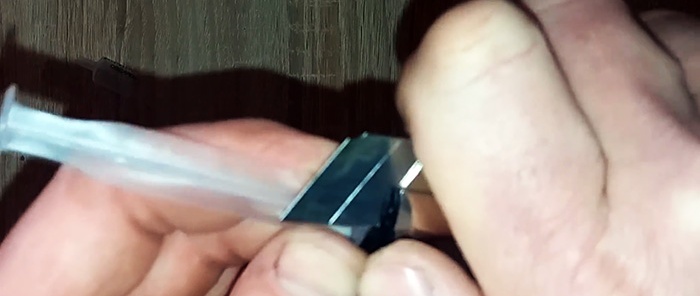
After this, its stem is shortened and sharpened so that a spring from a ballpoint pen can be put on it.
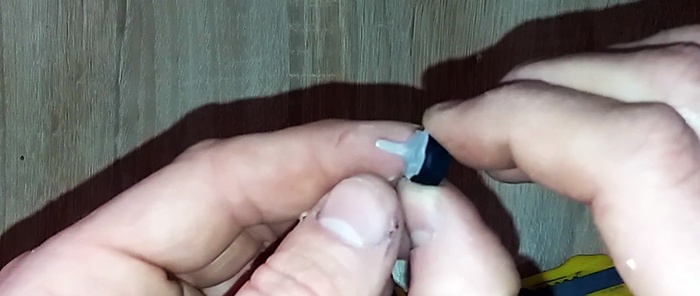
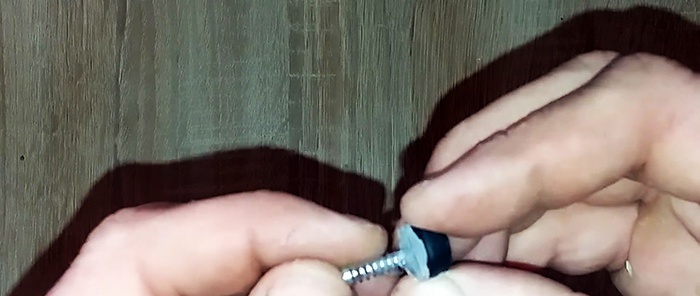
To assemble the check valve, you need to insert a piston with a pointed rod and spring into a piece of a 5 cc syringe, then plug it with a cut of a 2 cc syringe. The syringes are unfolded so that their noses are located at the edges of the valve.
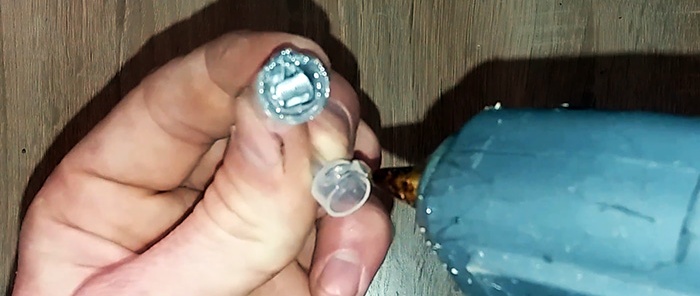
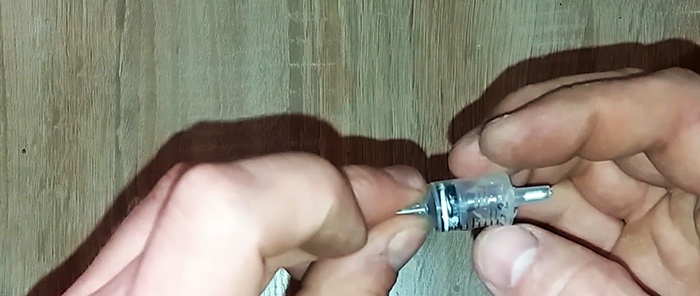
Now you need to connect the check valves to each cylinder.To do this, use a tee for the aquarium compressor hose.
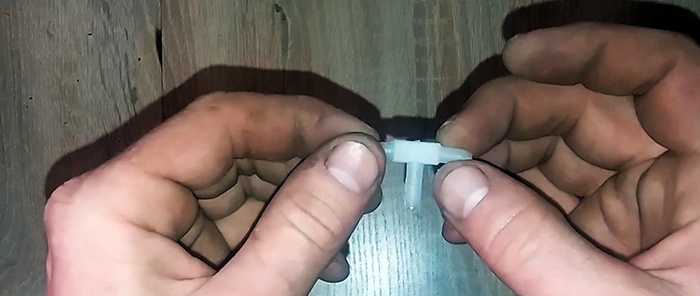
First you need to put the plastic part from the needles on the valve noses to increase their diameter for the hose.
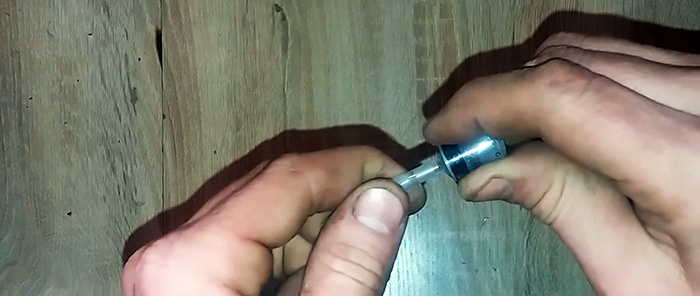
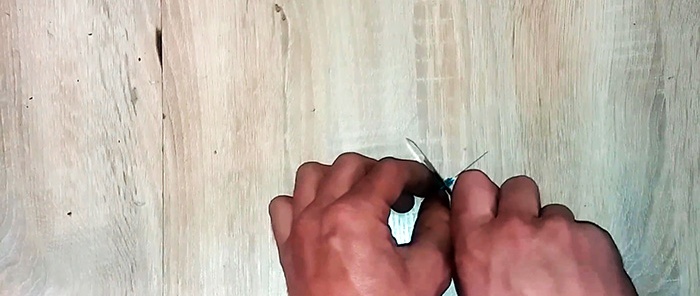
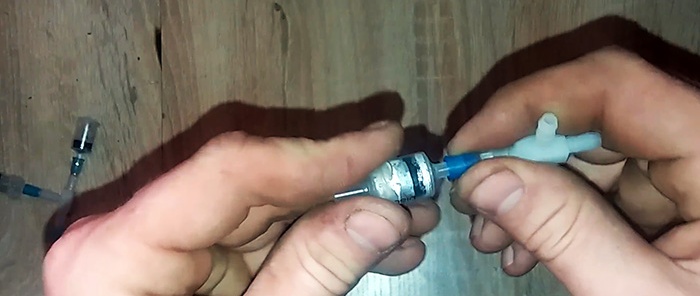
Then, using short pieces of pipe, you need to attach 2 valves to the tees. Moreover, they must be installed with different directions of action. Then one will work for air intake, and the second for squeezing out.
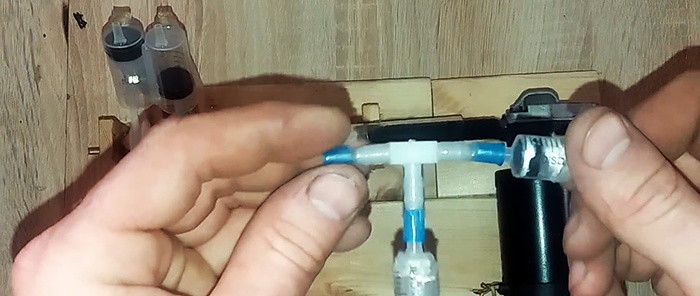
Next, the pistons are combined into pairs through valves that release air. To do this, they are connected with hoses through a common tee. The pairs are then connected together into one hose through the next tee.
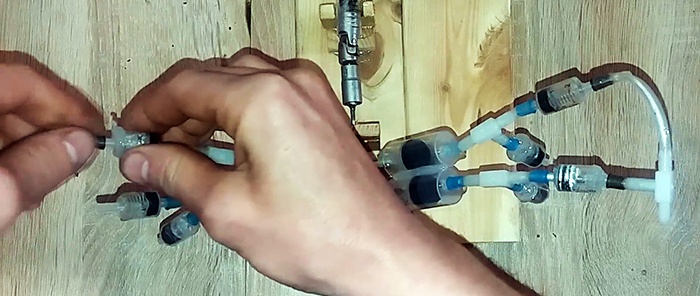
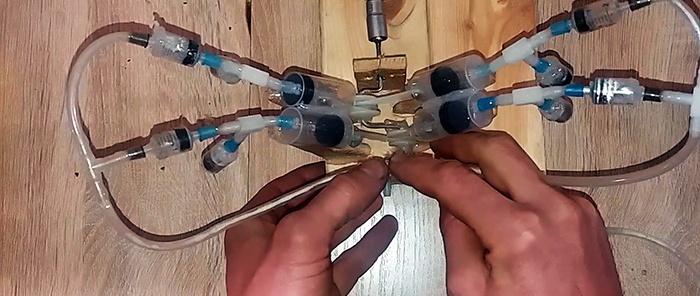
In the future, such a compressor can be used to connect to an aquarium sprayer or airlift filter.
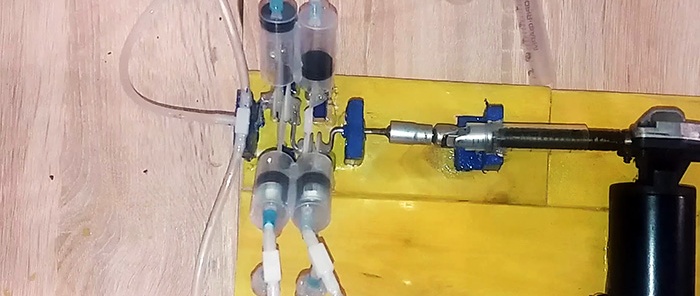
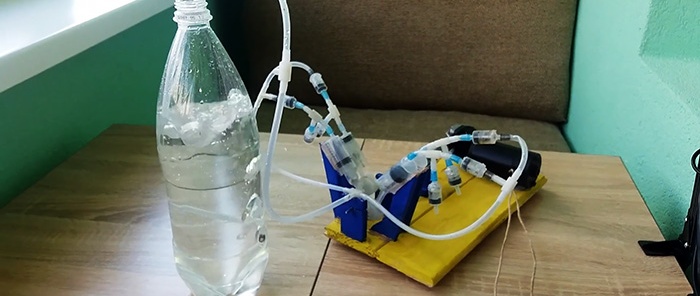
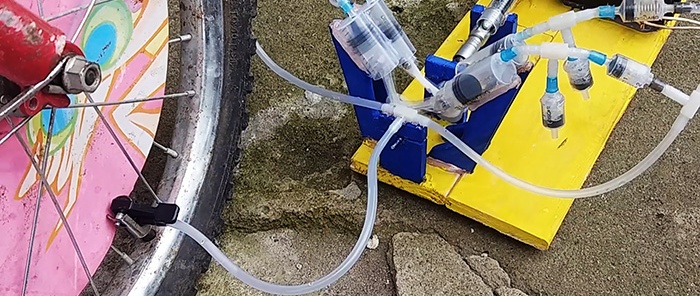
You can use it to inflate a ball or a bicycle tube. Thanks to the use of four cylinders, it pumps with ample performance.


Materials:
- bicycle spoke;
- wooden lining;
- 20 cc syringes – 4 pcs.;
- 5 cc syringes – 8 pcs.;
- syringes 2 cube – 8 pcs.;
- M3 screws with nuts – 4 pcs.;
- electric motor;
- springs from ballpoint pens – 8 pcs.;
- tees for aquarium hose – 7 pcs.;
- aquarium hose.
The process of making a compressor from syringes
From a bicycle spoke or strong wire you need to bend something like a crankshaft into 2 necks.


Then the compressor frame is made from the trim of the lining.

To attach the crankshaft using hot glue, 2 pieces of lining with slots are glued to it while standing.

Also, 4 posts are glued in a checkerboard pattern to secure the pistons. They should be located in pairs opposite each neck.


4 cylinders are made from 20 cc syringes.To do this, they are cut in half.

Their stems are also cut.

On the cut side of the halves with pistons, they are trimmed and drilled, as in the photo.

The stops are cut off from the remaining halves of the rod. Then connecting rods with holes along the edges are made from them.


Next, you need to put 2 connecting rods on each crankshaft journal. To prevent them from moving, stops are made from previously cut syringe stops. The stops are glued with hot glue.


Now you need to connect the connecting rods to the pistons. For this purpose, you can use short screws with nuts as fingers. To prevent unwinding, it is better to fix the threads with superglue. The pistons are then inserted into the cylinders. After this, the cylinders are glued with hot glue to the racks on the frame. Everything must be adjusted so that when the shaft rotates, the pistons move freely in the cylinders almost all the way. You also need to fix the crankshaft from above, gluing it to its racks along the strip.


The next step is to attach the electric motor to the crankshaft. You can use a drill or screwdriver instead.


Next you need to make 8 check valves. To assemble the body of each of them, you need a syringe of 2 and 5 cubic meters. They are cut closer to the nose.

Then you need to narrow the diameter of the piston of the larger syringe by cutting it in a circle.

After this, its stem is shortened and sharpened so that a spring from a ballpoint pen can be put on it.


To assemble the check valve, you need to insert a piston with a pointed rod and spring into a piece of a 5 cc syringe, then plug it with a cut of a 2 cc syringe. The syringes are unfolded so that their noses are located at the edges of the valve.


Now you need to connect the check valves to each cylinder.To do this, use a tee for the aquarium compressor hose.

First you need to put the plastic part from the needles on the valve noses to increase their diameter for the hose.


Then, using short pieces of pipe, you need to attach 2 valves to the tees. Moreover, they must be installed with different directions of action. Then one will work for air intake, and the second for squeezing out.

Next, the pistons are combined into pairs through valves that release air. To do this, they are connected with hoses through a common tee. The pairs are then connected together into one hose through the next tee.


In the future, such a compressor can be used to connect to an aquarium sprayer or airlift filter.


You can use it to inflate a ball or a bicycle tube. Thanks to the use of four cylinders, it pumps with ample performance.


Watch the video
Similar master classes
Particularly interesting
Comments (1)

