How to make an irrigation sprinkler from PVC pipes
For normal growth of plants, a sufficient amount of water is required, so in the absence of rainfall they need to be watered. If you have a central water supply or a well, this process can be mechanized by connecting a homemade sprinkler to a garden hose. It can be made from adhesive plastic pipes and fittings.
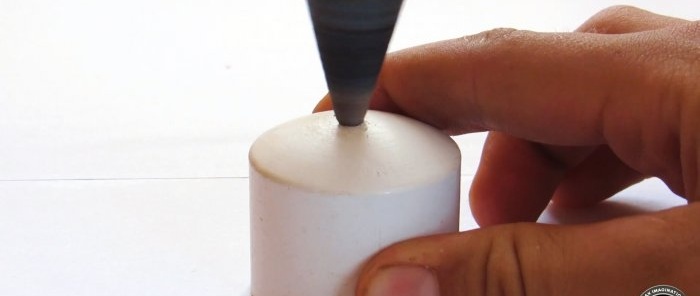
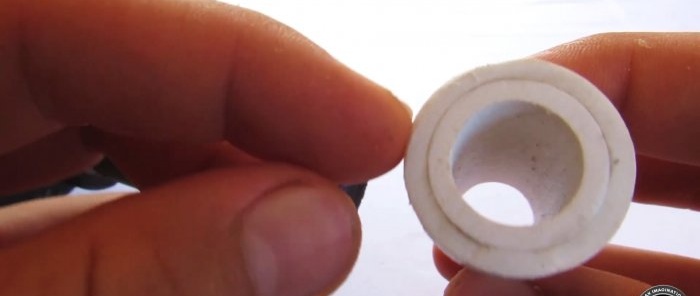
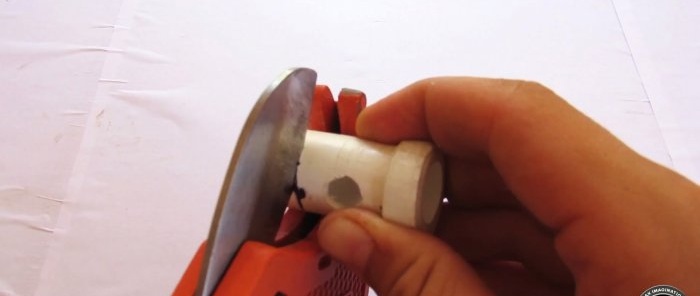
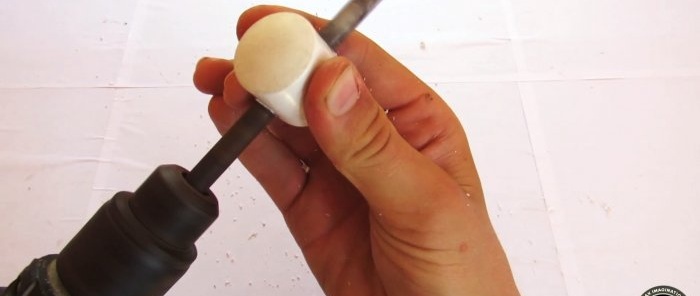
In the plug for a 32 mm pipe, you need to drill a hole for a 20 mm pipe.
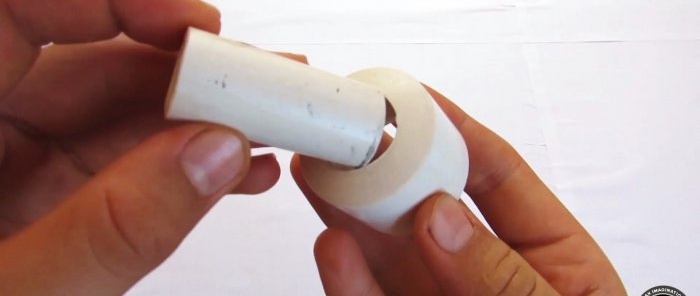
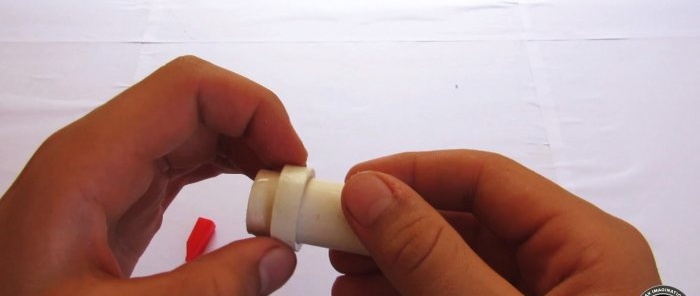
Then you need to cut off the ring from the 20 mm coupling and glue it onto the edge of the 20 mm pipe.
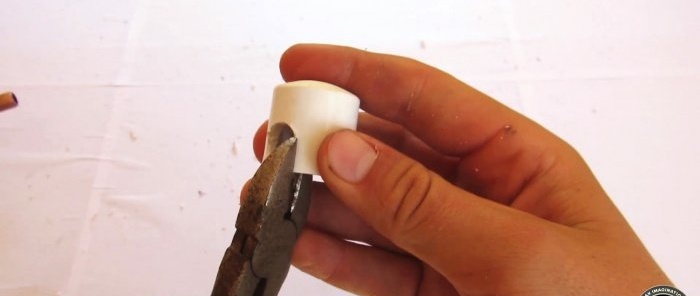
The outside of the ring is ground to ensure a tight fit to the plug.
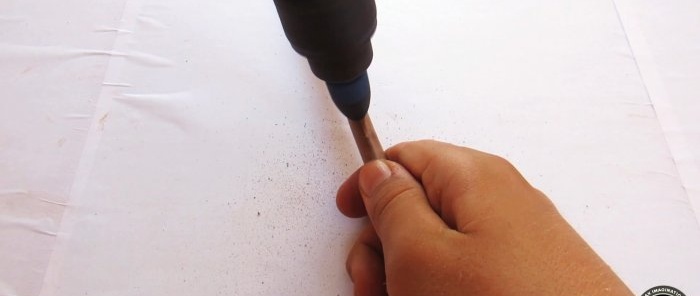
Next, take a copper tube 30-40 cm long. One wall is drilled in the center.
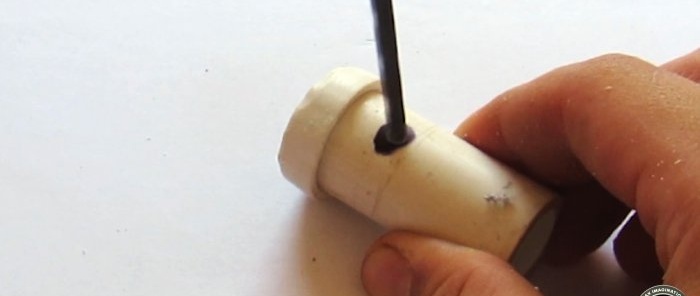
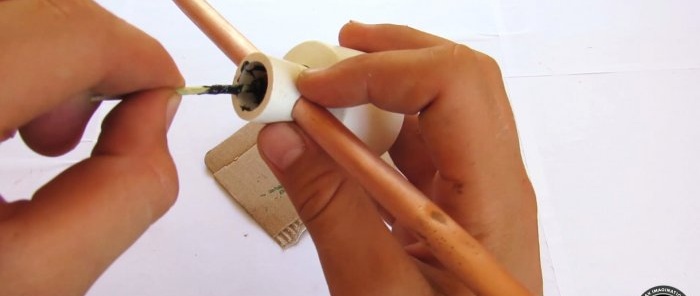
The hole is then bored out to reduce the thickness of the walls around it, allowing water to flow in with less resistance.
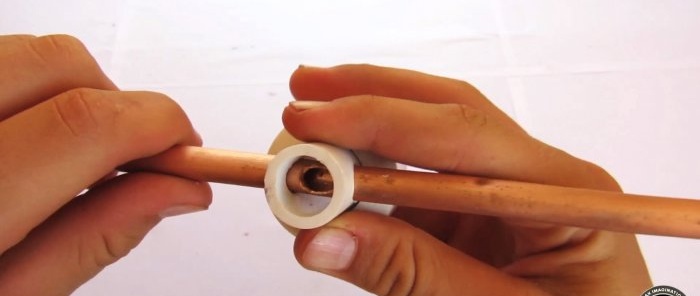
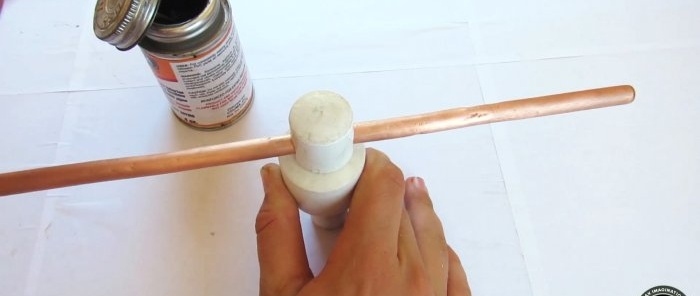
The copper tube must be inserted into the previously drilled holes through a 20 mm plastic pipe passed through a plug.
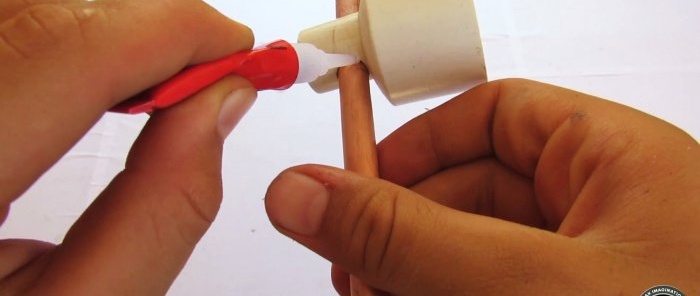
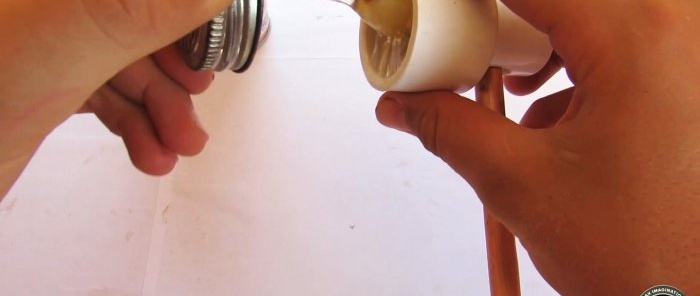
It unfolds with the hole towards the plug. After this, you need to glue it in such a way as to fix it in this position and prevent leakage through the gaps between its walls and the 20 mm plastic tube.
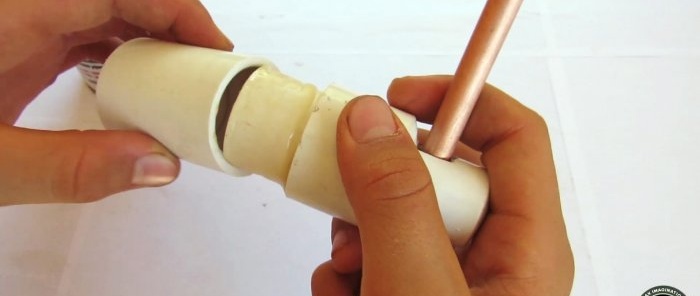
Next, you need to glue a 20 mm plug onto a piece of pipe with a copper sprinkler. To do this, grooves are cut in the plug to allow it to be inserted all the way.
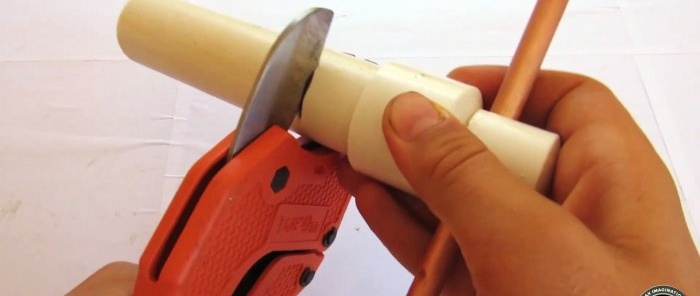
The next step requires gluing a 32 mm piece of pipe into the drilled plug with a copper rotating sprinkler. To do this, you need to first grind its inner diameter from the end so that it does not interfere with the rotation of the sprinkler.
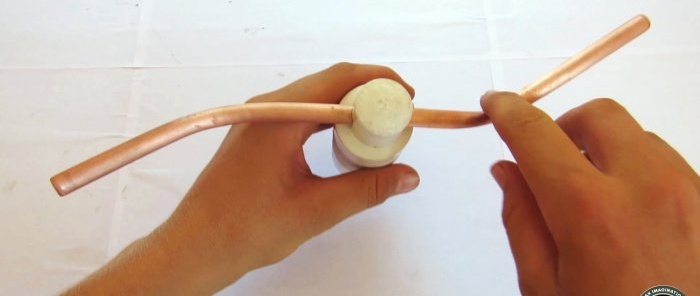
After this, the pipe is cut and a coupling is glued onto it close to the plug. It is also necessary to bend the ends of the copper tube so that the water pushed out of it spins the sprinkler.
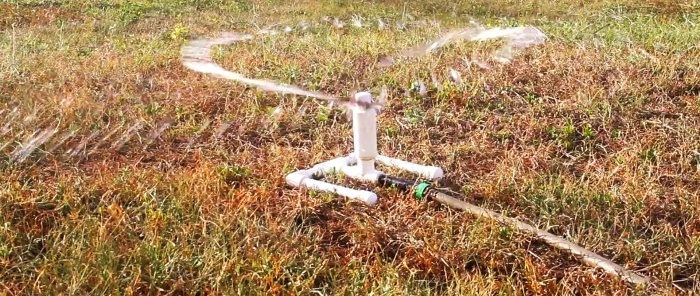
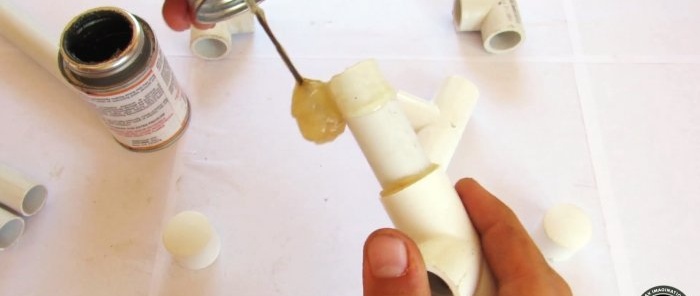
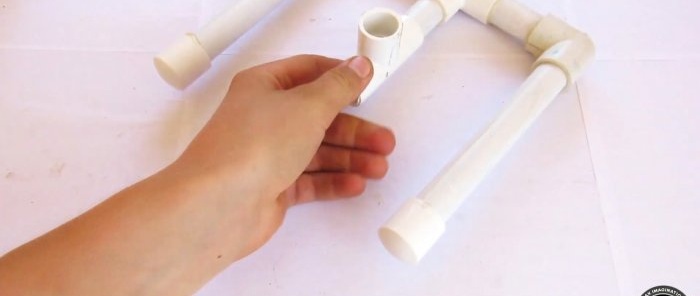
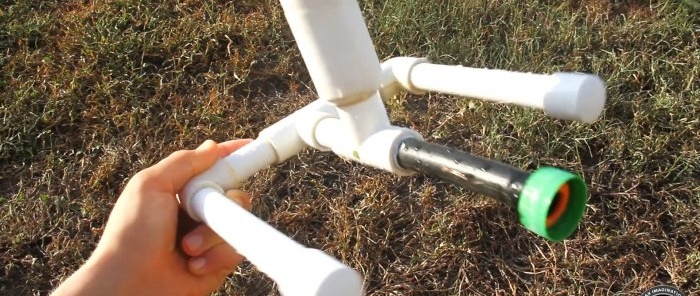
To keep the sprinkler in place, you need to make a stand for it. To do this, you need to prepare 4 pieces of 20 mm pipes and assemble a frame using 2 tees, 2 elbows and 2 plugs.
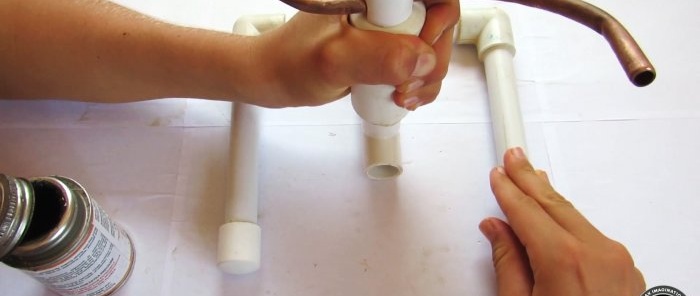
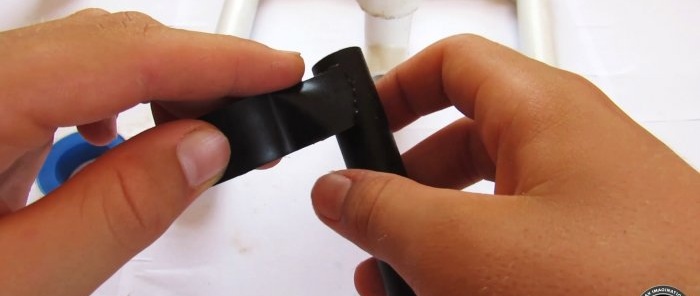
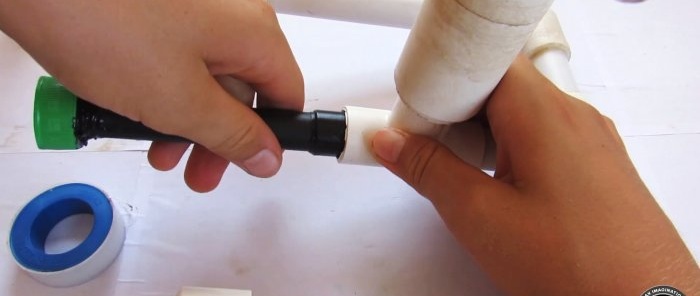
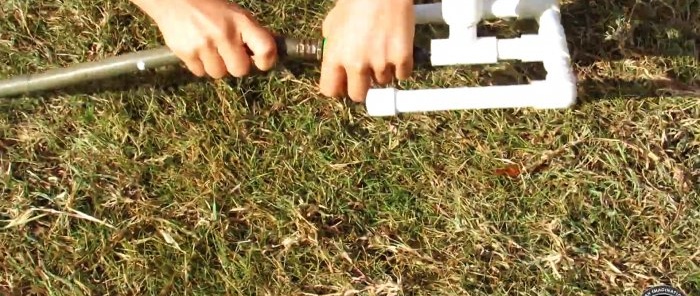
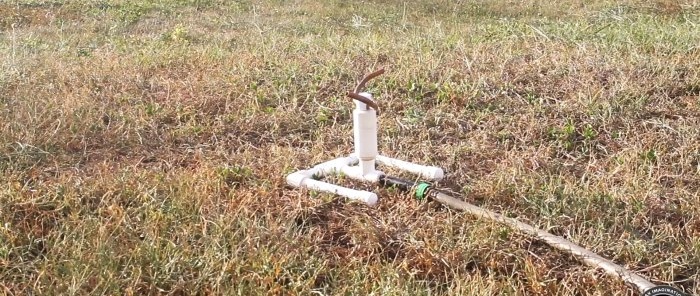
Next, the sprinkler is glued onto the vertical outlet of the frame tee. An adapter for a garden hose is made to the second horizontal outlet of the tee.
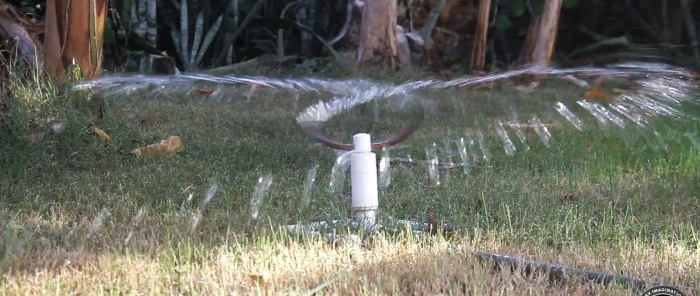
When pressure is applied, the sprinkler will rotate, spraying droplets around.
As watering progresses, it must be transferred to new areas.
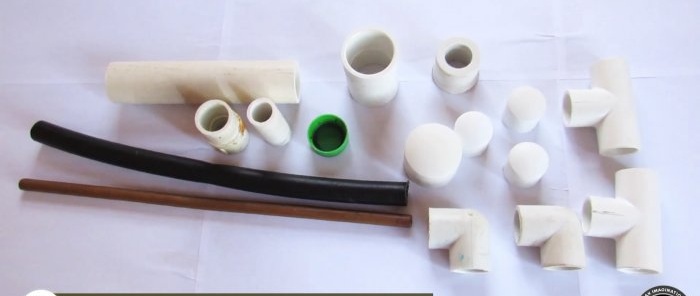
Materials:
- glue PVC pipes 20 mm, 32 mm;
- plug 32 mm;
- coupling 32 mm;
- coupling 20 mm;
- plugs 20 mm – 3 pcs.;
- elbows 20 mm – 2 pcs.;
- tees 20 mm – 2 pcs.;
- copper pipe 9 mm;
- glue for PVC pipes.
Sprinkler manufacturing process
In the plug for a 32 mm pipe, you need to drill a hole for a 20 mm pipe.
Then you need to cut off the ring from the 20 mm coupling and glue it onto the edge of the 20 mm pipe.
The outside of the ring is ground to ensure a tight fit to the plug.
Next, take a copper tube 30-40 cm long. One wall is drilled in the center.
The hole is then bored out to reduce the thickness of the walls around it, allowing water to flow in with less resistance.
The copper tube must be inserted into the previously drilled holes through a 20 mm plastic pipe passed through a plug.
It unfolds with the hole towards the plug. After this, you need to glue it in such a way as to fix it in this position and prevent leakage through the gaps between its walls and the 20 mm plastic tube.
Next, you need to glue a 20 mm plug onto a piece of pipe with a copper sprinkler. To do this, grooves are cut in the plug to allow it to be inserted all the way.
The next step requires gluing a 32 mm piece of pipe into the drilled plug with a copper rotating sprinkler. To do this, you need to first grind its inner diameter from the end so that it does not interfere with the rotation of the sprinkler.
After this, the pipe is cut and a coupling is glued onto it close to the plug. It is also necessary to bend the ends of the copper tube so that the water pushed out of it spins the sprinkler.
To keep the sprinkler in place, you need to make a stand for it. To do this, you need to prepare 4 pieces of 20 mm pipes and assemble a frame using 2 tees, 2 elbows and 2 plugs.
Next, the sprinkler is glued onto the vertical outlet of the frame tee. An adapter for a garden hose is made to the second horizontal outlet of the tee.
When pressure is applied, the sprinkler will rotate, spraying droplets around.
As watering progresses, it must be transferred to new areas.
Watch the video
Similar master classes
Particularly interesting
Comments (0)

