How to Install a Fence Post to Last
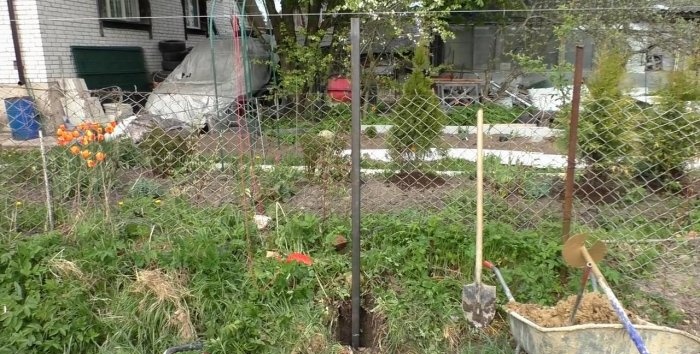
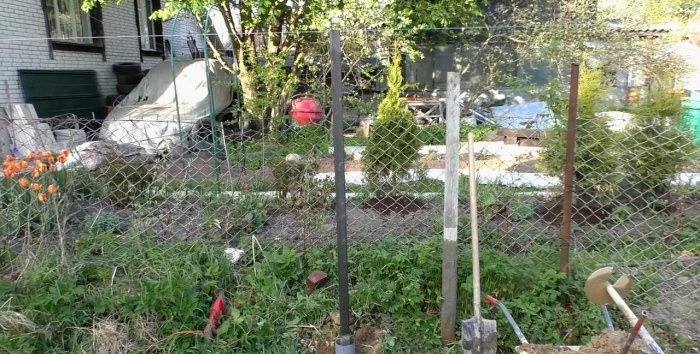
Hi all! I want to show you how to properly install fence posts, since there is not a lot of information on the Internet. If you install posts using this technology, your fence will be strong, even, and most importantly, will last a very long time. The method ensures complete stability and stability as a result of upward movement of the soil, protects against rise due to changes in natural seasons and temperatures.
Installing a fence post
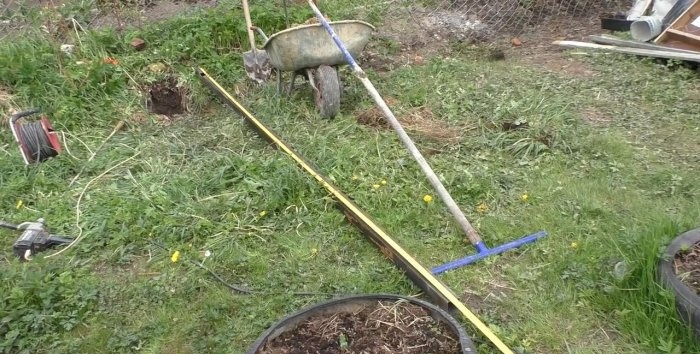
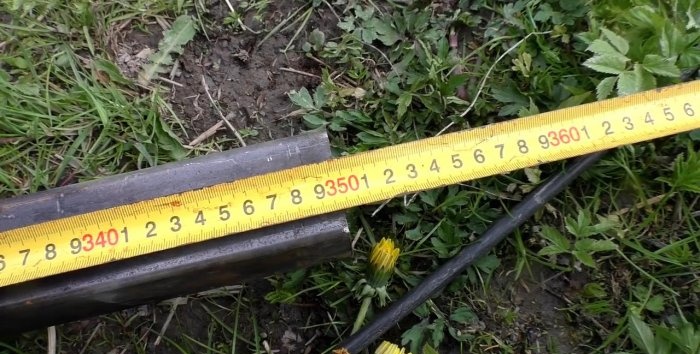
We prepare the pillar. This is a 50x50 profile pipe, with a wall thickness of 3 mm. When choosing it, you should never save money, since this is the main support of the future fence.
The length of the pipe is 3.5 meters.
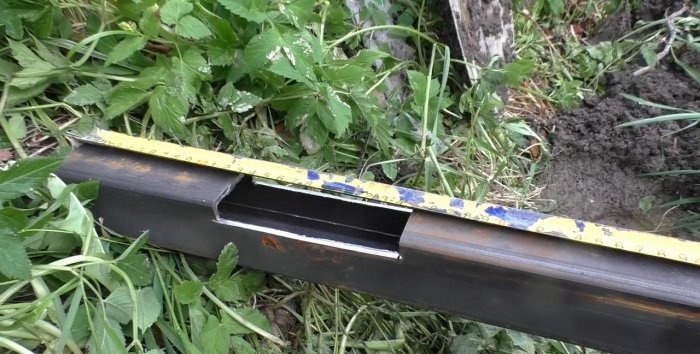
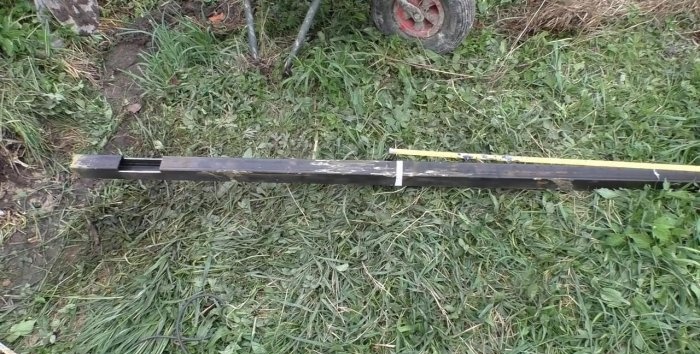
In the part of the pipe that will be in the ground, you need to make a rectangular cutout with a grinder. The dimensions are arbitrary: from the edge 12 cm and the length of the cutout is 12 cm. It is made so that the cement penetrates inside the pipe, hardens and becomes one whole. Due to this, it will be impossible to separate the pillar from the hardened block of cement.
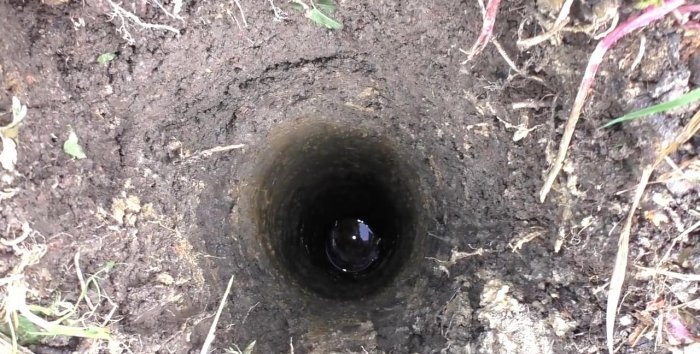
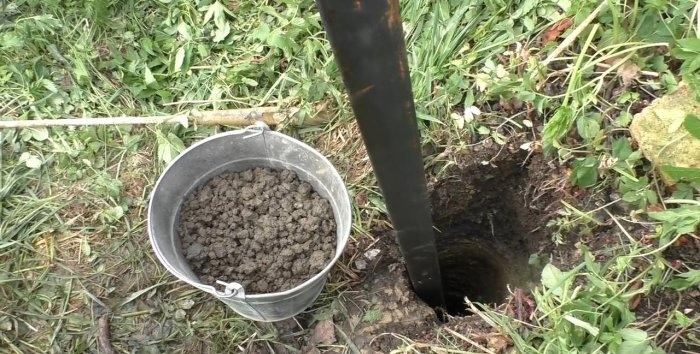
Then we prepare the well for filling and installation.
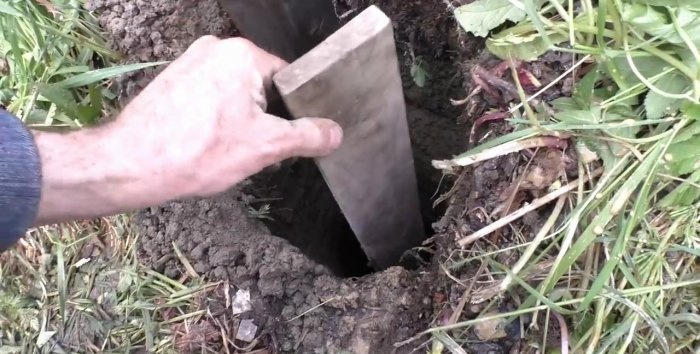
The well must be deep. We insert the pipe and make a notch.
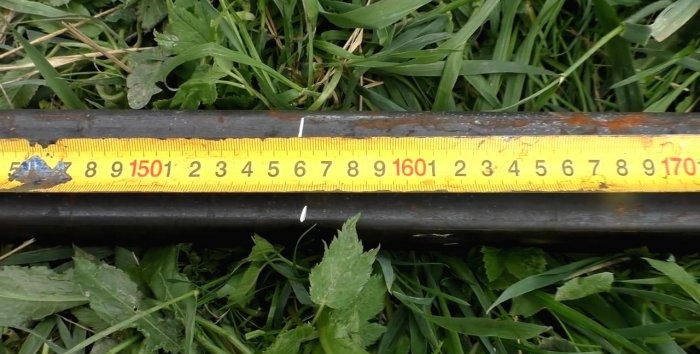
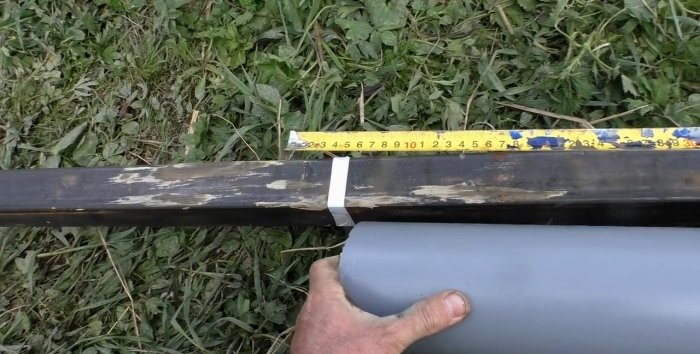
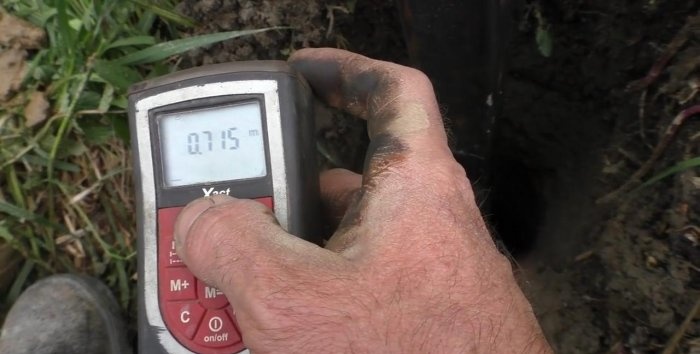
Next we measure with a tape measure, it turns out to be about 156 cm.
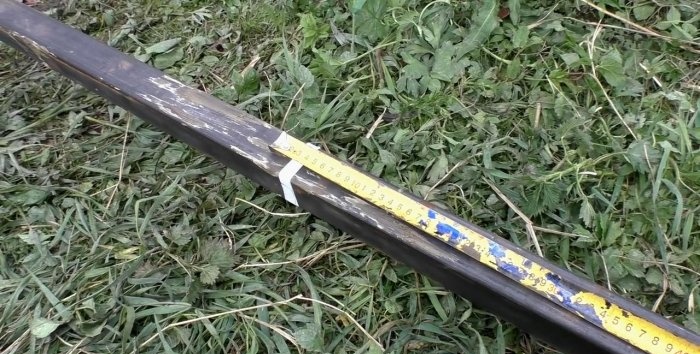
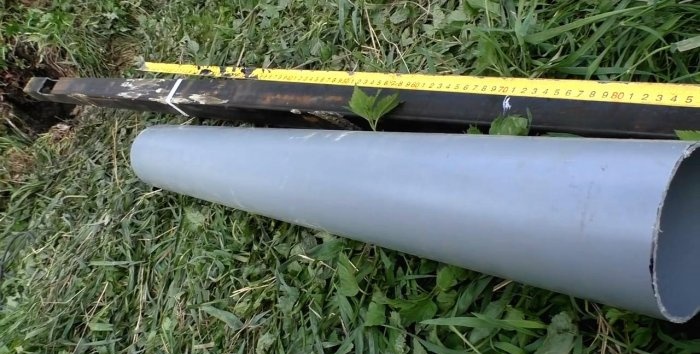
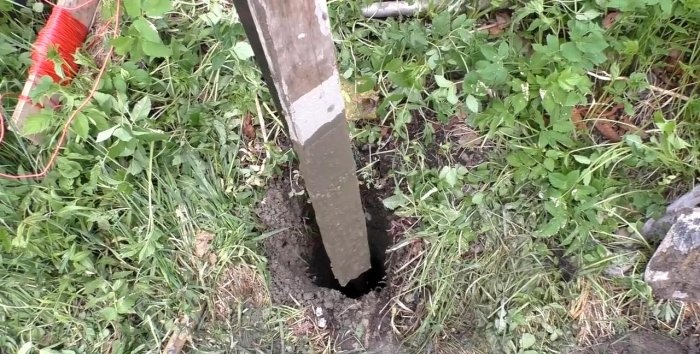
Now we measure 70 cm deep from the mark and make a note with white electrical tape for clarity.
To prevent the pillar from sticking out in winter, concreting must be done with two diameters.
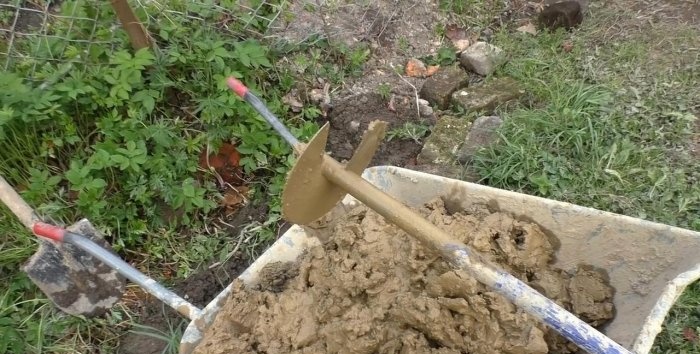
These two diameters will be set using a drill with a diameter of 18 cm (lower diameter):
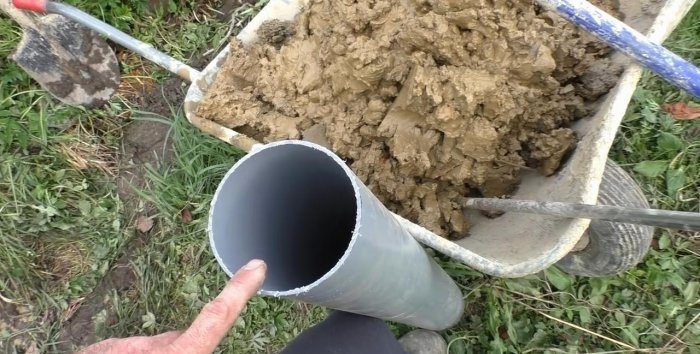
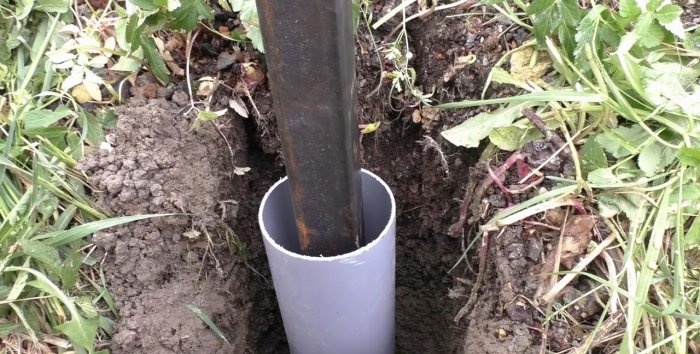
And PVC pipes 110 cm (upper diameter):
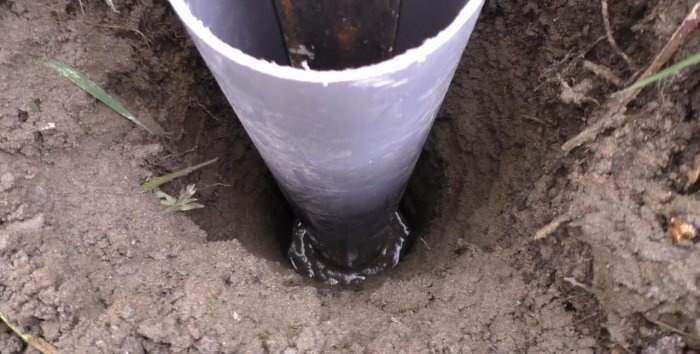
That is, up to the mark with white electrical tape below, concreting with a diameter of 18 cm will be made.
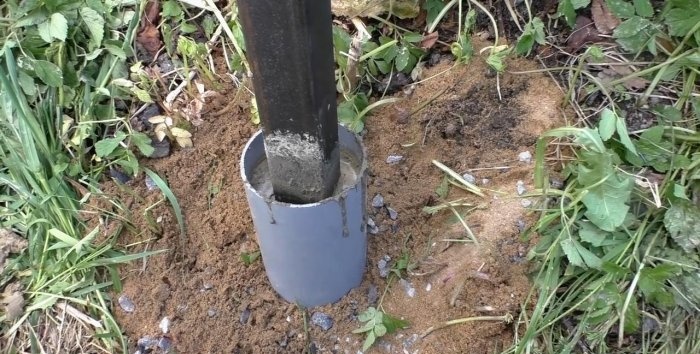
And then a plastic pipe is put on the profile and concreting is done after the mark with a diameter of 11 cm.
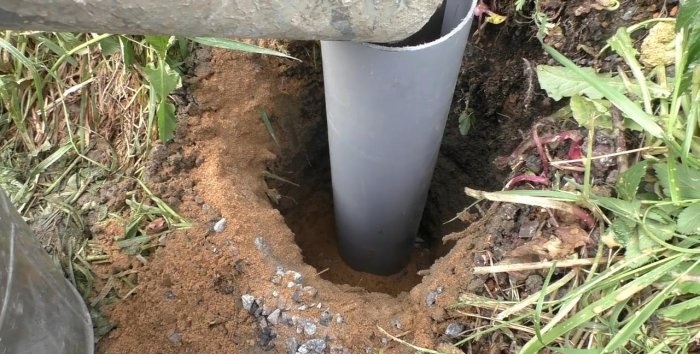
The outer area around the plastic pipe will be filled with sand and gravel backfill.
At the final stage, the fence post will look like this:
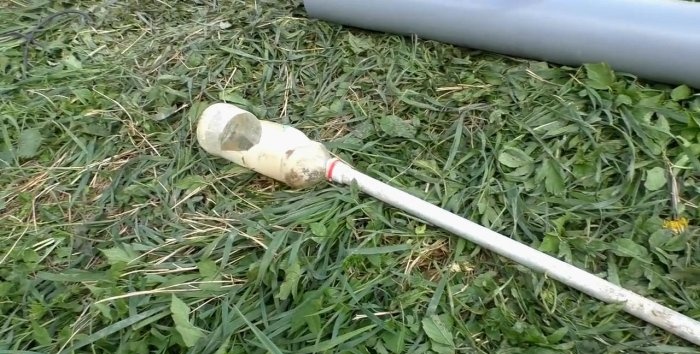
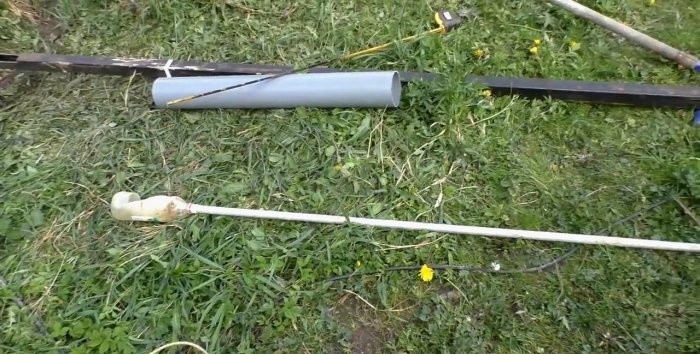
Before proceeding with the installation of the pillar, it is necessary to remove the water from the well, which is more likely to appear there. This can be done with the help of a simple device.
This is a regular plastic bottle with a side cutout and mounted on a long aluminum pole.
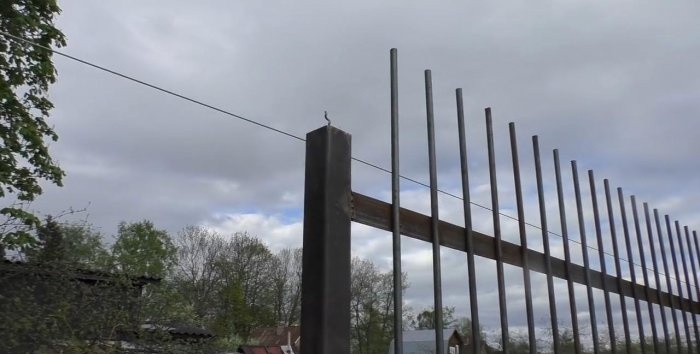
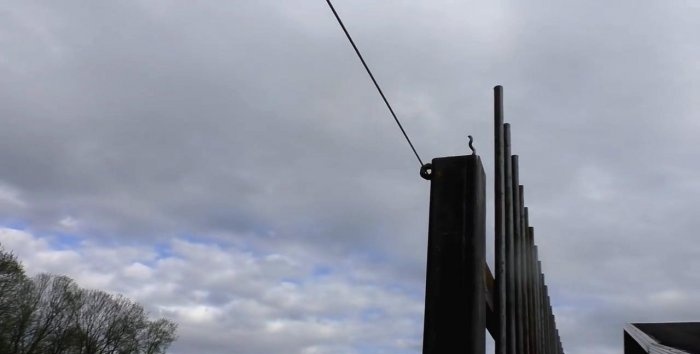
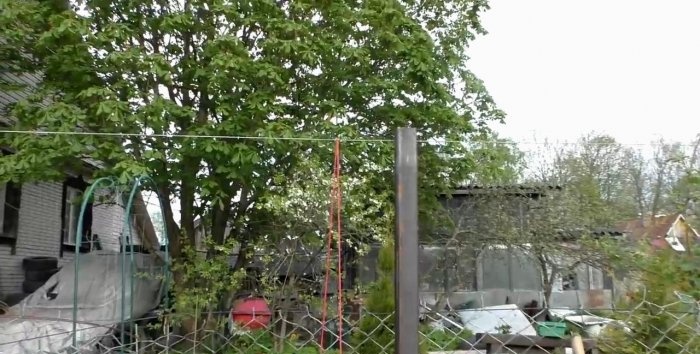
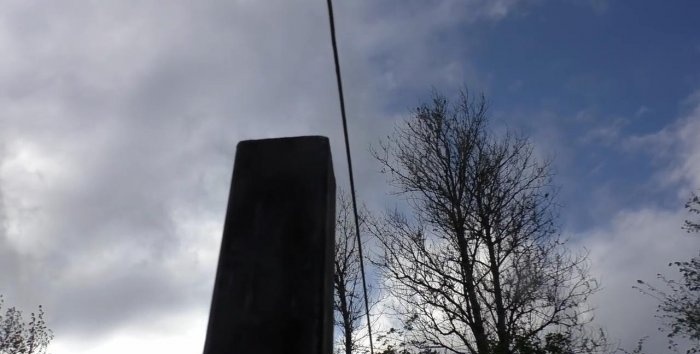
Now you need to tighten the string to align the pillars with each other. It is necessary to tighten it from the top, and not from the bottom, as is usually the case.
We stretch from one corner post to another. And if the string sags, we make additional stops and pass the string through the welded nuts.
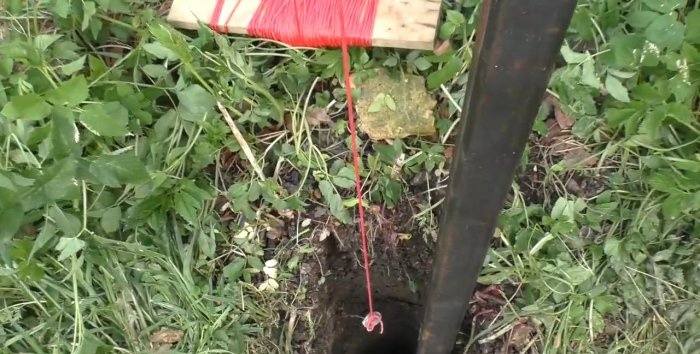
This string also sets the drilling locations. We make a plumb line and determine the location.
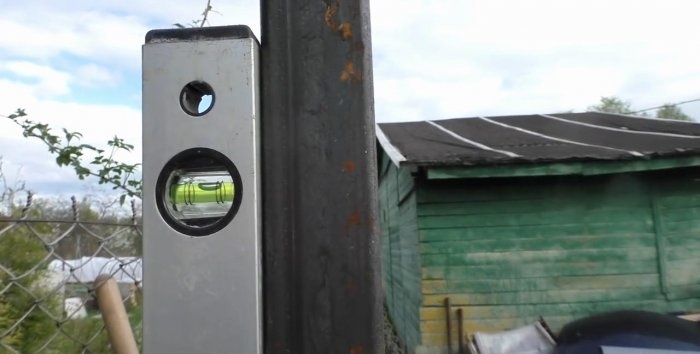
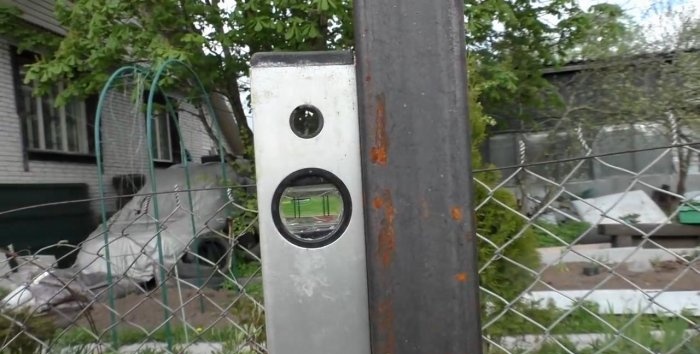
We align the post along the string, and set its straightness using a level from two planes.
We start concreting and mix the mortar. If there is a lot of water in the well, then the first batches of concrete should not be made too liquid.
After each poured portion of concrete, we compact it. This can be done with an ordinary long wooden stick.
After 2-3 portions of the solution, you should try to level the column.
And when the distance of the poured mass has reached the mark, it’s time to put on the plastic pipe.
The PVC pipe should be positioned evenly so that the profile is in the center of it. At the same time, pay your attention to the difference in diameters.
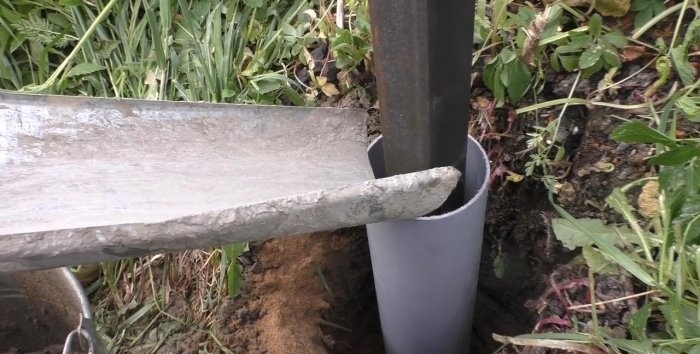
For convenient pouring, I recommend making such a trench for supplying the solution.
And fill the outer space around the pillar with a sand and gravel mixture.
It is not necessary to fill the concrete to the brim, since it will still rise up early during the hardening process.
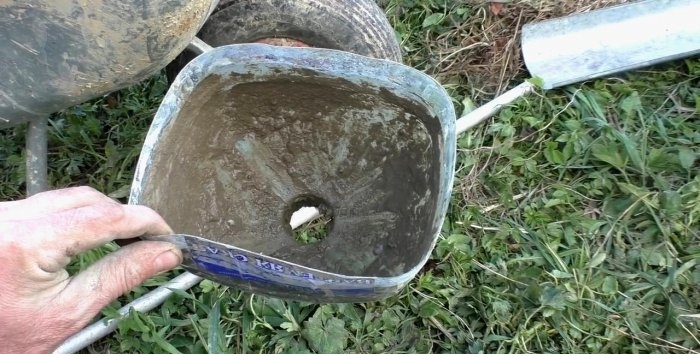
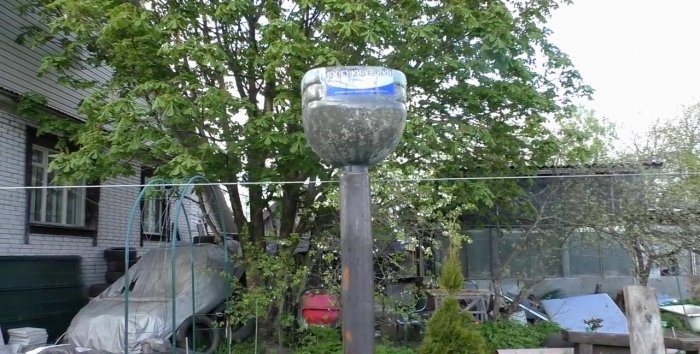
A liquid cement solution is also poured into the inside of the pillar in portions. And to make it convenient for them to fill the pipe, use the neck of a five-liter bottle.
We insert the neck and pour the concrete.
The post should be clearly in line.
The perfect strong fence post is ready!
This technology is noticeably more complicated than usual, but it has a number of the most important advantages, in view of which I recommend using this method of installing poles.
Watch the video
For a more detailed description with detailed step-by-step installation of the pole, see the video.
Similar master classes
Particularly interesting
Comments (19)


