How to quickly make a desktop from PVC pipes
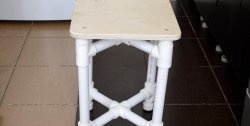
This need arises in the event of a temporary lack of money to purchase a new furniture. This table is made in 25–30 minutes, and if necessary, it can be disassembled just as quickly.
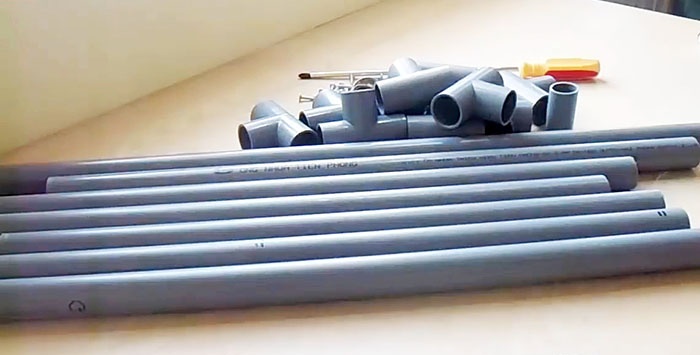
For the tabletop you need to have a piece of laminated chipboard, plywood or OSB. The legs are made of plastic pipes with a diameter of 24 mm; the structure is fixed to the tabletop with metal clamps and self-tapping screws. The size of the plate is approximately 70x150 cm, the total length of the pipes depends on the height of the table and the size of the tabletop. In our case, we need approximately 10 m of pipe. The connection of individual elements into a single structure is done with plastic tees (10 pieces are needed), two metal brackets are needed for each leg, and four self-tapping screws. The pipe is cut with a hacksaw; if you don’t have one, you can use one blade. A screwdriver is used to screw in the screws.
Prepare two cross members of the legs; to do this, insert tees on both sides of the pipe section. Make sure that the parts are perfectly the same size. The total length of the crossbars is selected taking into account the width of the tabletop.
Insert bushings 50 cm long into the tees; the specific dimensions do not matter much; the design can then be adjusted by the length of the legs. Prepare two such elements.
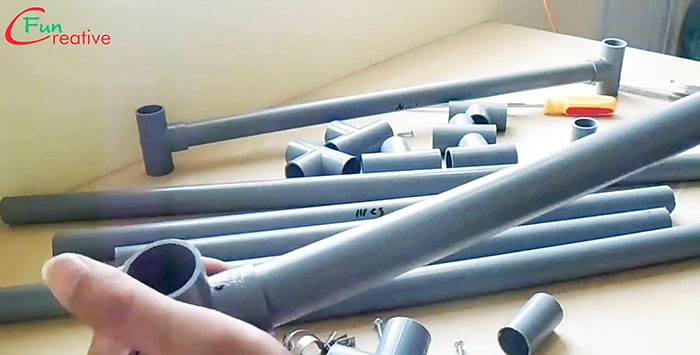
At a 90 degree angle, insert them into the previously made cross members. You need to make two identical elements.
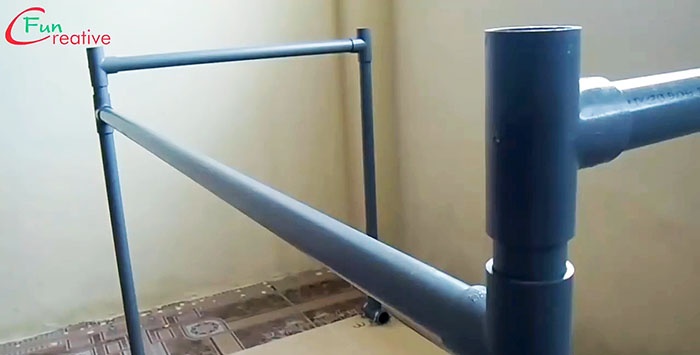
Place tees on the legs, one for each. An important point is that the sizes of the legs are not the same. The two front ones are longer, and the back ones are shorter. This is due to the fact that a cross member is subsequently fixed to them to impart rigidity to the structure. The length of the rear legs should be reduced by the total size of the bushings and tees. We mentioned above that this parameter is adjusted taking into account the size of the assembled parts.
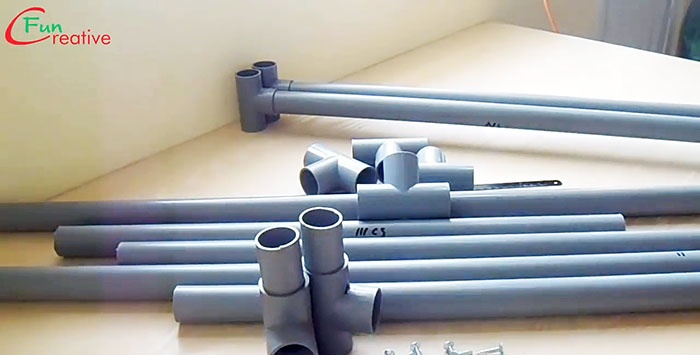
Connect the pipe section to the side cross members. Its size depends on the length of the tabletop, in our case about 60 cm is enough. Adjust all the corners, they should be straight.
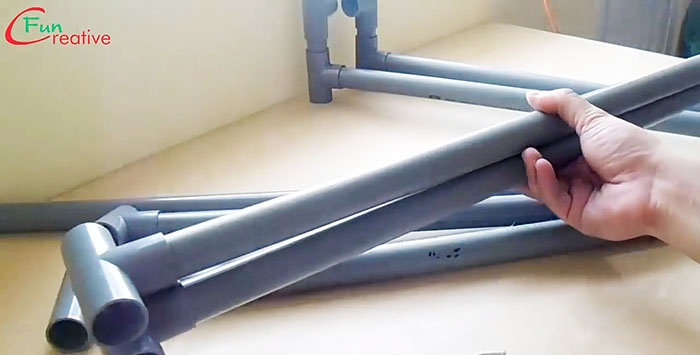
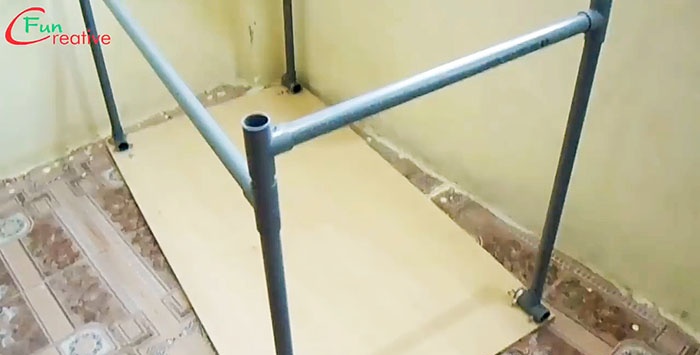
Place the legs into place. Don't forget that the back ones are shorter and the front ones are longer. Now the structure of the legs is completely assembled, all that remains is to attach it to the tabletop.
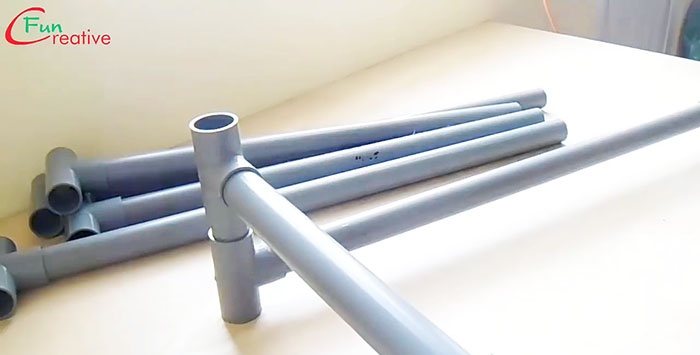
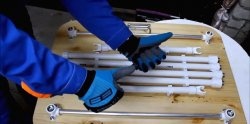
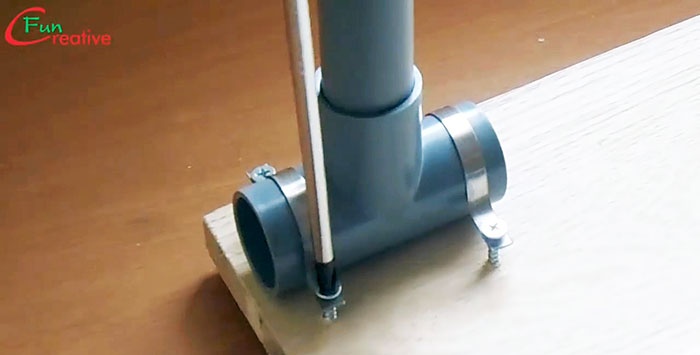
Turn the legs upside down, carefully place them in the center of the tabletop and secure them with clamps; two elements are required for each support point. Tighten the screws quite tightly, the table should not wobble.
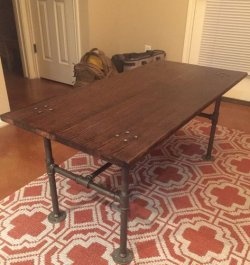
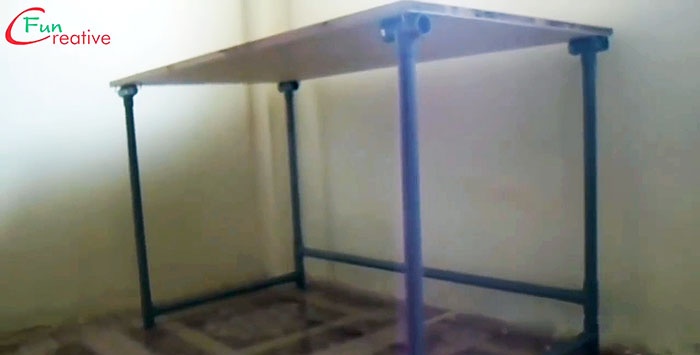
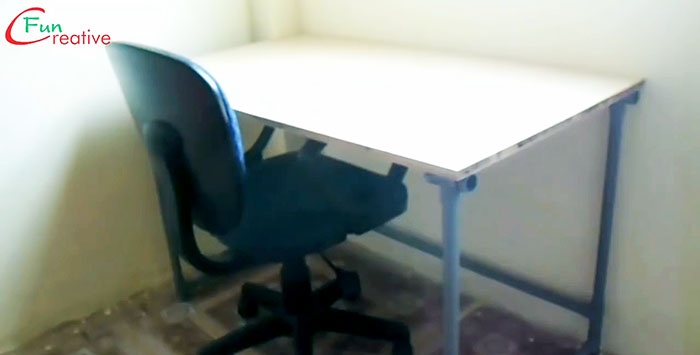
Place the table in working position.
When using the table, you should remember that it is not designed for heavy loads and long-term use. At the first opportunity, it should be replaced with the real one.
Source materials
For the tabletop you need to have a piece of laminated chipboard, plywood or OSB. The legs are made of plastic pipes with a diameter of 24 mm; the structure is fixed to the tabletop with metal clamps and self-tapping screws. The size of the plate is approximately 70x150 cm, the total length of the pipes depends on the height of the table and the size of the tabletop. In our case, we need approximately 10 m of pipe. The connection of individual elements into a single structure is done with plastic tees (10 pieces are needed), two metal brackets are needed for each leg, and four self-tapping screws. The pipe is cut with a hacksaw; if you don’t have one, you can use one blade. A screwdriver is used to screw in the screws.

Manufacturing process
Prepare two cross members of the legs; to do this, insert tees on both sides of the pipe section. Make sure that the parts are perfectly the same size. The total length of the crossbars is selected taking into account the width of the tabletop.
Insert bushings 50 cm long into the tees; the specific dimensions do not matter much; the design can then be adjusted by the length of the legs. Prepare two such elements.

At a 90 degree angle, insert them into the previously made cross members. You need to make two identical elements.
Place tees on the legs, one for each. An important point is that the sizes of the legs are not the same. The two front ones are longer, and the back ones are shorter. This is due to the fact that a cross member is subsequently fixed to them to impart rigidity to the structure. The length of the rear legs should be reduced by the total size of the bushings and tees. We mentioned above that this parameter is adjusted taking into account the size of the assembled parts.

Connect the pipe section to the side cross members. Its size depends on the length of the tabletop, in our case about 60 cm is enough. Adjust all the corners, they should be straight.

Place the legs into place. Don't forget that the back ones are shorter and the front ones are longer. Now the structure of the legs is completely assembled, all that remains is to attach it to the tabletop.

Turn the legs upside down, carefully place them in the center of the tabletop and secure them with clamps; two elements are required for each support point. Tighten the screws quite tightly, the table should not wobble.


Place the table in working position.

Conclusion
When using the table, you should remember that it is not designed for heavy loads and long-term use. At the first opportunity, it should be replaced with the real one.

Watch the video
Similar master classes
Particularly interesting
Comments (3)

