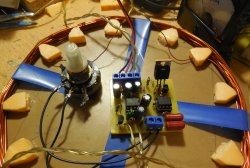
How to make a metal detector from a multimeter in 5 minutes
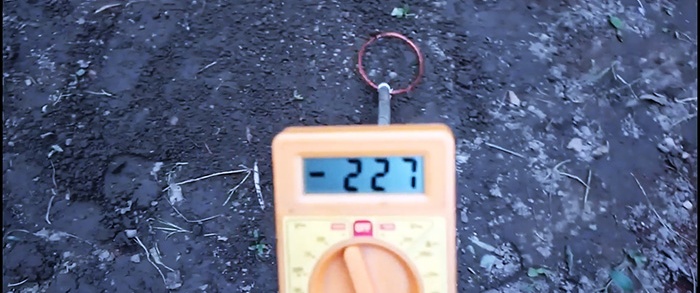
Do you think it’s not realistic to make a full-fledged metal detector in 5 minutes? Now your ideas will be destroyed.
Surely almost everyone has Chinese at home multimeter, not necessarily the same as in the photo, any similar one will do. So, on the basis of it we will make this simple device for detecting metals.
Will need
- Multimeter -
- Enameled wire 0.3 mm.
- Plastic pipe.
- Scotch.
How to quickly convert a multimeter into a metal detector
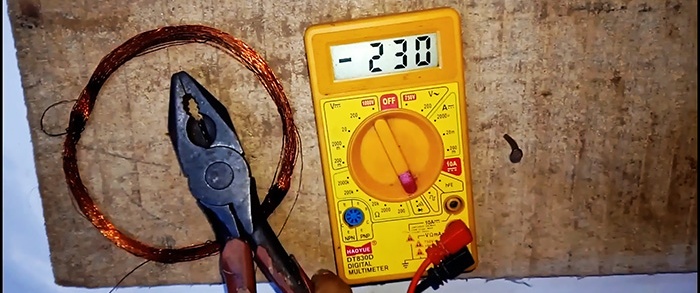
All you need to do is use the metal detector's search coil. To do this, take a 0.3 mm wire.
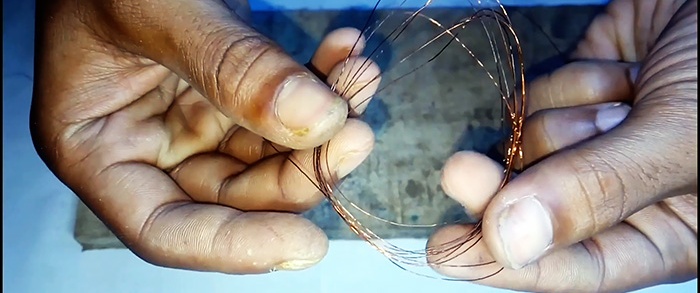
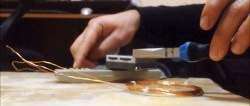
We drive 2 nails into the board and wind 150 turns on them.
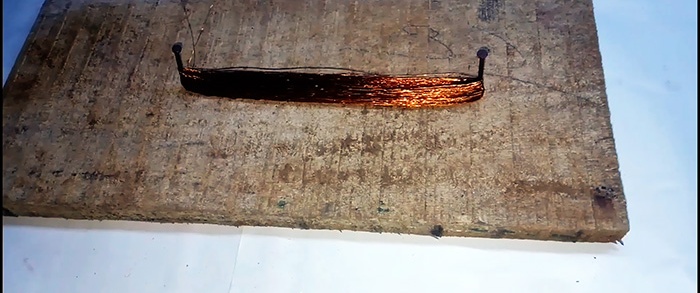
Next, remove the winding and fix it with pieces of wire.
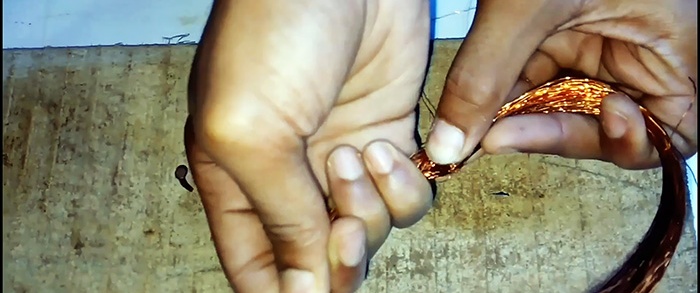
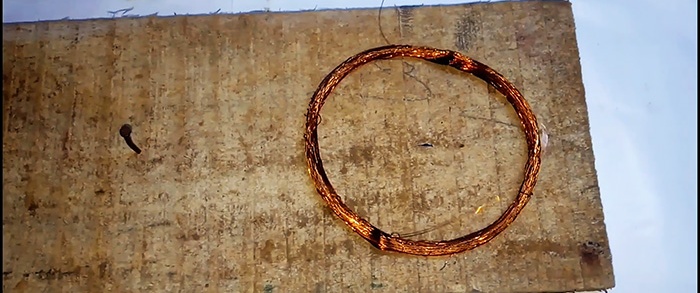
We connect the Chinese probes multimeter to the coil, having previously cleaned the contacts from the enamel.
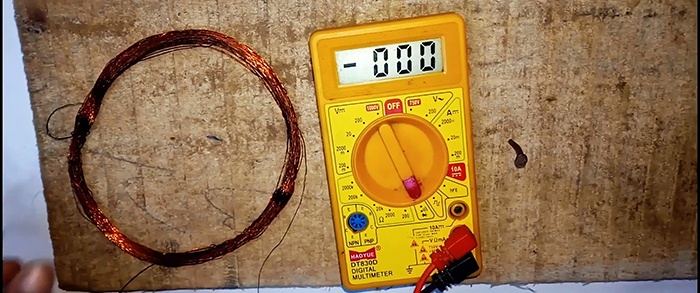
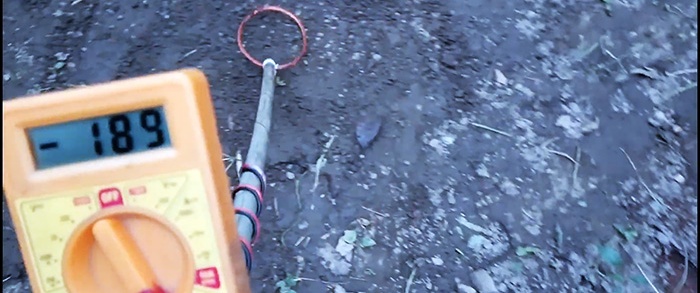
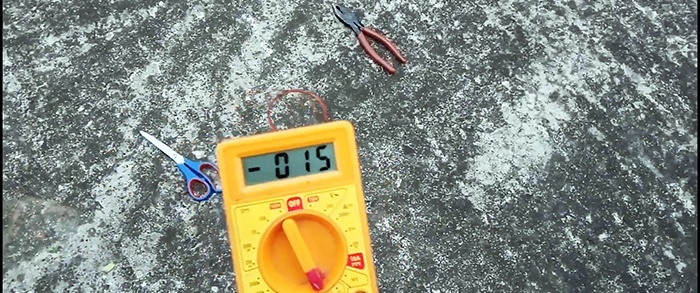
Multimeter set to diode test mode. That's all, the metal detector is ready.
To check, bring a metal object and the tester readings will immediately change.
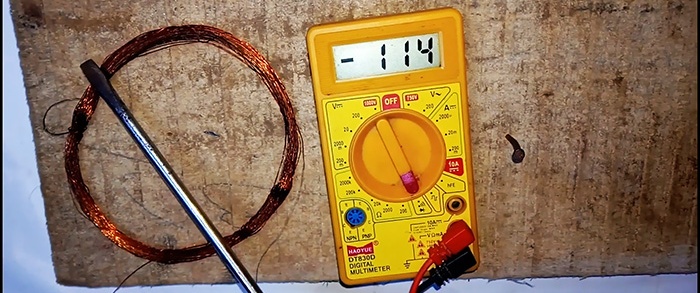
Why does it work?
Multimeter in diode testing mode, it supplies alternating current to the probes, since it initially does not know the polarity of the connected diode.This alternating signal produces a resonance in the coil and reads its value. As soon as metal appears in the coil, it changes its inductance, which is what the tester reads.
This device has one drawback: it operates in pulse mode, and therefore it is necessary to constantly move the object in order to detect it. Since if the metal remains in the coil but does not move, the tester produces “0” or low values.
Let's improve our device
Let's add a search rod to our metal detector for ease of use. Take a plastic water pipe and bend it slightly from the bottom.
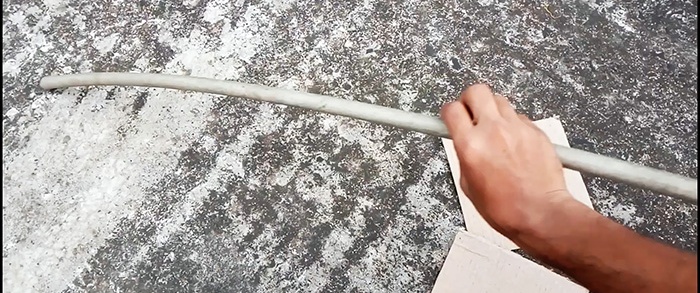
Let's cut out a gap and a hole for the coil.

Secure tightly with thread.

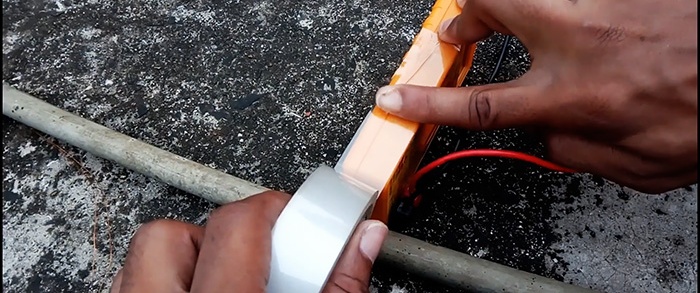
Let's make a connection to the multimeter.

Secure the tester with tape.
Let's connect with noise.
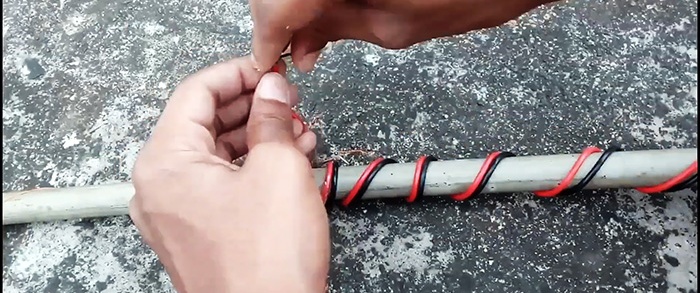
Now you can use it.

If you get used to it, the search goes well, even for metals buried in the ground.
