The simplest metal detector using one transistor and an AM receiver with decent sensitivity
An incredibly simple metal detector circuit that even a novice radio amateur can master. The sensitivity of such a device is comparable to commercially produced models. All this is achieved through the use of a conventional medium-wave radio receiver.
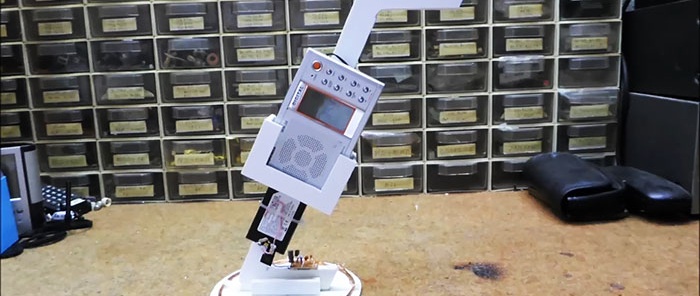
The design and operation of a homemade metal detector is as follows: a high-frequency generator is assembled on one transistor using a “three-point” circuit. The portable radio receiver is tuned to one of the harmonics of the generator, and responds to any changes in the local oscillator generation. The radio receiver has good selectivity, which ensures high sensitivity of the entire metal detector.
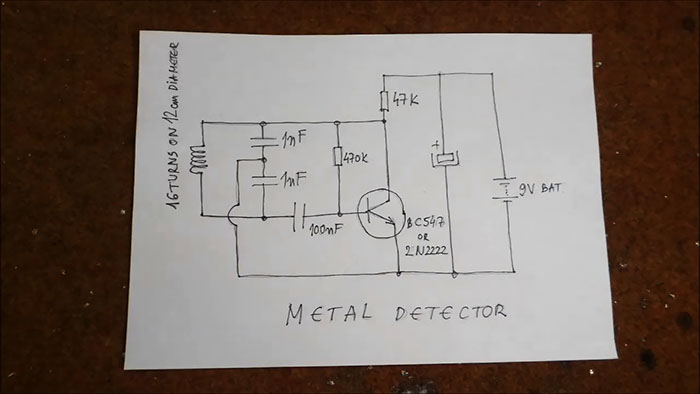
The generator is built according to a classical circuit, powered by a voltage of 9 V. The oscillation frequency depends on the resonance in the oscillatory circuit, which is used as a search coil.
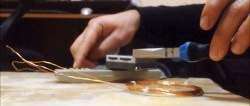
We take an enameled copper wire from the primary winding of any 220 V transformer.
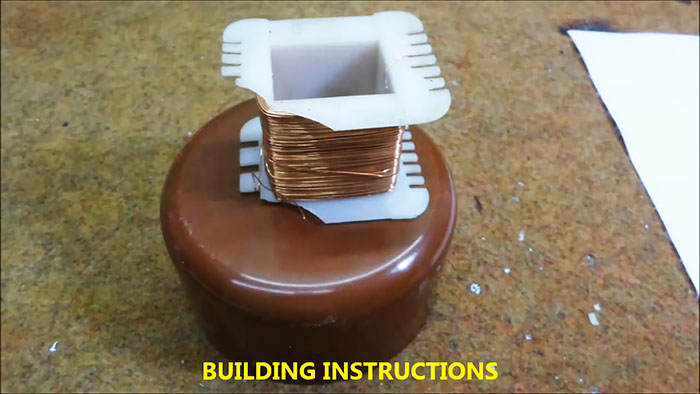
The coil consists of 16 turns wound on a diameter of 12 centimeters. Before winding, we place nylon ties to secure the coil after winding.
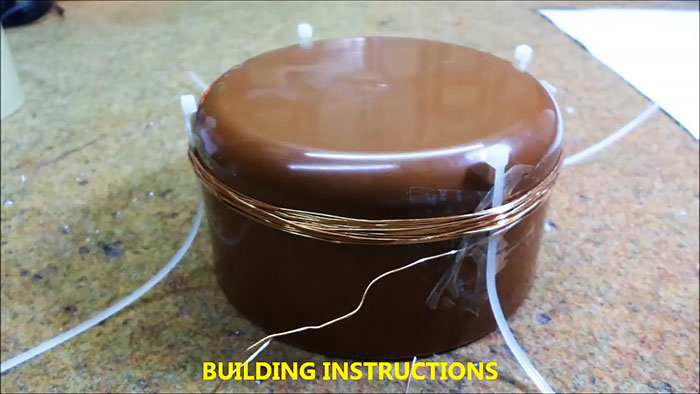
Wrap it up and tighten the ties. We tin the ends of the wires.
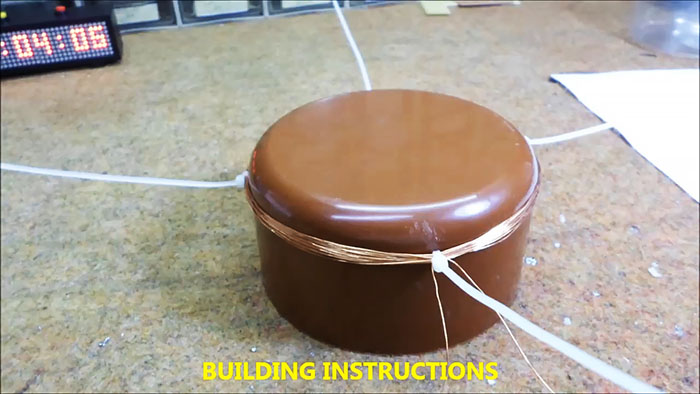
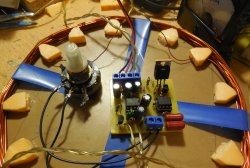
To prevent the coil from becoming deformed during the search, we attach it to a piece of hard plastic with several additional ties.
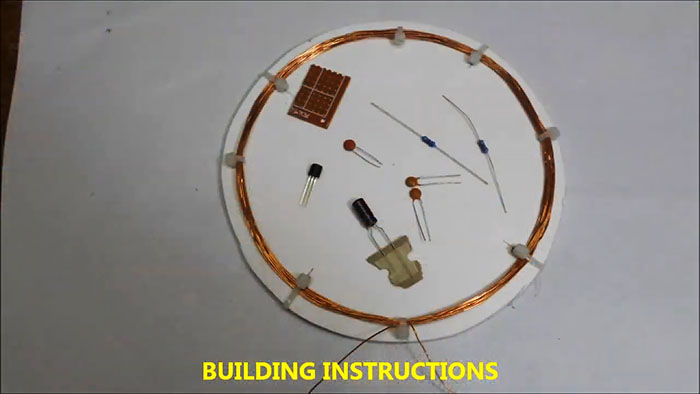
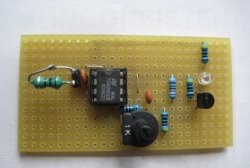
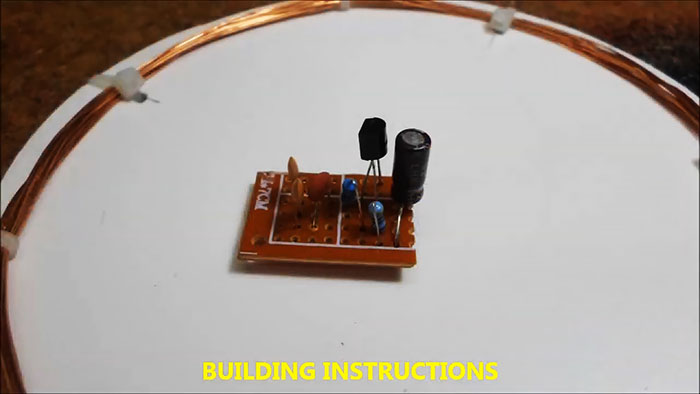
We assemble a circuit on any piece of PCB.
From soft plastic (dense foam) we cut out a handle for the metal detector.
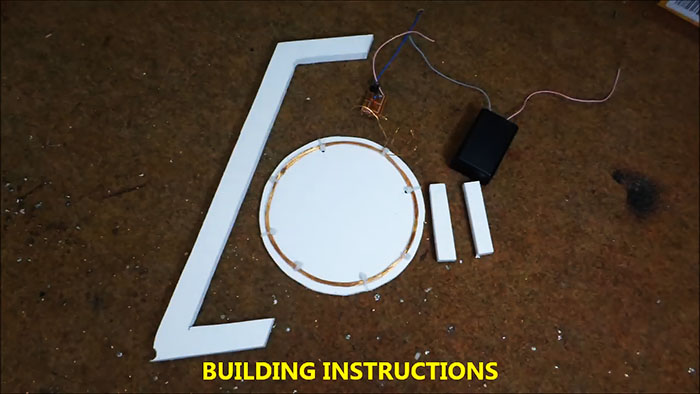
Glue everything with super glue.
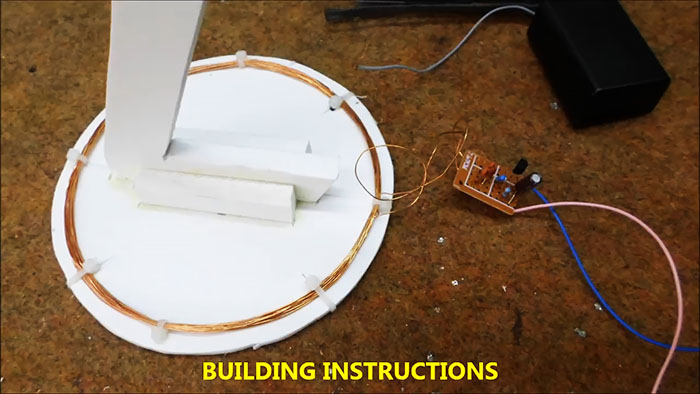
We solder the coil to the board, batteries with a switch. We check the operation of the generator using a radio receiver.
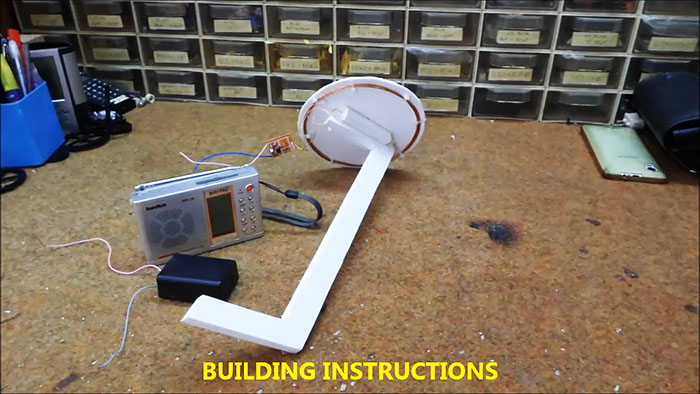
We attach the receiver itself to the handle; to do this, we cut out the box for it to size and glue it with super glue.
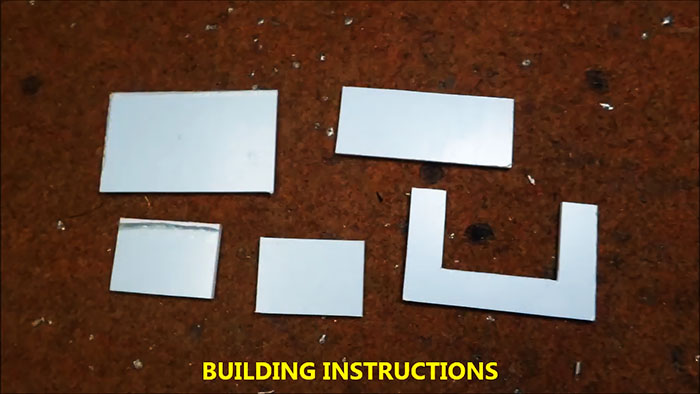
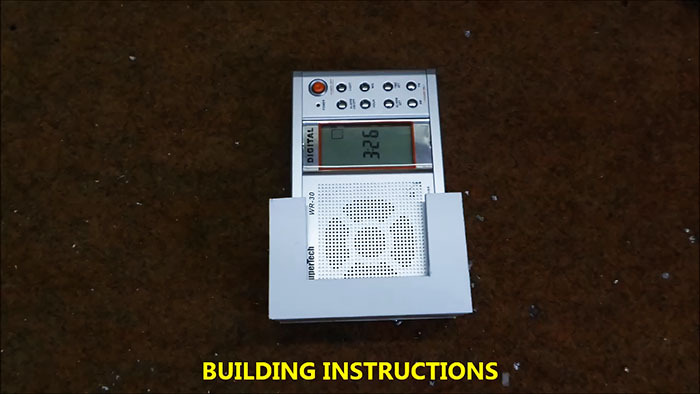
Glue the box onto the handle.
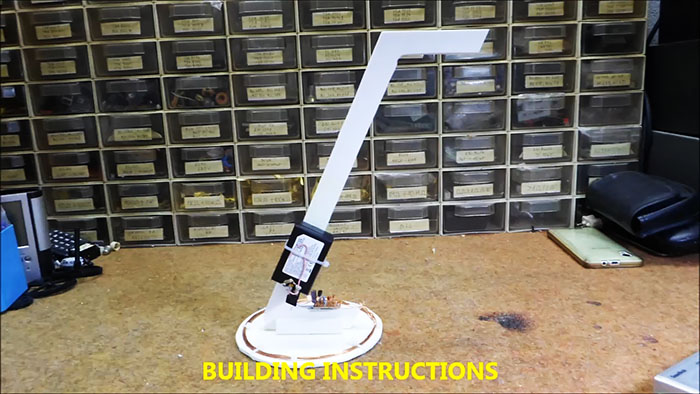

This completes the assembly.
The sensitivity of the device, as mentioned earlier, is quite comparable to inexpensive industrial models of metal detectors. But for this you need to make a setting.
If you are using a manually tuned receiver, then turn it on to the medium wave range and search for harmonics, periodically checking for changes in tone when bringing metal objects into the coil.
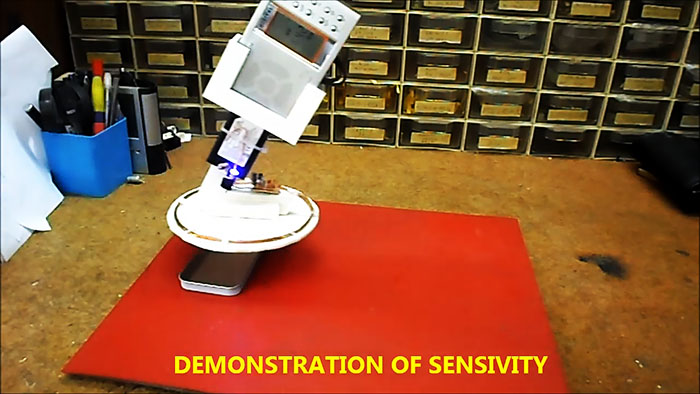
If you have a receiver with automatic search, then everything is simpler - just search by clicking the auto search button.
Once the setup is complete, the metal detector will respond to any metal.
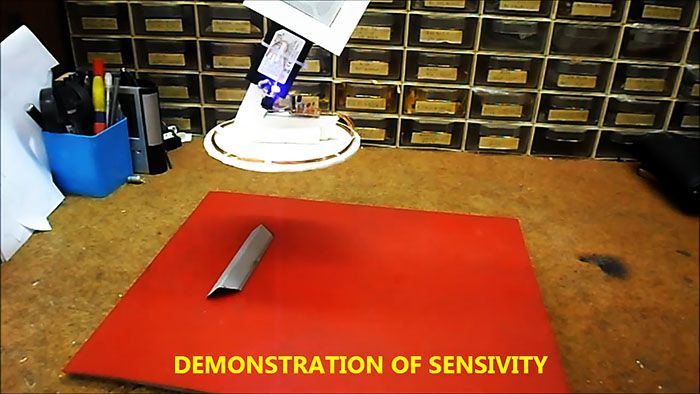
He is even able to find a coin at a distance of 1-2 centimeters. Naturally, the larger the object, the greater the distance at which it can be found.

The design and operation of a homemade metal detector is as follows: a high-frequency generator is assembled on one transistor using a “three-point” circuit. The portable radio receiver is tuned to one of the harmonics of the generator, and responds to any changes in the local oscillator generation. The radio receiver has good selectivity, which ensures high sensitivity of the entire metal detector.
Will need
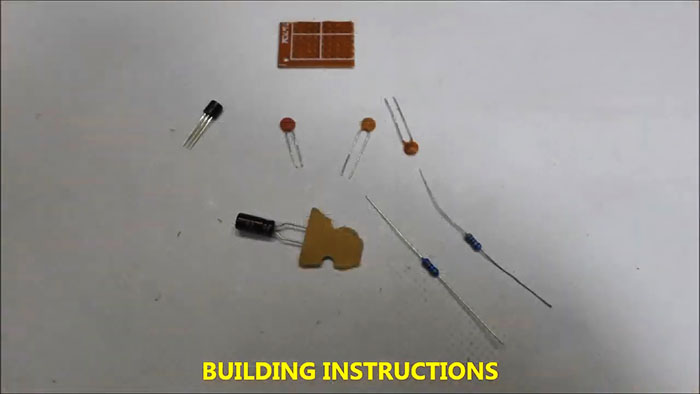
- Transistor n-p-n structure, any type will do, such as 2N2222, BC640, etc.
- Capacitors: 1 nF - 2 pieces, 100 nF, 47 µF.
- Resistors: 470 kOhm, 4.7 kOhm.
- An old, but working, medium-wave or short-wave amplitude modulation (AM) receiver.
- Wire 0.2-0.5 mm.

Scheme

The generator is built according to a classical circuit, powered by a voltage of 9 V. The oscillation frequency depends on the resonance in the oscillatory circuit, which is used as a search coil.
Making a coil
We take an enameled copper wire from the primary winding of any 220 V transformer.

The coil consists of 16 turns wound on a diameter of 12 centimeters. Before winding, we place nylon ties to secure the coil after winding.

Wrap it up and tighten the ties. We tin the ends of the wires.

Metal detector assembly
To prevent the coil from becoming deformed during the search, we attach it to a piece of hard plastic with several additional ties.

We assemble a circuit on any piece of PCB.

From soft plastic (dense foam) we cut out a handle for the metal detector.

Glue everything with super glue.

We solder the coil to the board, batteries with a switch. We check the operation of the generator using a radio receiver.

We attach the receiver itself to the handle; to do this, we cut out the box for it to size and glue it with super glue.


Glue the box onto the handle.


This completes the assembly.
Setup and testing
The sensitivity of the device, as mentioned earlier, is quite comparable to inexpensive industrial models of metal detectors. But for this you need to make a setting.
If you are using a manually tuned receiver, then turn it on to the medium wave range and search for harmonics, periodically checking for changes in tone when bringing metal objects into the coil.

If you have a receiver with automatic search, then everything is simpler - just search by clicking the auto search button.
Once the setup is complete, the metal detector will respond to any metal.

He is even able to find a coin at a distance of 1-2 centimeters. Naturally, the larger the object, the greater the distance at which it can be found.
Watch the video
Similar master classes
Particularly interesting
Comments (0)

