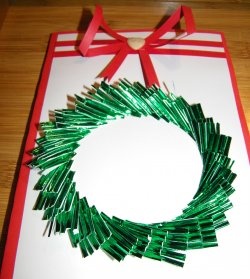
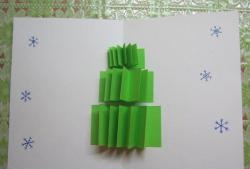
New Year's snow-covered tree
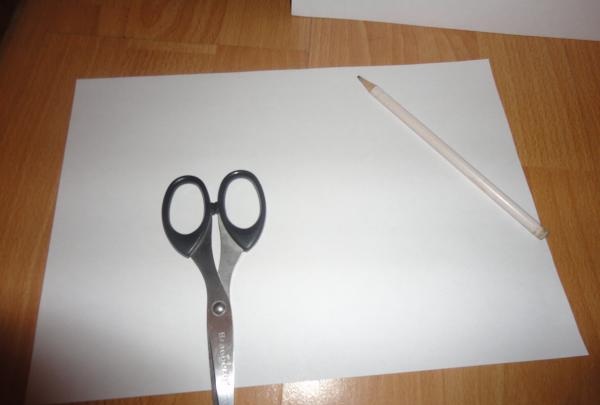
For this crafts We will need several sheets of plain white paper; you can use colored paper if desired. For a snow-covered Christmas tree, white paper is used. Scissors, glue stick, simple pencil, empty rod or thick wire, piece of plasticine.
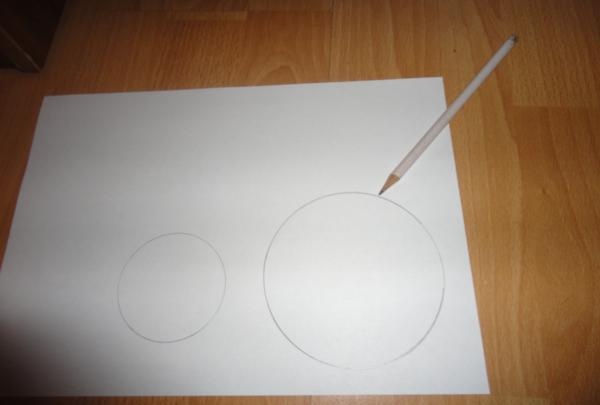
Circles are drawn on sheets of paper; these will be the tiers for the Christmas tree. In the example there are 11 tiers. Therefore, it is necessary to draw 11 circles so that each one is slightly smaller than the previous one.
Divide each circle into eight equal parts. Inside the circle, draw a line exactly in the middle from the center to the circle, as shown in the figure.
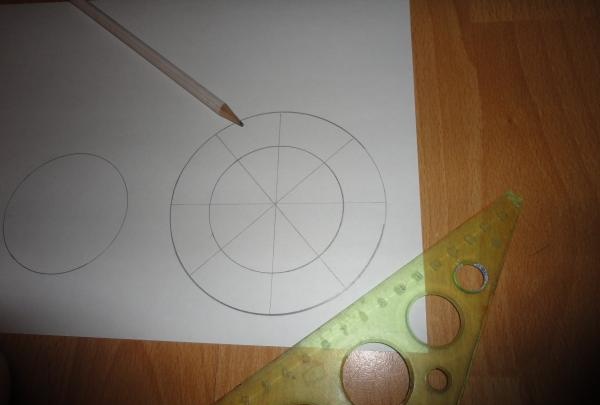
Next, a circle is cut along the main line. Cuts are made to the midline that we drew in the previous step.
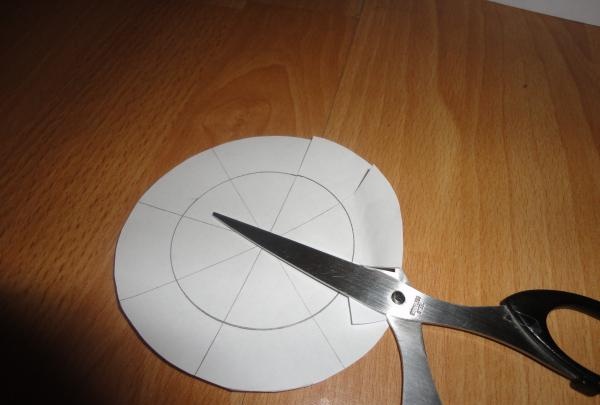
Then carefully roll each piece into a roll. At the same time, use pencil glue to secure it. Do this with each circle. You will get some kind of small cones.
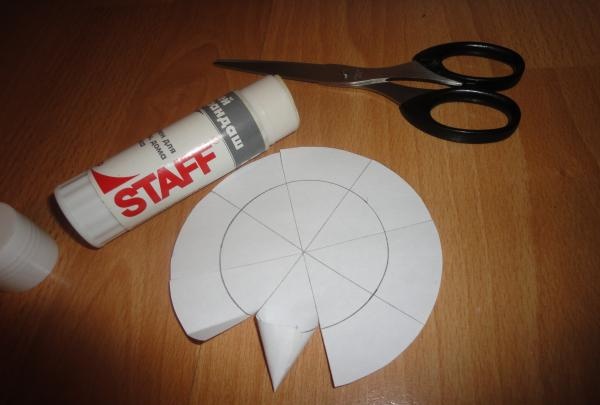
One tier for the Christmas tree is ready. You should do the same operation with the remaining circles.
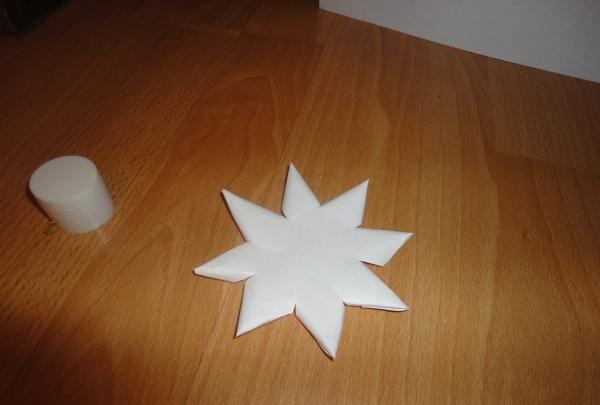
Next, the base for the Christmas tree is cut out. This can be cardboard or a regular sheet of paper.It is best to take something solid so that the tree does not wobble or fall. You will need a piece of plasticine into which either a rod or a thick wire is inserted.
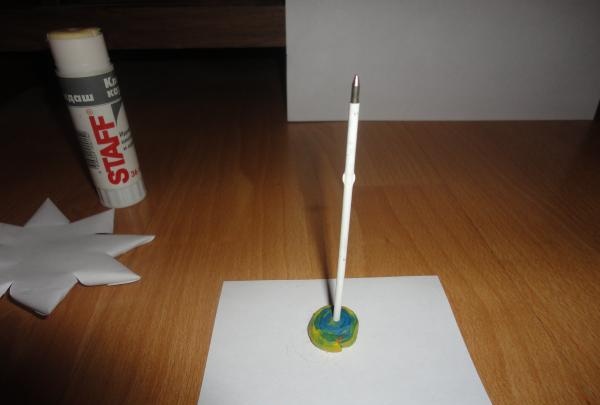
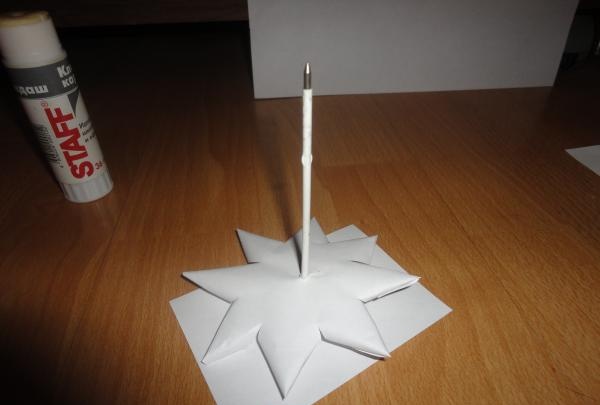
We place each tier on the prepared rod, as shown in the figure.
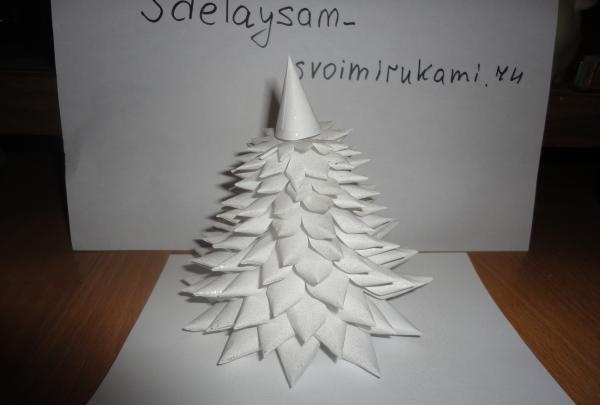
It turns out such a beautiful and original greeting card present for the New Year. You can sprinkle dry eye glitter on top, or use hairspray with glitter, as shown in the example. In addition, you can place mini gifts or small toys below the tree. In the light, the tree will shimmer in different shades due to the large layer of sparkles. It will seem like there is a real snow-covered Christmas tree in front of you.

Circles are drawn on sheets of paper; these will be the tiers for the Christmas tree. In the example there are 11 tiers. Therefore, it is necessary to draw 11 circles so that each one is slightly smaller than the previous one.

Divide each circle into eight equal parts. Inside the circle, draw a line exactly in the middle from the center to the circle, as shown in the figure.

Next, a circle is cut along the main line. Cuts are made to the midline that we drew in the previous step.

Then carefully roll each piece into a roll. At the same time, use pencil glue to secure it. Do this with each circle. You will get some kind of small cones.

One tier for the Christmas tree is ready. You should do the same operation with the remaining circles.

Next, the base for the Christmas tree is cut out. This can be cardboard or a regular sheet of paper.It is best to take something solid so that the tree does not wobble or fall. You will need a piece of plasticine into which either a rod or a thick wire is inserted.

We place each tier on the prepared rod, as shown in the figure.

It turns out such a beautiful and original greeting card present for the New Year. You can sprinkle dry eye glitter on top, or use hairspray with glitter, as shown in the example. In addition, you can place mini gifts or small toys below the tree. In the light, the tree will shimmer in different shades due to the large layer of sparkles. It will seem like there is a real snow-covered Christmas tree in front of you.

Similar master classes
Particularly interesting
Comments (2)


